Wood burning, or pyrography, is a timeless art form that transforms simple wooden surfaces into intricate masterpieces.
However, adding color to these creations can elevate them to new artistic heights.
In this article, How to Paint Wood Burning Projects, we’ll explore the importance of painting wood-burned art, discuss various coloring techniques, and provide step-by-step instructions to ensure your artwork remains vibrant and protected for years to come.
1. Understanding the Importance of Adding Color
Enhancing your wood-burning projects with color can bring depth and vibrancy to your designs.YouTube+2Walnut Hollow+2walnuthollowcrafts+2
- Visual Appeal: Color adds dimension and interest, making your artwork more engaging.
- Highlighting Details: Painting can emphasize specific elements, drawing attention to intricate patterns or focal points.Artofit+4walnuthollowcrafts+4Reddit+4
- Personalization: Incorporating color allows for greater expression of personal style and creativity.Reddit+3Walnut Hollow+3walnuthollowcrafts+3
By thoughtfully adding color, you can transform your wood-burned pieces into unique, eye-catching works of art.walnuthollowcrafts
2. Selecting the Right Materials
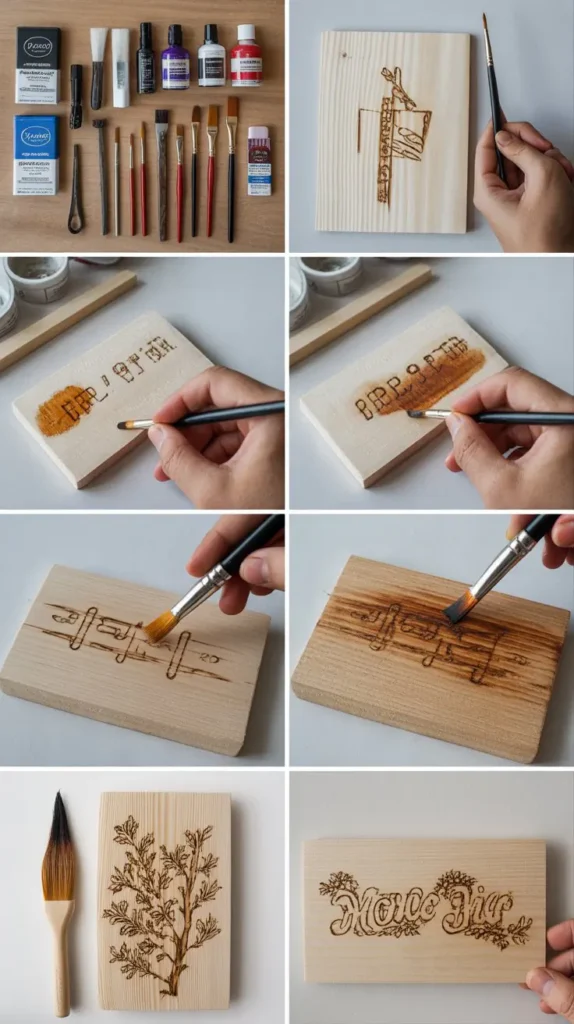
Choosing appropriate materials is crucial for achieving the desired effect and ensuring longevity.
- Paint Types: Acrylic paints are popular for their versatility and vibrant colors. Watercolor pencils offer subtle hues and are easy to control.walnuthollowcrafts+1Reddit+1
- Brushes: Use fine-tipped brushes for detailed work and broader brushes for larger areas.
- Sealants: After painting, apply a clear sealant to protect the colors and wood surface.
Selecting high-quality materials will enhance the final appearance and durability of your project.
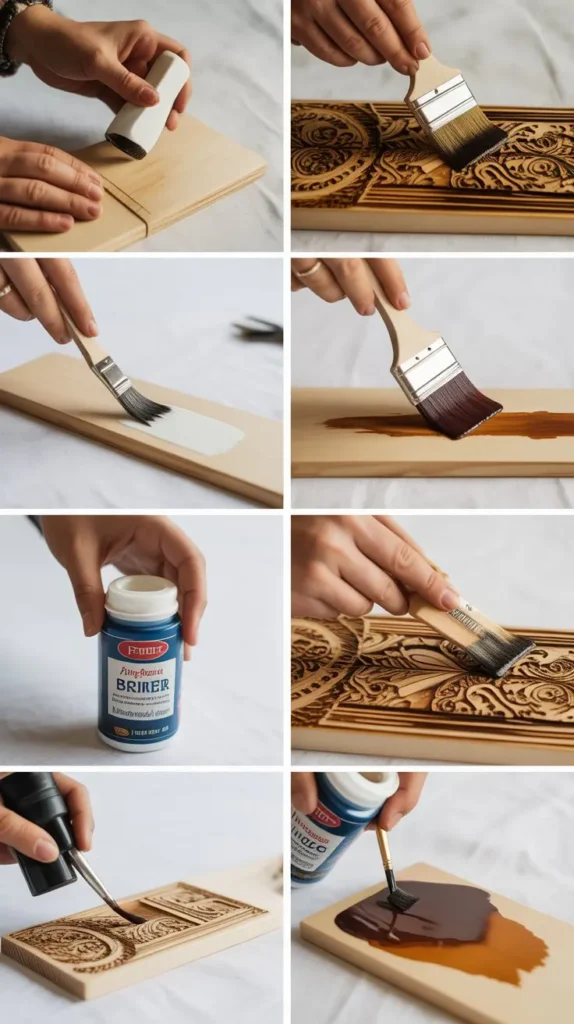
3. Preparing the Wood Surface
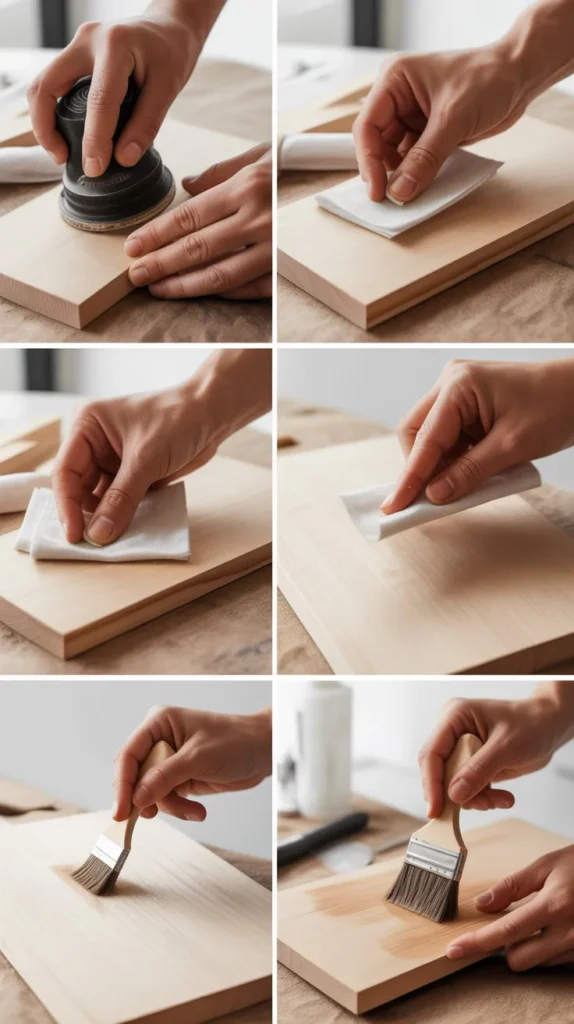
Proper preparation ensures optimal paint adhesion and a smooth finish.
- Cleaning: Remove any dust or debris using a soft brush or cloth.
- Sanding: Lightly sand the surface with fine-grit sandpaper to smooth out any rough areas.
- Dust Removal: After sanding, clean the surface again to eliminate any residual dust.
A clean, smooth surface is essential for an even application of paint.
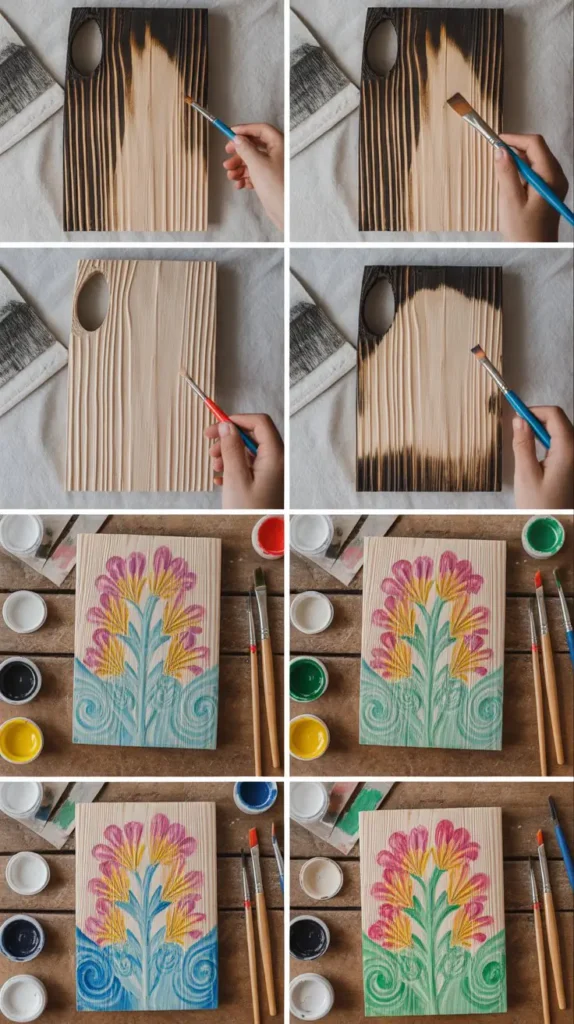
4. Applying Paint to Wood-Burned Designs
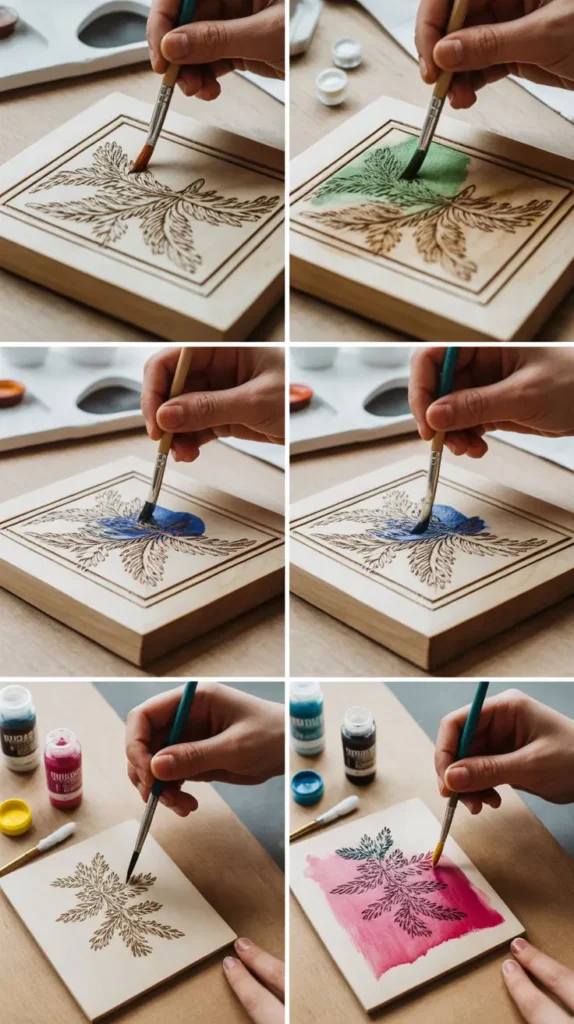
Follow these steps for a successful painting process:
- Test Application: Before applying to the entire piece, test the paint on a small, inconspicuous area to ensure desired results.
- Color Selection: Choose colors that complement the wood tones and enhance the burned design.
- Application Techniques: Use thin layers of paint, allowing each layer to dry before adding the next. This prevents bleeding and ensures crisp lines.
- Blending: For gradients or shading, blend colors while the paint is still wet, using a damp brush or sponge.
These techniques help achieve a professional and visually appealing finish.
5. Sealing and Protecting Your Artwork
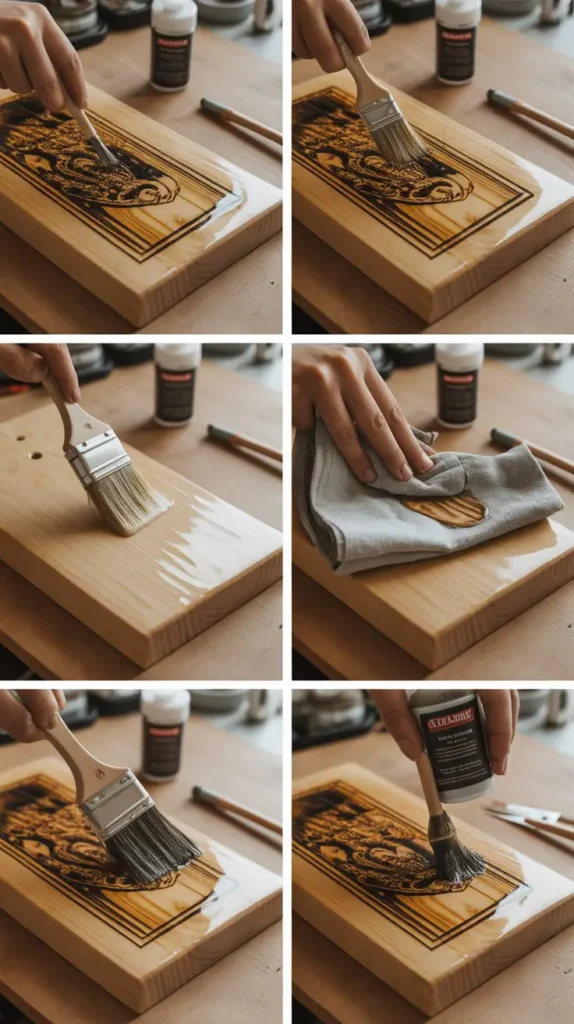
Sealing your painted wood-burning projects is vital for preservation and longevity.
- Sealant Types: Use a clear, non-yellowing sealant suitable for wood surfaces, such as polyurethane or polycrylic.
- Application: Apply the sealant in thin, even coats, following the manufacturer’s instructions.
- Drying Time: Allow sufficient drying time between coats to prevent smudging or cloudiness.
Proper sealing protects your artwork from moisture, UV rays, and wear, ensuring it remains vibrant over time.
6. Maintenance and Care
Proper care extends the life of your painted wood-burning projects.
- Cleaning: Wipe surfaces with a damp cloth. Avoid harsh chemicals that could damage the paint or sealant.
- Avoid Excess Moisture: Do not soak the item in water. Dry immediately if it becomes wet.
- Reapplication: Over time, the sealant may wear down. Reapply as needed to maintain protection.
Regular maintenance keeps your artwork looking its best.
Conclusion
Adding color to your wood-burning projects can elevate them from simple designs to stunning works of art.
By following the guidelines outlined in How to Paint Wood Burning Projects you can enhance the visual appeal and longevity of your creations.
Embrace the process, experiment with different techniques, and enjoy the satisfaction of bringing your pyrography to life with vibrant colors.