Wood burning, or pyrography, is a timeless art form that transforms simple wooden pieces into intricate designs.
However, to ensure the longevity and vibrancy of your artwork, proper finishing is essential.
In this article, How to Finish Wood Burning Projects , we’ll explore the steps and techniques to seal and protect your creations, ensuring they remain beautiful for years to come.
In This Post......
1. Understanding the Importance of Finishing
Before diving into the finishing process, it’s crucial to comprehend why sealing your wood-burning projects is necessary.
- Protection: Finishing shields the wood from moisture, dust, and UV rays, preventing warping and fading.
- Enhancement: A good finish accentuates the burned designs, adding depth and richness to the artwork.
- Durability: Proper sealing ensures that your piece withstands handling and environmental factors.
2. Choosing the Right Finish
Selecting an appropriate finish depends on the intended use of the piece and the desired aesthetic.
- Polyurethane: Offers a durable, water-resistant finish, ideal for functional items like coasters or trays.
- Polycrylic: A water-based alternative that dries clear without yellowing, suitable for lighter woods.
- Lacquer: Provides a high-gloss finish but requires proper ventilation during application.
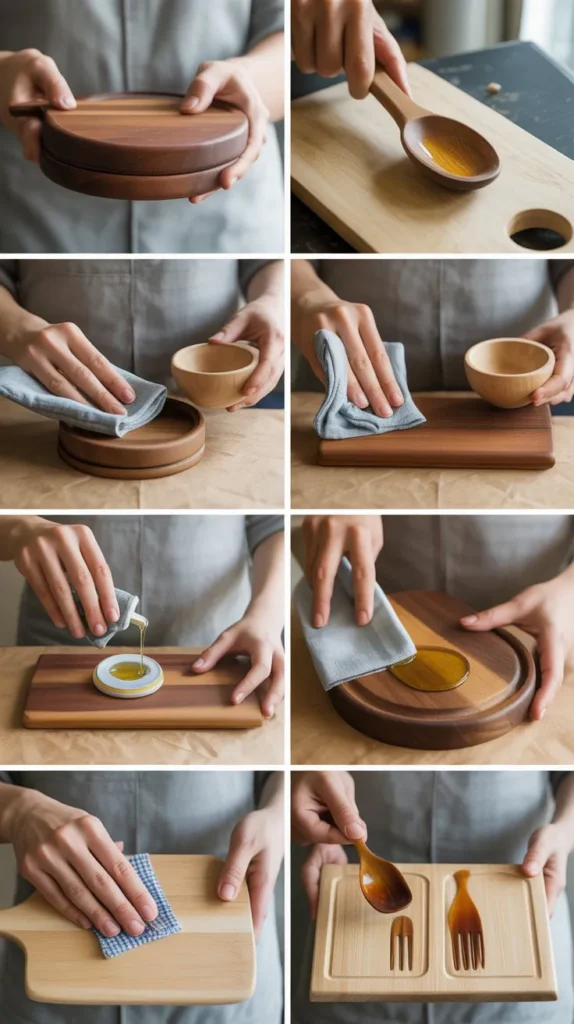
- Danish Oil: Penetrates the wood, enhancing the grain while offering moderate protection.
- Wax: Gives a soft sheen and is easy to apply, best for decorative pieces not exposed to heavy wear.
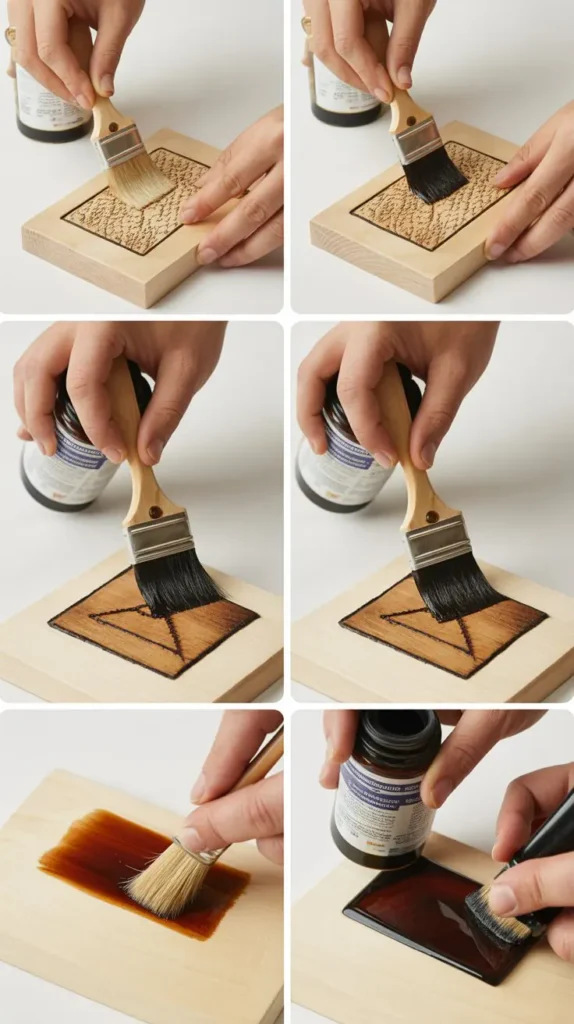
3. Preparing the Wood Surface
Proper preparation ensures a smooth and even finish.
- Sanding: Use fine-grit sandpaper (220-grit) to smooth the surface, always sanding in the direction of the grain.
- Cleaning: Remove dust and debris with a tack cloth or damp rag to prevent imperfections in the finish.
- Testing: Apply the chosen finish on a scrap piece to observe the outcome before applying it to your artwork.
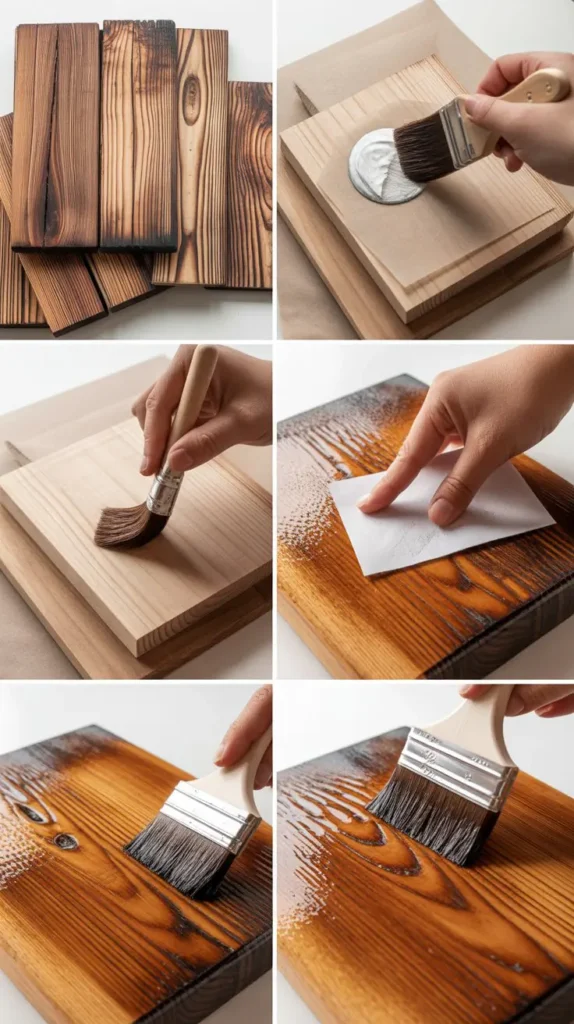
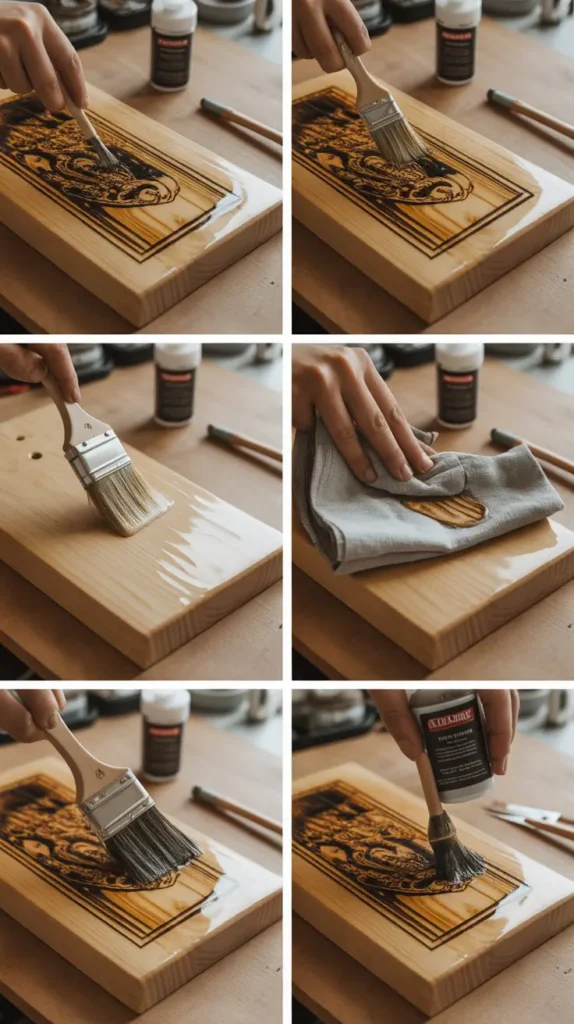
4. Application Techniques
Applying the finish correctly is vital for achieving a professional look.
- Brushing: Use a high-quality brush to apply thin, even coats, minimizing brush marks.
- Spraying: For a smoother finish, especially on intricate designs, consider using a spray-on finish.
- Wiping: Some finishes, like Danish oil, are best applied with a cloth, allowing for better control and absorption.
- Drying Time: Allow each coat to dry thoroughly as per the manufacturer’s instructions before applying additional coats.
5. Layering and Buffing
Multiple layers enhance protection and appearance.
- Multiple Coats: Apply 2-3 coats, lightly sanding between each with fine-grit sandpaper to ensure adhesion.
- Buffing: Once the final coat is dry, buff the surface with a soft cloth to achieve the desired sheen.
- Curing: Allow the piece to cure fully, which may take several days, before using or displaying it.
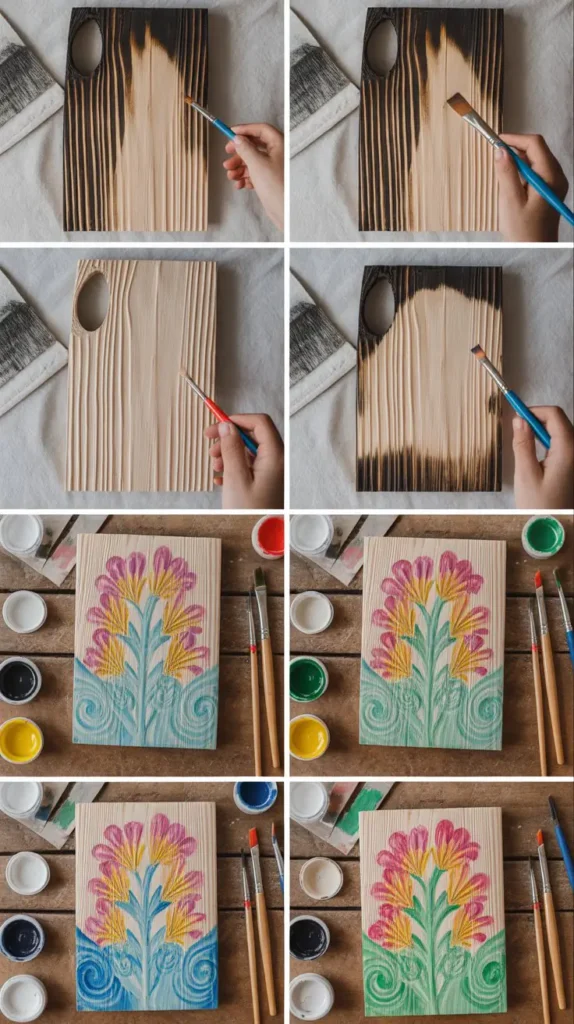
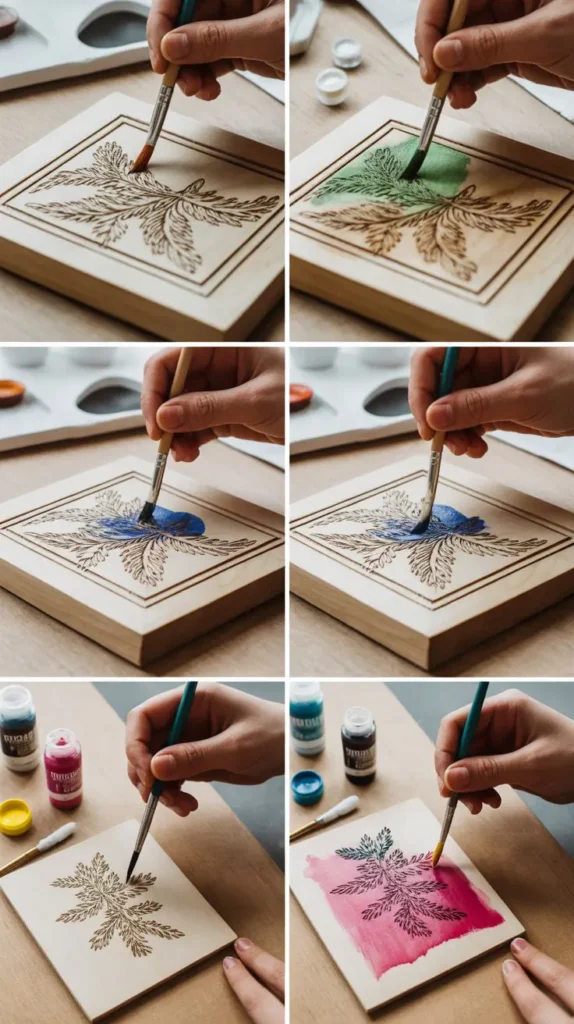
6. Special Considerations for Colored Wood Burnings
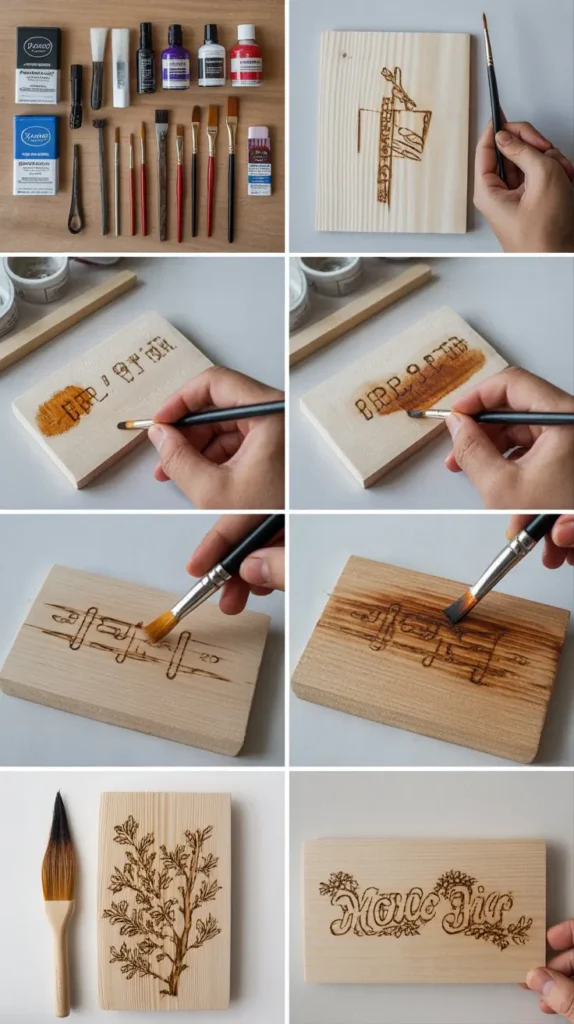
Adding color to your pyrography requires additional care.
- Compatibility: Ensure that the finish is compatible with the coloring medium used (e.g., colored pencils, watercolors).
- Fixatives: Apply a fixative over the colored areas before sealing to prevent smudging.
- UV Protection: Use finishes with UV inhibitors to prevent fading of colors over time.
7. Maintenance and Care
Proper care extends the life of your finished piece.
- Cleaning: Dust regularly with a soft, dry cloth; avoid using water or harsh chemicals.
- Storage: Keep the artwork away from direct sunlight and extreme humidity to prevent damage.
- Touch-ups: For minor scratches or wear, lightly sand the area and reapply the finish as needed.
Conclusion
Finishing your pyrography pieces is a crucial step in preserving and enhancing your artwork.
By following the guidelines outlined in How to Finish Wood Burning Projects , you ensure that your creations remain vibrant and durable for years to come.
Embrace the process, and let your finished pieces reflect the care and craftsmanship invested in them.