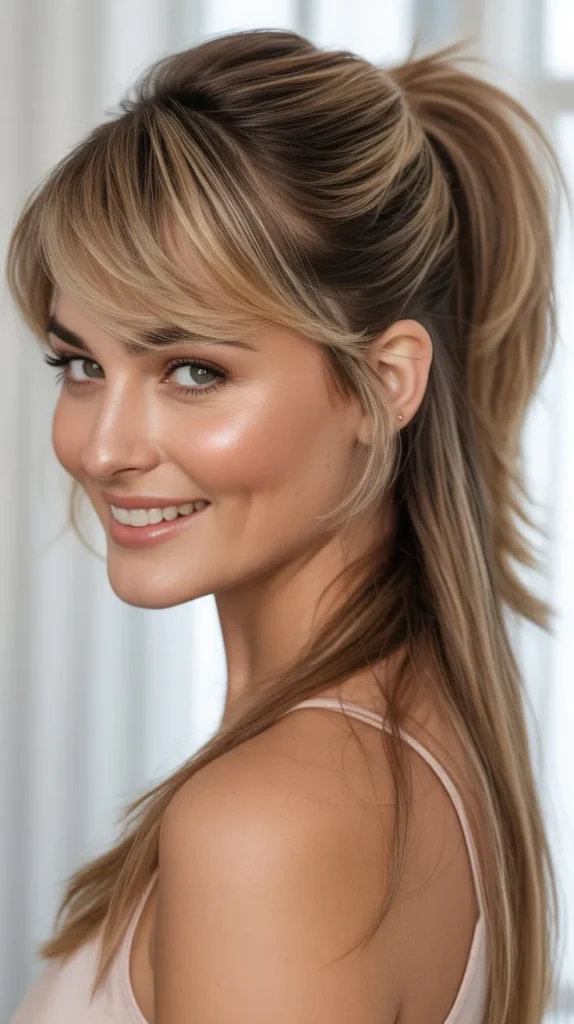
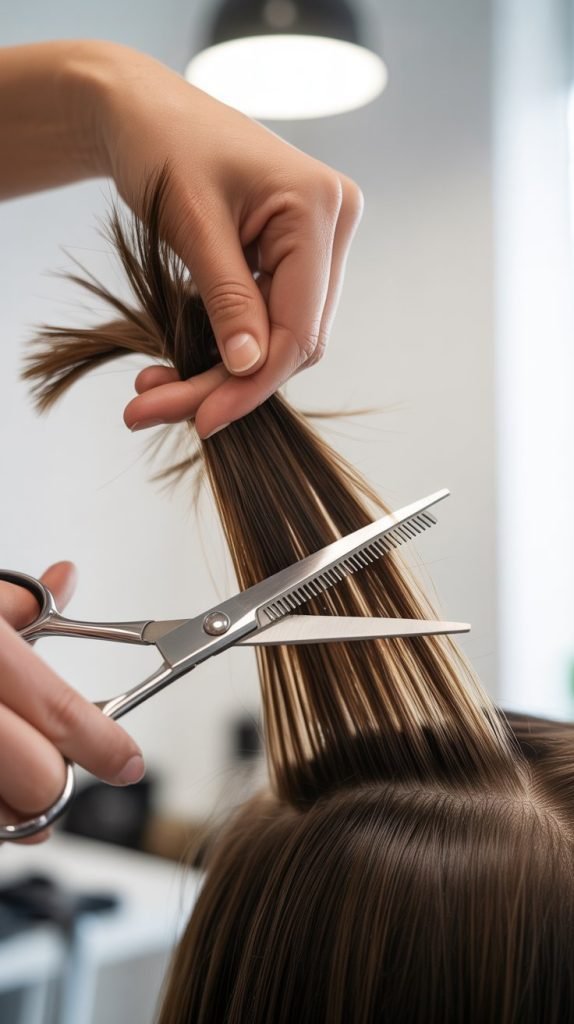
Long, flowing hair with perfectly placed layers can transform your entire look, but who says you need an expensive salon visit to achieve it? If you’ve been dreaming of adding dimension, movement, and style to your lengthy locks, you’re in the right place.
This comprehensive guide on 27 Easy Long Layered Haircuts to Try at Home will walk you through simple, achievable techniques that anyone can master with a bit of patience and the right tools.
Whether you’re looking for subtle face-framing layers, dramatic cascading cuts, or something in between, you’ll discover step-by-step methods that work for various hair types and skill levels.
From classic styles to modern trends, each technique comes with clear instructions that take the mystery out of DIY haircutting. Get ready to save money, gain confidence, and create the layered look you’ve always wanted—all from the comfort of your own home.
In This Post......
- 1. The Ponytail Layering Method
- 2. The Twist and Snip Technique
- 3. The Unicorn Cut Method
- 4. The Slide Cutting Technique
- 5. The V-Cut Layering Style
- 6. The U-Shape Layering Method
- 7. The Face-Framing Layer Technique
- 8. The Layered Graduation Method
- 9. The Butterfly Cut
- 10. The Razor Cut Layers
- 11. The Invisible Layers Technique
- 12. The Twist Braid Cut Method
- 13. The Choppy Layer Style
- 14. The Waterfall Layer Technique
- 15. The Crown Layer Focus
- 16. The Diagonal Forward Layers
- 17. The Accordion Cut Method
- 18. The Scrunching Cut Technique
- 19. The Long Shag Cut
- 20. The Feathered Layer Style
- 21. The Triangle Layer Method
- 22. The Side-Swept Layer Design
- 23. The Layered Curtain Bang Integration
- 24. The Blunt Ends with Internal Layers
- 25. The Layered Bob Extension
- 26. The Texturizing Shear Layers
- 27. The Long Layer Maintenance Cut
- Conclusion
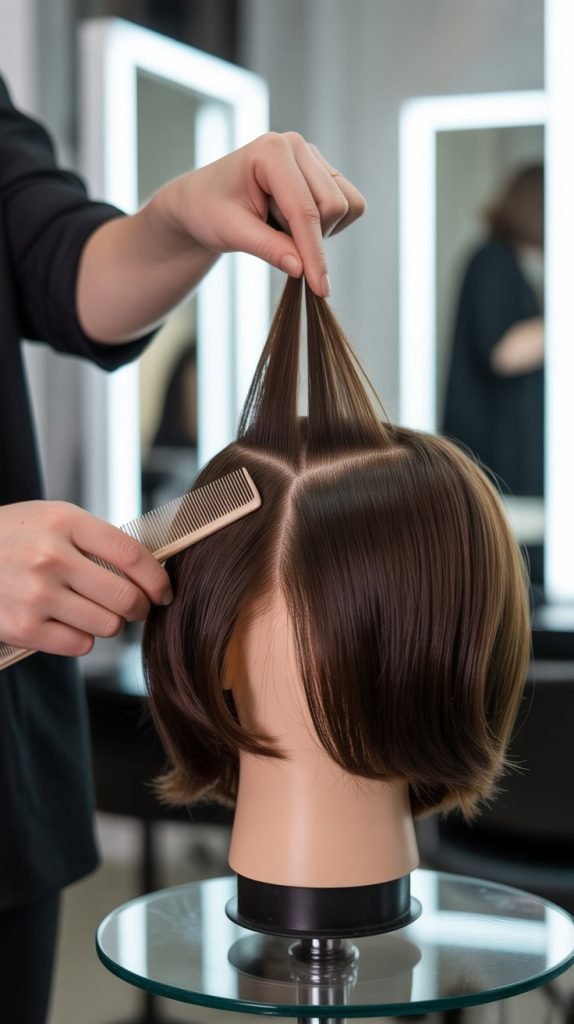
1. The Ponytail Layering Method
The ponytail layering method stands as one of the most popular and foolproof techniques for creating long layers at home, perfect for beginners who want dramatic results with minimal effort.
How It Works
- Flip your head upside down and gather all your hair into a high ponytail at the very top of your head, making sure it’s positioned at your forehead hairline.
- Secure the ponytail tightly with a hair elastic, ensuring there are no bumps or loose sections that could create uneven layers.
- Slide another elastic down the ponytail to the length where you want your shortest layer to begin, typically 2-3 inches from the ends.
- Hold the hair straight up and cut horizontally just below the second elastic in one smooth motion.
- Remove both elastics, flip your head back up, and shake out your hair to reveal beautiful, evenly distributed layers.
Best For
- This method works exceptionally well for people with thick, dense hair who want to remove bulk while adding movement throughout.
- Straight to wavy hair textures respond best to this technique, as curly hair may create unpredictable results.
- Those seeking V-shaped or U-shaped layers will find this method delivers that cascading effect naturally.
2. The Twist and Snip Technique
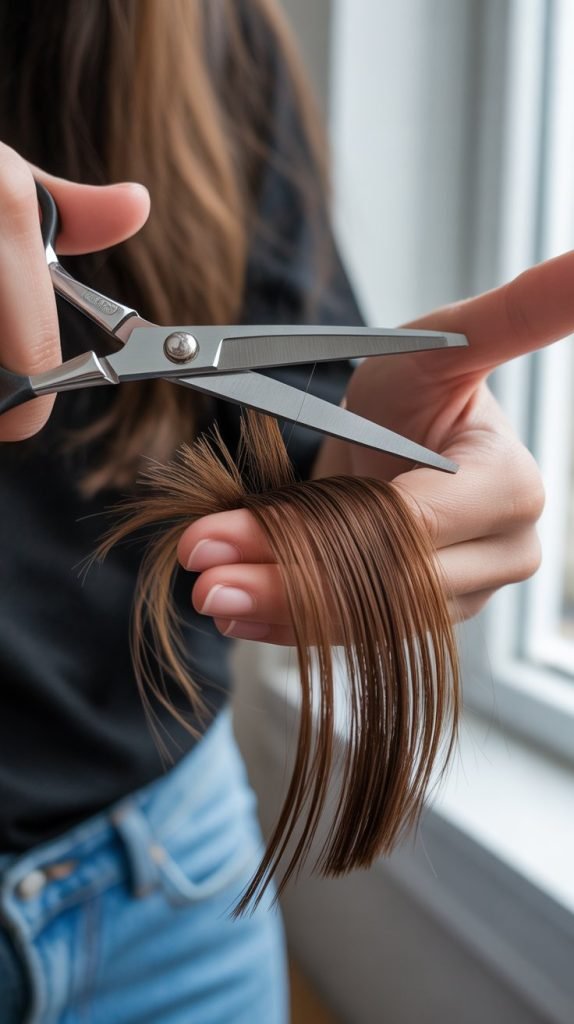
The twist and snip technique offers precise control over individual sections, making it ideal for customizing your layers exactly where you want them.
Step-by-Step Process
- Divide your hair into four equal sections: left front, right front, left back, and right back, securing three sections with clips.
- Take one section, twist it tightly from root to end until it forms a rope-like texture.
- The twist will naturally cause shorter hairs to pop out at different levels, which helps identify where to cut.
- Point-cut into the twisted section at your desired length, angling your scissors at 45 degrees for softer edges.
- Untwist the section and assess the layer before moving to the next section, maintaining consistency across all four parts.
Advantages
- This method provides maximum control and allows you to see exactly how much hair you’re removing before cutting.
- It works beautifully for creating face-framing layers that accentuate your facial features.
- The technique minimizes the risk of choppy, uneven cuts because the twist organizes the hair naturally.
3. The Unicorn Cut Method
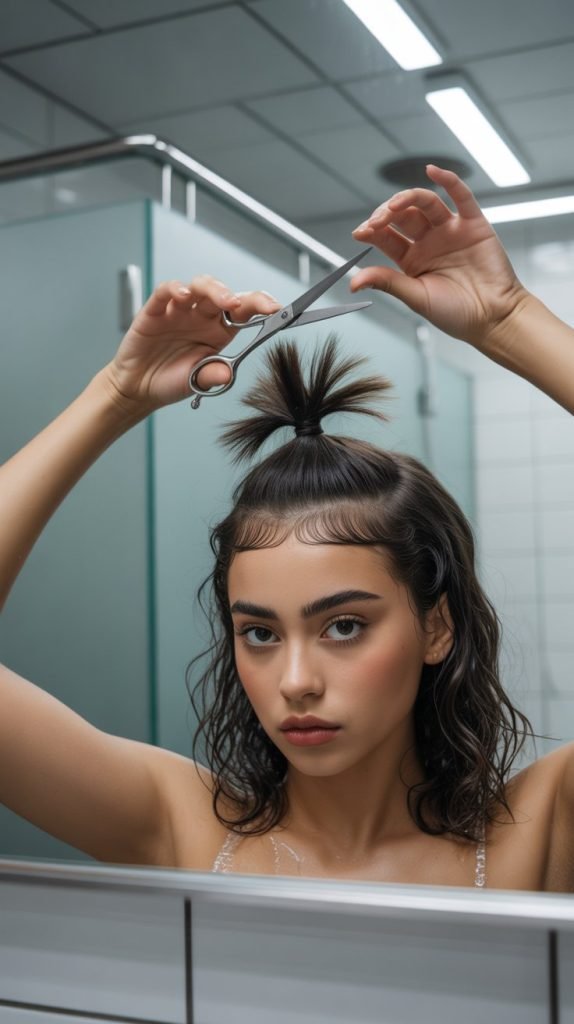
The unicorn cut method has taken social media by storm, earning its name from the single ponytail positioned at the front center of your forehead like a unicorn horn.
Execution Steps
- Bend forward at the waist and brush all your hair forward toward your face, gathering every strand from the back, sides, and top.
- Create a ponytail directly in the center of your forehead, positioned between your eyebrows, and secure it with a strong elastic.
- Comb through the ponytail to ensure all hair is smooth and even, with no tangles that could affect the cut.
- Trim straight across at your desired length, remembering that shorter cuts create more dramatic, shorter face-framing layers.
- Release the ponytail and style your hair to reveal graduated layers that are shorter in front and longer in back.
Why It’s Popular
- The method requires minimal tools and takes less than 10 minutes from start to finish.
- It creates Instagram-worthy, face-framing layers that blend seamlessly with long hair.
- Even complete beginners can achieve professional-looking results with this straightforward approach.
4. The Slide Cutting Technique
Slide cutting, also known as slithering, adds soft texture and removes weight without creating obvious blunt lines in your long hair.
Technique Details
- Work with clean, dry hair so you can see the true length and texture you’re working with.
- Take small sections about one inch wide and hold them straight out from your head at a 90-degree angle.
- Position your scissors at a 45-degree angle to the hair shaft, pointing downward toward the ends.
- Gently slide the partially opened scissors down the section, allowing them to remove small amounts of hair as they glide.
- Repeat this process throughout your hair, focusing on the mid-lengths to ends where you want softer, blended layers.
Perfect For
- This technique excels at creating subtle, natural-looking layers that don’t appear obviously cut.
- People with fine or thin hair benefit from slide cutting because it adds movement without removing too much density.
- It’s an excellent method for maintaining healthy ends while gradually building texture.
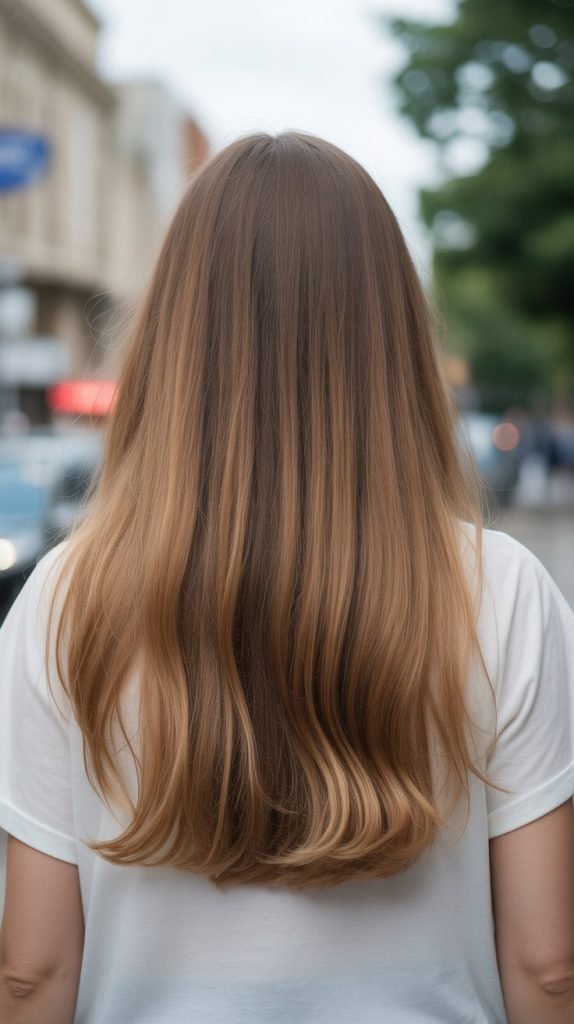
5. The V-Cut Layering Style
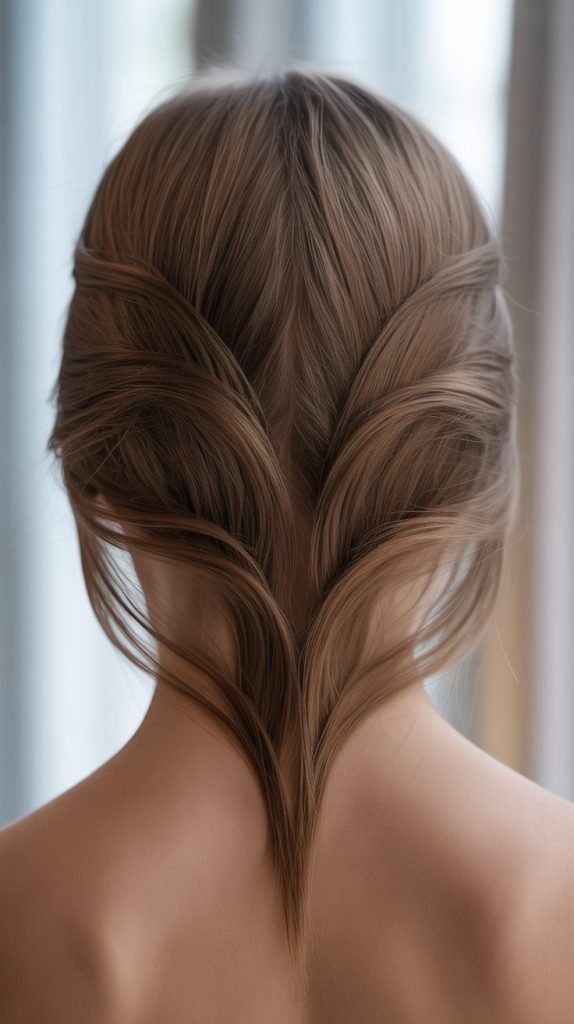
The V-cut creates a dramatic, pointed shape at the back of your hair, with shorter layers framing your face and longer layers creating a distinctive V-pattern.
Creating the V-Shape
- Part your hair down the middle and divide it into two equal sections, bringing them both forward over your shoulders.
- Determine the shortest point of your V by measuring where you want the apex to fall along your back.
- Working with one side at a time, create diagonal sections that gradually get longer as they move away from your face.
- Cut each section at a slight angle, connecting them to form one continuous diagonal line.
- Repeat on the other side, ensuring both sides are symmetrical and meet at the center point to form a perfect V.
Styling Tips
- The V-cut looks stunning when hair is straightened or when it has loose waves that emphasize the shape.
- This cut adds significant movement and dimension to thick hair by removing bulk from the sides while maintaining length in the back.
- Use a mirror to check your back view periodically throughout the cutting process to ensure evenness.
6. The U-Shape Layering Method
The U-shape cut offers a softer, more rounded alternative to the V-cut, creating gentle curves that flatter most face shapes.
Implementation
- Brush your hair straight back and divide it into three sections: left, center, and right.
- The center section should be the longest, with the side sections gradually getting shorter as they approach your face.
- Cut the center section first at your desired maximum length, creating the base of your U-shape.
- Trim the left section at a slight upward angle, curving from the center length to your desired face-framing length.
- Mirror the same curved cut on the right section, constantly checking that both sides match perfectly.
Benefits
- The U-shape cut maintains significant length throughout while still providing the layered look you desire.
- It creates fullness at the ends rather than thinning them out, which benefits people with fine hair.
- This shape works beautifully with all hair textures and can be adapted for subtle or dramatic effects.
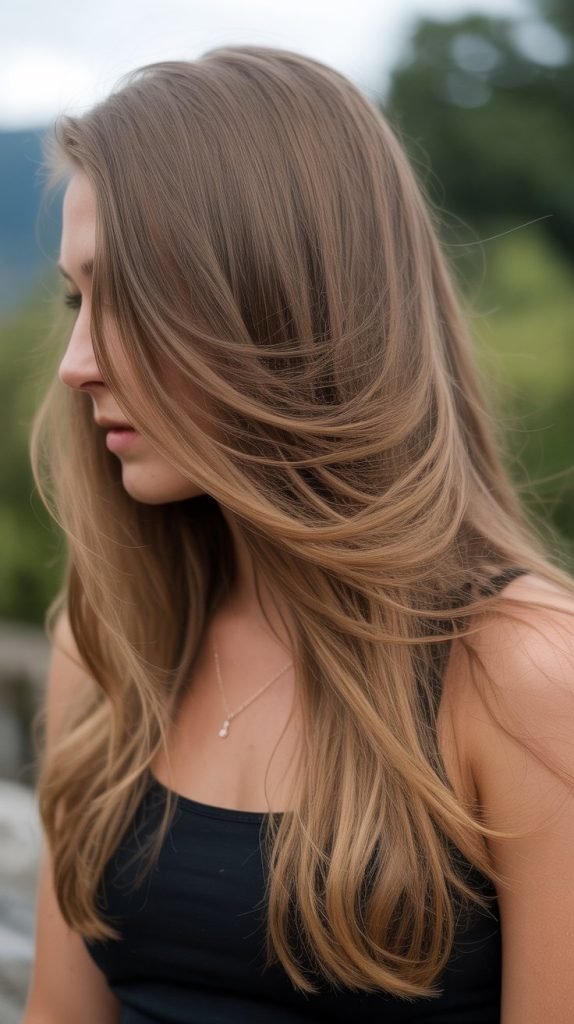
7. The Face-Framing Layer Technique

Face-framing layers focus on the hair around your face, creating dimension and drawing attention to your best features without altering the length of the rest of your hair.
How to Create
- Section off the front portions of your hair, typically from the temples forward, and clip the rest of your hair back.
- Decide where you want your shortest face-framing layer to start—common points include cheekbone, jawline, or collarbone.
- Take a small vertical section from the front and pull it straight down along your face.
- Cut at your desired length for the shortest layer, then point-cut slightly into the hair to soften the edges.
- Work backward from this point, gradually increasing the length of each subsequent section until it blends with your overall hair length.
Customization Options
- Curtain bangs can be incorporated by cutting the very front sections slightly shorter for a trendy, retro-inspired look.
- Adjust the placement of your shortest layer based on your face shape to enhance or minimize specific features.
- This technique allows you to experiment with layers without committing to cutting the entire length of your hair.
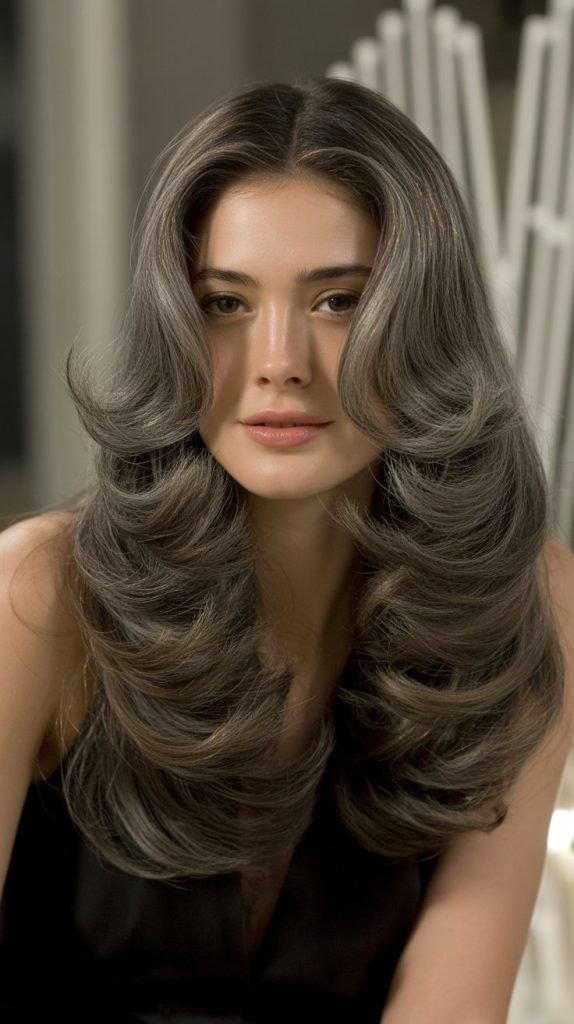
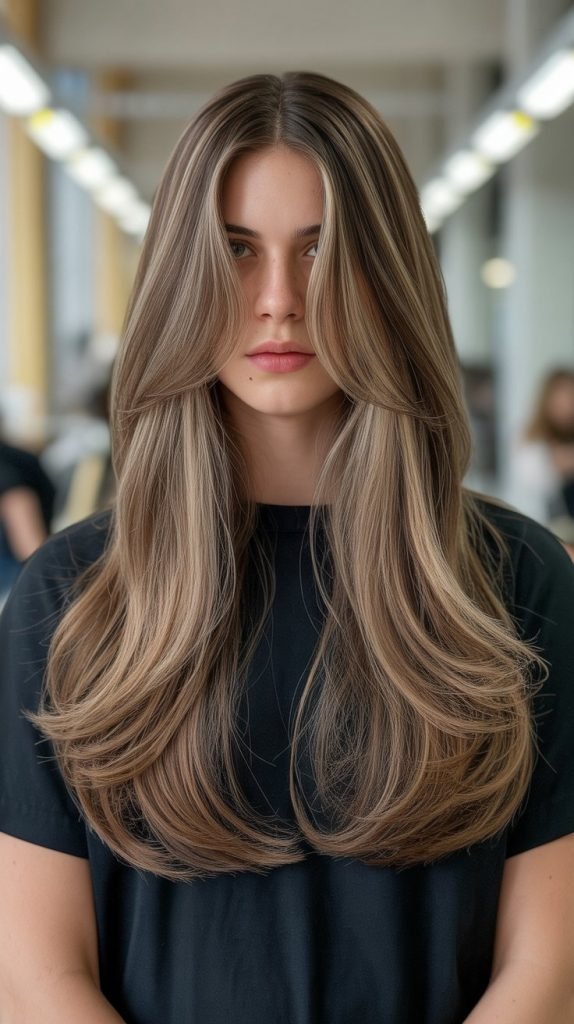
8. The Layered Graduation Method
Layered graduation creates stacked layers that gradually increase in length from top to bottom, adding incredible volume and structure to long hair.
Building Gradual Layers
- Divide your hair into horizontal sections, starting from the nape of your neck and working upward toward the crown.
- The bottom section should be the longest, serving as your guide for all subsequent layers.
- Cut each section slightly shorter than the one below it, creating a gentle elevation that builds volume.
- Use your fingers as a guide to maintain consistent elevation, typically holding hair at a 45-degree angle from the head.
- Blend each section into the next by overdirecting the hair slightly and point-cutting the edges for seamless transitions.
Ideal Candidates
- This method works exceptionally well for people with naturally thick, heavy hair who want to remove weight while maintaining length.
- Those seeking voluminous, bouncy styles will appreciate how graduated layers create natural lift and movement.
- The technique can be adjusted for subtle or dramatic graduation depending on how much shorter you make each successive layer.
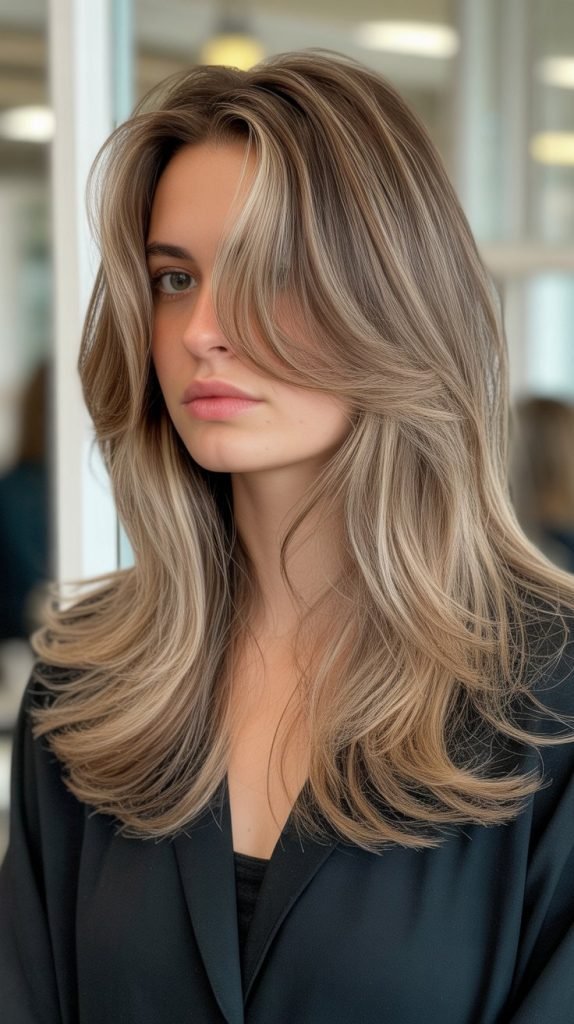
9. The Butterfly Cut

The butterfly cut has become a viral sensation, featuring shorter layers at the crown that gradually blend into longer lengths, creating a winged, butterfly-like silhouette when styled.
Achieving the Butterfly Effect
- Part your hair down the middle and section it into multiple horizontal layers from crown to nape.
- The crown section should be cut significantly shorter, typically to shoulder length or slightly below, depending on your overall length.
- Create medium-length layers in the sections immediately below the crown, gradually increasing length as you move downward.
- Leave the bottom-most layers at your full desired length to maintain the overall long appearance.
- Blend all sections together using point-cutting techniques to ensure smooth transitions between drastically different lengths.
Styling Considerations
- The butterfly cut looks most dramatic when blown out with a round brush or curled to emphasize the volume at the crown.
- This style provides the illusion of thickness and volume for people with fine or thin hair.
- It combines the best of both worlds: short layers for movement and volume, with long layers for versatility and femininity.
10. The Razor Cut Layers
Razor cutting creates ultra-soft, feathered edges that blend seamlessly, producing an effortlessly tousled, beachy texture in long layered hair.
Razor Cutting Basics
- Invest in a professional-grade hair razor or feathering razor specifically designed for hair cutting, not a standard facial razor.
- Work with slightly damp hair, as razor cutting performs best when hair has some moisture to prevent grabbing or snagging.
- Take small sections and hold them at a 45-degree angle away from the head.
- Glide the razor down the hair shaft in smooth, confident strokes, removing weight and creating texture simultaneously.
- Focus the razor work on the mid-lengths to ends, avoiding the root area to prevent unwanted volume loss.
Important Warnings
- Razor cutting requires practice and a steady hand, so start conservatively until you develop confidence with the tool.
- This technique works best on straight to wavy hair; curly hair may become frizzy or lose its curl pattern when razor cut.
- Always use a sharp, clean razor blade to prevent damage and split ends.
11. The Invisible Layers Technique
Invisible layers create subtle dimension that enhances your hair’s natural movement without obvious layering lines, perfect for those who want a natural, effortless look.
Creating Seamless Layers
- This technique relies on point-cutting and subtle graduation rather than blunt, horizontal cuts that create obvious lines.
- Work with vertical sections rather than horizontal ones to encourage hair to fall naturally with gravity.
- Hold each section at varying angles and point-cut into the hair, removing small amounts throughout rather than cutting straight across.
- Focus on creating internal texture by removing weight from within the hair rather than from the ends.
- Constantly check your work in different lighting and with different hair positions to ensure the layers remain invisible yet effective.
Why Choose This Method
- Invisible layers maintain a more cohesive, unified look while still providing the benefits of layering like movement and reduced bulk.
- This approach is ideal for professional environments where dramatic hairstyles might not be appropriate.
- It allows for greater versatility in styling because the layers enhance rather than dictate your hair’s behavior.
12. The Twist Braid Cut Method

The twist braid cut method uses a braid as a guide for creating even, diagonal layers throughout long hair, ensuring consistency and symmetry.
Braiding for Layers
- Create a low ponytail at the nape of your neck, positioning it slightly to one side rather than in the center.
- Braid the entire ponytail loosely, securing the end with a small elastic.
- The braid naturally staggers the hair lengths, with shorter pieces from the top and longer pieces from the bottom.
- Cut horizontally across the end of the braid at your desired shortest layer length.
- Unbraid your hair and shake it out to reveal perfectly graduated, diagonal layers that frame your face beautifully.
Advantages
- This method virtually guarantees even layers because the braid organizes your hair uniformly.
- It’s particularly useful for people who struggle with symmetry or have difficulty cutting the back of their own hair.
- The diagonal layers created by this technique work exceptionally well with natural hair texture and movement.
13. The Choppy Layer Style

Choppy layers feature intentionally disconnected, piece-y sections that create an edgy, modern aesthetic with tons of texture and attitude.
Creating Intentional Texture
- This style works best when you abandon perfectly blended layers in favor of more dramatic, separated pieces.
- Use point-cutting aggressively, cutting deeply into sections at varying angles to create texture and separation.
- Vary the length of your cuts throughout the hair rather than maintaining consistent layers, creating an unpredictable, natural appearance.
- Focus additional texturizing on the ends, making some pieces significantly shorter than others for that choppy effect.
- Embrace imperfection and asymmetry, as these elements contribute to the deliberately undone aesthetic.
Styling Tips
- Choppy layers look incredible when paired with beachy waves, enhancing the tousled, carefree vibe.
- Use texturizing spray or sea salt spray to emphasize the piece-y separation between layers.
- This cut style is perfect for those who want a lower-maintenance look that appears intentionally styled even when air-dried.
14. The Waterfall Layer Technique
The waterfall layer technique creates flowing, cascading layers that resemble water flowing over rocks, with smooth transitions and beautiful movement.
Flowing Layer Creation
- Envision your layers as gentle waves that cascade down your hair rather than stepped or stacked sections.
- Create layers that have minimal elevation difference between them, resulting in very gradual length changes.
- Use your fingers to feel where each layer naturally wants to fall, cutting along these organic lines rather than against them.
- Employ sliding shears or slide cutting to soften any potentially harsh lines between layers.
- The goal is layers that move as one cohesive unit while still providing dimension and preventing a heavy, one-length appearance.
Hair Types
- This technique flatters virtually all hair types but looks especially stunning on wavy to curly hair where the cascading effect is most apparent.
- People with very thick hair appreciate how waterfall layers remove bulk without creating obvious cutting lines.
- The method maintains maximum length while still providing the movement and dimension that layers offer.
15. The Crown Layer Focus
Crown layer focus concentrates shorter layers at the top of your head while maintaining length throughout the rest, creating lift and volume where it’s most needed.
Top-Heavy Layering
- Section off the crown area, roughly from ear to ear and from the front hairline to the crown point.
- This top section will receive the most significant layering while the bottom remains relatively unaffected.
- Cut the crown layers to your desired shortest length, typically between chin and shoulder length depending on your total hair length.
- Create subtle layers in the sections immediately below the crown to blend into the longer hair beneath.
- Leave the bottom half of your hair at maximum length to maintain the overall long appearance.
Perfect For
- This approach benefits people with flat hair who struggle to achieve volume at the roots.
- It provides the appearance of thicker, fuller hair by creating lift and dimension at the crown.
- Crown-focused layers work beautifully with updos and half-up styles, adding interest to the top section while keeping length for styling options.
16. The Diagonal Forward Layers
Diagonal forward layers angle toward your face, creating flattering lines that direct attention to your facial features while maintaining significant length in the back.
Angled Cutting Technique
- Part your hair down the middle or on your preferred side, depending on your natural part.
- Create vertical sections from the back of your head moving forward toward your face.
- Each successive section should be cut slightly shorter than the previous one, creating a forward-moving diagonal line.
- The shortest layers should frame your face at your desired length, typically between chin and collarbone.
- Ensure both sides are symmetrical by constantly comparing and measuring the angles.
Face-Framing Benefits
- Diagonal forward layers have a slimming effect on the face, drawing the eye along the angled lines.
- This cut style works exceptionally well for people with round or square face shapes who want to elongate their appearance.
- The technique creates natural movement that directs hair forward and around the face rather than hanging straight down.
17. The Accordion Cut Method
The accordion cut method involves folding sections of hair like an accordion before cutting, creating multiple layers in a single cut for efficient, dramatic results.
Folding and Cutting
- Take a section of hair and fold it back and forth on itself, creating accordion-like pleats that stack the hair.
- Secure the folded section loosely so it maintains its accordion shape without the folds shifting.
- Cut across the folded section at your desired angle, which will create multiple layers when you unfold the hair.
- The number of folds determines how many layers you create—more folds result in more layers throughout that section.
- Unfold carefully and assess the layers before moving to the next section, adjusting your folding technique if needed.
Efficiency Benefits
- This method is one of the fastest ways to create multiple layers throughout long hair, perfect for those short on time.
- It ensures relatively even spacing between layers, creating consistent results throughout.
- The accordion method works particularly well for bulk removal in very thick hair.
18. The Scrunching Cut Technique
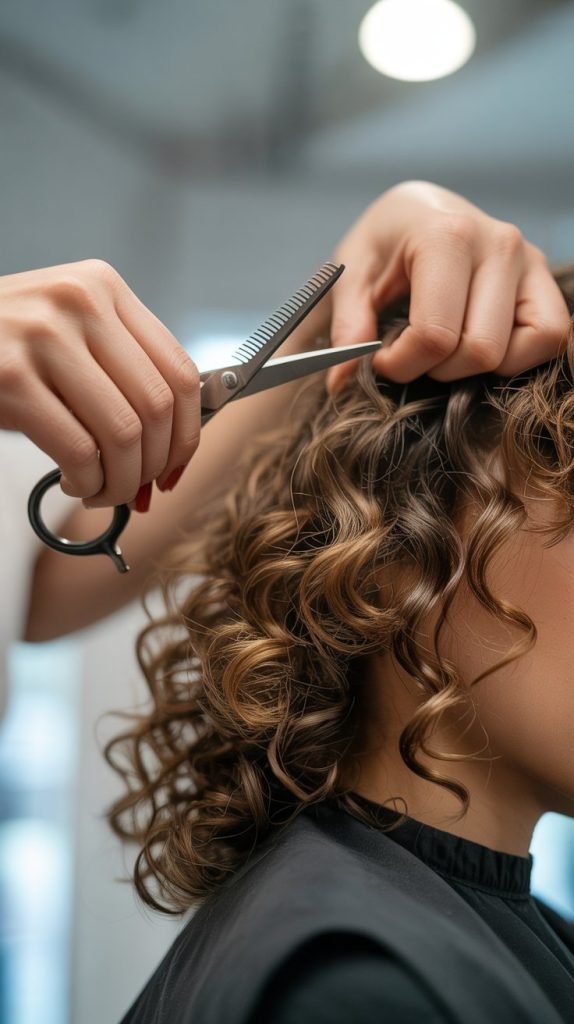
The scrunching cut technique is specifically designed for curly hair, allowing you to cut while the hair is in its natural curly state to maintain proper curl pattern and shape.
Curly Hair Considerations
- This method should only be performed on completely dry, naturally styled curly hair so you can see the true length and shape of each curl.
- Scrunch sections of hair upward to see how the curls naturally cluster and fall.
- Cut individual curl clumps at their desired length, respecting the curl pattern rather than fighting against it.
- Avoid cutting curls when they’re stretched or pulled, as this results in hair that’s much shorter than anticipated when it springs back.
- Work in small sections, moving around the head to create layers that enhance the curly texture rather than disrupting it.
Curly Hair Advantage
- Cutting curly hair while curly prevents the shocking surprise of curls that bounce up significantly shorter than where they were cut when straight.
- This technique maintains curl integrity and prevents the pyramid shape that often results from traditional layering methods on curly hair.
- It allows you to see exactly how layers will look in your hair’s natural state.
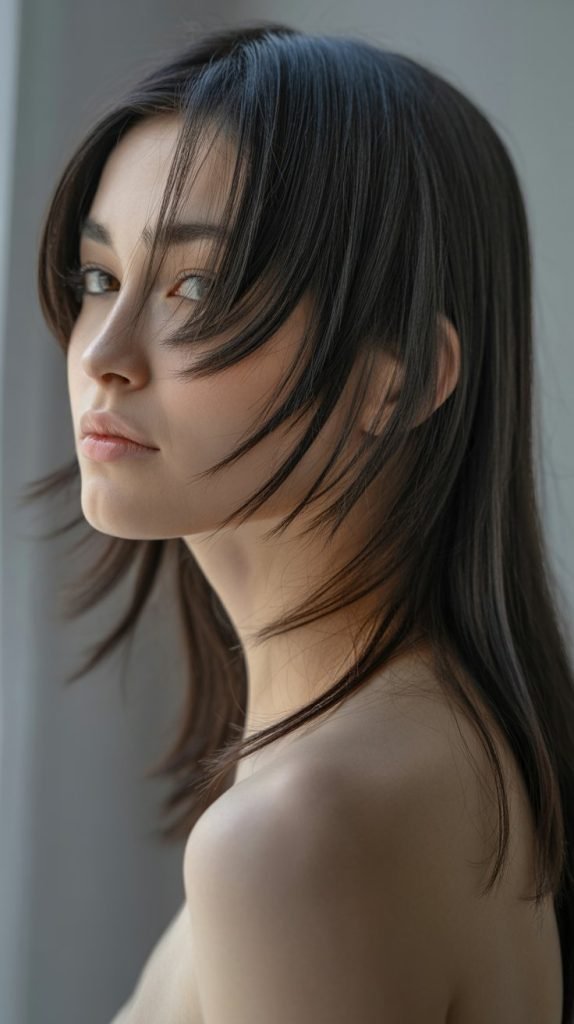
19. The Long Shag Cut
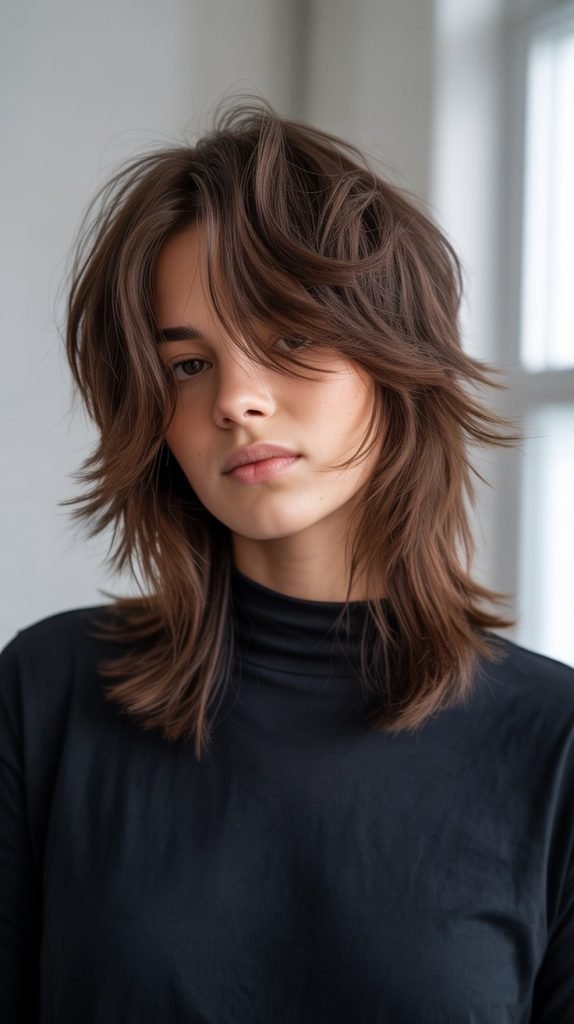
The long shag combines choppy layers throughout the hair with textured, piece-y ends for a relaxed, rock-and-roll inspired aesthetic that works on various lengths.
Shag Characteristics
- The shag features layers that start relatively high on the head, sometimes beginning at the ears or even higher for dramatic volume.
- These layers are typically more disconnected than traditional layering, creating obvious separation and texture.
- The ends are heavily textured using point-cutting or razor techniques to create the signature shaggy, piece-y appearance.
- Face-framing layers are essential to the shag, typically starting at cheekbone length and gradually blending longer.
- The overall effect should appear effortless and slightly undone, with lots of movement and dimension.
Modern Shag Appeal
- The long shag has experienced a major resurgence thanks to its vintage-inspired yet contemporary appearance.
- It requires minimal styling effort, often looking best when air-dried with some texturizing product.
- This cut style works across various hair types, though it appears most dramatic on straight to wavy textures.
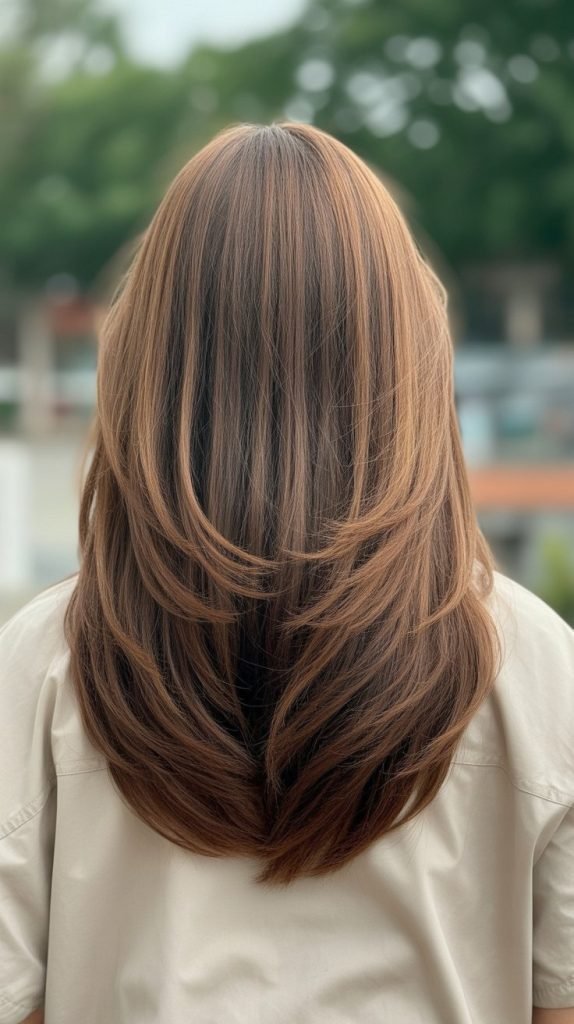
20. The Feathered Layer Style
Feathered layers create soft, wispy ends that flip and curve outward slightly, inspired by the iconic hairstyles of the 1970s but updated for modern tastes.
Achieving Feathered Texture
- Feathering requires extensive point-cutting or razor work to create the soft, delicate ends characteristic of this style.
- Hold sections of hair at a 90-degree angle from the head and point-cut deeply into the ends, removing weight and creating texture.
- The layers should be cut at various lengths throughout to create the multi-dimensional, feathered appearance.
- Blow-dry with a round brush, rolling the ends outward to emphasize the feathered flip.
- Use a flat iron or curling iron to add gentle outward bends at the ends if your hair doesn’t naturally flip.
Retro Appeal
- Feathered layers evoke nostalgia while still looking fresh and current when executed with modern techniques.
- This style works beautifully for adding movement to fine or thin hair that tends to lie flat.
- The outward flip and soft texture create a feminine, romantic aesthetic that flatters most face shapes.
21. The Triangle Layer Method
The triangle layer method uses geometric sectioning to create precise, evenly distributed layers throughout long hair with professional-level accuracy.
Geometric Precision
- Divide your hair into triangular sections radiating from the crown point, creating pie-slice shaped sections around your head.
- Each triangular section should be elevated to the same angle, typically 90 degrees from the head, before cutting.
- Cut each section at the same length from the head, which will create layers that graduate naturally due to the curvature of your head.
- The triangular sections ensure that hair cut from the top of your head layers appropriately with hair cut from the sides and back.
- This method provides the most geometrically precise layers possible for at-home cutting.
Professional Results
- Hairstylists use variations of this technique in salons, making it one of the most reliable methods for consistent results.
- The geometric approach eliminates guesswork and ensures layers are evenly distributed throughout the entire head.
- This method works across all hair types and provides a foundation that can be customized with additional texturizing.
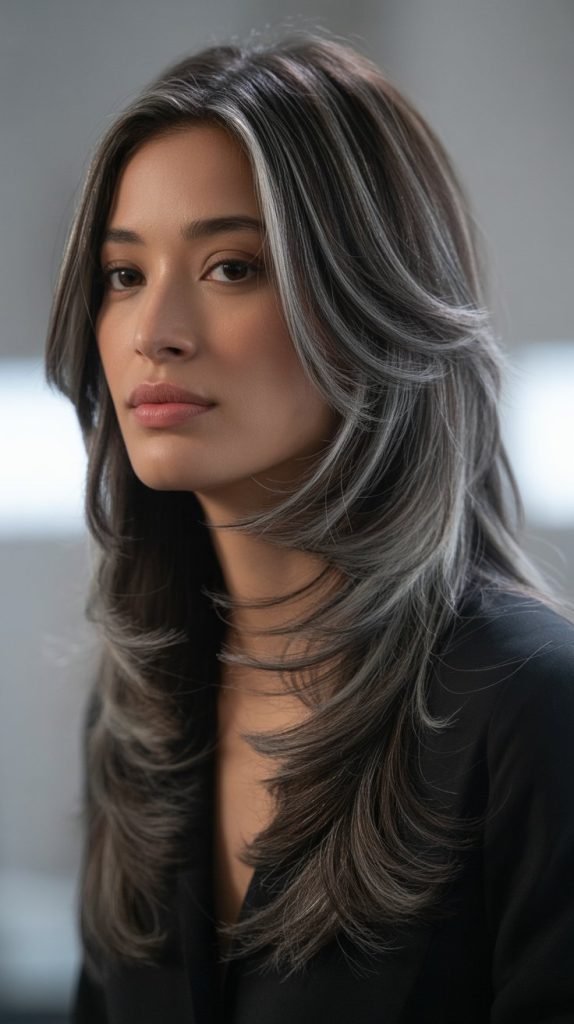
22. The Side-Swept Layer Design
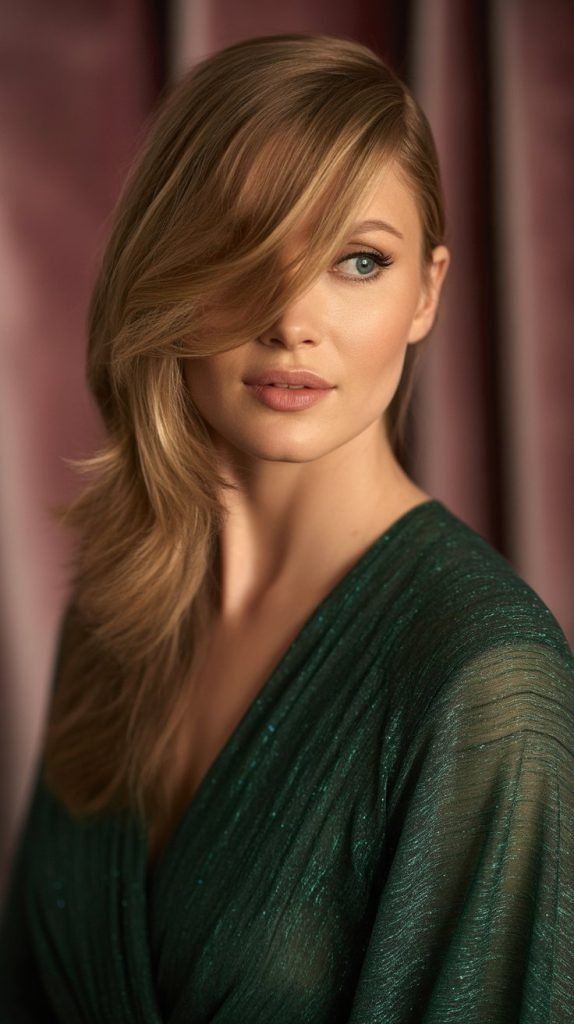
Side-swept layers are specifically designed to enhance off-center parts and side-swept styling, with layers that accommodate and flatter asymmetrical looks.
Asymmetrical Layering
- Begin by establishing your preferred side part, typically positioning it 2-3 inches from the center.
- The heavier side (where more hair falls) should have more gradual, subtle layers to maintain weight and presence.
- The lighter side can feature shorter, more dramatic layers since less hair naturally falls there.
- Create face-framing layers on both sides, but make them more pronounced on the side where you’ll sweep your hair.
- This asymmetrical approach ensures your layers look intentional rather than like a mistake when styled to one side.
Styling Advantages
- Side-swept layers photograph beautifully and create elegant, sophisticated looks for formal occasions.
- They naturally conceal one side of the face, which many people find flattering for asymmetrical features.
- This design works exceptionally well for people who always wear their hair parted on one side and swept over.
23. The Layered Curtain Bang Integration
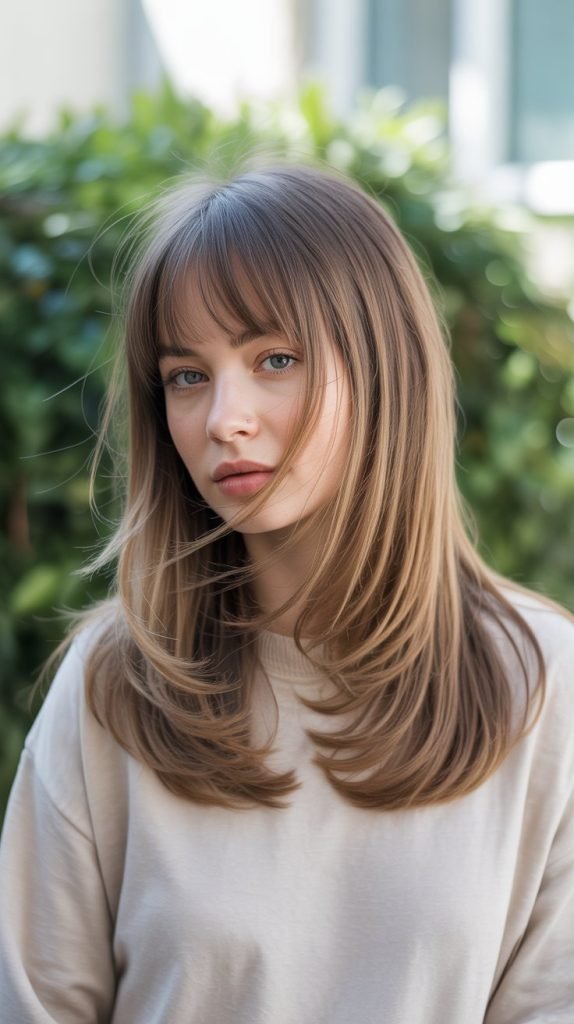
Integrating curtain bangs with long layers creates a cohesive style where the bangs appear to be a natural extension of your layering rather than a separate element.
Seamless Bang Integration
- Curtain bangs should be the shortest layer in your overall layering scheme, typically cut to bridge or cheekbone length.
- Section the bang area in a triangular shape from the highest point of your arch on each eyebrow, meeting at a center point.
- Cut the center of the curtain bangs shortest, then gradually increase length as you move outward toward the temples.
- The bangs should blend seamlessly into your first face-framing layer, with no obvious line of demarcation.
- Style the bangs with a round brush, curling them away from your face while the rest of your layers follow the same directional pattern.
Trending Style
- Curtain bangs paired with long layers create one of the most sought-after hairstyles in current trends.
- This combination flatters virtually all face shapes by drawing attention to the eyes and cheekbones.
- The style maintains versatility, as curtain bangs can be worn swept to the sides or straight down depending on your mood.
24. The Blunt Ends with Internal Layers
This technique keeps the perimeter of your hair blunt and even while creating layers within the interior, providing structure while removing bulk.
Internal Texture Creation
- Maintain a perfectly blunt, even hemline by not cutting the outermost perimeter of your hair.
- Focus all layering work on the interior sections, creating elevation and removing weight without affecting the external appearance.
- Use vertical or diagonal sections when cutting internal layers to avoid disrupting the blunt perimeter.
- Point-cut or use thinning shears within the interior to remove bulk while maintaining the weight line at the bottom.
- This technique requires more precision but delivers a sophisticated, polished appearance.
Best Applications
- This style works beautifully for people who love the look of thick, blunt hair but find their hair too heavy or flat.
- It provides the best of both worlds: a structured, intentional perimeter with internal movement and reduced weight.
- The blunt ends appear healthier and more maintained while internal layers provide necessary texture.
25. The Layered Bob Extension

The layered bob extension technique creates bob-like layers in the upper sections while maintaining long lengths underneath, offering versatility and dimension.
Two-Tier Approach
- The top and crown sections are layered to a bob length, typically between chin and shoulder length.
- The underneath sections remain significantly longer, maintaining your desired long hair length.
- This creates a stacked effect where you appear to have a bob from the front and sides but reveal longer hair when it’s pulled back or when the wind blows.
- The layers between the short top sections and long underneath sections should be carefully blended to avoid an obvious line of demarcation.
- Style the top layers with volume and curl to emphasize the bob shape while leaving the underneath sections straighter or loosely waved.
Versatility Benefits
- This style offers multiple looks in one: wear your hair down for a layered long look, or style the top sections for a bob appearance.
- It provides significant volume and shape at the crown without sacrificing length.
- The technique allows you to experiment with shorter styles without fully committing to cutting off your length.
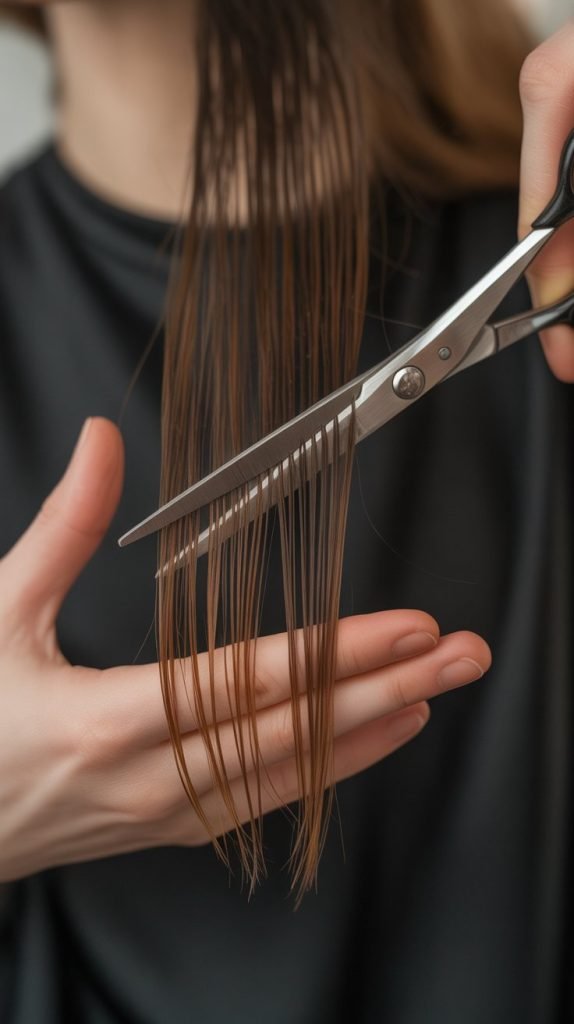
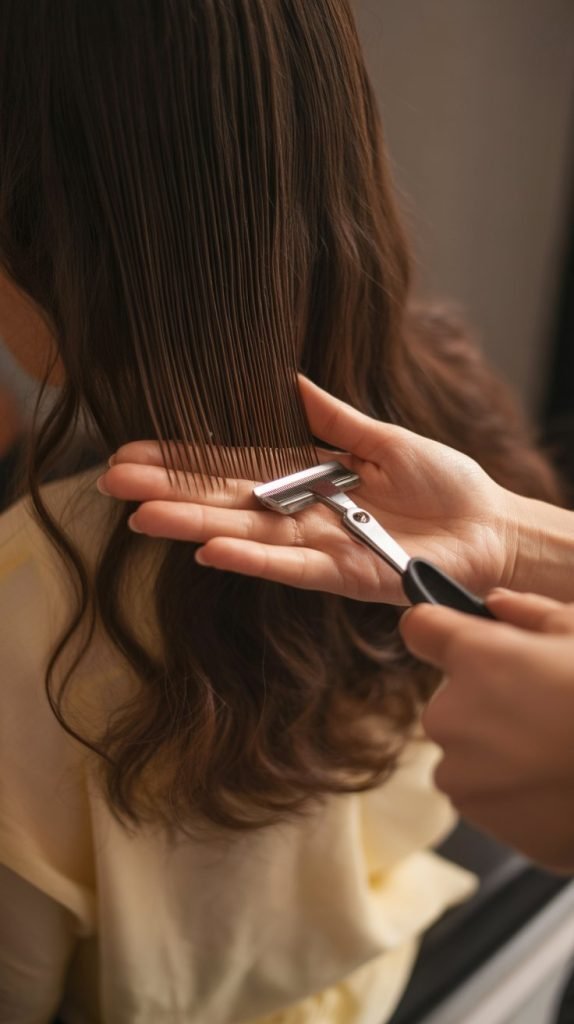
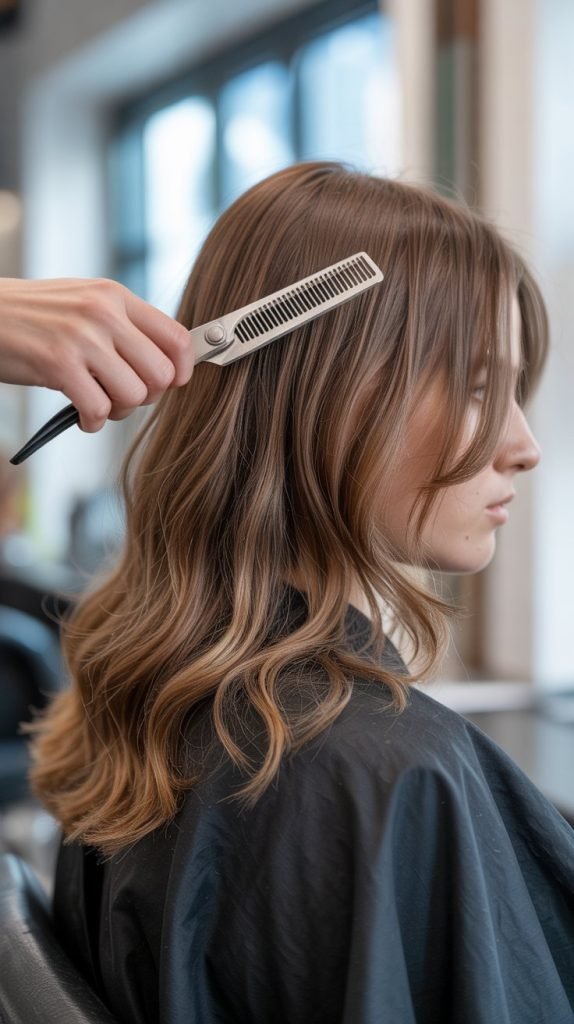
26. The Texturizing Shear Layers
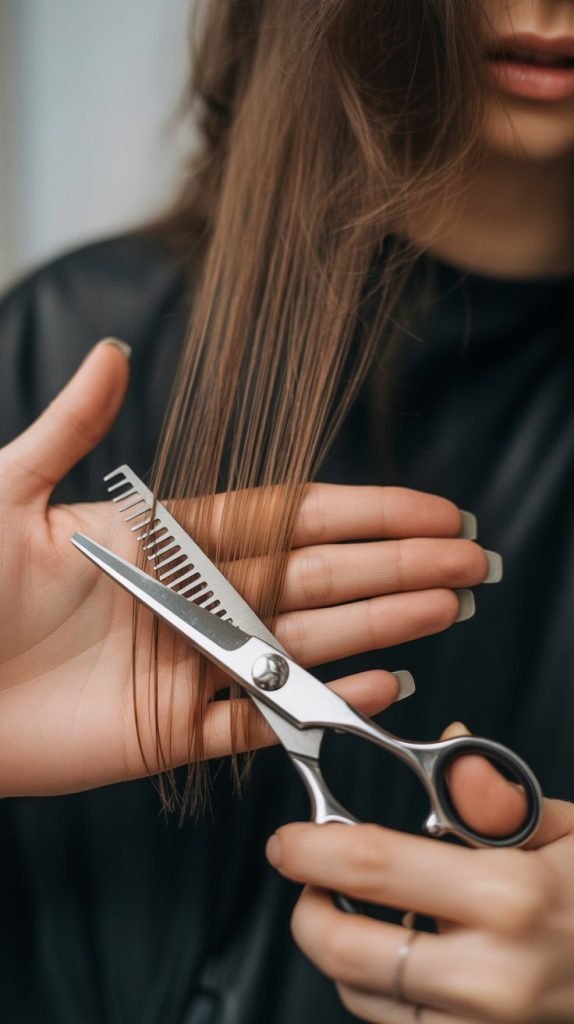
Texturizing shears, also called thinning shears, create subtle layers and remove bulk without dramatically changing your hair’s length or shape.
Thinning Shear Technique
- Texturizing shears have teeth on one or both blades that remove only some hair with each cut rather than cutting all hair in the section.
- Work with small sections, closing the shears on the mid-lengths to ends of your hair, never at the roots.
- Make multiple small cuts throughout each section rather than one large cut to achieve even texture removal.
- Focus thinning shear work on the thickest areas of your hair, typically the sides and back where bulk tends to accumulate.
- Use these shears sparingly on the first attempt, as you can always remove more hair but cannot add it back.
Benefits
- Texturizing shears provide the subtlest layering effect, perfect for those who want barely-there texture.
- They’re ideal for maintaining length while reducing styling time by removing weight that makes hair difficult to manage.
- This method works across all hair types but is especially beneficial for very thick, coarse hair.
27. The Long Layer Maintenance Cut
The maintenance cut focuses on refreshing existing layers, removing split ends, and maintaining your long layered style between major cuts.
Preserving Your Style
- Maintenance cuts should occur every 8-12 weeks to keep long layered hair looking fresh and healthy.
- Focus on dusting the ends—removing only 1/4 to 1/2 inch to eliminate split ends without affecting overall length.
- Refresh face-framing layers by trimming just the pieces that have grown out of shape or lost their definition.
- Point-cut through the layers to re-establish texture and remove any blunt lines that have developed.
- Assess your layers in multiple lighting conditions and when styled in your usual manner to identify areas that need attention.
Maintaining Healthy Length
- Regular maintenance prevents split ends from traveling up the hair shaft, which would require cutting off more length later.
- Refreshing layers keeps them looking intentional rather than grown-out and neglected.
- Consistent maintenance trims are the key to successfully maintaining long, layered hair at home.
Conclusion
Mastering 27 Easy Long Layered Haircuts to Try at Home empowers you to take control of your hair’s appearance, save money, and develop a valuable skill you can use throughout your life.
From simple techniques like the ponytail method to more advanced approaches like the butterfly cut, you now have a comprehensive toolkit for creating beautiful, dimensional layers in your long hair.
Remember that practice makes perfect—your first attempt might not be flawless, but each time you trim and layer your hair, you’ll gain confidence and improve your technique.
The key to success lies in starting conservatively, using the right tools, and being patient with yourself as you learn. Whether you choose face-framing layers to accentuate your features, graduated layers for maximum volume, or soft waterfall layers for elegant flow, the perfect long layered cut is within your reach.
So gather your scissors, set up your mirrors, and take that first confident snip toward the gorgeous, layered long hair you’ve been dreaming about—your ideal hairstyle is just a home haircut away.