If you’ve ever sat in front of a mirror, scissors in hand, wondering how to tame your wild curls without spending a fortune at the salon—you’re not alone.
Curly hair, while beautiful and full of personality, often feels intimidating to cut. But here’s the good news: you can master your curls at home with the right techniques, tools, and a bit of patience.
In this article, Struggling With Curls? Cut Curly Hair at Home! , we’ll break down everything you need to know to confidently cut your curly hair yourself.
From understanding your curl type to learning foolproof sectioning and cutting methods, this guide is your step-by-step roadmap to curl care success.
Whether you want a full cut, a light trim, or just to reshape your layers, you’ll leave this article feeling empowered—and ready to handle your curls with confidence.
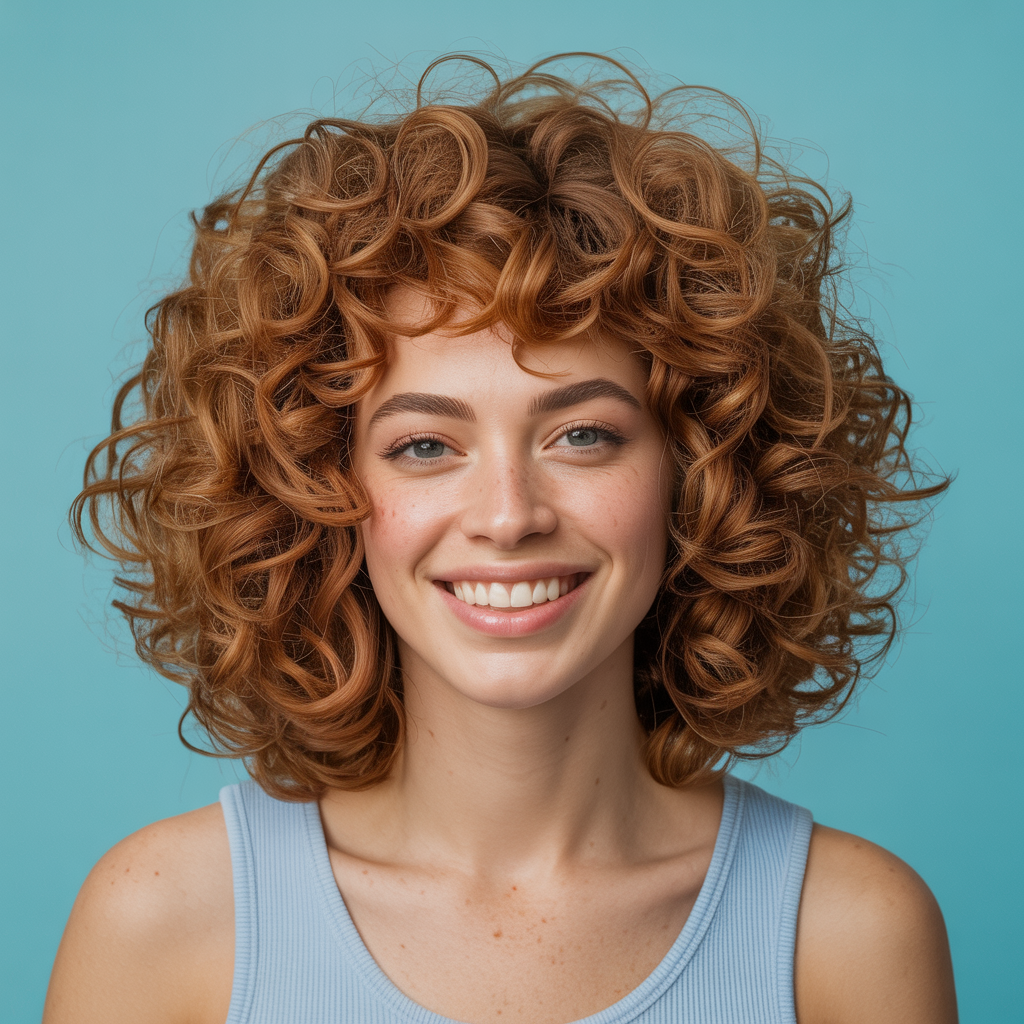
1. Understand Your Curl Type Before You Cut

Before making the first snip, it’s essential to understand your unique curl type. Different curl patterns require different cutting approaches to maintain their bounce and shape.
- Curl types range from 2A (wavy) to 4C (tight coils).
- Knowing your type helps you choose the best cutting method.
- Tighter curls often shrink more after drying, so dry cutting is preferred.
- Looser waves can sometimes be cut wet for better accuracy.
- The tighter the curl, the less you should cut at once—small trims go a long way.
| Curl Type | Description | Best Cutting Approach |
|---|---|---|
| 2A–2C | Loose waves | Wet or damp cutting |
| 3A–3C | Curly and bouncy | Dry cutting, curl-by-curl |
| 4A–4C | Coily or kinky | Dry or slightly damp cut |
To identify your curl pattern more accurately, you can check this curl type visual guide.
2. Gather the Right Tools for Curly Hair
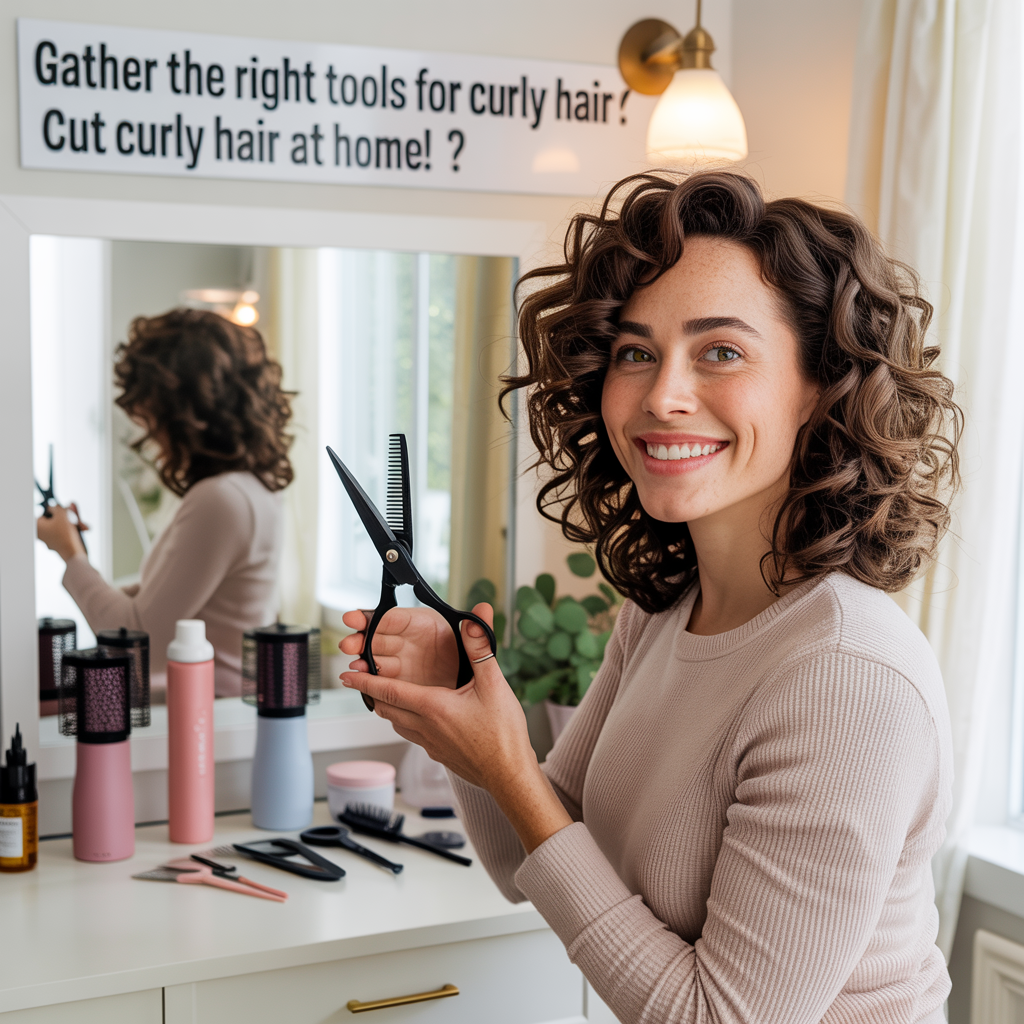
Curly hair needs tools that respect its structure and help maintain its natural shape. Using the wrong equipment can lead to uneven or frizzy results.
- Use sharp, professional-grade shears—not kitchen scissors.
- A wide-tooth comb helps gently detangle without breakage.
- Sectioning clips allow better control during cutting.
- A spray bottle helps reactivate curls if needed.
- A microfiber towel or t-shirt helps reduce frizz after cutting.
Avoid heat tools right after cutting, as they can alter your natural curl pattern and hide uneven cuts until it’s too late.
For budget-friendly, stylist-approved tool sets, check out this essential hair-cutting tool list.
3. Prep Your Curls Properly Before Cutting

Prepping your hair is just as important as the cut itself. Curly hair must be properly cleansed, detangled, and sectioned before any scissors come near it.
- Start with freshly washed and conditioned hair.
- Apply a leave-in conditioner to moisturize and define curls.
- Detangle gently using your fingers or a wide-tooth comb.
- Let your curls dry in their natural shape before cutting.
- Avoid brushing, which disrupts the curl pattern and creates frizz.
- Divide your hair into small sections to make cutting more manageable.
If your hair is low-porosity or very dry, use a moisturizing mask before your cut for added elasticity and bounce.
4. Learn the Best Cutting Techniques for Curls
There are multiple curly-hair cutting techniques depending on your goal—whether trimming split ends or reshaping layers. Let’s explore the safest, most effective ones.
- Curl-by-curl cutting is best for precision. Cut each curl individually where it naturally falls.
- Use the “twist and trim” method: twist small sections and cut the ends for even results.
- For layers, elevate each section slightly before cutting to avoid blunt edges.
- Always cut less than you think—start with ¼ inch and adjust.
- Use point cutting (snipping vertically into ends) for a soft, natural finish.
- Dry cutting is preferred, as it lets you see exactly how the curl behaves.
If you’re more of a visual learner, this video tutorial on curl-by-curl cutting is incredibly helpful.
5. How to Trim Split Ends Without Losing Length

You don’t need a full haircut to refresh your curls. Often, just trimming damaged ends is enough to restore bounce and health.
- Identify frayed or thin ends—they often feel dry and rough.
- Work section by section, snipping off the very tips.
- Trim curls where they naturally coil—don’t stretch them out.
- Focus on evenness over perfection—natural curls are forgiving.
- Do this every 8–12 weeks to maintain healthy ends.
Maintaining your ends also reduces the risk of breakage, especially in tighter textures like 3C–4C hair.
6. How to Shape Layers in Curly Hair at Home

Layering helps define curls and reduce heaviness, especially for thick or long curly hair. But it must be done carefully to avoid choppiness.
- Section your hair into at least 4 parts: top, crown, sides, and back.
- Decide where you want volume: top layers = more volume at crown.
- Cut the top layer curls slightly shorter than the rest.
- Keep face-framing layers longer than you think—they shrink.
- Use mirror checks frequently to maintain balance and shape.
- Avoid cutting too close to the scalp, especially for tighter curls.
Layered curls bounce more freely and give shape to otherwise flat hair.
7. Aftercare: Styling and Maintaining Your Cut

After cutting your curls, proper styling and maintenance can enhance the results and extend the time between trims.
- Use curl creams or gels that define without crunch.
- Let your hair air-dry or use a diffuser on low heat.
- Avoid touching curls while drying to reduce frizz.
- Refresh curls mid-week with water + leave-in conditioner mix.
- Sleep on a satin pillowcase or use a bonnet to protect curls.
A proper aftercare routine keeps your curls vibrant, bouncy, and healthy between trims.
Conclusion
Cutting curly hair at home doesn’t have to be stressful or intimidating—it can be a freeing and empowering experience when done right.
With the right prep, tools, and techniques, you’ll discover that managing your curls doesn’t require expensive salon visits.
By following the tips in Struggling With Curls? Cut Curly Hair at Home! , you can embrace your natural hair, refresh your look, and build a deeper connection with your curl pattern—all from the comfort of your own mirror.
Your curls are unique, and now, you’ve got the confidence and know-how to care for them like a pro.