Waking up to messy hair—again—can feel like a daily battle. Maybe your ends are splitting, your shape is gone, or your layers have vanished completely.
But before you reach for a hat or make another pricey salon appointment, consider taking control of your hair right at home.
You don’t have to be a pro to give yourself a fresh, manageable haircut.
In this article, Messy Hair Again? Learn to DIY Your Cut!, you’ll get a practical, step-by-step breakdown on how to clean up your style, tame unruly strands, and keep your hair looking polished between salon visits—or skip the salon altogether.
Whether you’re dealing with frizz, bulk, or grown-out layers, this guide has something for everyone ready to pick up the shears and take action.
1. Why Your Hair Looks Messy—And How a DIY Cut Can Fix It
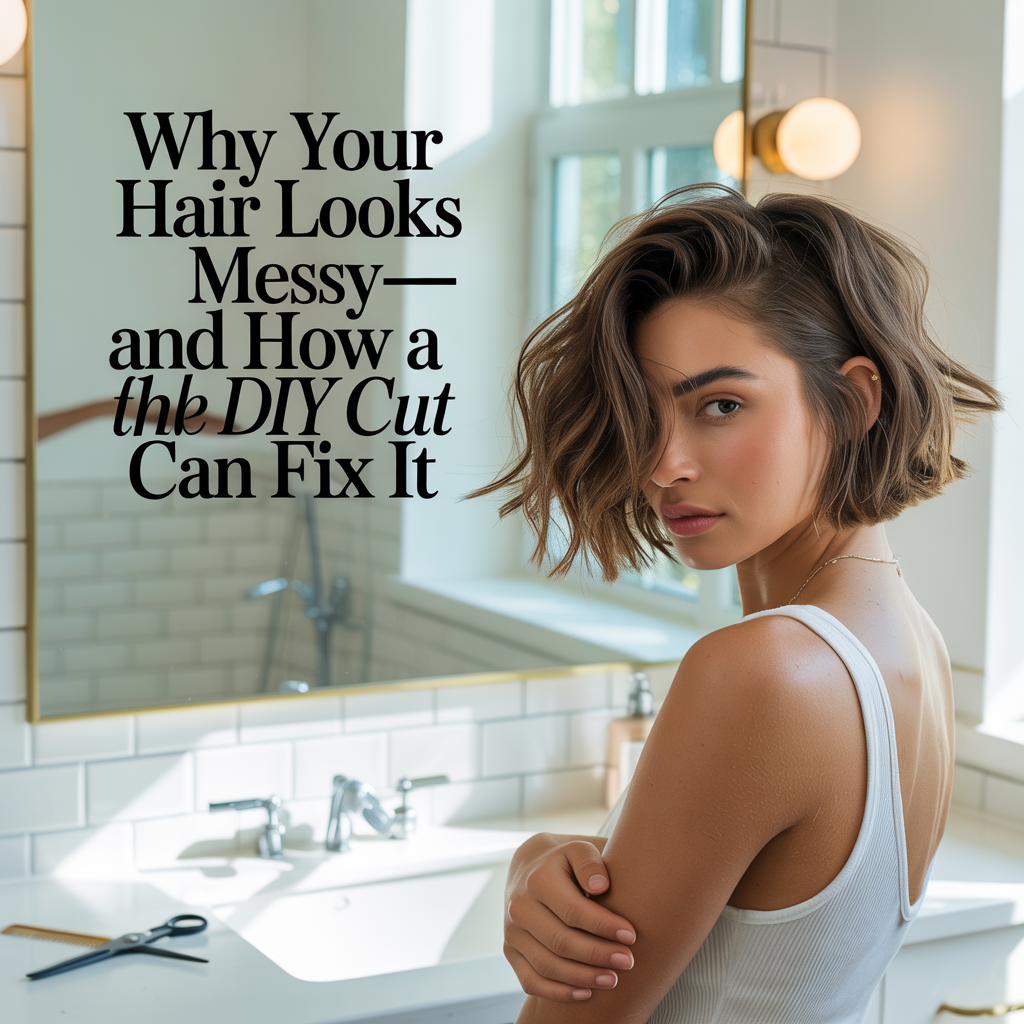
Before you grab scissors, it’s important to understand what’s making your hair feel so chaotic.
- Hair starts to look messy when the ends are split, uneven, or weighed down.
- Overgrown layers lose shape and volume, especially on wavy or thick hair.
- A lack of regular trims can make hair harder to style and prone to knots.
- DIY cuts are a quick and budget-friendly fix to restore control and polish.
- Knowing how to tidy your hair at home saves time and helps you avoid emergency salon trips.
You don’t need a dramatic change—sometimes a basic cleanup is all your hair needs to feel fresh again.
2. Tools You’ll Need for a Successful DIY Haircut
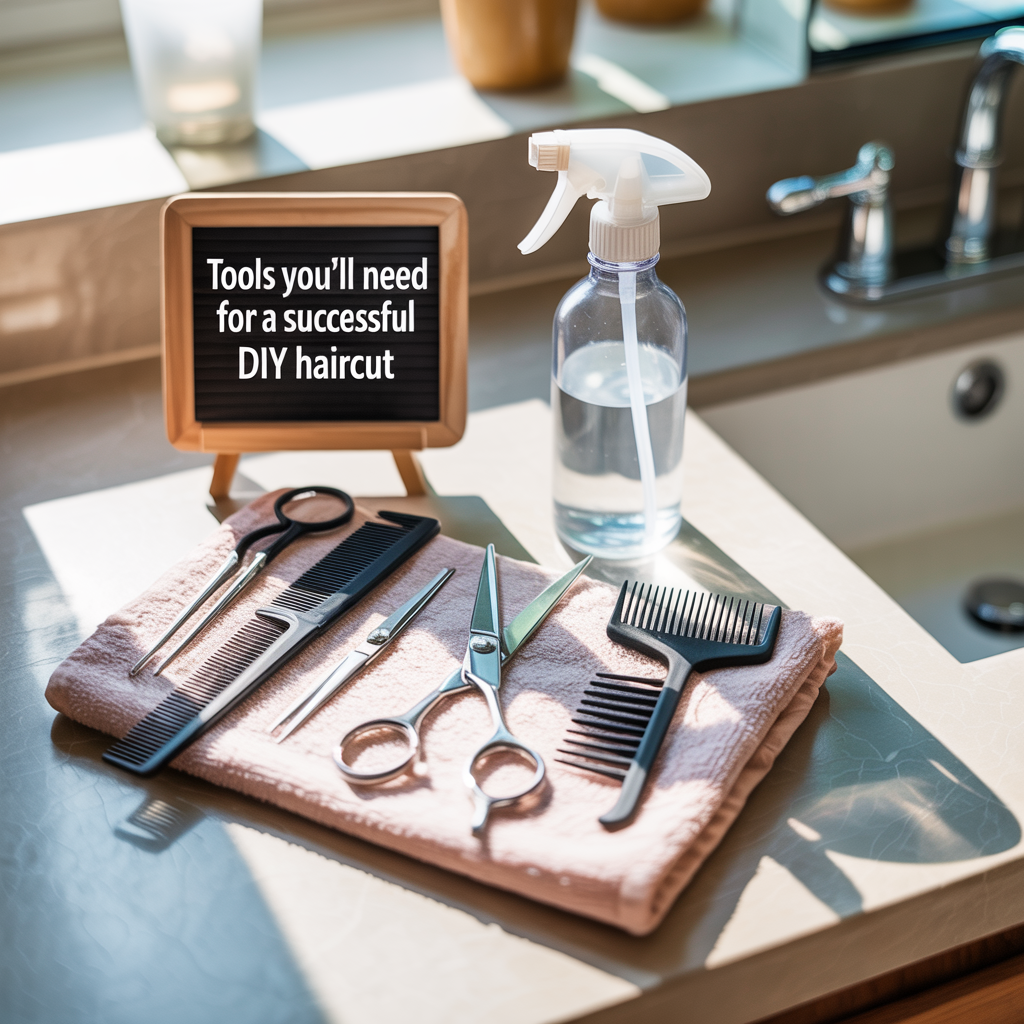
Having the right tools can mean the difference between a clean cut and a choppy disaster. Quality matters more than quantity here.
- Invest in professional hair-cutting shears to avoid damaging your strands.
- Sectioning clips help divide your hair for better control.
- A fine-tooth comb ensures straight, even tension as you cut.
- Use two mirrors or a 3-way mirror setup to check all angles.
- A spray bottle keeps hair damp if you’re cutting wet.
- Optional tools: thinning shears for bulky hair, or razors for soft, blended edges.
| Tool | Use Case |
|---|---|
| Haircutting Shears | Sharp, clean cuts with no fraying |
| Sectioning Clips | Control and isolate hair layers |
| Thinning Shears | Reduce thickness in dense areas |
| Spray Bottle | Maintain even moisture for control |
| Fine-Tooth Comb | Help guide even cutting sections |
3. Prep Your Hair for the Cleanest DIY Cut
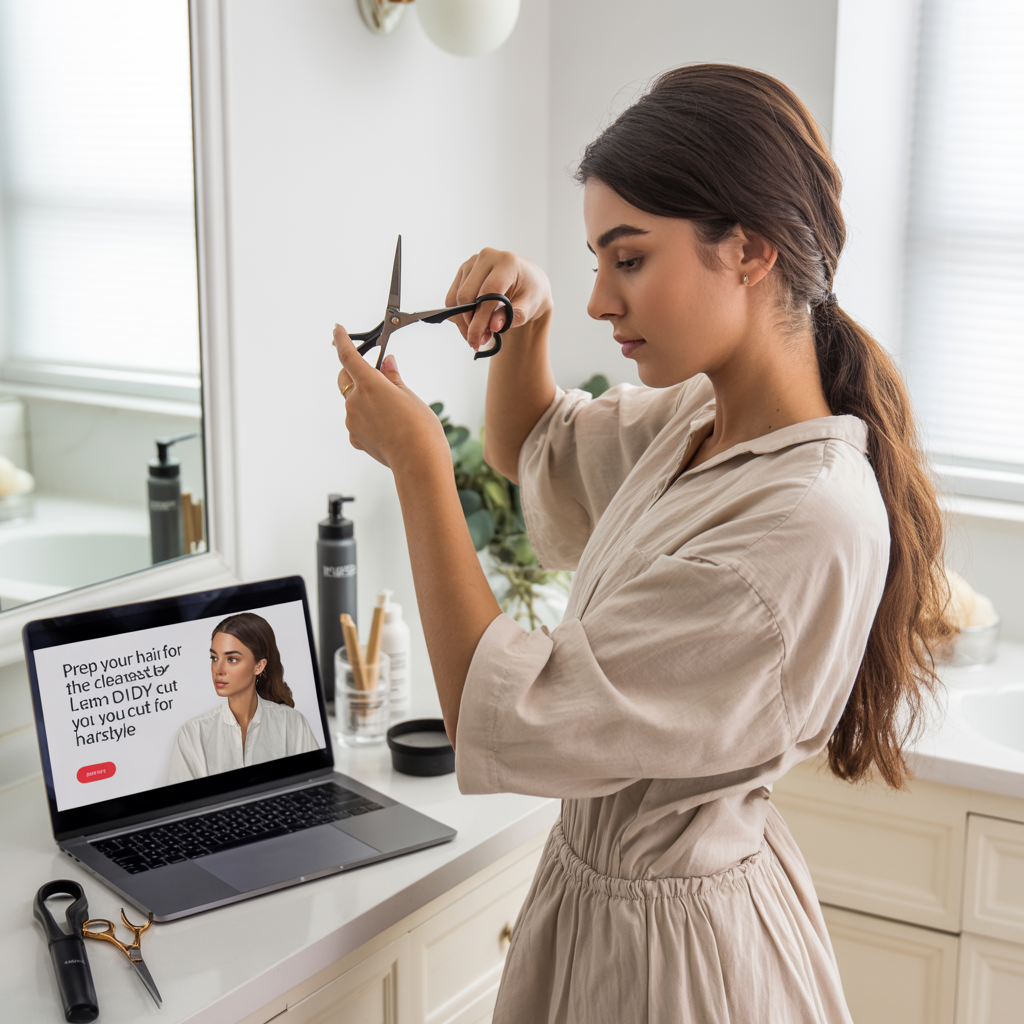
A great haircut starts with great preparation. Prepping your hair ensures even results and makes the process smoother.
- Start by washing and conditioning your hair to remove buildup.
- If your hair is curly or frizzy, decide whether you’ll cut it dry or straightened.
- Comb through your hair gently to remove tangles.
- Decide on your natural part—don’t force a new one just for the cut.
- Divide your hair into 3–4 sections: front, crown, and sides for better control.
Preparation builds a strong foundation for the actual cut and keeps you from making rushed mistakes.
4. Easy Trims for Beginners: Clean Up the Ends
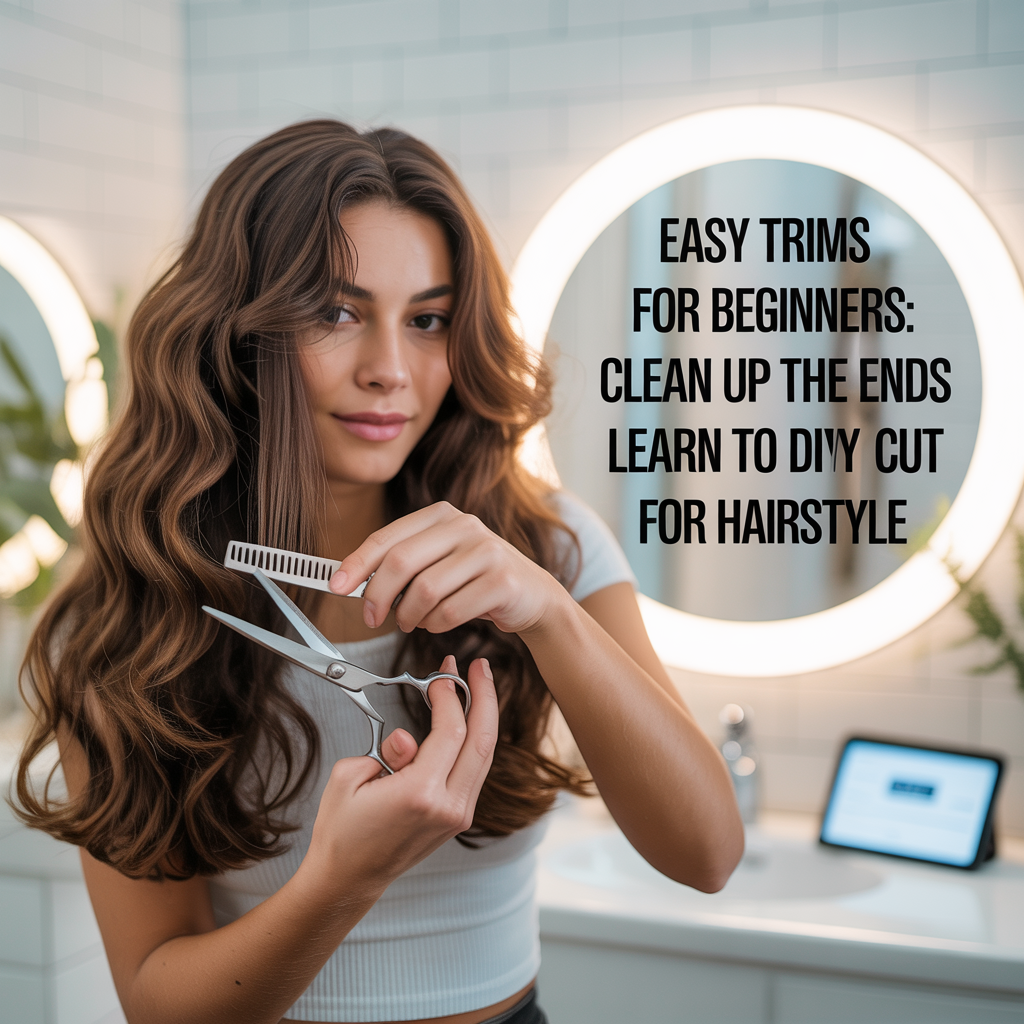
If your goal is to refresh your hair without changing the shape, a light trim is all you need.
- Start with the back section and work your way forward.
- Hold small pieces between two fingers, pulling them straight.
- Cut ½ inch off the ends or just enough to remove split or dry tips.
- Use point cutting (vertical snips into the ends) to soften the edges.
- Double-check both sides for balance using a mirror.
A trim keeps your length intact while immediately improving texture and manageability.
5. Add Soft Layers to Get Rid of Bulk and Frizz

Adding a few layers helps lighten heavy hair and reduces puffiness or that dreaded triangle shape.
- Part your hair down the center and gather it into a “unicorn ponytail” (at the forehead).
- Tie with an elastic, then use a second one to mark your cut point.
- Trim below the second elastic using the point-cut method.
- Release the ponytail and check how the layers fall—adjust if needed.
- Use your fingers to blend any uneven areas gently.
This method adds subtle layers and movement without needing advanced skills or angles.
6. Clean Up Bangs or Create Face-Framing Sections

Frizzy bangs or unshaped front sections can make your whole style look messy—even if the rest of your hair is in great shape.
- Separate a small triangle of hair from the front.
- Comb it forward and cut a tiny amount (less than you think!) from the tips.
- For face-framing layers, cut diagonally from chin level downward.
- Always cut longer first, then shorten if needed.
- Use dry styling to see how they blend into the rest of your hair.
Refreshing the front section can make your whole head of hair look more intentional and neat.
7. Tame Bulk with Thinning Shears (If Needed)
If your messy hair is the result of excess volume or thick growth, thinning can help calm the chaos.
- Use thinning shears in the inner sections of your hair (not the top layer).
- Snip halfway down the strand, not at the roots or tips.
- Limit thinning to 1–2 snips per section to avoid gaps.
- Focus around the crown and behind the ears where hair can be heaviest.
- Comb through and inspect the weight distribution as you go.
Thinning is especially useful for medium to thick hair types that poof out or don’t sit flat.
8. Aftercare and Styling to Maintain the Clean Look

Once you’ve finished your cut, the way you treat your hair in the following days matters just as much.
- Rinse out loose hairs and style your hair as usual to see the results.
- Apply a lightweight leave-in conditioner or serum to seal the ends.
- Avoid using heat for 48 hours to protect freshly cut hair.
- Use a silk pillowcase or scrunchie to keep hair smooth overnight.
- Keep up with regular trims every 6–8 weeks—even if you DIY them.
These simple habits will make your DIY cut last longer and look salon-fresh.
Conclusion
Messy hair can throw off your whole mood—but it doesn’t have to be permanent. With a little confidence, the right tools, and a few well-learned techniques, you can easily clean up your look and regain control of your hair at home.
The next time your hair feels like a tangled, puffy mess, remember this guide. “Messy Hair Again? Learn to DIY Your Cut!” isn’t just a title—it’s your invitation to take back your beauty routine, one trim at a time.