It seems like one minute your little boy’s hair is perfect—and the next, it’s in his eyes, puffed up in the back, or impossible to brush.
Life gets busy, and a trip to the barber isn’t always in the cards. But the good news?
You don’t have to be a pro to tidy up your child’s hair at home.
In this guide, Little Boy’s Hair Too Long? Trim It Yourself!,
you’ll learn how to confidently trim and shape your child’s hair with ease and safety.
From tools to techniques, this step-by-step article will help you save time, money, and a whole lot of stress.
With a little prep and patience, you’ll be amazed at what you can do with just a comb, some shears, and a calm approach.
1. Know the Style Before You Start

Before reaching for the scissors, take a few moments to visualize the haircut you want.
- Every child’s hair grows differently—some thick and straight, others curly or fine.
- Decide whether you want a simple trim, a fade, or a classic boy’s cut.
- Look at a few reference photos to guide your hand and set expectations.
- Choose a low-maintenance style that fits your child’s daily routine and hair type.
- Be flexible—at-home cuts don’t need to be perfect, just neat and comfortable.
2. Gather the Right Tools for the Job
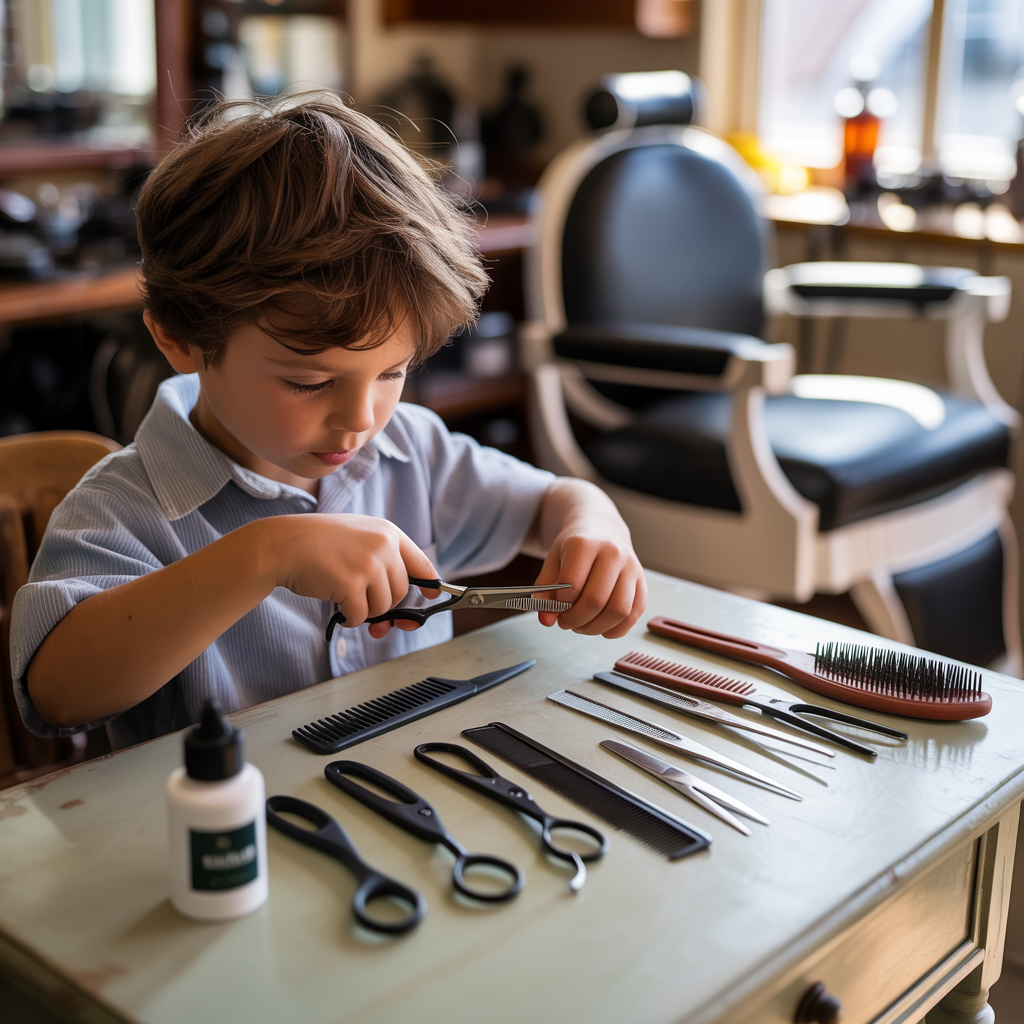
Having the right tools will make the process smoother and safer.
- Use rounded-tip or child-safe haircutting shears for precision and safety.
- Clippers are helpful for short styles or tapering the sides and back.
- Have a fine-tooth comb and a wide-tooth comb on hand.
- A spray bottle helps dampen sections without soaking the head.
- A cape or towel and a booster seat will keep your child still and your space clean.
| Tool | Use Case |
|---|---|
| Child-safe Shears | Safer cutting for fidgety kids |
| Clippers w/ Guards | Even trims and tapered sides |
| Spray Bottle | Keeps hair damp for more precise cutting |
| Cape or Towel | Protects clothing and keeps things tidy |
3. Prep Your Little One for the Haircut
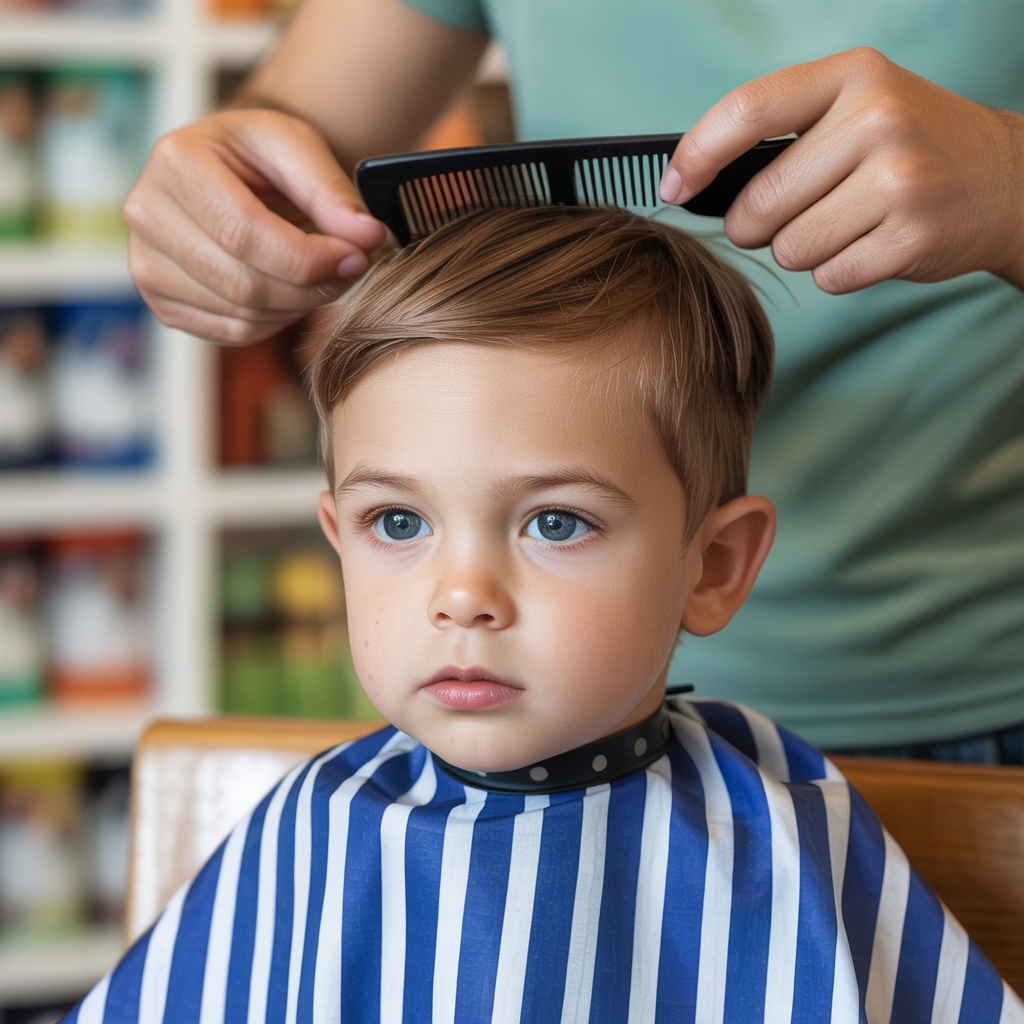
A calm child makes for a smoother haircut—so set the tone early.
- Choose a well-lit, quiet area with minimal distractions.
- Let your child watch a cartoon or hold a toy to stay still.
- Talk through each step so they feel included and comfortable.
- Drape a towel or cape over their shoulders and secure it gently.
- Use the spray bottle to lightly mist the hair if cutting wet.
4. Start with the Sides and Back
These areas are the easiest to clean up and offer a good starting point for balance.
- Use clippers on a longer guard setting (like #4) if trimming short.
- Begin just above the ears and work downward in small sections.
- If using scissors, pull small sections out from the head and snip slowly.
- Cut around the ears carefully, trimming over the ear curve.
- Keep checking both sides for evenness using a mirror.
Small, steady motions work best—don’t rush or try to cut large chunks at once.
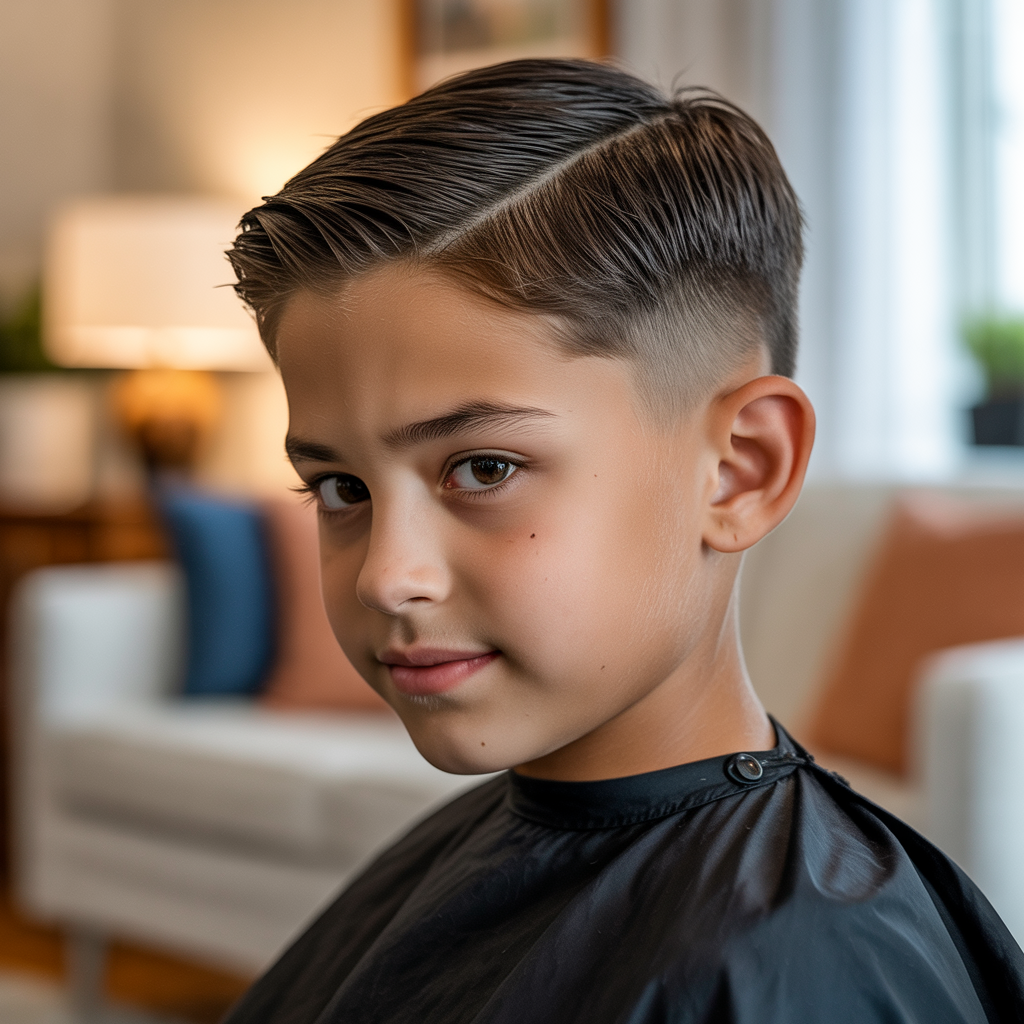
5. Trim the Top with Care
The top of the head shapes the overall style, so take your time here.
- Comb the hair forward and start trimming from the bangs or fringe.
- Cut small sections between your fingers to control the length.
- Work from front to back, keeping sections even.
- Blend the top into the sides by cutting diagonally at the edges.
- Check for bulk and smooth transitions between lengths.
If you’re not confident, leave the top slightly longer—less is more when cutting kids’ hair.
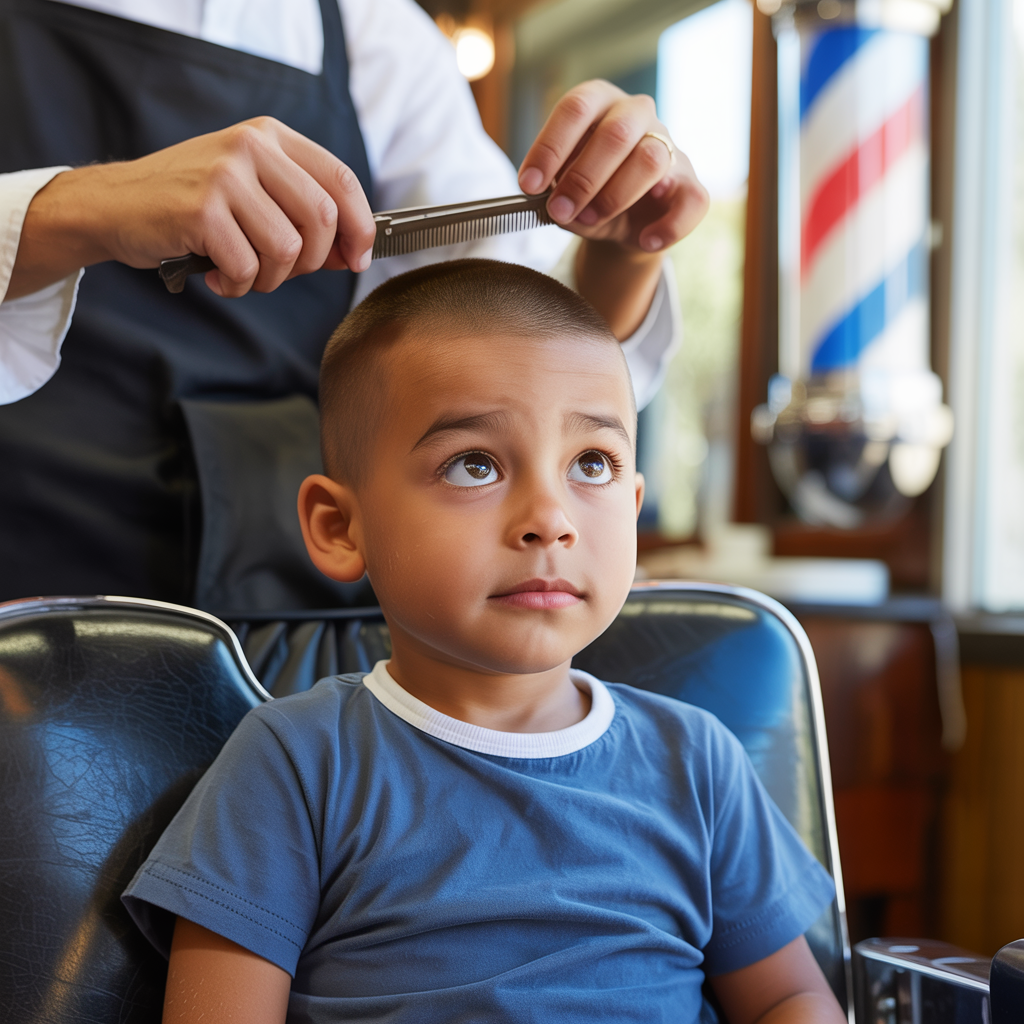
6. Clean Up the Hairline and Neckline

A clean finish makes even a basic trim look neat and professional.
- Use clippers or trimmers to define the neckline gently.
- Trim excess hair around the ears with care.
- Don’t cut into the hairline—follow its natural shape.
- Use a comb to check for balance on both sides.
- Use scissors to lightly remove flyaways or uneven bits.
This final step is subtle but makes a noticeable difference in appearance.
7. Post-Haircut Tips and Styling

Once the trim is done, wrap it up with a little styling and clean-up.
- Brush off stray hairs and let your child check the results in a mirror.
- Add a small amount of leave-in conditioner or detangler.
- If needed, apply a dab of kid-safe styling gel to keep the shape in place.
- Compliment your child’s patience and bravery—positive feedback builds trust.
- Clean and sanitize your tools for next time.
Keeping things positive ensures your child won’t dread the next DIY haircut.
Conclusion
Taking care of your little boy’s hair doesn’t have to mean constant trips to the barbershop.
With a little confidence, the right tools, and this step-by-step guidance, you can handle the job right from home.
So next time you find yourself thinking, Little Boy’s Hair Too Long? Trim It Yourself!— don’t hesitate.
You’ve got the skills, the setup, and now, the know-how to make it happen with ease and love.