Trimming your own hair can seem tricky. But with the right tips, it’s easy.
Cutting your hair at home saves time and money. No need to visit a salon. Plus, it’s a handy skill to have. You can keep your hair looking fresh between professional cuts.
Don’t worry if you’re new to this. With some practice, you’ll get the hang of it.
In this guide, you’ll learn simple steps to trim your hair safely. Ready to get started? Keep reading to find out how to trim your own hair like a pro.
1. Preparing Your Tools
Before starting to trim your own hair, gather all the necessary tools. Proper preparation helps ensure a smooth and successful haircut.
This step is crucial for achieving professional results at home.
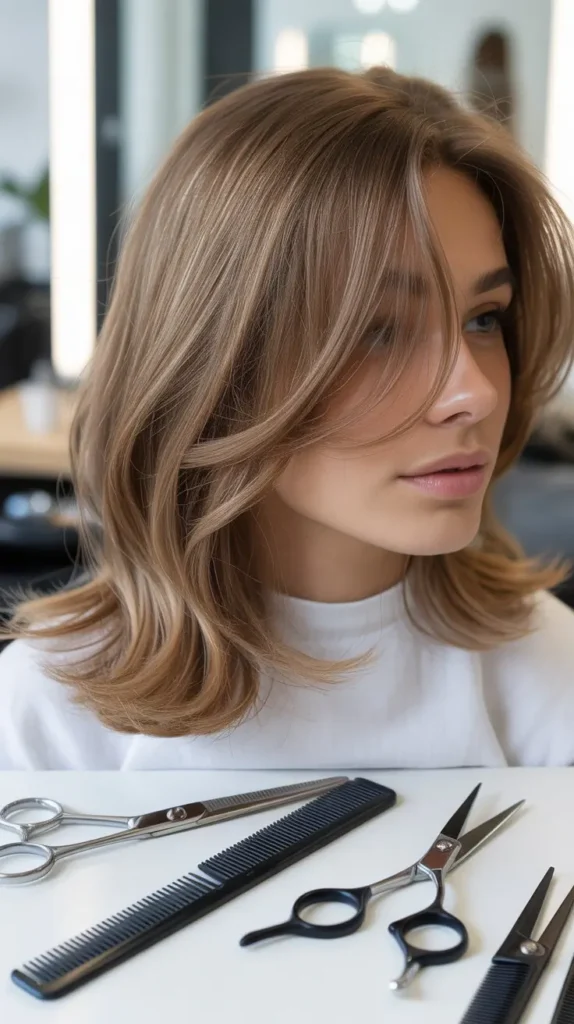
2. Essential Tools
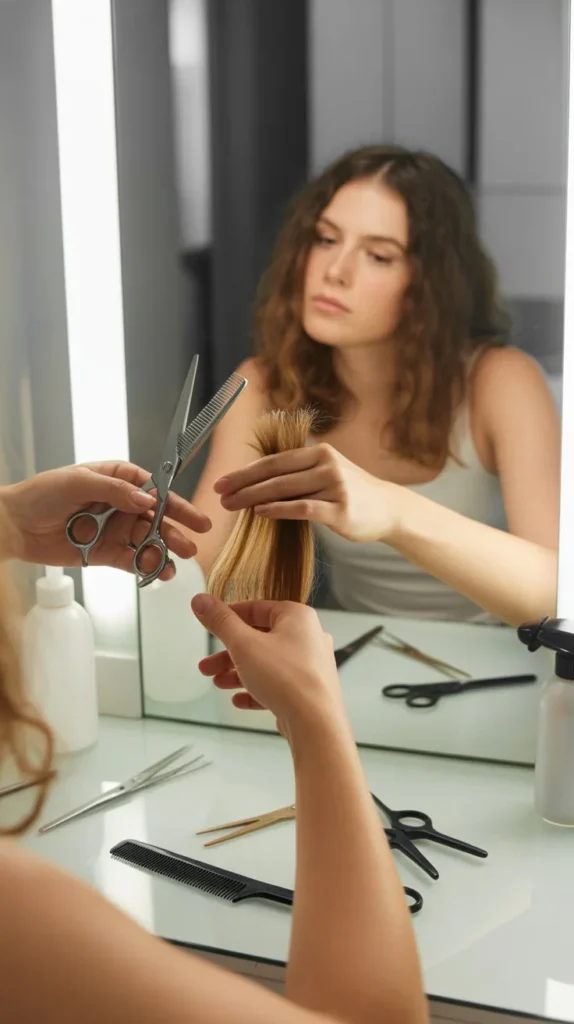
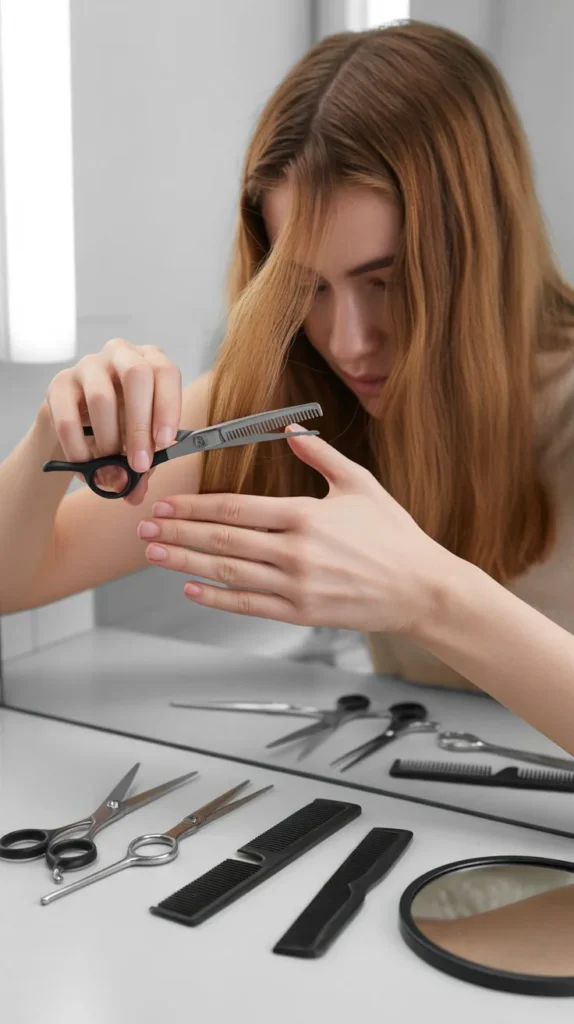
First, you need a good pair of hair-cutting scissors. Regular scissors can damage your hair. You also need a comb to help section your hair.
A spray bottle filled with water is useful for dampening your hair.
Make sure you have hair clips to hold sections in place. Finally, have a mirror, preferably two, to see all angles of your head.
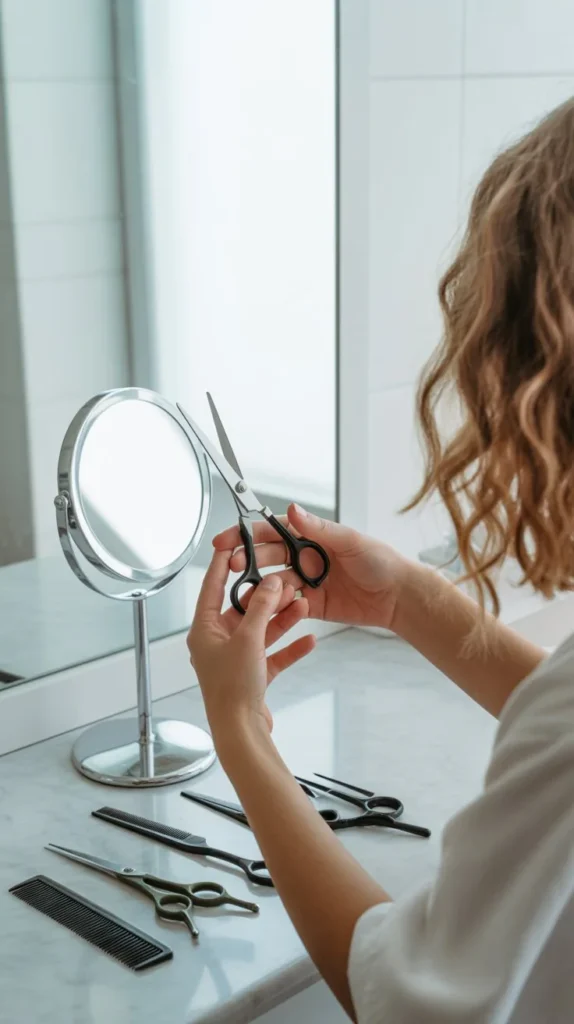
3. Choosing The Right Scissors
Select high-quality hair-cutting scissors. These scissors are sharper than regular ones. They provide a clean cut, reducing split ends. Avoid using household scissors.
They can be blunt and harmful to your hair. Look for scissors with comfortable handles. This helps reduce hand fatigue during cutting.
4. Setting Up Your Space
Setting up your space is essential for a successful hair trim. A clean, organized area helps you focus and achieve better results.
Let’s explore the key steps to create the perfect environment.
5. Ideal Lighting
Good lighting is crucial. Natural light works best. Position yourself near a window during the day. If natural light is unavailable, use bright, white lights.
Avoid yellow bulbs. They can distort your hair color. Check for shadows. Shadows can hide parts of your hair. Ensure even lighting around your head.
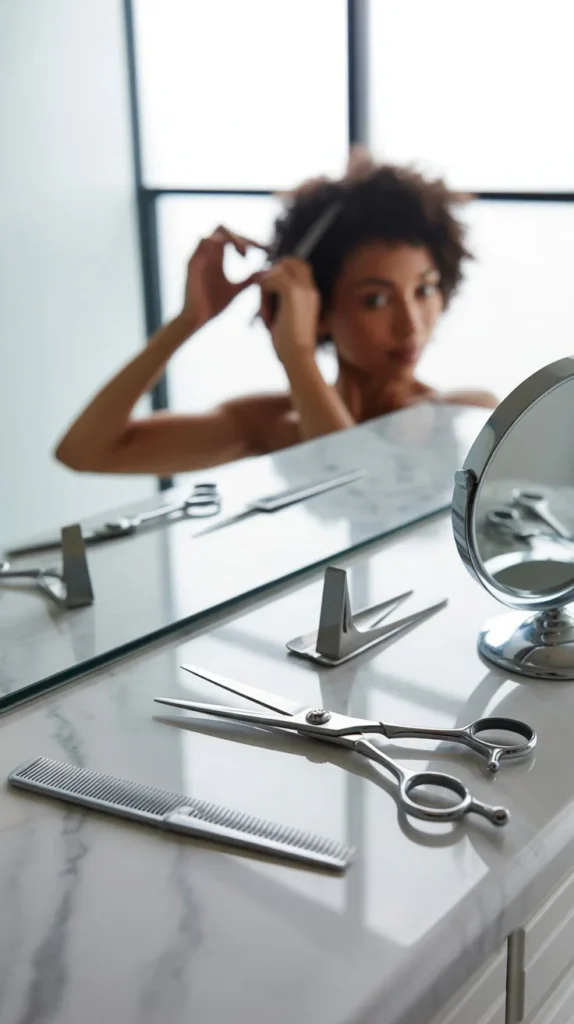
6. Organizing Your Tools
Keep your tools within reach. Gather scissors, a comb, clips, and a mirror. Use a hand mirror for the back of your head.
Lay a towel on your surface. This catches falling hair. Have a spray bottle nearby. Wet hair is easier to trim.
Use a small bin for discarded hair. Clean up quickly after trimming. A neat space helps you work efficiently.
Washing And Drying
Washing and drying your hair is an important step before trimming. Clean hair is easier to cut and style. Follow these steps for the best results.
7. Shampoo And Conditioner
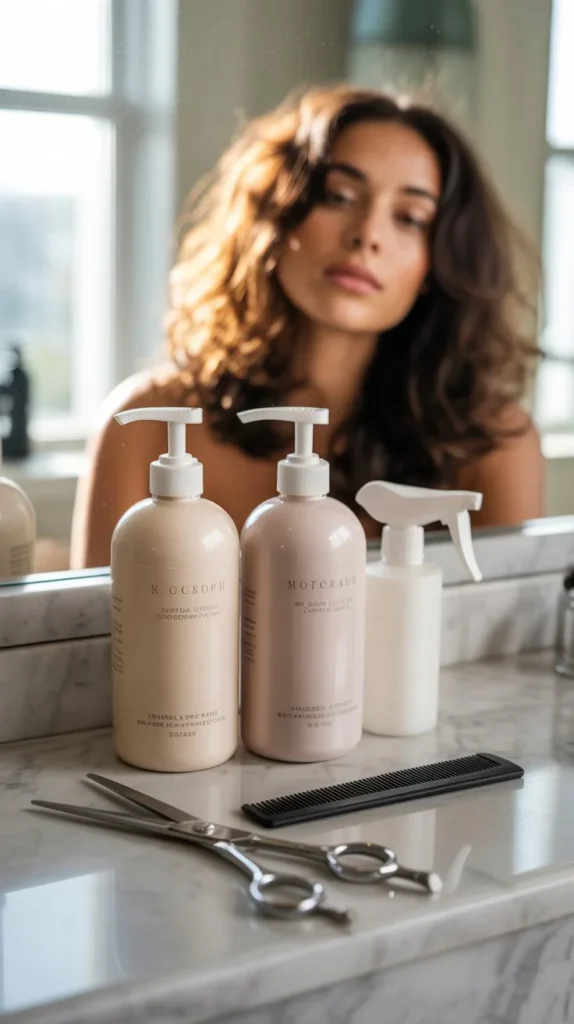
Use a gentle shampoo to wash your hair. Rinse well to remove all the dirt and oils. Apply conditioner to the ends of your hair.
Leave it in for a few minutes. Rinse thoroughly to avoid any residue. Clean hair will make the trimming process smoother.
Proper Drying Techniques
Pat your hair with a towel to remove excess water. Do not rub, as this can cause frizz. Use a wide-tooth comb to detangle your hair.
Let your hair air dry if you have the time. This is the healthiest option for your hair. If you use a blow dryer, keep it on a low heat setting.
Hold the dryer at least six inches away from your hair. Move it around to avoid damaging any one spot.
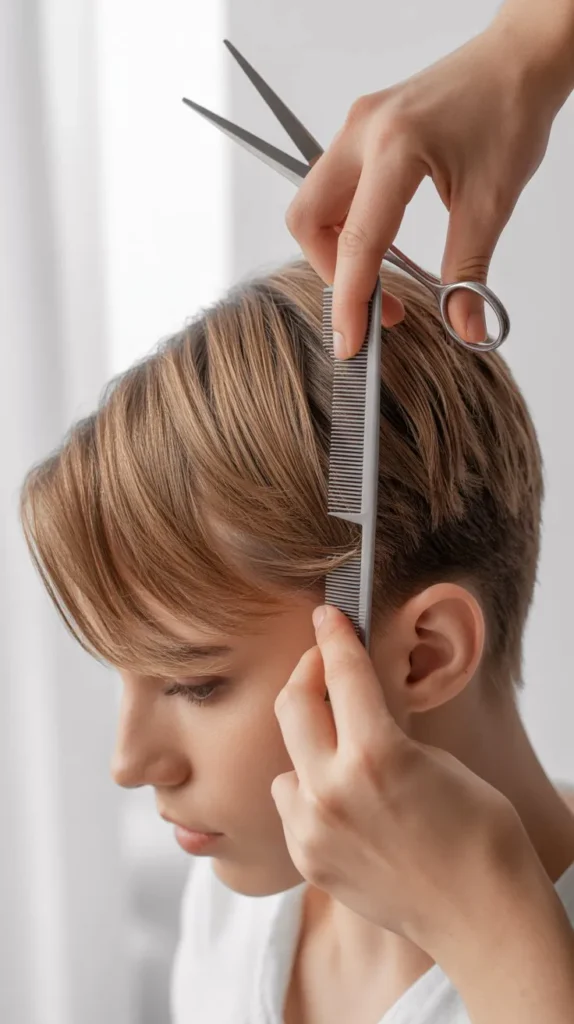
8. Sectioning Your Hair
Sectioning your hair is a crucial step in trimming your own hair. Proper sections ensure an even and neat cut.
It also helps you manage the hair better while cutting. You’ll need some basic tools to start.
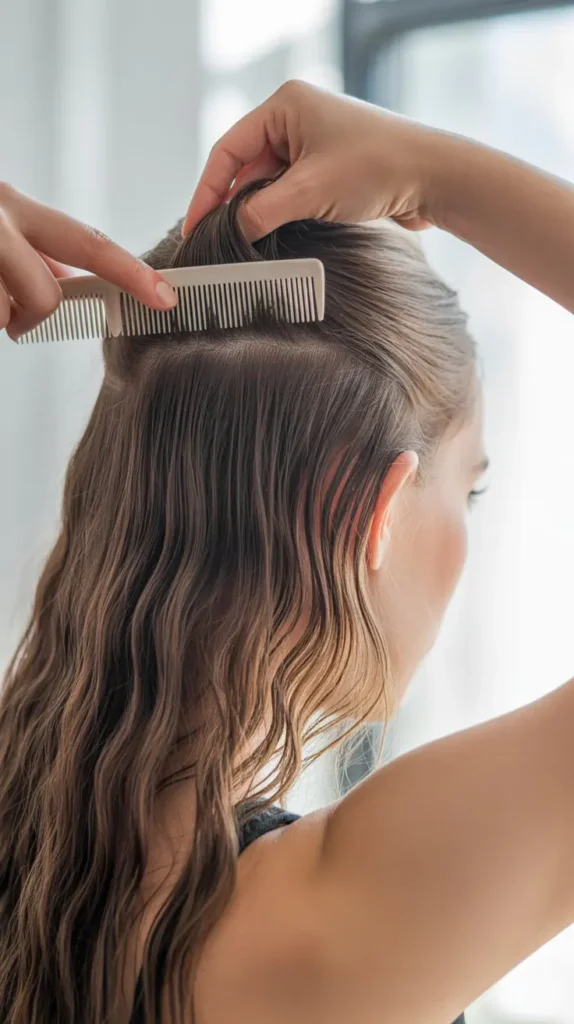
9. Creating Sections

First, detangle your hair using a wide-tooth comb. This makes it easier to work with. Next, divide your hair into four main sections.
Create a middle part from your forehead to the nape of your neck.
Then, make another part from ear to ear. You should now have four sections: two at the front and two at the back.
10. Using Clips
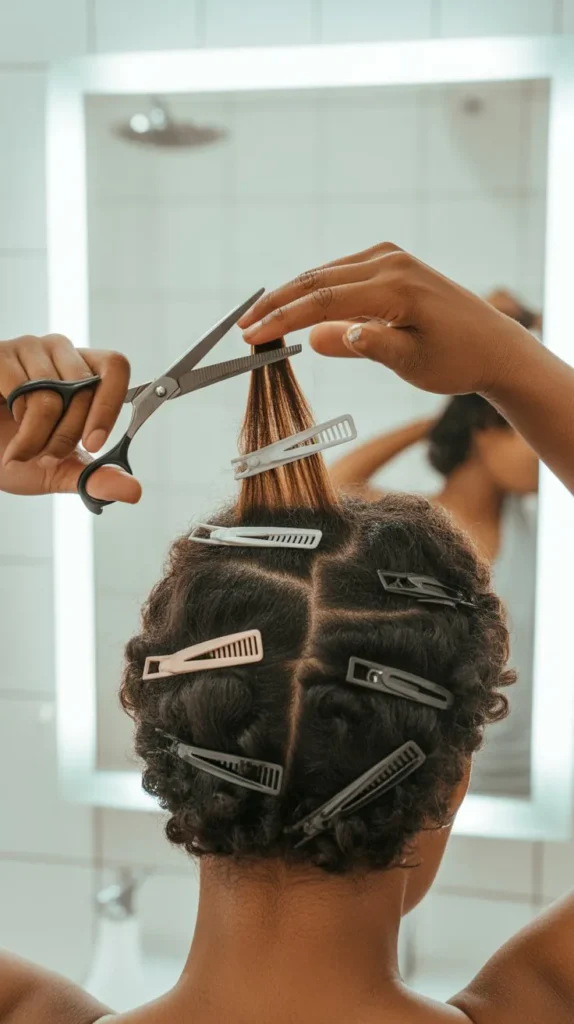
Use hair clips to secure each section. This keeps the hair in place and out of the way. Start with the back sections.
Clip the front sections to the side. This allows you to focus on one section at a time. Make sure the clips hold the hair firmly.
11. Trimming Techniques
Trimming your own hair can be simple with the right techniques. Knowing different cutting methods helps achieve various looks.
Below, we will explore two common trimming techniques: Point Cutting and Blunt Cutting. These methods are easy to learn and perfect for beginners.
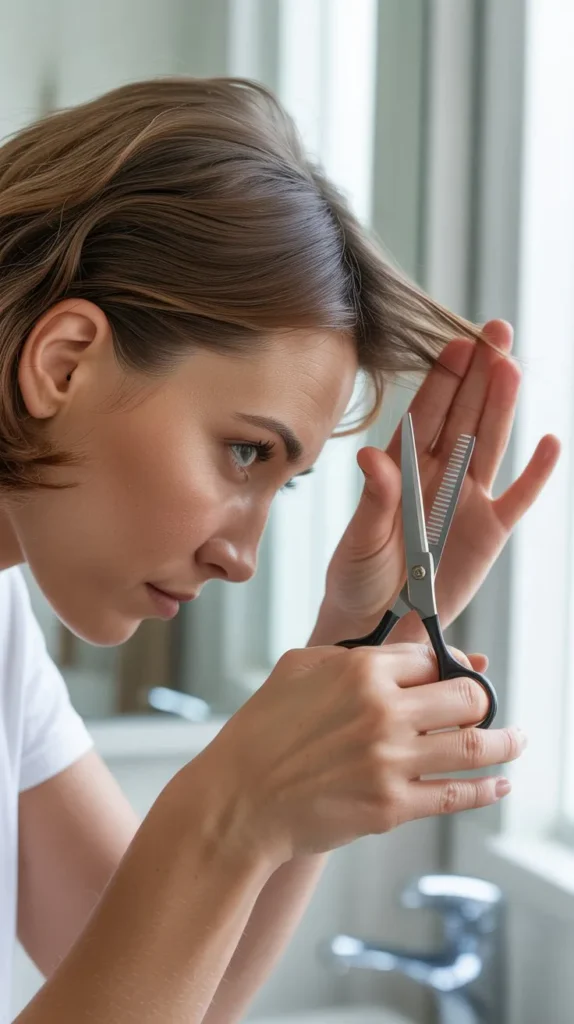
12. Point Cutting
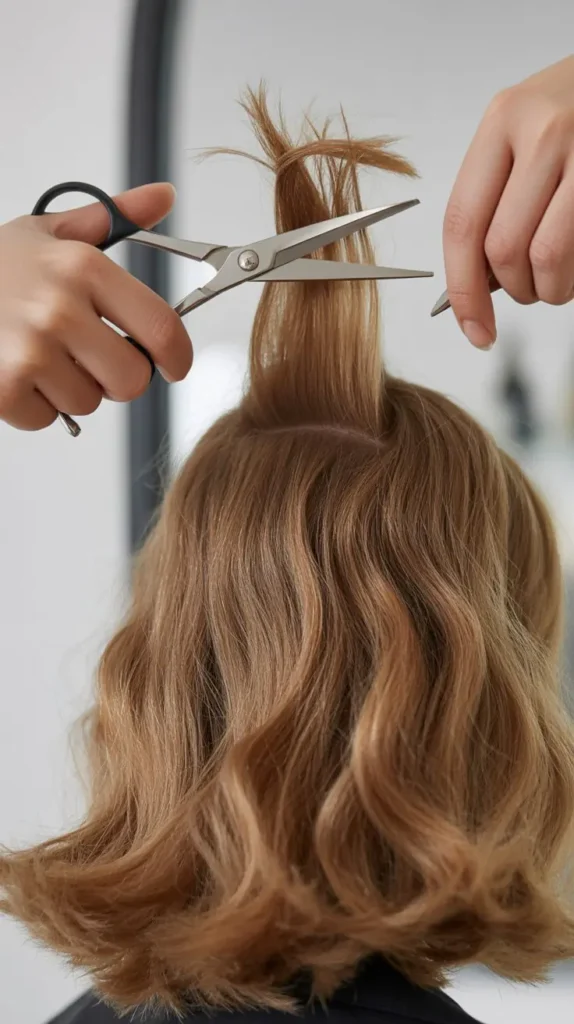
Point cutting creates a soft, textured look. First, take small sections of hair. Hold the scissors vertically and make small snips into the ends.
This technique adds movement and reduces bulk. It is great for layered haircuts. Keep the scissors sharp for clean cuts. Practice on a small section before trimming your entire head.
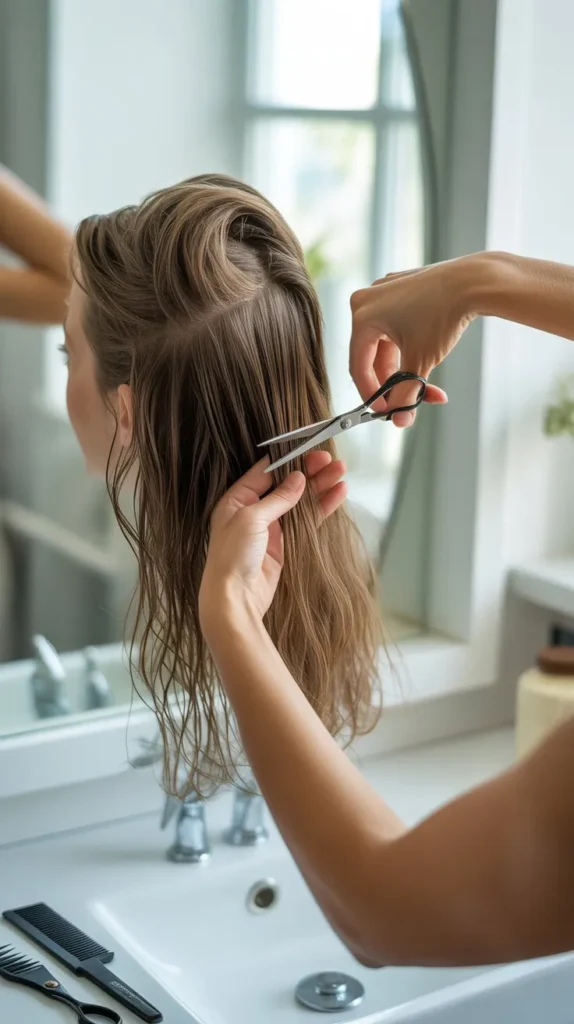
13. Blunt Cutting
Blunt cutting gives a straight, even finish. It is ideal for bob cuts or trims. Start by parting your hair into sections.
Hold the scissors horizontally and cut straight across. Keep your hand steady for a clean line.
This method works best on wet hair. Check your work in the mirror to ensure evenness.
14. Trimming Different Hair Types
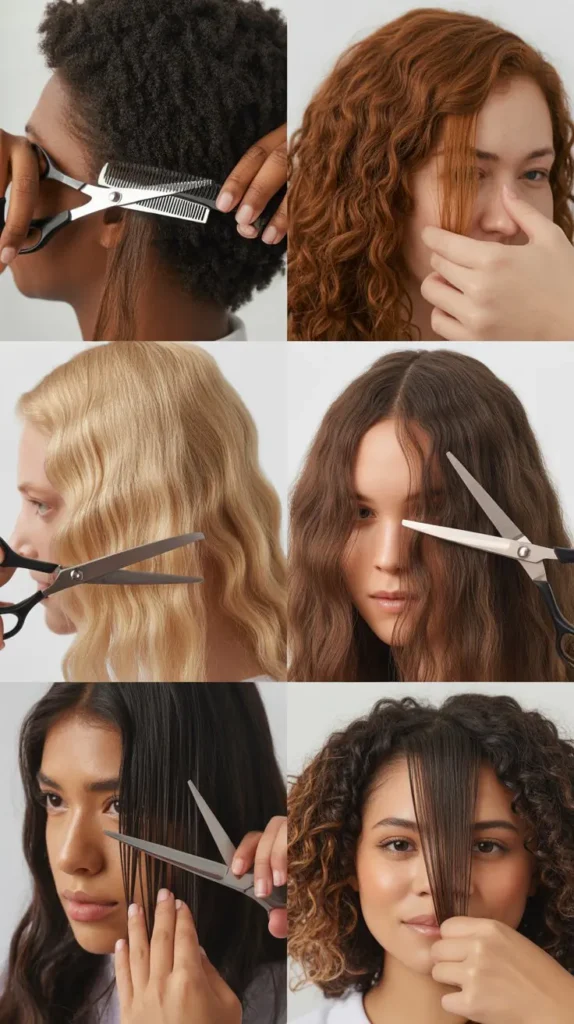
Trimming your own hair can be a bit daunting, especially when you consider the different needs of various hair types.
Whether you have curly or straight hair, each requires a unique approach to achieve the best results.
In this section, we will dive into the specifics of trimming both curly and straight hair, so you can confidently give yourself a fresh look at home.
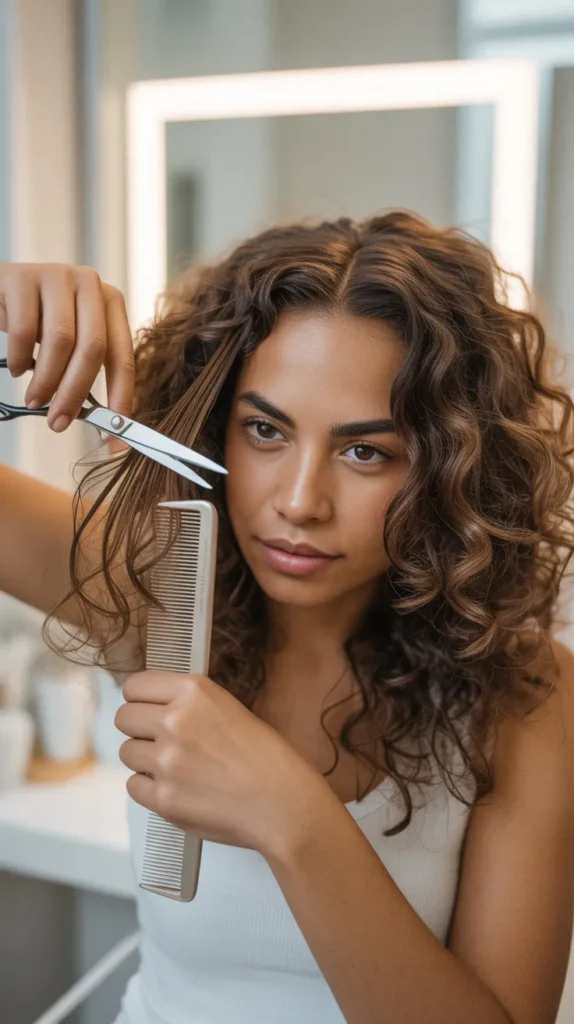
Curly Hair
Curly hair has a mind of its own, and trimming it can seem like taming a wild beast. But don’t worry, with a few tips, you can do it! Here’s how:
- Detangle First: Before you start trimming, make sure your curls are completely detangled. Use a wide-tooth comb to gently work through any knots.
- Trim Dry: Curly hair shrinks a lot when it dries, so it’s best to trim it when it’s dry. This way, you won’t accidentally cut off too much.
- Cut Curl by Curl: Instead of cutting large sections, take each curl and snip just the tip. This will help maintain the shape and bounce of your curls.
Remember, a little goes a long way with curly hair. Trim less than you think you need to, and you can always go back and cut more if needed.
Straight Hair
Straight hair is generally easier to trim because it’s more predictable. However, it still requires a careful approach to ensure an even cut. Here’s what you need to know:
- Start with Clean, Dry Hair: Wash and dry your hair before trimming. This will give you the most accurate idea of how your hair will look after the cut.
- Section Your Hair: Divide your hair into small sections. Use hair clips to keep the sections separated. This will make it easier to trim evenly.
- Point Cutting: To avoid a blunt, choppy look, use the point-cutting method. Hold your scissors vertically and make small snips into the ends of your hair.
By following these steps, you can achieve a professional-looking trim at home. Don’t rush the process – take your time to ensure each cut is precise.
Trimming your own hair doesn’t have to be scary. With a bit of patience and the right techniques, you can maintain your hair’s health and style without ever stepping foot in a salon.
Blending And Layering
Have you ever tried to trim your own hair and ended up with a choppy mess?
Don’t worry, you’re not alone! The key to a professional-looking haircut at home is mastering the art of blending and layering.
These techniques ensure your hair flows naturally and seamlessly. Ready to learn how? Let’s dive in!
Creating Layers
Layers add volume and movement to your hair. Here’s a simple way to create layers:
- Section Your Hair: Start by dividing your hair into sections. Use clips to keep the top layers out of the way while you work on the bottom.
- Cut the Bottom Layers: Take small sections of hair, hold them at a 45-degree angle, and snip the ends. This angle helps create soft layers.
- Move to the Top Layers: Release the top sections one at a time. Repeat the process, always cutting at a 45-degree angle.
Remember, it’s better to cut less first. You can always trim more if needed!
15. Blending Techniques
Blending is essential to avoid harsh lines and give your haircut a natural look. Here are some easy blending techniques:
- Point Cutting: Hold the scissors vertically and make small snips into the ends of your hair. This softens the edges and blends layers.
- Razor Cutting: Use a razor comb to gently thin out the ends. This is great for blending thick hair.
- Slide Cutting: Hold your scissors slightly open and slide them down the hair shaft. This technique creates a smooth blend without removing too much length.
Blending and layering can seem tricky at first, but with a little practice, you’ll get the hang of it. And remember, if you ever feel overwhelmed, it’s okay to ask for help or watch a few tutorial videos. Happy trimming!
16. Finishing Touches
You’ve made it through the tough part—cutting your own hair. Now, it’s time to focus on the Finishing Touches. This is where you can make your haircut look more professional.
These final steps will help smooth out any rough edges and give your hair a polished look.
17. Texturizing
Texturizing is an important step. It adds movement and life to your hair. Here’s a simple way to do it:
- Take small sections of your hair.
- Hold the scissors at an angle.
- Make tiny snips into the ends of your hair.
This method will help your hair blend better. It also makes your haircut look less blunt and more natural.
If you’re nervous about this step, remember: less is more. You can always go back and texturize more if needed.
18. Smoothing Out
Next, let’s talk about Smoothing Out your hair. This step ensures your haircut looks sleek and clean. Here’s how to do it:
- Use a flat iron or hairdryer to style your hair as you usually would.
- Look for any uneven areas.
- Trim those areas carefully.
Imagine you’re baking a cake. You wouldn’t serve it without smoothing the icing first, right? Think of your hair in the same way. Smoothing out ensures that everything is in its place and looks perfect.
And there you have it! With these Finishing Touches, your DIY haircut can look just as good as if you had gone to a salon. Remember, practice makes perfect.
Don’t be too hard on yourself if it doesn’t turn out exactly right the first time. Happy trimming!
Aftercare Tips
Congratulations on taking the bold step to trim your own hair! Now that you’ve achieved your desired look, it’s essential to maintain it properly.
Aftercare is as crucial as the trimming process itself. Let’s dive into some easy-to-follow tips that will help you keep your hair looking fresh and fabulous.
Maintaining Your Trim
Keeping your new trim in top shape is not as challenging as it may seem. Here are some simple steps to ensure your hair remains healthy and well-groomed:
- Regular Washing: Clean hair is happy hair. Wash your hair with a gentle shampoo and conditioner to keep it clean and manageable.
- Avoid Heat Damage: Heat styling tools can be damaging. Use a heat protectant spray if you must use a blow dryer, straightener, or curling iron.
- Use Proper Products: Choose hair products that suit your hair type. For example, if you have dry hair, opt for moisturizing shampoos and conditioners.
- Brush Gently: Use a wide-toothed comb or a soft-bristle brush to avoid breakage and split ends.
When To Trim Again
Knowing when to trim your hair again is vital to maintain its shape and health. Here are some pointers to help you determine the right time for your next trim:
- Look for Split Ends: Split ends are a clear sign that it’s time for a trim. Regularly check the ends of your hair and trim them when needed.
- Monitor Hair Growth: Hair grows about half an inch per month. Depending on your preferred length, you might need to trim every 6-8 weeks.
- Assess the Shape: If your hair starts to lose its shape or look uneven, it’s a good indicator that a trim is due.
- Listen to Your Hair: Sometimes, your hair will tell you when it needs a trim. If it feels heavy, tangles easily, or looks dull, it might be time for a fresh cut.
By following these aftercare tips, you can keep your hair looking stylish and healthy between trims.
Remember, a little maintenance goes a long way in ensuring your DIY trim remains flawless.
Frequently Asked Questions
What Is The Easiest Way To Trim Your Own Hair?
Use sharp scissors and trim small sections evenly. Wet your hair first and cut slowly to avoid mistakes.
How Can I Trim The Ends Of My Hair By Myself?
To trim your hair ends yourself, follow these steps: Use sharp scissors, section your hair, trim small amounts, maintain even cuts, and regularly check your progress.
Is It Better To Trim Wet Or Dry Hair?
Trimming wet hair allows for more precision and control. Dry hair trimming helps see the natural fall and shape. Both methods have benefits depending on desired results.
Is It Better To Cut Your Own Hair Wet Or Dry?
Cutting hair dry offers better precision and control, especially for curly or textured hair. Wet cutting is ideal for straight hair and gives a more even cut. Choose based on your hair type and desired outcome.
Conclusion
Trimming your own hair can be simple and satisfying. Follow the steps carefully.
Use sharp scissors and a good mirror. Start with small cuts. Practice makes perfect.
Soon, you’ll feel more confident. Save money and time at home. Enjoy the process.Your hair will look fresh and neat. Happy trimming!