Pixie hairstyles are chic and trendy.They offer a bold look that’s easy to maintain.
Styling a pixie cut can seem daunting at first, but with the right steps, you can achieve a stunning look effortlessly.
Pixie hairstyles are versatile and can be tailored to suit your personality and style.
Whether you want a sleek and polished appearance or a messy, playful vibe, learning to style your pixie cut is key.
In this guide, we’ll walk you through seven simple steps to help you style your pixie haircut like a pro.
By the end, you’ll feel confident and ready to rock your pixie with flair. Let’s get started on transforming your look!
Choosing The Right Pixie Cut
Choosing the right pixie cut can be a bit like picking out the perfect outfit.
You want it to fit well and make you feel great.
But how do you know which pixie cut is right for you?
Don’t worry, we’ve got you covered.
In this section, we’ll talk about two key things: your face shape and your hair type.
Let’s dive in!
1. Face Shape Considerations
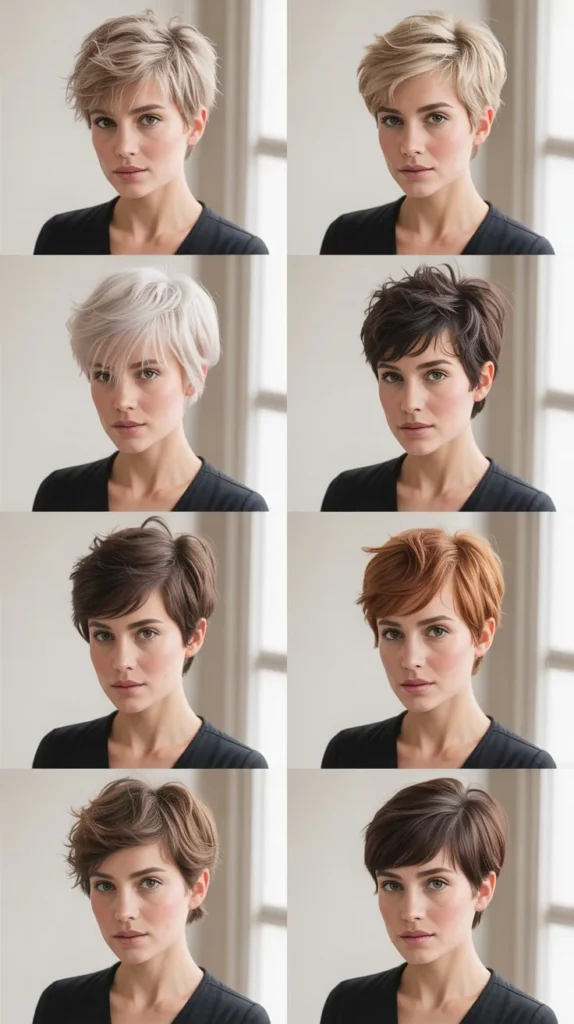
Your face shape plays a big role in how a pixie cut will look on you
. Different cuts can highlight different features.
Here’s how to choose a pixie cut based on your face shape:
- Round Face: Go for a pixie cut with volume on top.
- It will make your face look longer.
- Oval Face: You’re in luck!
- Almost any pixie cut will look good on you.
- Square Face: Try a soft, layered pixie cut to soften your strong jawline.
- Heart-Shaped Face: A pixie cut with bangs can balance a wider forehead.
2. Hair Texture And Type

Your hair texture is just as important as your face shape.
Different pixie cuts work better with different hair types. Here are some tips:
- Fine Hair: Choose a cut that adds volume.
- Layers can help make your hair look fuller.
- Thick Hair: A more structured pixie cut will keep your hair from looking too bulky.
- Curly Hair: Embrace the curls! A textured pixie cut will let your natural curls shine.
- Straight Hair: A sleek, classic pixie cut will look great and is easy to maintain.
Now that you know what to look for, choosing the right pixie cut should be a breeze!
Remember, the best pixie cut for you is one that makes you feel confident and beautiful. Ready to pick your perfect pixie?
Preparing Your Hair
Preparing your hair is the first step to achieving a stunning pixie hairstyle.
The right preparation can make styling easier and ensure your hair looks its best.
Follow these easy steps to get your hair ready for a chic pixie cut.
3. Washing And Conditioning
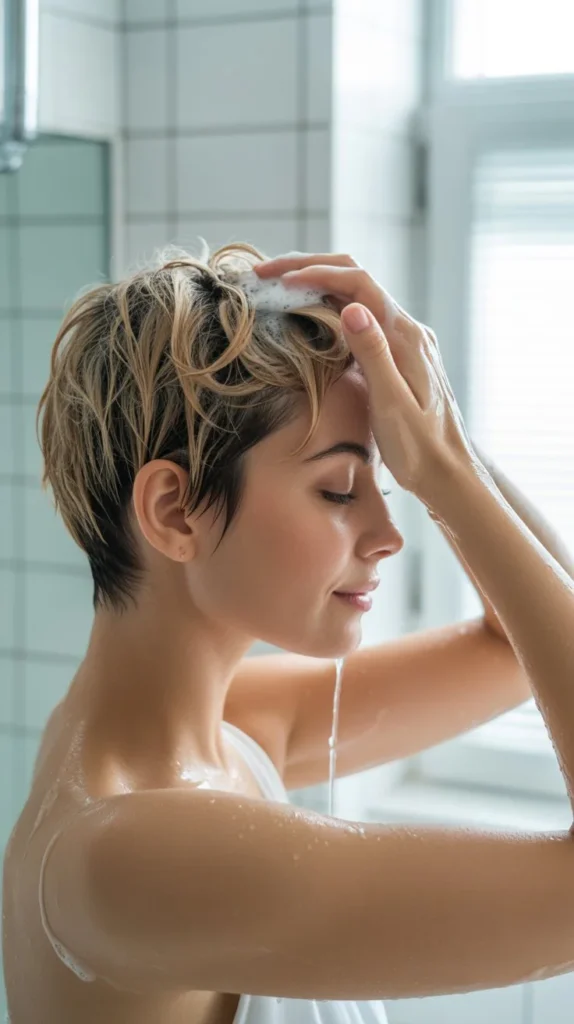
Start by washing your hair with a gentle shampoo.
This removes dirt and oil, leaving your hair clean.
Use a sulfate-free shampoo for less damage.
Next, apply a nourishing conditioner.
This adds moisture and makes your hair smooth.
Leave the conditioner on for a few minutes, then rinse thoroughly.
4. Towel Drying Techniques

After washing, gently squeeze out the excess water from your hair.
Avoid rubbing your hair with a towel.
This can cause frizz and breakage.
Instead, pat your hair dry with a soft towel or an old t-shirt.
This method is gentler and helps keep your hair healthy.
For best results, let your hair air dry for a few minutes.
This reduces the time you need to use heat styling tools.
When your hair is slightly damp, you’re ready to start styling your pixie cut.
5. Applying Heat Protectant
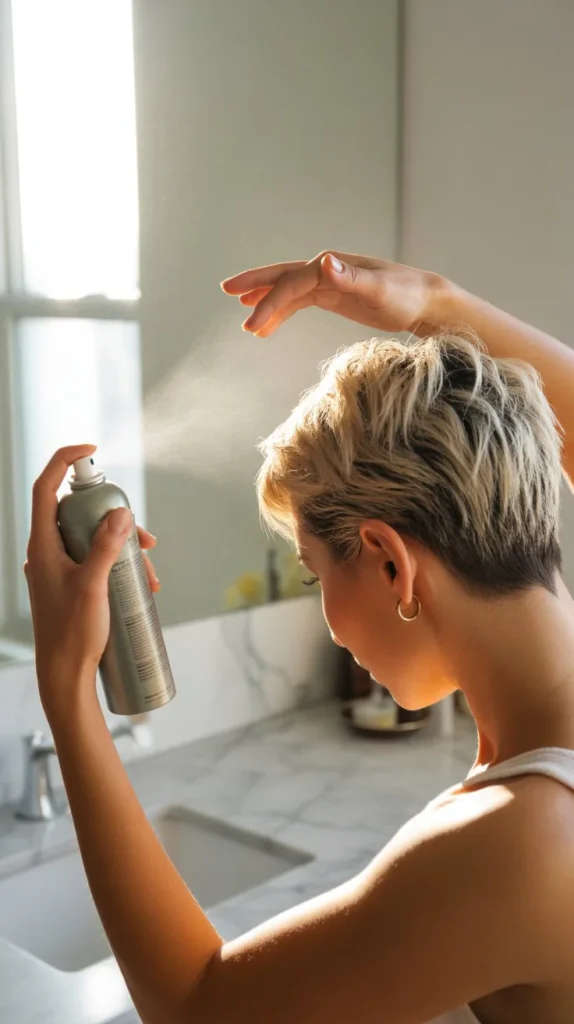
Applying a heat protectant is a crucial step before styling pixie hairstyles.
It shields your hair from heat damage, ensuring it stays healthy and vibrant.
Styling a pixie cut can be a fun and creative process.
One crucial step in this process is applying heat protectant.
This step helps maintain the health and shine of your hair while using heat styling tools.
Let’s dive into why heat protectant is important and how to apply it effectively.
Importance Of Heat Protectant
Heat protectant is vital for anyone using heat styling tools.
Tools like flat irons, curling irons, and blow dryers can damage hair.
Heat protectant forms a barrier.
This barrier reduces the risk of damage.
It also keeps your hair looking healthy and shiny.
Heat can strip moisture from hair.
This leads to dryness and split ends.
Using heat protectant helps prevent this.
It ensures your hair stays strong and vibrant.
How To Apply
Applying heat protectant is easy.
Start with clean, damp hair.
Spray or apply the product evenly.
Make sure to cover all sections.
Focus on the ends of your hair.
They are more prone to damage.
Use a comb to distribute the product.
This ensures even coverage.
Let the protectant dry before using heat tools.
This gives the best protection.
Now, style your pixie cut with confidence.
Your hair will be protected and look great.
6. Blow Drying Tips
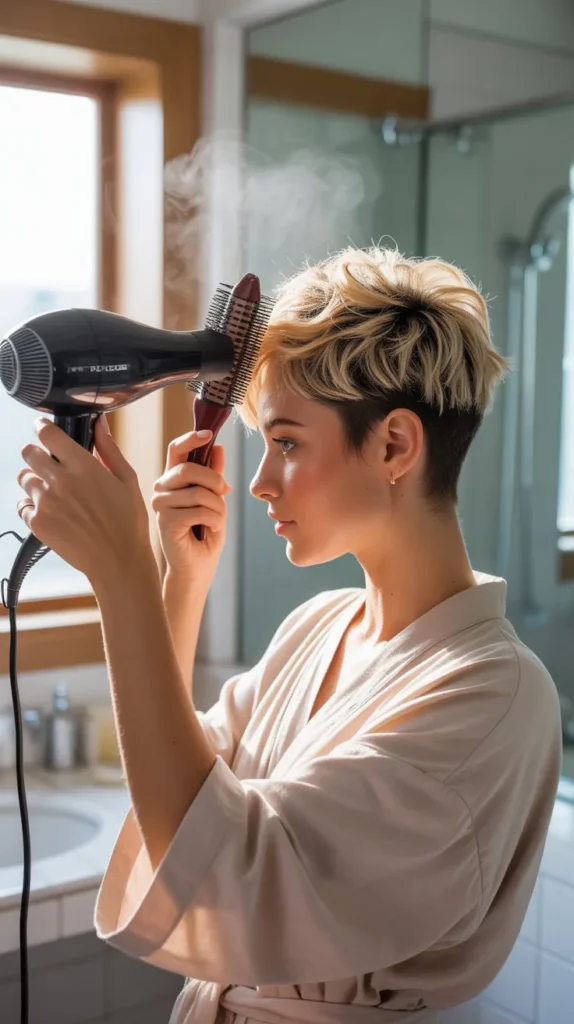
Blow drying your pixie hairstyle can be a game-changer.
It can add volume, shape, and a polished look to your short hair.
Here are some easy tips to help you blow dry your pixie cut to perfection.
Let’s dive into the details.
7. Using The Right Tools
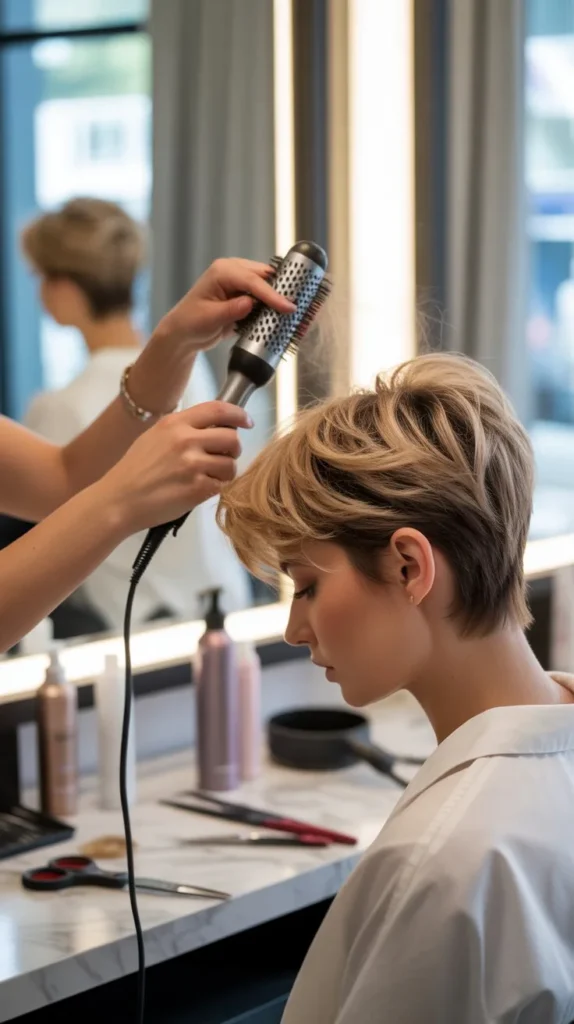
First things first, you need the right tools.
Just like a painter needs the right brushes, you need the right hair tools.
Here’s what you should have:
- Blow Dryer: A small, powerful blow dryer works best.
- Look for one with multiple heat and speed settings.
- Round Brush: A small round brush helps in lifting and curling short hair.
- It gives your pixie cut volume and shape.
- Nozzle Attachment: This helps direct the airflow where you need it.
- It’s great for precise styling.
- Heat Protectant Spray: Always protect your hair from heat damage.
- Spray it evenly before blow drying.
8. Techniques For Volume
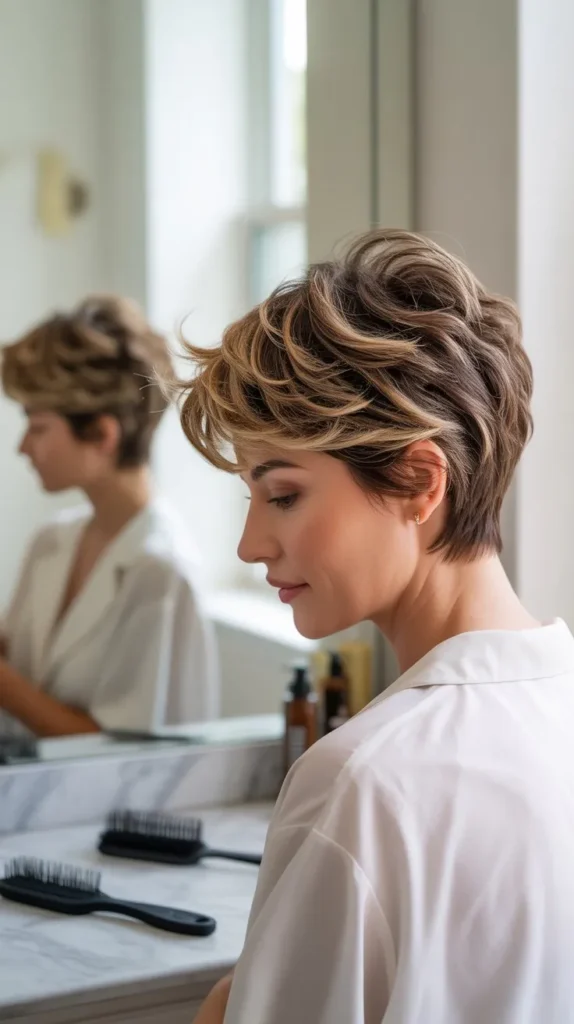
Now that you have your tools ready, let’s focus on the techniques.
Adding volume to a pixie cut can make a world of difference.
Here’s how you can do it:
- Start with Damp Hair: Towel dry your hair until it’s damp, not dripping wet.
- This makes blow drying faster and more effective.
- Apply a Volumizing Mousse: Gently work a small amount of mousse through your damp hair.
- This adds body and lift.
- Blow Dry Upside Down: Flip your head upside down and blow dry your hair.
- This simple trick helps in creating volume at the roots.
- Use the Round Brush: While blow drying, use the round brush to lift sections of your hair from the roots. Roll the brush outwards to add volume and shape.
- Cool Shot: Once your hair is dry, use the cool shot button on your blow dryer.
- This sets the style and adds shine.
When I first started using these techniques, I noticed a huge difference.
My pixie cut went from flat to fabulous in no time.
Remember, practice makes perfect.
So keep at it, and soon you’ll be blow drying like a pro!
Styling With A Flat Iron
Styling your pixie cut with a flat iron can transform your look.
It allows for sleek, polished styles or fun, textured waves.
With the right techniques, your pixie cut can be versatile and chic.
Creating Sleek Looks
To achieve a sleek look, start with clean, dry hair.
Apply a heat protectant spray to prevent damage.
Use a fine-tooth comb to section your hair.
Take a small section and clamp the flat iron close to the roots.
Slowly glide it down to the ends.
Repeat this process for all sections.
This will give you a smooth, straight style.
Adding Texture And Waves
For a textured look, start with the same prep steps.
Clean, dry hair and heat protectant are key.
Section your hair as before.
Take a small section and clamp the flat iron near the roots.
Twist the flat iron as you glide it down.
This creates a wave.
Alternate the direction of the twists for a natural look. Continue until all sections are done.
Finish with a light hairspray for hold.
Using Styling Products
Hey there! If you’ve recently cut your hair into a pixie style, you might be wondering how to keep it looking great.
The secret?
The right styling products.
They can make all the difference in your hair routine.
From adding texture to keeping everything in place, let’s dive into how you can use these products to style your pixie haircut in just a few easy steps.
9. Choosing The Right Products
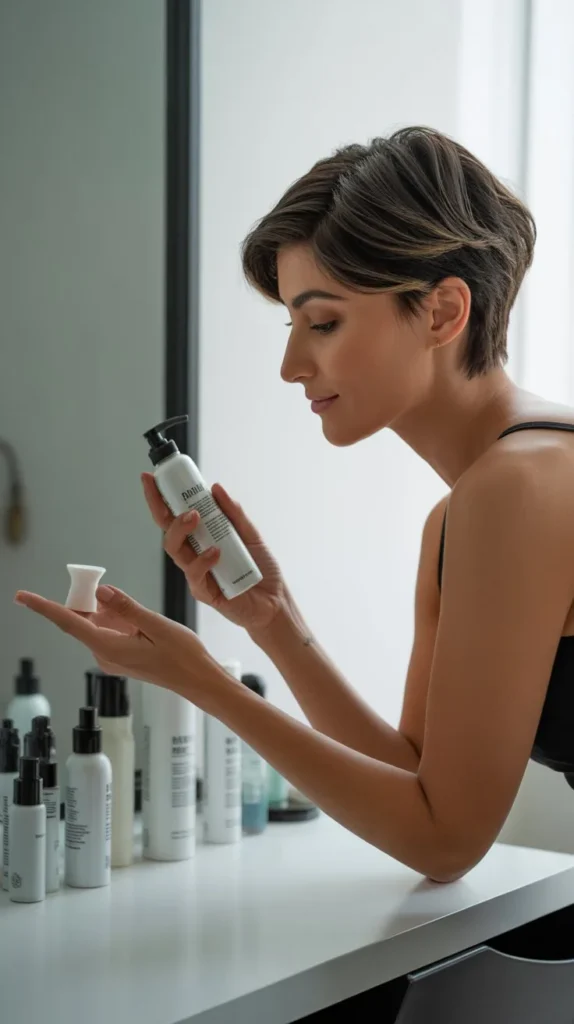
First things first, you need to pick the right products for your hair type and desired look.
It’s like choosing the right ingredients for a recipe.
Here’s a quick guide to help you out:
- Mousse: Great for adding volume. Perfect if you want a fuller look.
- Gel: Helps in achieving a sleek, wet look.
- Ideal for a more polished style.
- Wax or Pomade: These are for defining and texturizing.
- Best for a messy, tousled style.
- Hairspray: Perfect for holding everything in place.
- Use it to finish your style.
I remember when I first tried a pixie cut.
I was clueless about what products to use.
After experimenting, I found that a bit of wax gave me the texture I wanted, while a light hairspray kept everything in place without making my hair stiff.
10. Application Techniques
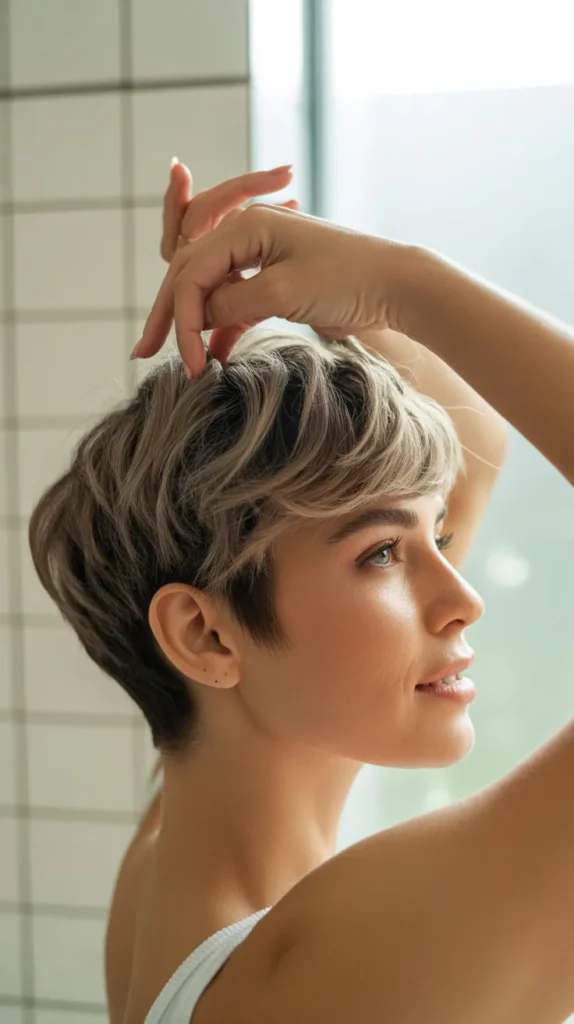
Once you’ve got your products, it’s time to apply them.
The trick is to use the right amount and the right method.
Here’s how to do it:
- Mousse: Shake the can and apply a small amount to your hand.
- Spread it through damp hair, from roots to tips, for added volume.
- Gel: Take a small dollop and work it through your hair, focusing on areas you want to look sleek. Comb through for a smooth finish.
- Wax or Pomade: Warm a small amount between your fingers.
- Scrunch or twist sections of your hair for a textured look.
- Less is more here.
- Hairspray: Hold the can at arm’s length and lightly mist over your hair.
- This will keep your style intact without making it crunchy.
I used to use too much product, making my hair look greasy.
But with practice, I learned to use just the right amount.
Now, my pixie looks effortlessly chic every day.
So, there you have it!
With the right products and techniques, styling your pixie cut can be quick and easy.
Give it a try and see how these tips work for you.
Finishing Touches
Finishing touches can make or break your pixie hairstyle.
These small steps give your look a polished and stylish finish.
They can enhance your overall appearance and make you feel confident.
Setting With Hairspray
After styling, use hairspray to hold your pixie cut in place.
A light mist will keep everything neat and tidy.
Ensure you spray from a distance to avoid clumps.
Choose a flexible hold hairspray.
It allows for natural movement while maintaining your style.
Adding Accessories
Accessories can elevate your pixie hairstyle.
Consider using headbands, clips, or small pins.
These can add a touch of personality and flair.
Choose accessories that match your outfit.
This creates a cohesive look.
Experiment with different placements.
You can clip a pin on the side or use a headband to push hair back.
These small changes can make a big impact.
Maintaining Your Pixie Cut
Maintaining a pixie cut can seem challenging, but it’s essential for keeping it stylish.
Regular care ensures your pixie cut remains fresh and flattering.
Here are some easy steps to help you maintain your pixie cut.
Regular Trims
Regular trims are crucial for a pixie cut.
Visit your stylist every 4 to 6 weeks.
This keeps the shape intact and removes split ends.
Trims help maintain the desired length and style.
Without them, your pixie cut may look untidy and overgrown.
Daily Care Tips
Daily care is vital for a pixie cut.
Use a lightweight shampoo and conditioner.
Avoid heavy products that can weigh your hair down.
Dry your hair gently with a towel.
Use a blow dryer with a diffuser for volume.
Apply a small amount of styling product.
A wax or pomade works well for pixie cuts.
Comb your hair with a wide-tooth comb.
It helps to avoid breakage.
For a sleek look, run a flat iron quickly through your hair.
This keeps it smooth and polished.
Lastly, avoid over-styling to keep your hair healthy.
Styling pixie hairstyles can be fun and easy. Follow the seven steps for a chic look.Remember, confidence is key.
Try different techniques to find your style.Enjoy the process and experiment. With practice, you’ll perfect your pixie hairstyle.
Keep it simple and stylish.Make your pixie cut your own. Happy styling!