Embarking on woodworking projects can be both fulfilling and therapeutic.
Whether you’re a novice aiming to craft your first piece or an experienced artisan seeking new challenges, understanding the fundamentals is crucial.
In this article, How to Make Wood Projects, we’ll delve into essential aspects of woodworking—from selecting the right materials to mastering finishing techniques.
By the end, you’ll be equipped with the insights needed to bring your creative visions to life.
1. Understanding Wood Types
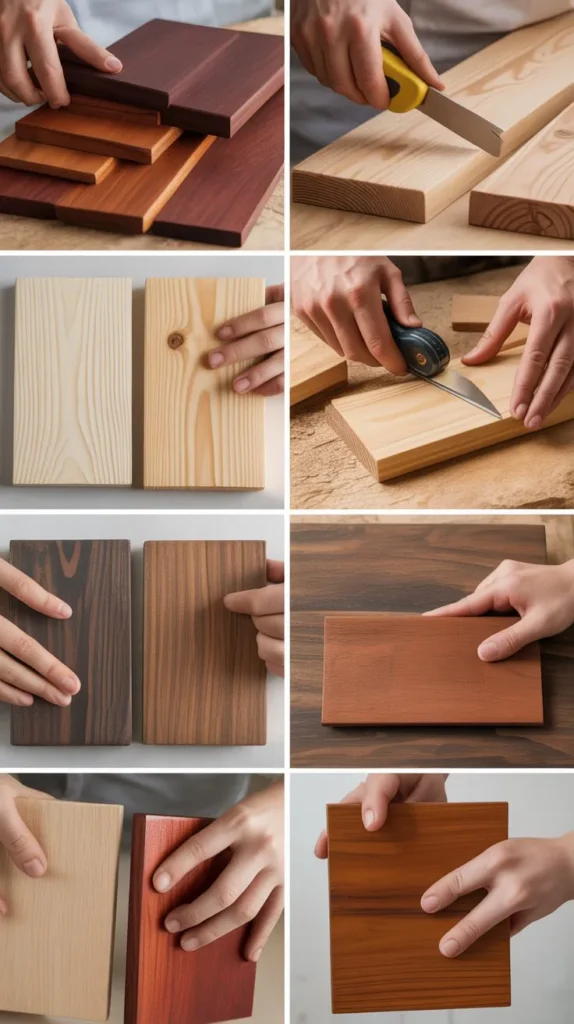
Before diving into any project, it’s vital to comprehend the different wood types available.
- Hardwoods: Derived from deciduous trees, hardwoods like oak, maple, and cherry are known for their durability and fine grain. They’re ideal for furniture and flooring.
- Softwoods: Sourced from coniferous trees, softwoods such as pine, cedar, and fir are easier to work with and are commonly used in construction and outdoor projects.
- Engineered Woods: These include plywood, MDF, and particleboard. They’re manufactured by binding wood fibers or veneers and are often used in cabinetry and furniture due to their stability and cost-effectiveness.
Understanding the characteristics of each wood type ensures you select the most suitable material for your project, balancing aesthetics, functionality, and budget.
2. Essential Tools for Woodworking
Equipping yourself with the right tools is paramount for successful woodworking.
- Measuring and Marking Tools: Tape measures, squares, and marking gauges ensure precision in your cuts and assemblies.
- Cutting Tools: Handsaws, circular saws, and jigsaws allow for various cuts, from straight lines to intricate curves.
- Shaping Tools: Chisels, planes, and routers help in refining shapes and creating joints.
- Assembly Tools: Hammers, mallets, clamps, and screwdrivers are essential for putting pieces together securely.
- Finishing Tools: Sanders, brushes, and sprayers assist in achieving a smooth and polished finish.
Investing in quality tools and maintaining them properly will enhance your craftsmanship and safety.
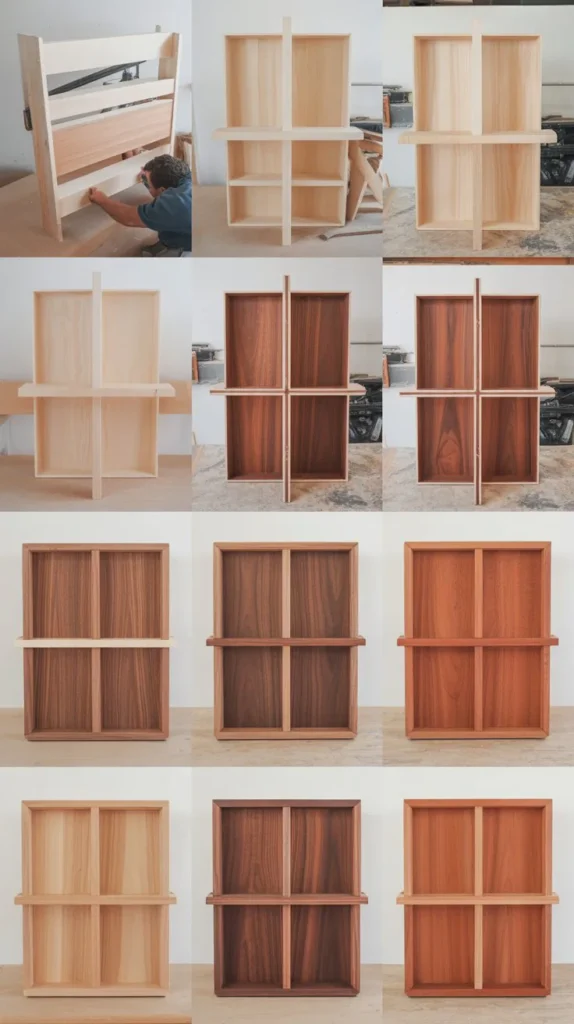
3. Planning Your Project
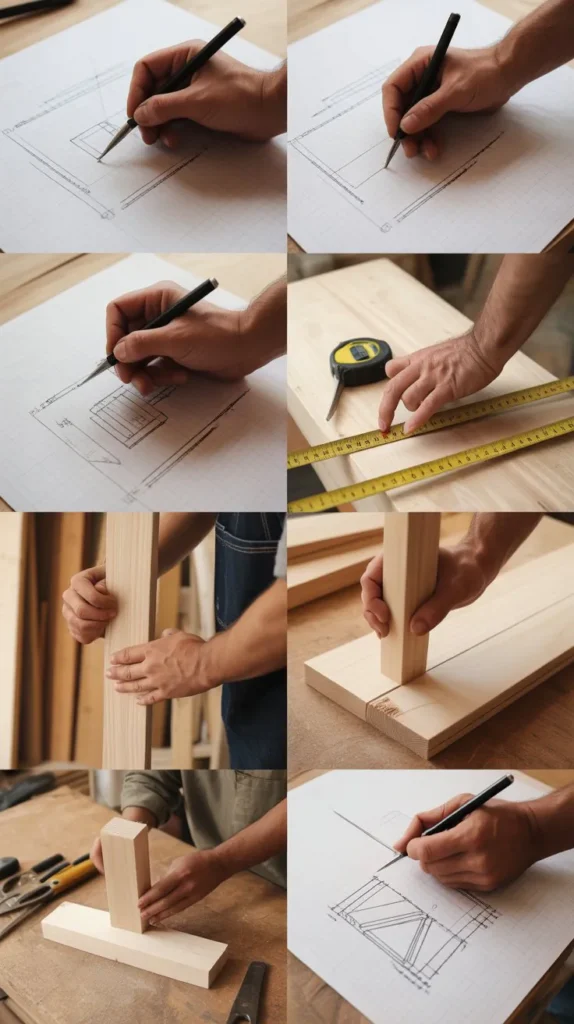
A well-thought-out plan is the backbone of any successful woodworking project.
- Design and Sketch: Begin by visualizing your project and sketching it out. Consider dimensions, functionality, and aesthetics.
- Material List: Compile a comprehensive list of required materials, including wood types, fasteners, and finishes.
- Cut List: Detail every piece you need to cut, specifying dimensions and quantities.
- Step-by-Step Process: Outline the sequence of operations, from cutting and assembling to finishing.
Proper planning minimizes errors, saves time, and ensures a smoother building process.
4. Safety First

Woodworking involves tools and processes that can be hazardous if not handled correctly.
- Personal Protective Equipment (PPE): Always wear safety glasses, hearing protection, and dust masks when necessary.
- Tool Safety: Ensure tools are in good condition, and always follow the manufacturer’s guidelines.
- Workspace: Keep your workspace clean and organized to prevent accidents.
Prioritizing safety protects you and enhances your focus and efficiency.
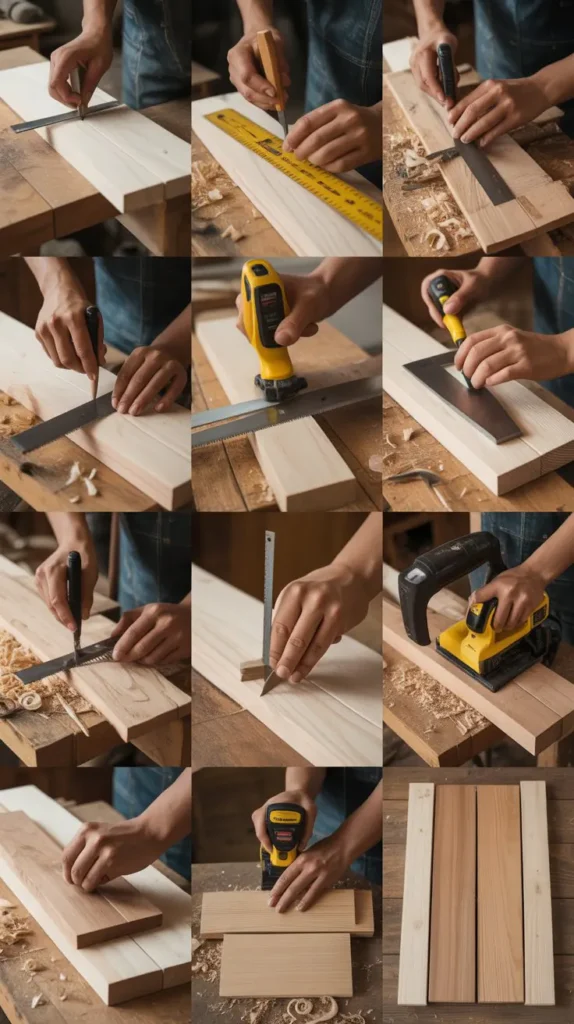
5. Cutting and Shaping Wood
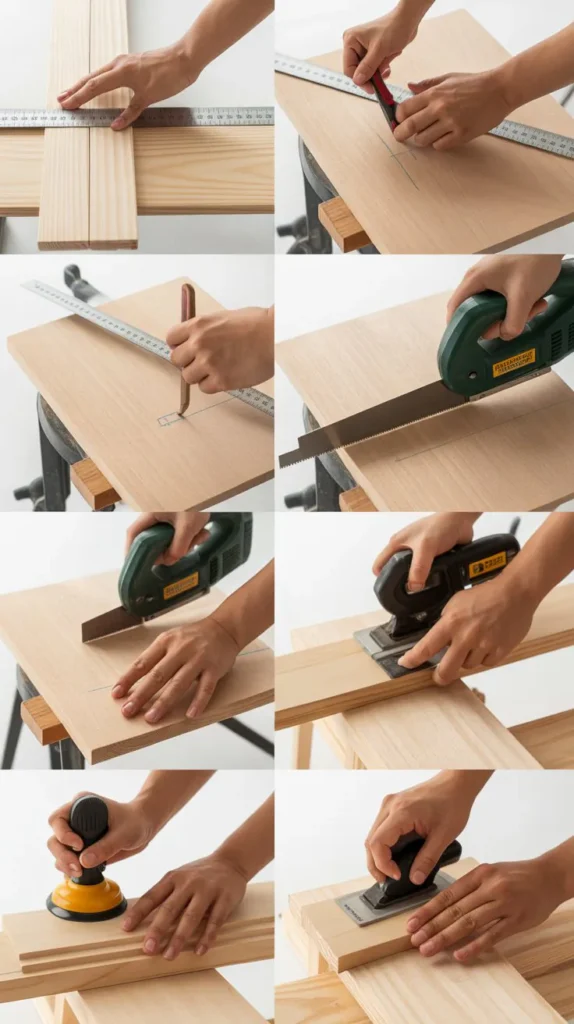
Accurate cutting and shaping are crucial for the integrity and appearance of your project.
- Measuring Twice: Always double-check measurements before cutting to avoid mistakes.
- Using Guides: Employ fences and guides to ensure straight and consistent cuts.
- Shaping Techniques: Utilize chisels and routers to create joints and decorative elements.
Mastering these techniques will elevate the quality and precision of your work.
6. Cutting and Shaping Wood
Strong and precise joints are essential for the durability and aesthetics of your project.
- Butt Joints: Simple and quick, suitable for basic frames.
- Dado and Rabbet Joints: Provide more surface area for gluing, enhancing strength.
- Mortise and Tenon: Traditional joints known for their robustness, ideal for furniture.
- Pocket Hole Joinery: Modern technique allowing for hidden screws and quick assembly.
Selecting the appropriate joint type depends on the project’s requirements and your skill level.
7. Sanding and Surface Preparation
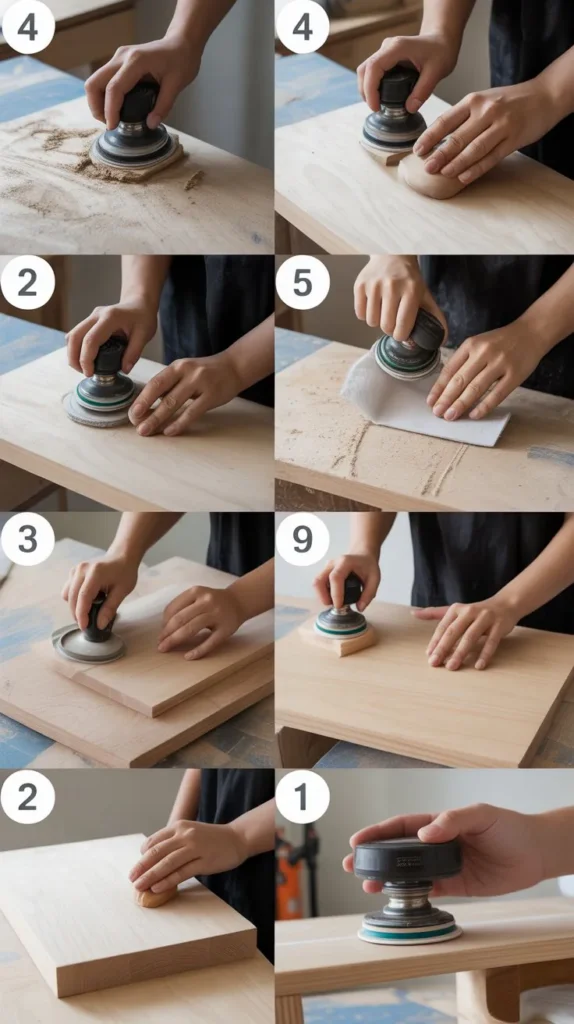
Preparing the wood surface is vital for a flawless finish.
- Grit Progression: Start with coarse grit to remove imperfections and progress to finer grits for a smooth surface.
- Sanding Techniques: Always sand along the grain to prevent scratches.
- Cleaning: Remove dust thoroughly before applying any finish.
Proper surface preparation ensures the finish adheres well and enhances the wood’s natural beauty.
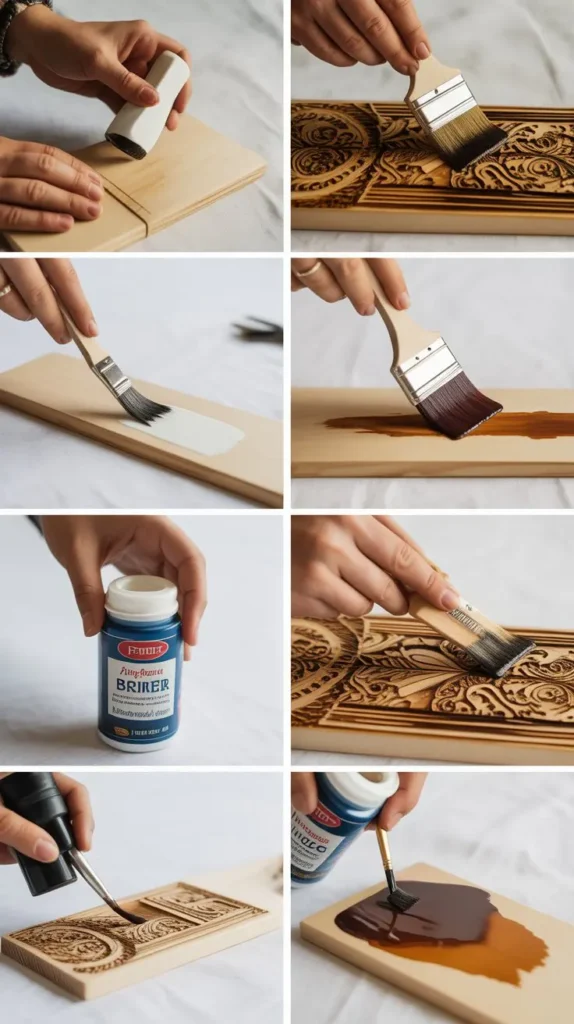
8. Finishing Touches
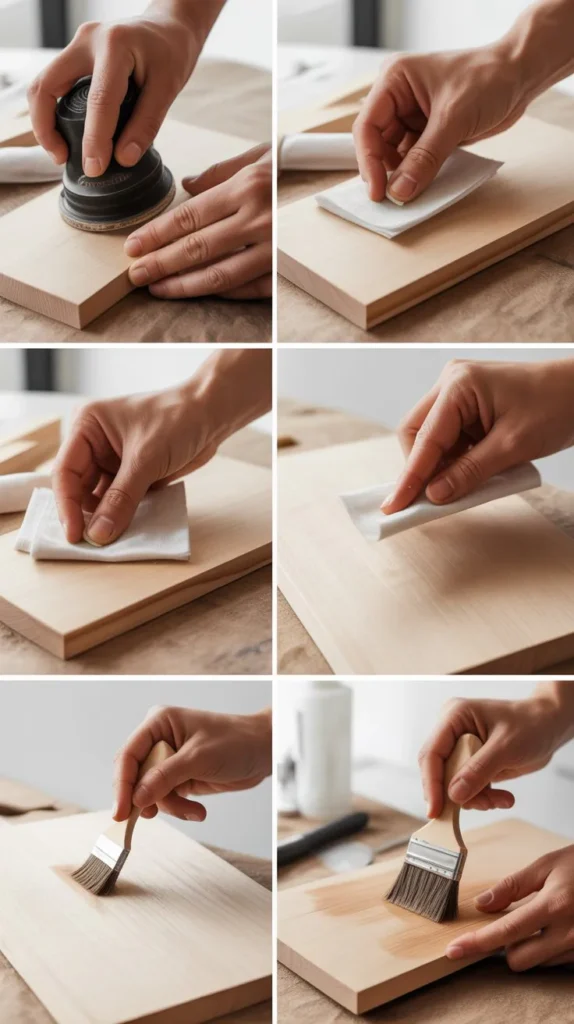
Applying the right finish protects the wood and accentuates its appearance.
- Stains: Add color while allowing the grain to show through.
- Paints: Offer a solid color and can add a modern touch.
- Varnishes and Polyurethanes: Provide a protective layer against moisture and wear.
- Oils and Waxes: Penetrate the wood, offering a natural look and feel.
Choose a finish that aligns with your project’s purpose and desired aesthetic.
9. Maintenance and Care
Ensuring the longevity of your wood projects involves regular maintenance.
- Cleaning: Use appropriate cleaners to remove dust and grime.
- Repairs: Address any damages promptly to prevent further deterioration.
- Refinishing: Periodically reapply finishes to maintain protection and appearance.
Regular care keeps your creations looking their best for years to come.
Conclusion
Embarking on woodworking projects is a rewarding endeavor that combines creativity, skill, and practicality.
By understanding the fundamentals outlined in How to Make Wood Projects, you’re well on your way to crafting pieces that are both functional and beautiful.
Remember, patience and practice are key—each project is an opportunity to learn and grow as a woodworker. Happy building!
Feel free to reach out if you’d like more detailed guides on specific woodworking techniques or projects!