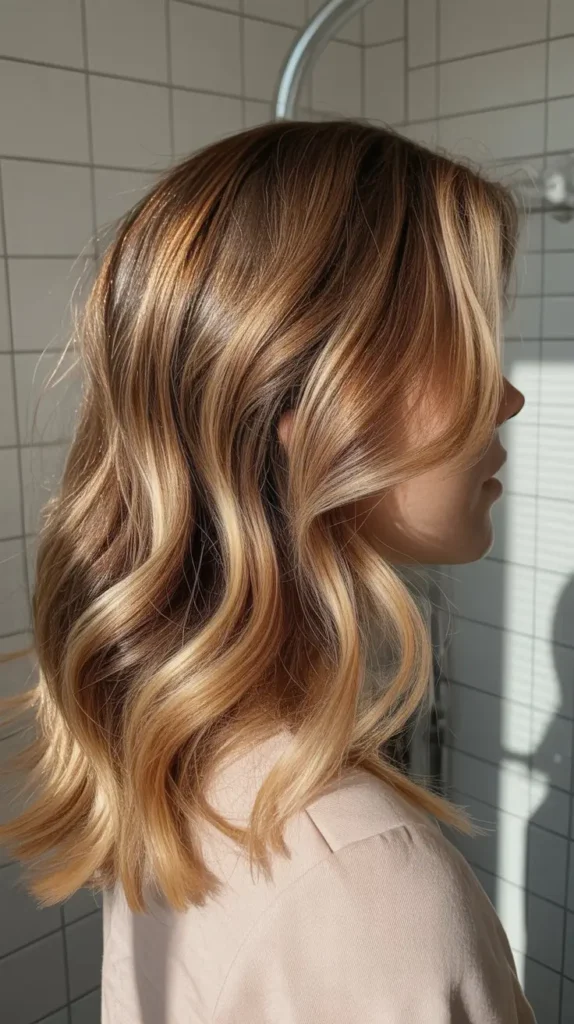
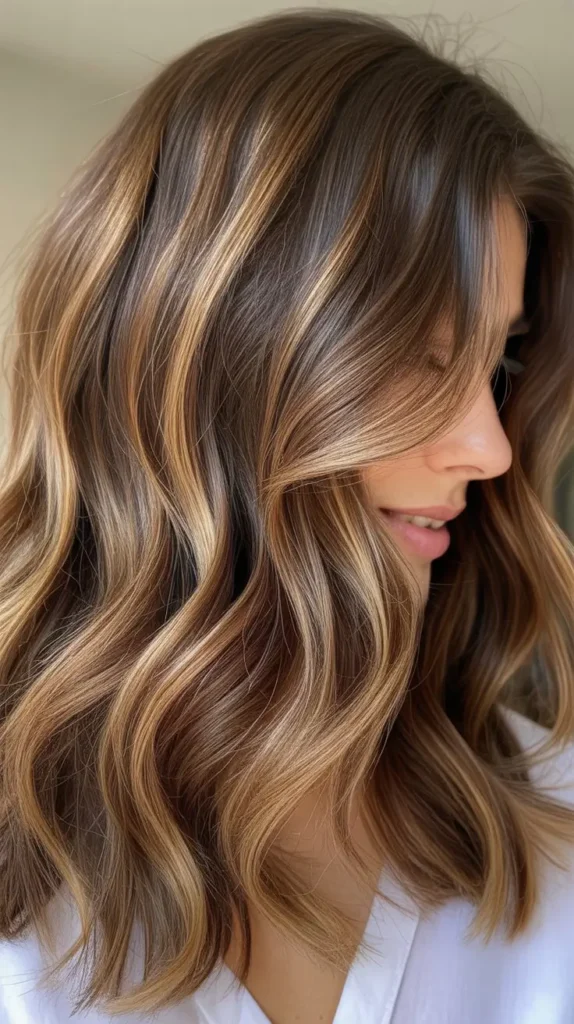
Want to highlight your hair at home? You can do it yourself with the right tools and technique.
Highlighting your hair at home can save you time and money. It’s a fun way to change your look without a trip to the salon.
With some patience and a steady hand, you can achieve salon-quality highlights. You need to choose the right kit and follow simple steps.
This guide will help you understand how to highlight your hair, what tools to use, and how to avoid common mistakes.
By the end, you’ll feel confident in giving yourself those beautiful highlights you’ve always wanted. Let’s get started on your hair transformation journey!
1. Gathering Supplies
Highlighting your hair at home can be a fun and cost-effective way to change your look. Before you start, it’s important to gather all the necessary supplies.
Having everything ready will make the process smoother and more enjoyable.
Essential Tools
First, make sure you have the right tools. You will need a mixing bowl, hair clips, a comb, and a brush. Use a wide-tooth comb for detangling your hair.
Hair clips help section your hair. A brush ensures even application of the dye.
Don’t forget gloves to protect your hands. An old towel or a cape will protect your clothes. Aluminum foil or a highlighting cap can help with the highlighting process.
2. Choosing The Right Dye
Choosing the right dye is crucial. Pick a dye that is suitable for your hair type. Semi-permanent dyes are a good choice for beginners. They are less damaging and fade gradually.
Consider the color you want to achieve. If you have dark hair, you might need a bleach kit. For lighter hair, a simple highlighting kit may be enough.
Always do a strand test first. This helps you see how the dye will look on your hair.
Read the instructions on the dye package. Follow them carefully to get the best results. Having the right supplies ready is half the battle.
Now, you are one step closer to beautiful, highlighted hair.
3. Preparation
Highlighting your hair at home can be a fun and rewarding experience. Proper preparation is key to achieving salon-quality results. Let’s explore some essential steps to get you ready for this exciting process.
Protecting Your Space
Start by protecting your space. Cover your floor with old towels or newspapers. Wear an old shirt or a hairdressing cape. This helps avoid any stains or spills. You want to keep your surroundings clean and tidy.
4. Sectioning Your Hair

Sectioning your hair is crucial for even highlights. Use hair clips to divide your hair into manageable parts.
Start by parting your hair down the middle. Then, create smaller sections from ear to ear. Work on one section at a time. This ensures you apply the dye evenly.
5. Mixing The Dye
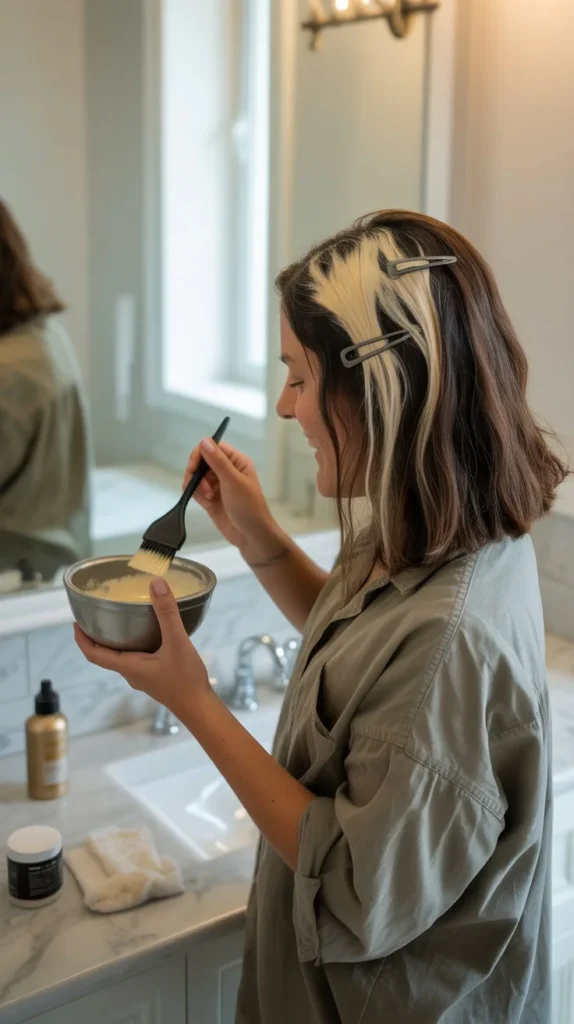
Mixing the dye is a crucial step in highlighting your hair at home. It ensures even color distribution and beautiful results.
Follow the instructions carefully for the best outcome. Let’s dive into the specifics of mixing the dye.
Reading Instructions
Always start by reading the instructions on the dye package. Each brand may have different directions.
Reading them ensures you avoid mistakes. Pay attention to the mixing ratio. This determines the dye’s effectiveness.
6. Achieving The Perfect Consistency

Getting the right consistency is key. Pour the dye and developer into a bowl. Mix them until smooth. The mixture should not be too thick or too runny. This allows for easy application and even coverage.
Use a brush to mix the dye and developer. Stir slowly to avoid air bubbles. Bubbles can affect the dye’s performance. Consistent stirring ensures a uniform blend.
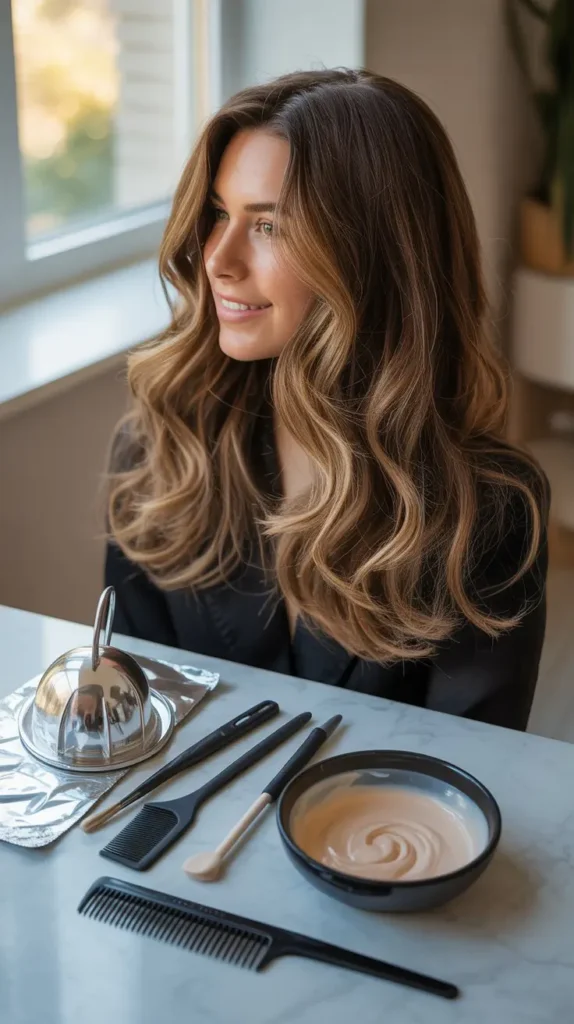
7. Applying The Highlights
So, you’ve decided to take the plunge and highlight your hair at home. Great choice! But now comes the tricky part—applying the highlights. Don’t worry, though.
With a bit of patience and careful technique, you’ll be able to achieve those stunning streaks without a salon visit. Let’s dive into the details.
8. Using Foils
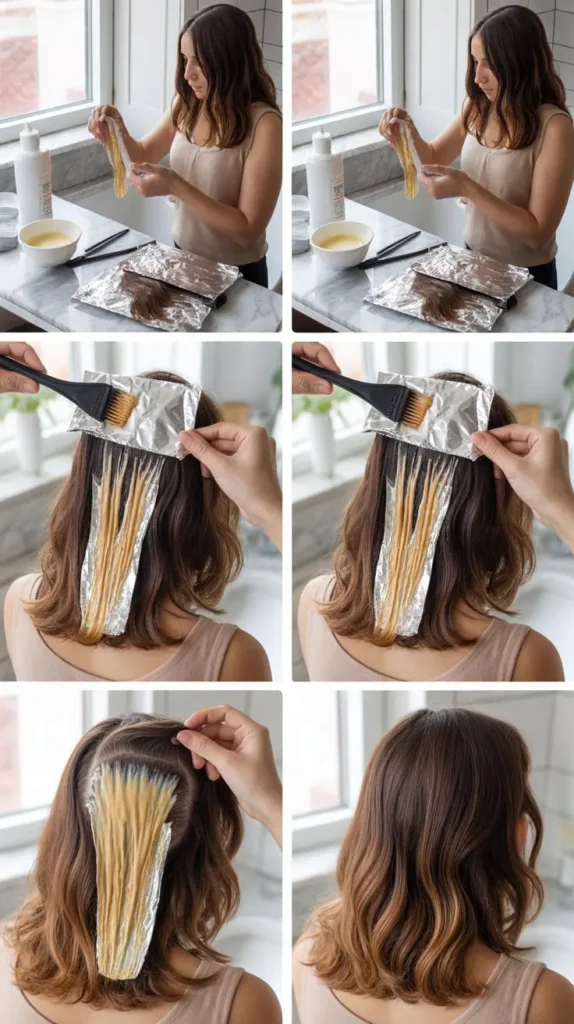
Foils are a popular method for highlighting hair, especially if you’re aiming for precise, well-defined streaks. Here’s how you can do it:
- Prepare Your Foils: Cut strips of aluminum foil into pieces that are about 4 inches wide and long enough to cover the length of your hair.
- Section Your Hair: Divide your hair into small sections using clips. It’s easier to work with smaller sections, especially if you’re new to this.
- Apply the Bleach: Place a strip of foil under the section of hair you want to highlight. Apply bleach or dye from the roots to the tips using a brush.
- Fold the Foil: Fold the foil over the hair to cover it completely. This keeps the bleach from touching other parts of your hair.
- Repeat: Continue this process for all the sections you want to highlight. Keep an eye on the time to avoid over-processing.
Using foils might seem a bit daunting at first, but it’s a fantastic way to get those clean, salon-quality highlights. And remember, practice makes perfect!
9. Freehand Techniques
If you prefer a more natural, sun-kissed look, freehand techniques might be the way to go. This method is less structured and can be quicker than using foils. Here’s how to do it:
- Mix Your Dye: Prepare your bleach or dye according to the instructions. Make sure you’re wearing gloves to protect your hands.
- Section Your Hair: Just like with foils, divide your hair into sections. This helps you apply the dye evenly.
- Apply the Dye: Use a brush or even your fingers to apply the dye. Start from the mid-lengths and work towards the ends, avoiding the roots for a more natural look.
- Blend It In: For a softer effect, use a comb to blend the dye through your hair. This ensures there are no harsh lines.
- Check the Time: Keep an eye on the clock! Over-processing can lead to unwanted results.
Freehand techniques give you more freedom and can be less intimidating than using foils. Plus, it’s a fun way to add some creativity to your hair routine.
So, whether you choose the precision of foils or the flexibility of freehand, highlighting your hair at home can be a rewarding and enjoyable experience. Happy highlighting!
10. Timing

Timing is crucial when highlighting your hair at home. Getting the timing right ensures your highlights look natural and vibrant.
It can be the difference between beautiful highlights and a hair disaster.
Monitoring The Process
Keep a close eye on your hair throughout the process. Set a timer as soon as you apply the bleach.
This helps you avoid leaving the bleach on for too long. Check your hair every five minutes. This allows you to see how the color is developing.
Use a mirror to inspect the highlights at the back of your head. Make sure you do not miss any areas. Pay extra attention to the roots and tips. These areas can process faster than the rest of your hair.
11. Avoiding Over-processing
Over-processing can damage your hair. It can make it dry and brittle. To avoid this, stick to the recommended processing time.
Most kits suggest leaving the bleach on for 20 to 30 minutes. Do not exceed this time.
If your hair is fine or damaged, reduce the time. Check your hair frequently. If you achieve the desired color sooner, rinse it out immediately.
After rinsing, use a deep conditioner. This helps restore moisture and strength to your hair. Conditioning is an essential step in avoiding damage.
12. Rinsing And Conditioning
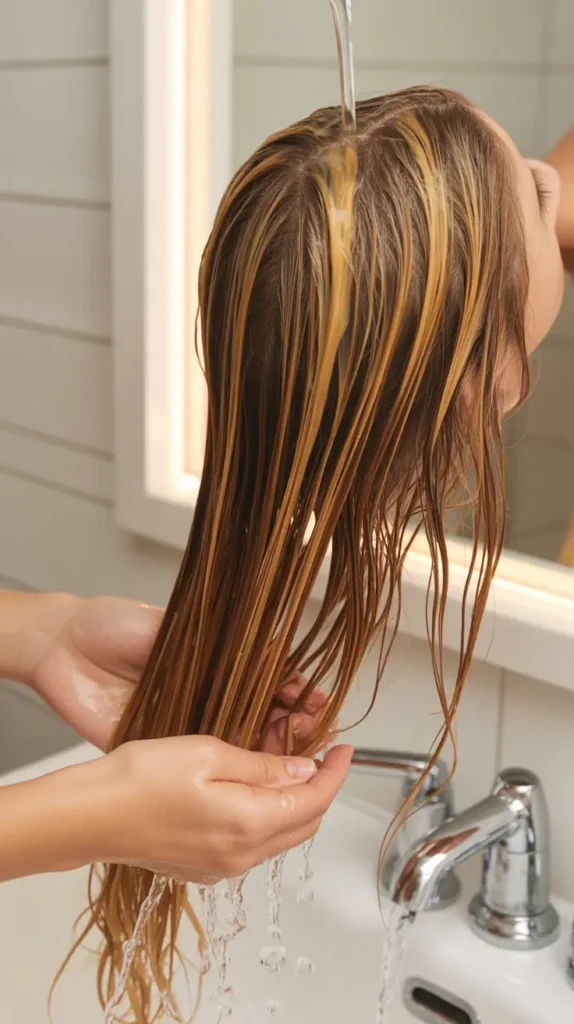
Highlighting your hair at home can be an exciting DIY project. After applying your highlights, the next steps are crucial.
Rinsing and conditioning your hair properly will ensure your highlights look their best. These steps also help keep your hair healthy and shiny.
13. Proper Rinsing Techniques
Begin by rinsing your hair with lukewarm water. Hot water can damage your hair and scalp. Rinse until the water runs clear.
This ensures all the highlighting product is removed. Use your fingers to gently massage your scalp. This helps remove any remaining product.
Avoid scrubbing your hair harshly. Being gentle prevents unnecessary breakage.
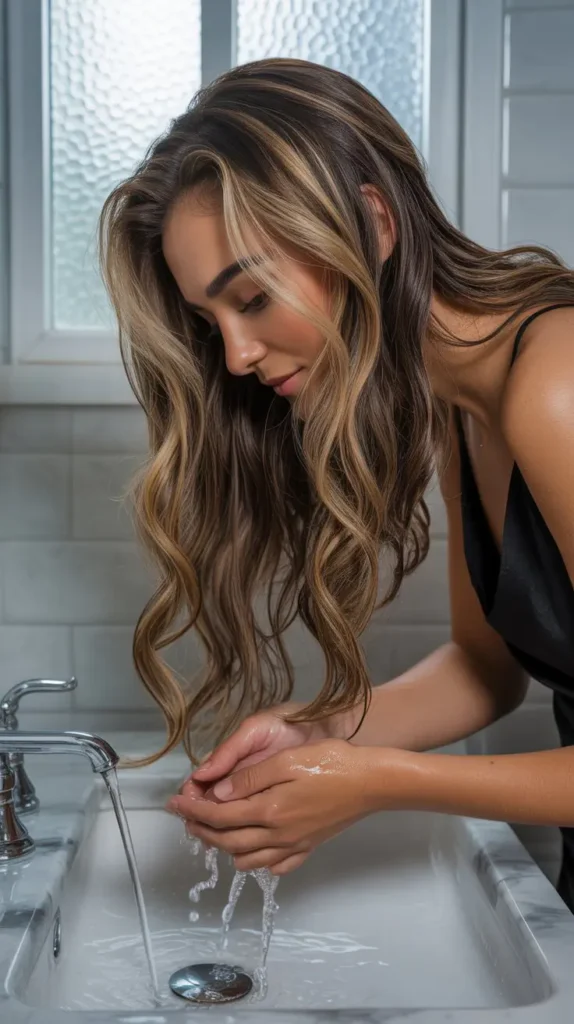
Deep Conditioning
After rinsing, apply a deep conditioner to your hair. This step is vital to restore moisture. Apply the conditioner evenly, focusing on the ends of your hair.
Leave it on for at least 5-10 minutes. This allows the conditioner to penetrate deeply. Rinse the conditioner out with cool water.
Cool water helps seal the hair cuticle. This makes your hair look smooth and shiny.
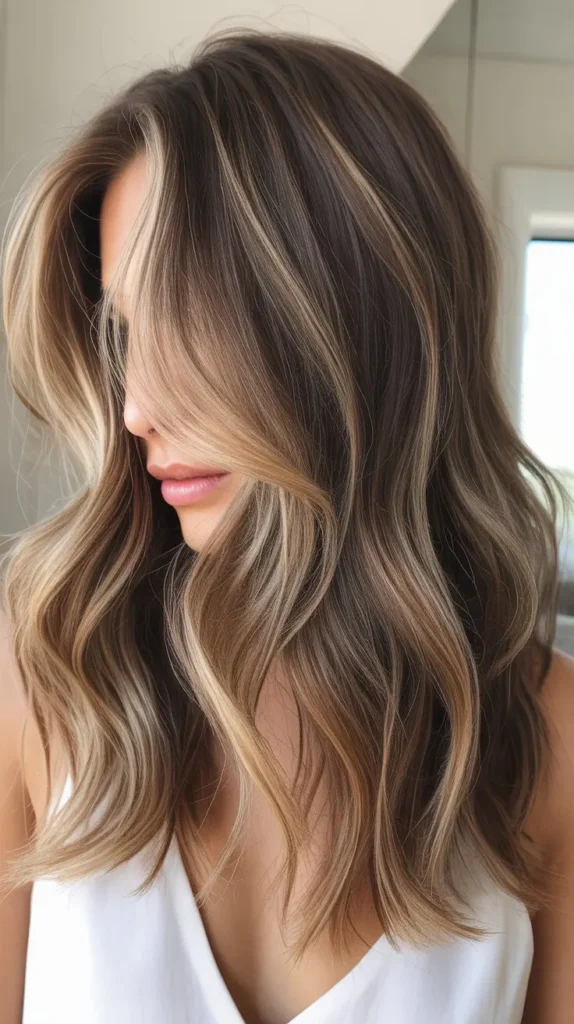
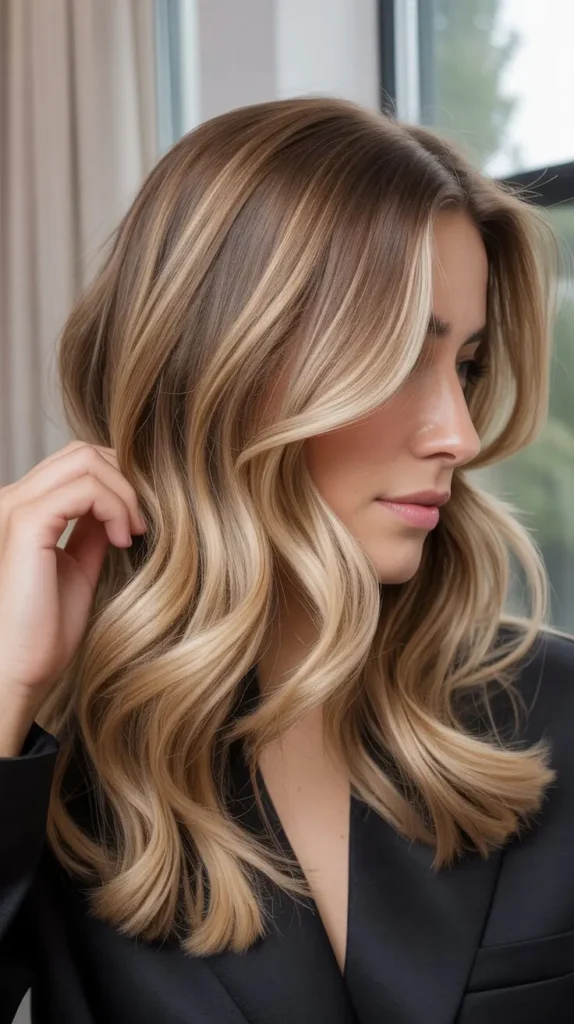
Styling Your New Highlights
Have you just added some fabulous highlights to your hair at home? Now, you’re probably wondering how to style your new look without causing any damage. Worry not!
In this section, we will guide you through the process of styling your new highlights, ensuring they stay vibrant and your hair remains healthy.
Let’s get started with some essential tips!
14. Drying Tips

First things first, let’s talk about drying your hair. After highlighting, your hair might be more sensitive and prone to dryness. Here are some easy-to-follow tips:
- Pat dry with a towel: Instead of rubbing your hair with a towel, gently pat it to remove excess water. This helps prevent breakage and frizz.
- Use a microfiber towel: A microfiber towel is gentler on your hair and can help reduce drying time.
- Air-dry when possible: If you have the time, let your hair air-dry to minimize heat damage. Just make sure to comb it gently to avoid tangles.
Heat Protection
Using heat styling tools like blow dryers, curling irons, and straighteners can be a quick way to style your hair. However, it’s important to protect your highlights from heat damage. Here’s how:
- Apply a heat protectant: Before using any heat tool, apply a heat protectant spray or serum to your hair. This creates a barrier between your hair and the heat, reducing damage.
- Use the right temperature: Set your styling tools to a moderate heat setting. High temperatures can strip your hair of its natural moisture, leading to dryness and breakage.
- Limit heat usage: Try not to use heat styling tools every day. Give your hair a break to maintain its health and the vibrancy of your highlights.
Styling your new highlights doesn’t have to be stressful. With these tips, you can keep your hair looking fabulous and healthy.
Remember, the key is to be gentle and protective of your hair. Now go ahead and rock those new highlights with confidence!
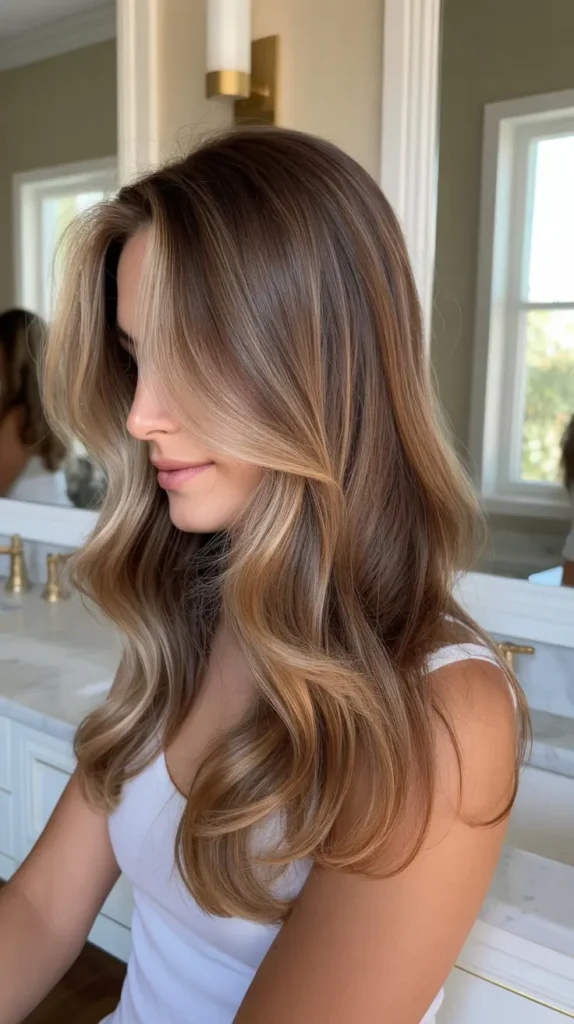
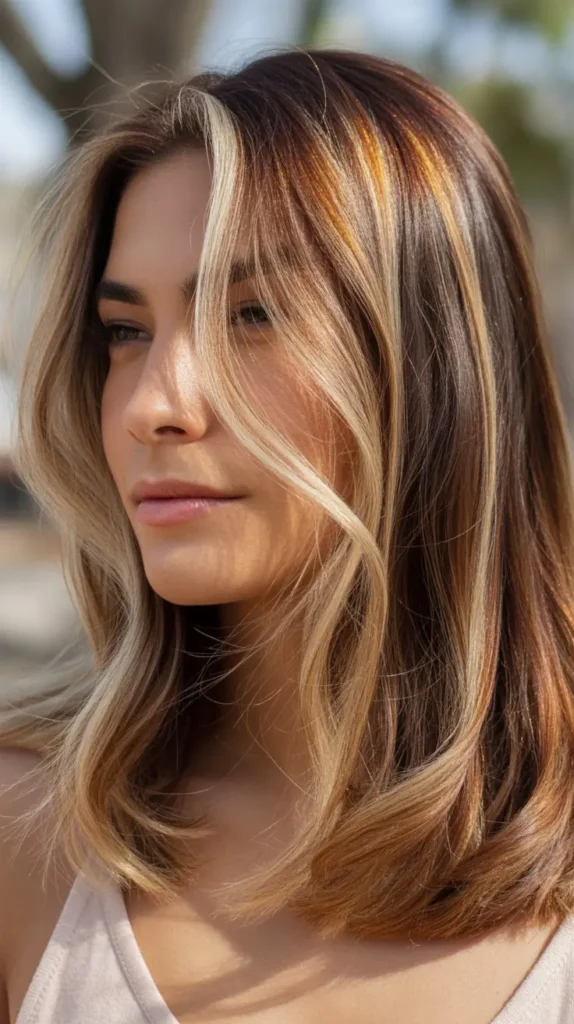
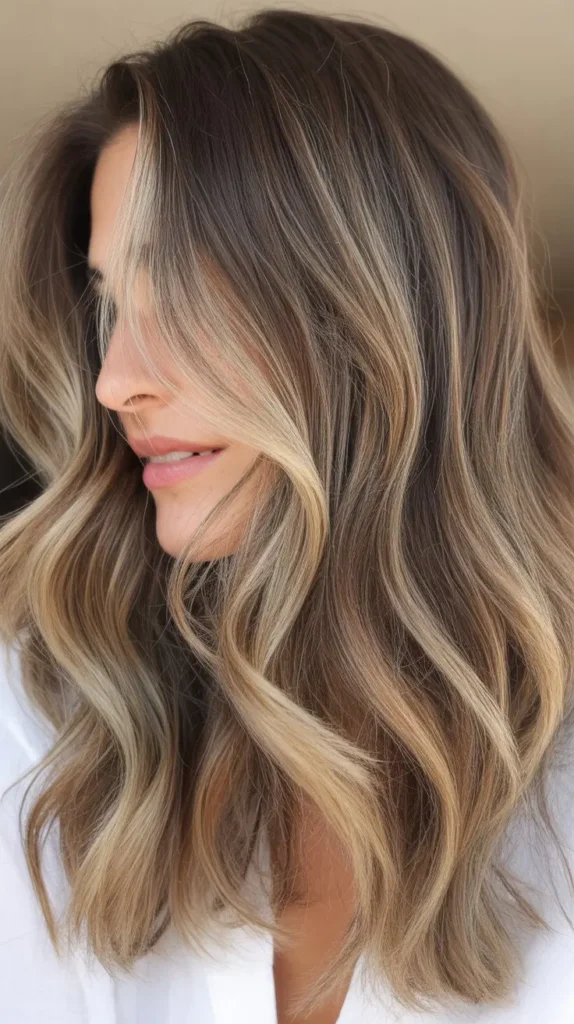
15. Maintaining Your Highlights

Maintaining your highlights at home can be straightforward with the right care. Proper maintenance keeps your hair vibrant and healthy.
This guide will help you with simple tips for maintaining your highlights.
16. Using Color-safe Products
Color-safe products protect your highlights from fading. Use shampoos and conditioners specifically for colored hair.
These products lock in color and moisture. Avoid products with sulfates, as they strip the color from your hair.
Sulfate-free shampoos are gentler on your highlights. Also, use deep conditioners weekly. They keep your hair hydrated and soft.
17. Scheduling Touch-ups
Regular touch-ups are essential for maintaining your highlights. Plan to touch up your roots every 6-8 weeks.
Doing so keeps your highlights looking fresh and even. Use a highlighting kit designed for home use.
Follow the instructions carefully to avoid damaging your hair. Also, consider using a toner between touch-ups. Toners help maintain the brightness and tone of your highlights.
Frequently Asked Questions
What Is The Easiest Way To Highlight Your Hair At Home?
Use a highlighting kit for easy at-home hair highlights. Follow instructions carefully, section hair, and apply evenly.
Can You Put Highlights In Your Hair By Yourself?
Yes, you can highlight your hair by yourself. Use a highlighting kit, follow instructions carefully. Practice patience for best results.
What Products Do You Need To Give Yourself Highlights?
You need a highlighting kit, gloves, a brush, a comb, hair clips, and a toner.
What Is The Least Damaging Way To Highlight Hair?
Use balayage or foiling techniques with ammonia-free, low-volume bleach. Opt for deep conditioning treatments to minimize damage.
Conclusion
Highlighting your hair at home can be fun and rewarding. Follow the steps carefully to achieve great results. Always do a patch test first to avoid allergic reactions.
Use the right products for your hair type to prevent damage. Take your time and apply the highlights evenly for a natural look.
With practice, you’ll get better at it. Enjoy your new look and save money by skipping the salon. Happy highlighting!