Are you tired of wearing the same hairstyle every day?
Medium-length hair is the perfect canvas for creating gorgeous, versatile looks that can take you from casual mornings to elegant evenings.
Whether you’re preparing for a special occasion or simply want to refresh your everyday style, mastering a few key techniques can completely transform your appearance.
In this comprehensive guide on How to Hairstyles for Medium Hair: 8 Easy Steps to Stunning Looks, you’ll discover professional styling methods that work for every hair type and texture.
From effortless waves to sophisticated updos, these eight practical steps will equip you with the skills to create salon-worthy hairstyles in the comfort of your own home, saving you time and money while boosting your confidence with every look you try.
1. Preparing Your Hair: The Foundation for Perfect Styling
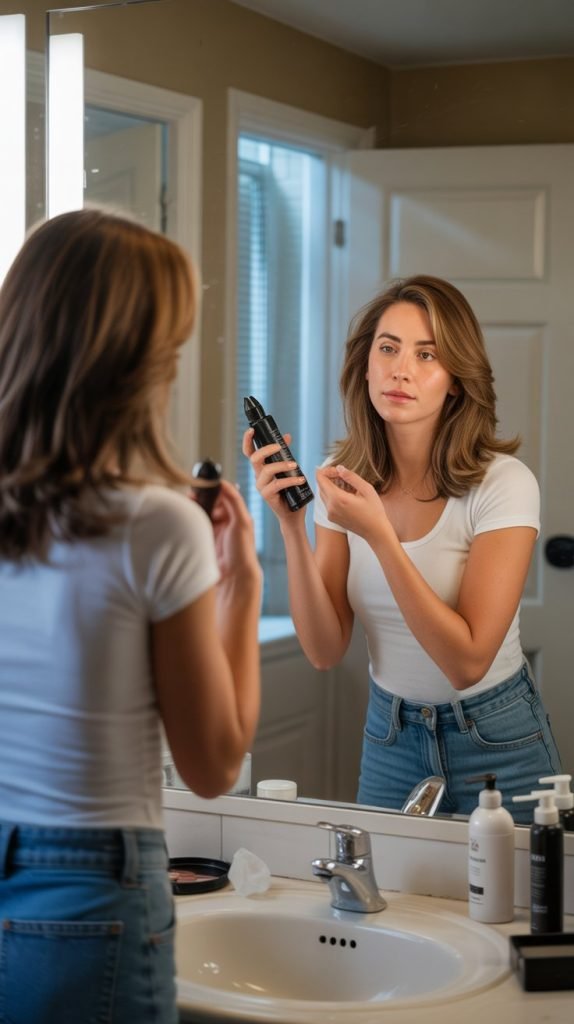
Before diving into any hairstyle, proper preparation is essential for achieving long-lasting, beautiful results.
Clean, well-conditioned hair provides the ideal base for styling, while the right products can make the difference between a look that falls flat and one that stays gorgeous all day.
- Start with freshly washed hair using a shampoo and conditioner suited to your hair type, whether it’s fine, thick, curly, or straight.
- Apply a heat protectant spray evenly throughout your hair to prevent damage from styling tools like blow dryers, flat irons, and curling wands.
- Towel-dry gently by blotting rather than rubbing to minimize frizz and breakage, especially important for maintaining healthy medium-length hair.
- Detangle carefully using a wide-tooth comb or a specialized detangling brush, starting from the ends and working your way up to the roots.
- Apply styling products strategically such as mousse for volume, smoothing serum for shine, or texturizing spray for grip, depending on your desired final look.
- Blow-dry with intention using a round brush to add volume at the roots or a paddle brush for sleek, straight styles, directing airflow down the hair shaft to seal the cuticle.
According to professional hair care experts at the American Academy of Dermatology, proper hair preparation significantly reduces styling damage and improves the longevity of your hairstyle.
2. Creating Effortless Beach Waves
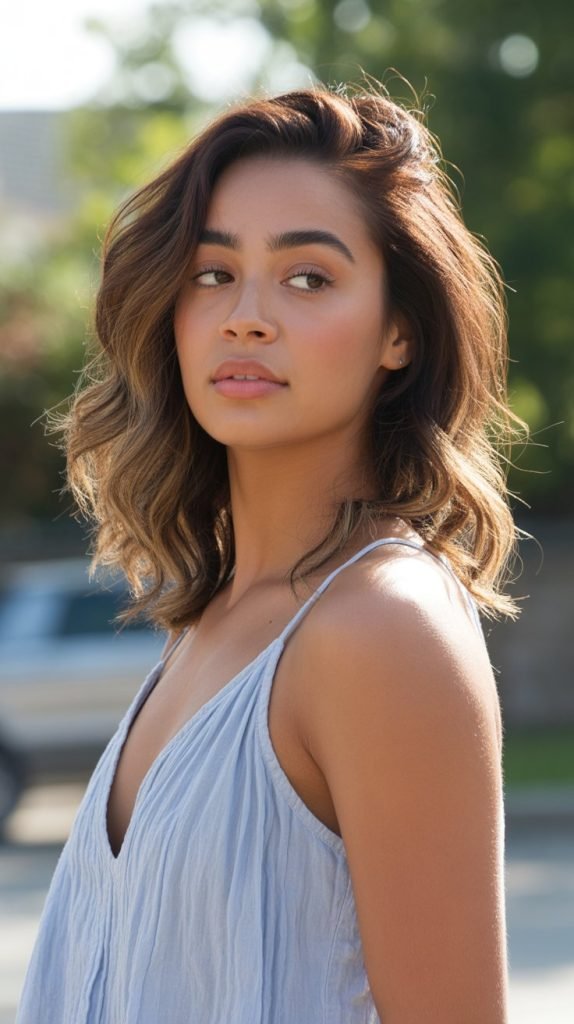
Beach waves are one of the most popular and versatile hairstyles for medium hair, offering a relaxed yet polished look that works for virtually any occasion.
This timeless style adds texture and movement without appearing overly formal or structured.
- Section your hair into manageable portions by dividing it into four to six sections, securing each with clips to ensure even heat distribution during styling.
- Heat your curling wand or iron to approximately 300-350°F (150-175°C), adjusting based on your hair thickness—finer hair requires lower temperatures while thicker hair needs more heat.
- Wrap hair around the barrel holding the tool vertically and leaving the ends out for a more natural, undone appearance rather than perfect ringlets.
- Alternate the direction of each curl, wrapping some pieces away from your face and others toward it to create a more organic, tousled effect.
- Allow curls to cool completely before touching them, either by gently pinning them in place or simply letting them set naturally for maximum hold.
- Break up the waves by running your fingers through your hair or using a wide-tooth comb for a softer, more relaxed finish.
- Set with texturizing spray or sea salt spray to add grip and definition while maintaining the effortless, beachy aesthetic.
- Optional finishing touch includes scrunching hair gently upward to enhance texture or adding a small amount of hair oil to the ends for shine without weight.
3. Mastering the Classic Half-Up, Half-Down Style
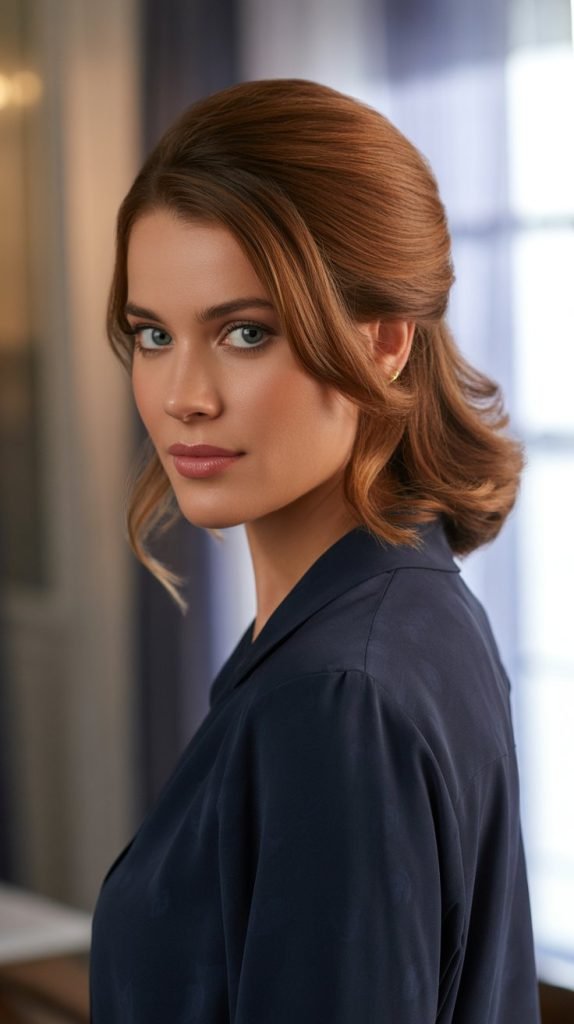
The half-up, half-down hairstyle is a timeless classic that beautifully showcases medium-length hair while keeping it practical and elegant.
This versatile look balances sophistication with effortlessness, making it perfect for both casual outings and formal events.
- Create your desired base texture first, whether that’s straight, wavy, or curly, as this will be the foundation visible in the lower half of your hair.
- Section the top portion by placing your fingers at temple level and drawing them back horizontally, gathering hair from the crown and sides.
- Secure with appropriate fasteners using bobby pins for a sleek look, a decorative clip for added style, or a clear elastic for an invisible hold.
- Add volume at the crown by gently backcombing or teasing the roots before securing, then smoothing the top layer for a polished appearance with hidden lift.
- Twist or braid the top section before pinning for added visual interest, creating variations like twisted sides meeting at the back or a small braid accent.
- Pull out face-framing pieces strategically by releasing small sections near your temples to soften the look and create a more romantic, relaxed feel.
- Secure firmly but comfortably ensuring the style will last throughout the day without causing tension headaches or leaving visible marks in your hair.
4. Styling Sleek and Straight Sophistication
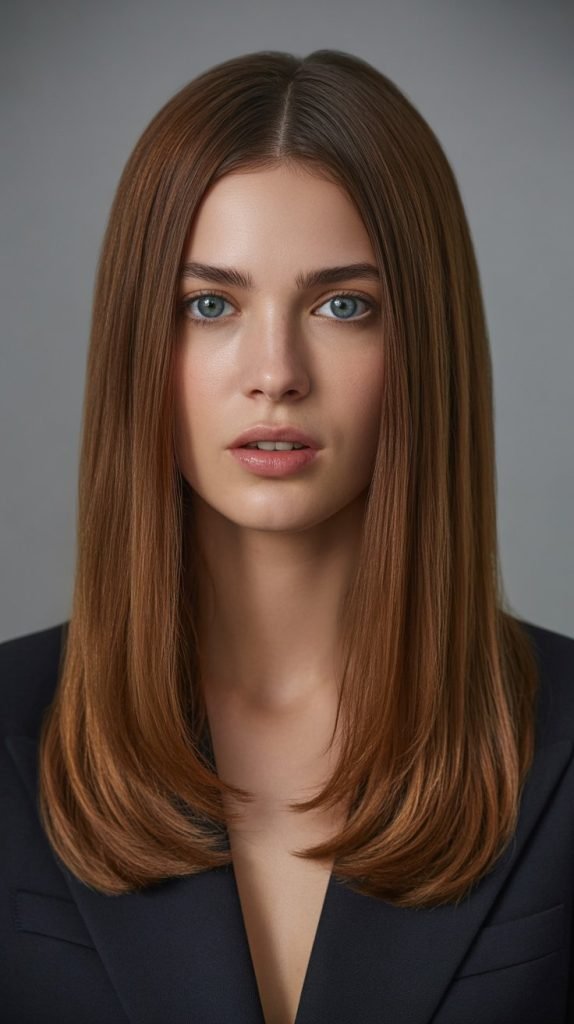
Sleek, straight hair exudes elegance and professionalism, making it an excellent choice for formal occasions, job interviews, or whenever you want a polished, put-together appearance.
Medium-length hair is ideal for this look as it’s long enough to showcase the shine and smoothness without being overwhelming.
- Begin with completely dry hair as flat ironing damp hair can cause severe damage and prevent you from achieving the ultra-smooth finish you’re aiming for.
- Apply a smoothing serum or cream focusing on the mid-lengths and ends to combat frizz and add shine while creating a protective barrier against heat.
- Divide hair into thin sections no more than one to two inches wide, as smaller sections allow the flat iron to work more effectively and create lasting straightness.
- Set your flat iron temperature appropriately between 300-400°F depending on your hair type, with fine or damaged hair requiring lower heat and coarse or curly hair needing higher temperatures.
- Use proper flat iron technique by clamping near the roots and gliding smoothly in one continuous motion from root to tip without stopping or applying excessive pressure.
- Run the iron over stubborn areas only once or twice more if needed, rather than repeatedly passing over the same section which can cause heat damage.
- Finish with shine spray or a tiny amount of lightweight oil applied to your palms and smoothed over the surface to enhance gloss without adding greasiness.
- Consider a cold shot from your blow dryer after straightening to seal the cuticle and lock in the smoothness for longer-lasting results.
The Good Housekeeping Institute regularly tests hair straighteners and recommends choosing tools with ceramic or titanium plates for even heat distribution and reduced damage.
5. Building Beautiful Braided Styles
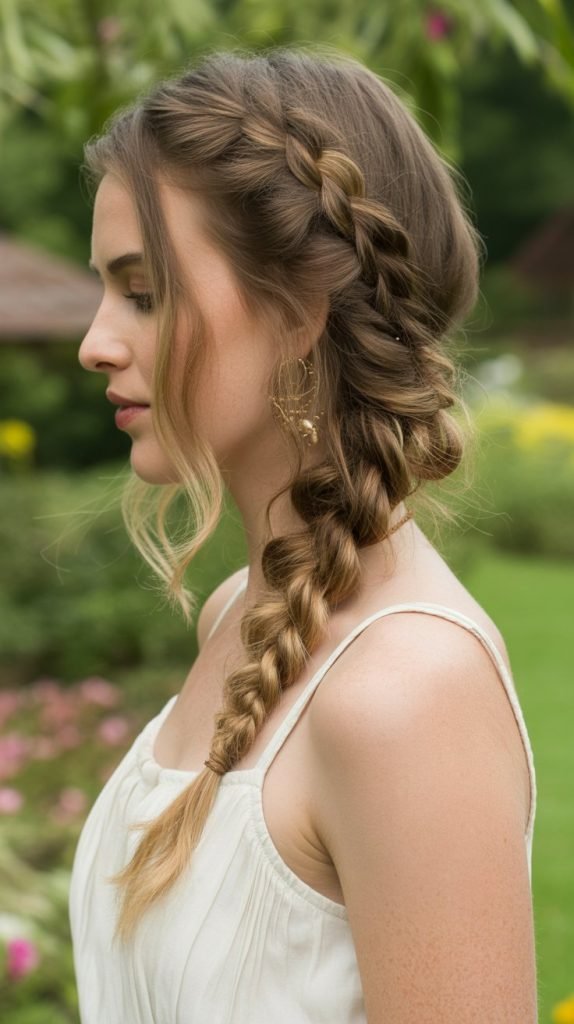
Braids are incredibly versatile and can range from simple and casual to intricate and formal, making them perfect for medium-length hair that has enough length to work with but doesn’t become unmanageable.
Learning just a few basic braiding techniques opens up countless styling possibilities.
- Master the classic three-strand braid as your foundation by dividing hair into three equal sections and alternately crossing the outer sections over the middle one.
- Try a French braid for an elegant updo effect by starting at the crown and gradually incorporating new sections of hair into each strand as you braid downward.
- Experiment with Dutch braids (inside-out French braids) that sit on top of your head rather than tucking underneath, creating a more prominent, textured appearance.
- Create a side braid by sweeping all your hair over one shoulder and braiding loosely for a romantic, bohemian vibe that’s both practical and pretty.
- Incorporate fishtail braids for a more intricate look by dividing hair into two sections and repeatedly crossing small pieces from the outside of each section to the inside of the opposite section.
- Gently pull apart the braid after securing with an elastic, carefully loosening sections to create a fuller, more voluminous appearance known as “pancaking.”
- Secure ends properly with clear elastics that blend with your hair color or wrap a small section of hair around the elastic to hide it for a polished finish.
- Add accessories strategically such as small flowers, decorative pins, or ribbons woven through the braid for special occasions or festivals.
6. Achieving Volume with Proper Blow-Drying Techniques
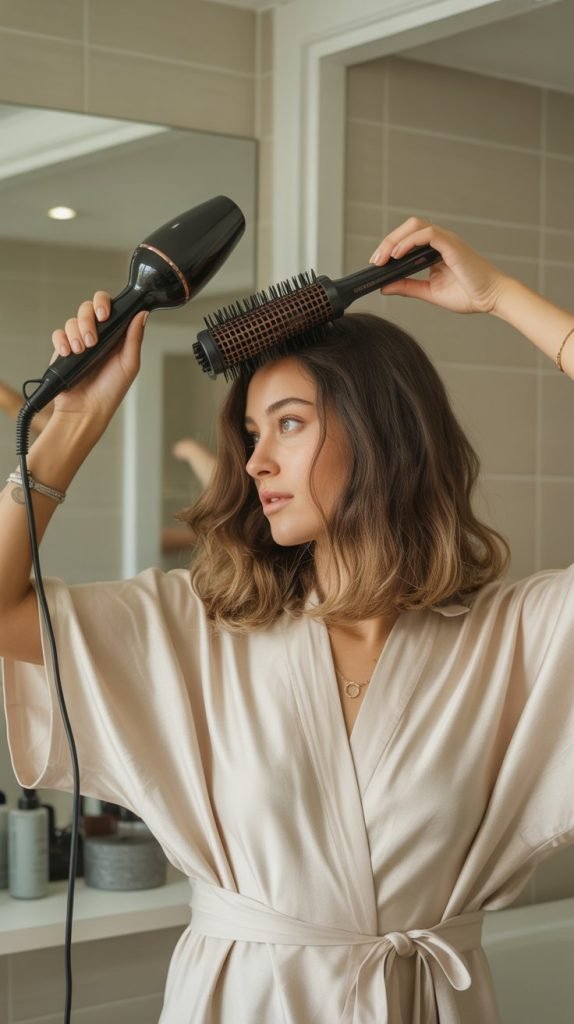
Voluminous hair instantly makes medium-length hair appear fuller, healthier, and more dynamic, and the secret to achieving this lift lies in mastering proper blow-drying techniques.
With the right approach, you can transform flat, lifeless hair into a bouncy, salon-worthy style.
- Apply volumizing products to damp hair focusing on the roots where you want the most lift, using mousse, root-lifting spray, or volumizing powder.
- Flip your head upside down while rough-drying until hair is about 70% dry, directing airflow toward the roots to create natural lift at the scalp.
- Section your hair systematically working from the bottom layers upward, as this ensures each section receives proper attention and doesn’t get missed in the styling process.
- Use a round brush strategically by wrapping sections around the barrel at the roots and directing heat from your blow dryer at the brush while pulling upward and outward.
- Employ the tension method by maintaining slight tension on the brush as you pull it through your hair, which helps smooth the cuticle while adding body.
- Angle the nozzle correctly pointing the dryer down the hair shaft from roots to ends to seal the cuticle and maximize shine while preventing frizz.
- Switch to cool air for the final minute of drying or use the cool shot button to set your style and lock in volume that will last throughout the day.
- Tease roots selectively after blow-drying by backcombing gently at the crown if you want extra height, then smoothing the top layer for a polished finish.
7. Creating Elegant Updos for Special Occasions

Updos are the epitome of sophistication and work beautifully with medium-length hair, proving you don’t need long locks to achieve stunning formal hairstyles.
These elegant styles are perfect for weddings, proms, galas, or any event where you want to look polished and put-together.
- Prepare with texturizing products beforehand as slightly textured hair holds pins and elastics better than freshly washed, slippery hair, making updos more secure.
- Aqaate a low bun by gathering hair at the nape of your neck, twisting loosely, and pinning in place while pulling out a few wispy pieces for softness.
- Try a twisted updo by dividing hair into sections, twisting each section, and pinning them randomly at the back of your head for an effortlessly romantic look.
- Master the chignon which is essentially a low, sleek bun positioned at the nape, perfect for formal occasions and achievable with medium-length hair using strategic pinning.
- Incorporate braids into updos by creating one or more braids and wrapping them into your updo design for added texture and visual interest.
- Use bobby pins effectively by inserting them with the wavy side against your scalp for better grip and crossing two pins in an X-pattern for maximum security.
- Add decorative elements such as jeweled pins, fresh flowers, or elegant hair combs to elevate your updo from simple to spectacular.
- Set with strong-hold hairspray misting from about 10-12 inches away to ensure your updo stays flawless throughout even the longest events.
According to styling experts at Harper’s Bazaar, medium-length hair actually offers advantages for updos because it’s easier to manage and secure than very long hair while still providing enough length for sophisticated styles.
8. Adding Texture with Modern Styling Tools
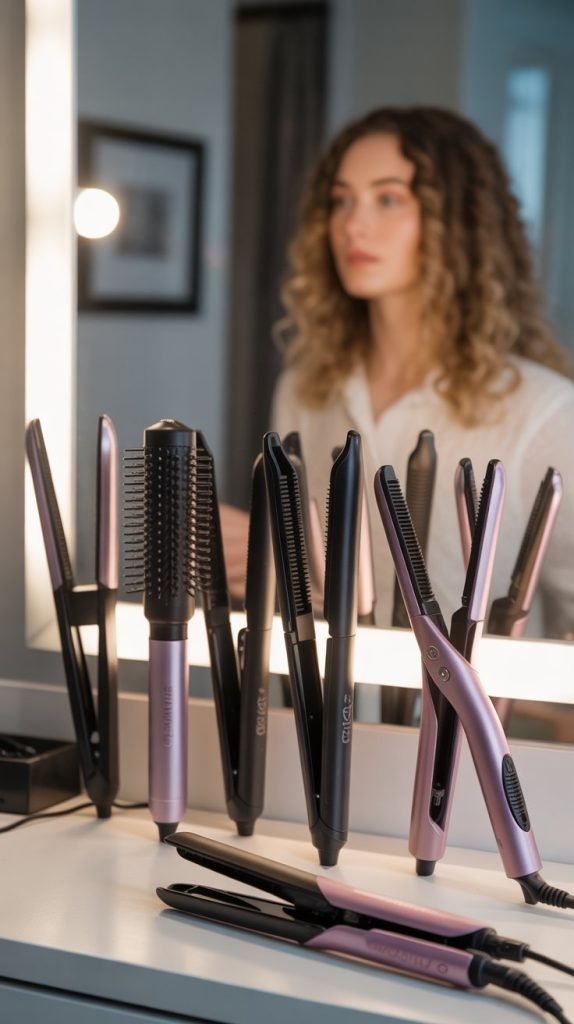
Texture is the key to making medium-length hair look modern, dynamic, and full of life, and today’s styling tools make it easier than ever to add dimension and movement.
Understanding how to use these tools properly can dramatically expand your hairstyling repertoire.
- Invest in a quality curling wand with variable temperature settings and a barrel size appropriate for medium hair (typically 1-1.5 inches for versatile styling options).
- Experiment with different barrel shapes such as tapered wands for varied curl sizes, straight barrels for uniform waves, or triple-barrel wavers for crimped texture.
- Use a flat iron creatively by twisting it as you glide through sections to create bends and waves rather than just straightening, offering a modern, undone texture.
- Try a crimping iron on select sections underneath or around the crown for hidden volume and texture that adds fullness without looking obviously styled.
- Consider a diffuser attachment for your blow dryer if you have naturally wavy or curly hair, as it enhances your natural texture without causing frizz or disrupting curl patterns.
- Layer texturizing products by combining a sea salt spray for grip, a texturizing paste for definition, and a light-hold hairspray for lasting power without stiffness.
- Vary your technique by alternating the direction you wrap hair around tools, the size of sections you work with, and the duration of heat application for more natural-looking results.
- Maintain your tools properly by cleaning them regularly with a damp cloth and storing them safely to ensure optimal performance and longevity.
Conclusion
Mastering How to Hairstyles for Medium Hair: 8 Easy Steps to Stunning Looks empowers you to transform your appearance with confidence and creativity every single day.
From the essential foundation of proper hair preparation to the artistry of braids, updos, and textured styles, these eight steps provide a comprehensive toolkit for achieving professional results at home.
Medium-length hair offers the perfect balance of versatility and manageability, allowing you to experiment with countless looks without the commitment of very long hair or the limitations of shorter cuts.
Remember that practice makes perfect, and each time you try these techniques, you’ll develop better muscle memory and a deeper understanding of what works best for your unique hair type and personal style
Whether you’re preparing for a special event or simply want to elevate your everyday look, these proven methods will help you create stunning hairstyles that make you feel beautiful, confident, and ready to take on the world with your best hair forward.