It combines shaggy layers with a mullet-like flair.Want to rock the wolfcut?
Ready to dive in and give your hair a bold new look?Let’s get started!
This popular haircut blends retro vibes with modern edge.It’s versatile and suits various hair types.
Whether you have straight, wavy, or curly hair, the wolfcut can transform your look.Styling it might seem tricky, but it’s easier than you think.
With the right steps, you can achieve this stylish cut at home. In this guide, we’ll show you seven easy steps to get the perfect wolfcut.
1. Introduction To Wolfcut
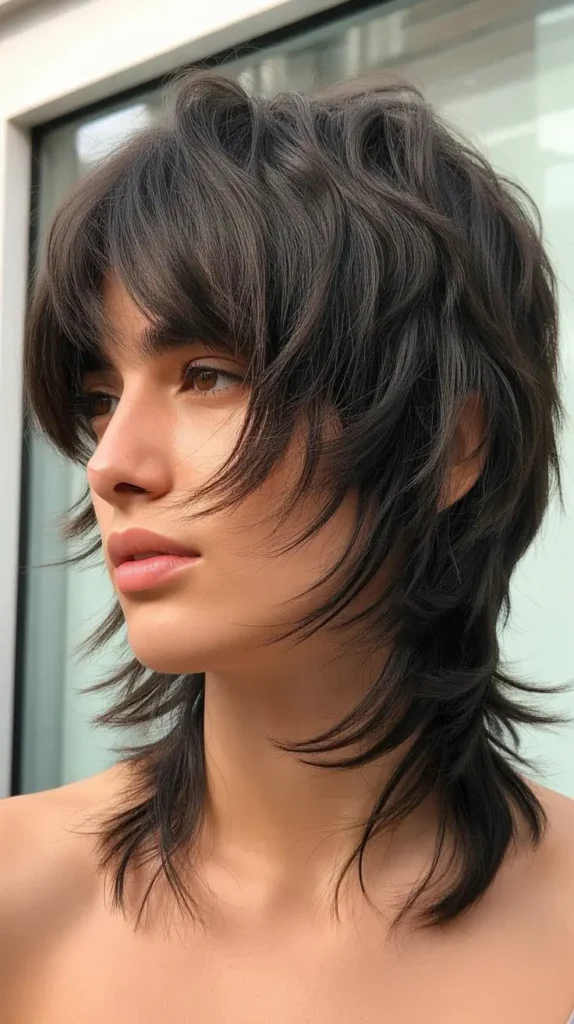
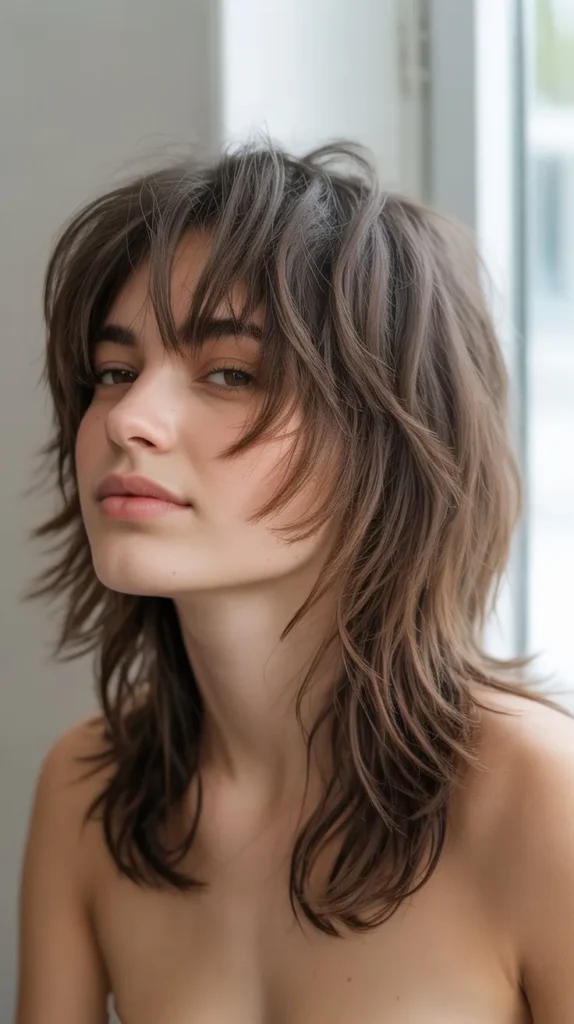
The Wolfcut hairstyle has taken the beauty world by storm.
Blending edgy vibes with a touch of rebellion, the Wolfcut offers a unique look.
It suits various hair types and face shapes.
If you want to achieve this trendy style, you’re in the right place.
This guide will walk you through the basics of the Wolfcut.
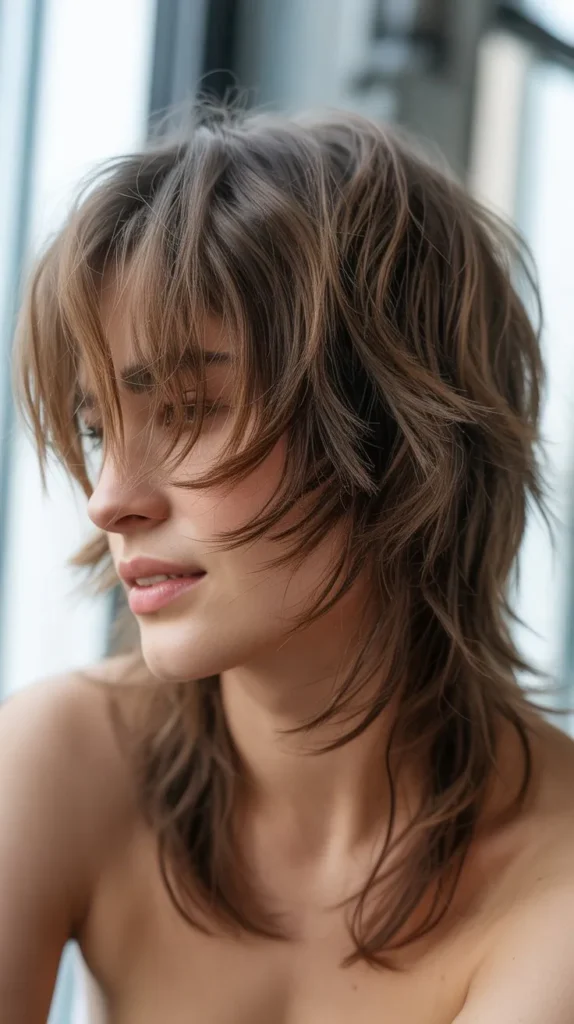
What Is Wolfcut?
The Wolfcut is a mix between a shag and a mullet.
It features choppy layers and lots of texture.
The top part is voluminous, while the ends are thin.
This style creates a wild, untamed look.
It’s perfect for those who love an effortless, rock-n-roll vibe.
Popularity Of Wolfcut
The Wolfcut has gained immense popularity recently.
Celebrities and influencers have embraced this style.
Its rise in popularity can be seen on social media platforms.
Many people find it appealing because of its versatile nature.
Whether you have straight, wavy, or curly hair, the Wolfcut can work for you.
Another reason for its popularity is its low-maintenance nature.
The choppy layers allow for easy styling.
You don’t need to spend hours in front of the mirror.
With a bit of product, you can achieve a stylish, lived-in look.
2. Preparation
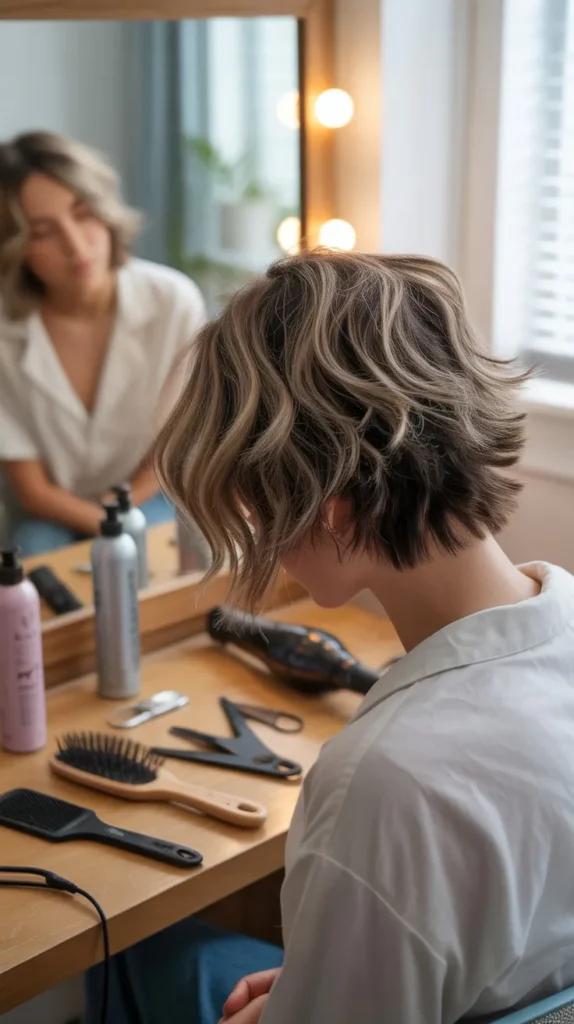
Preparation is key to achieving the perfect wolf cut.
Before diving into the cutting process, ensure you have everything you need and understand the suitable hair types.
This initial step sets the foundation for a flawless hairstyle.
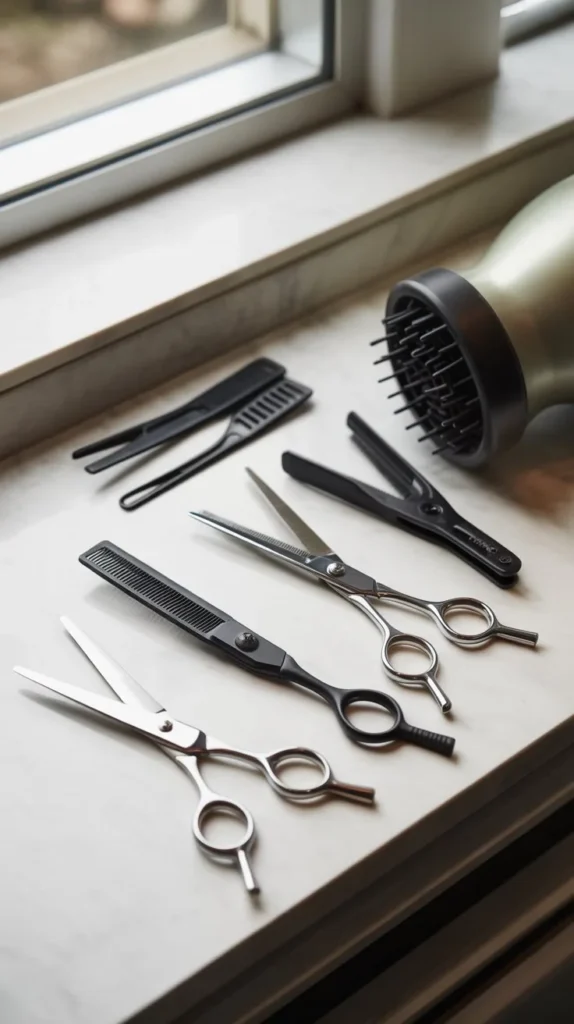
3. Tools Needed
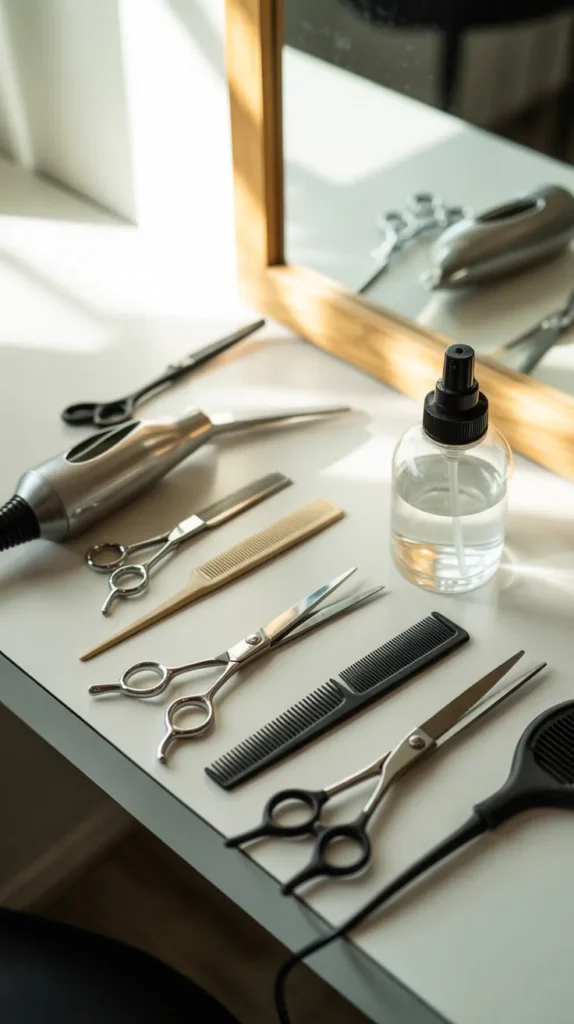
Gathering the right tools is essential.
Here is a list of items you will need:
- Sharp hair cutting scissors
- Thinning shears
- Hair clips or sectioning clips
- Fine-tooth comb
- Spray bottle with water
- Hair dryer
- Mirror
Having these tools ready will make the process smoother.
It will also ensure a professional finish.
Hair Types Suitable
The wolf cut suits various hair types.
Here are some examples:
- Thick hair: Adds volume and movement.
- Wavy hair: Enhances natural texture.
- Straight hair: Creates a trendy, edgy look.
- Curly hair: Defines curls and reduces bulk.
If your hair type matches any of these, the wolf cut could be perfect for you.
Understanding your hair type helps you achieve the best results.
4. Step 1: Wash And Condition
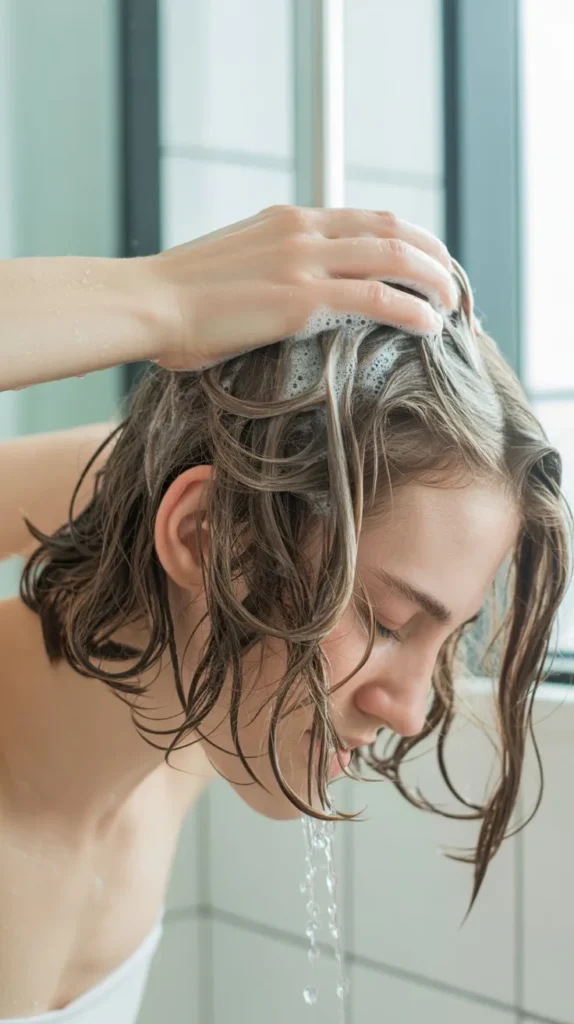
Hey friends, today we’re diving into the first step of how to style a wolfcut.
It’s all about starting with clean hair.
Trust me, clean hair makes all the difference.
So, let’s talk about washing and conditioning your hair.
Ready?
Let’s go!
5. Choosing The Right Shampoo

First things first, you need the right shampoo.
Imagine you’re a gardener. You wouldn’t use any old soil for your plants, right?
Your hair needs the same care.
Pick a shampoo that suits your hair type.
Here are a few tips:
- If you have oily hair, go for a shampoo that controls oil.
- Dry hair? Choose a moisturizing shampoo.
- Color-treated hair needs a color-safe shampoo.
Why is this important?
Because the right shampoo helps your hair stay healthy and manageable.
And healthy hair is easier to style.
Simple!
Conditioning Tips
Next up is conditioning.
This step is like giving your hair a big, warm hug.
It makes your hair soft and smooth.
Here are a few tips to get it right:
- Use a conditioner that matches your shampoo.
- They work better together.
- Apply conditioner mainly to the ends of your hair.
- The ends need it the most.
- Leave the conditioner in for a few minutes.
- Let it do its magic.
And a little personal tip: I like to use a wide-tooth comb to spread the conditioner evenly.
It also helps detangle my hair.
Try it out!
So, there you have it.
Step 1 is all about washing and conditioning your hair properly.
Get this right, and you’re off to a great start with your wolfcut.
Stay tuned for more easy steps to come!
6. Step 2: Sectioning The Hair
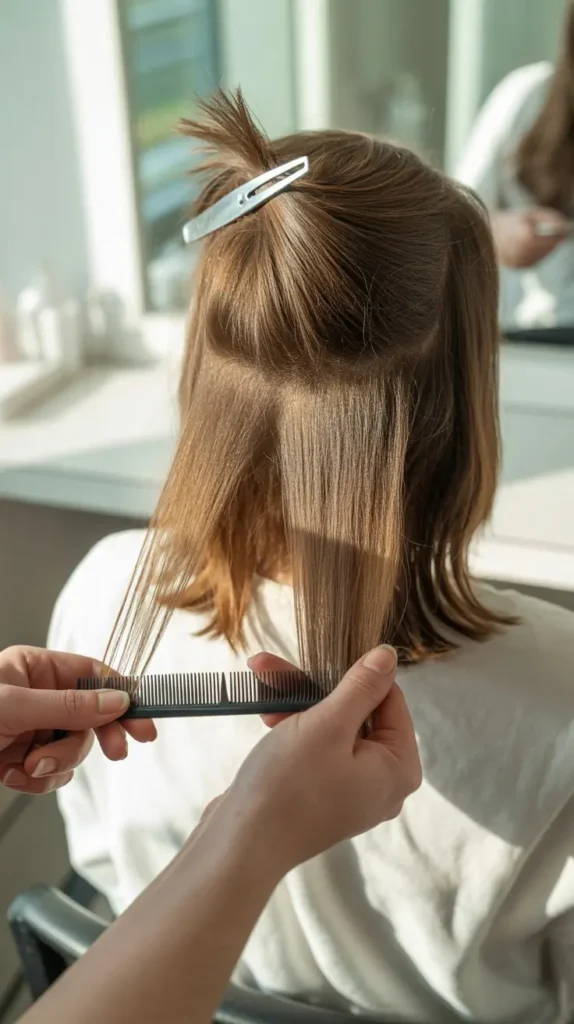
Step 2: Sectioning the Hair is crucial for achieving the perfect wolf cut.
Proper sectioning ensures even layers and a balanced look.
Follow these simple steps to section your hair like a pro.
Creating Sections
Start with clean, dry hair.
Use a comb to detangle any knots. Divide your hair into four main sections.
Create a middle part from your forehead to the nape.
Then, make a horizontal part from ear to ear.
Clip each section to keep them separate.
Importance Of Sectioning
Sectioning your hair helps you manage it better.
It ensures that you cut evenly.
It also makes it easier to follow the guide lines.
Without sectioning, you might end up with uneven layers.
This can ruin the wolf cut look.
Proper sectioning saves time.
It allows you to focus on one section at a time.
This results in a cleaner and more precise haircut.
Good sectioning lays the foundation for a great hairstyle.
Step 3: Cutting The Layers
Step 3: Cutting the Layers is crucial for achieving the perfect wolfcut.
This step defines the hairstyle’s texture and volume.
By cutting the layers correctly, you ensure the wolfcut looks edgy and stylish.
Layering Techniques
Use the point-cutting method for natural-looking layers.
Hold the scissors at an angle and make small snips.
This technique helps blend the layers seamlessly.
For a choppy look, use the slide-cutting method.
Glide the scissors down the hair, making small cuts along the way.
Length Considerations
Decide on the length of your layers.
Short layers add volume and texture.
Longer layers create a softer, more blended look.
Ensure the layers complement your face shape.
For a round face, longer layers work best.
For an oval face, shorter layers add definition.
Step 4: Texturizing The Hair
Hey friends, welcome back to our easy guide on how to style a wolfcut.
We’re at step 4: texturizing the hair.
Texturizing is a key part of getting that chic, messy look that makes the wolfcut so popular.
It adds movement and volume, making your hair look fuller and more stylish.
So, let’s dive into the nitty-gritty of this process.
7. Texturizing Tools
First things first, you need the right tools.
Texturizing your hair is like painting a masterpiece – you need the right brushes.
Here are some tools that can help:
- Texturizing scissors: These have notches that help remove bulk and add texture.
- Think of them as the magic wand for your hair.
- Razor comb: This tool is great for creating soft, choppy layers.
- Perfect for that edgy wolfcut look.
- Thinning shears: These help blend layers and give your hair a natural, feathered finish.
- It’s like the finishing touch on a painting.
Using these tools correctly can make a big difference.
I once tried texturizing with regular scissors and ended up with a choppy mess.
Trust me, the right tools are a game changer.
8. Creating Volume
Now, let’s talk about creating volume.
Volume is what makes a wolfcut stand out.
It adds life and bounce to your hair.
Here’s how you can achieve it:
- Layer strategically: Start by cutting small sections of hair.
- Focus on the top and sides for more volume. Remember, less is more.
- Use a razor comb: Glide it through the ends to create a soft, voluminous look.
- It’s like adding the final touches to a sculpture.
- Blow-dry upside down: This trick lifts the roots and adds instant volume.
- Think of it as giving your hair a boost of energy.
When I first tried blow-drying my hair upside down, I was amazed at the difference it made.
It’s such a simple trick but works wonders.
Texturizing the hair might seem tricky at first, but with the right tools and techniques, it becomes a fun and rewarding part of styling your wolfcut.
It’s all about creating that perfect balance of texture and volume.
So grab your tools, take it slow, and enjoy the process!
Step 5: Styling The Bangs
Step 5: Styling the Bangs is an important part of the wolfcut.
Bangs frame your face and add personality to your hairstyle.
There are various ways to style them to match your look.
You can choose from different bang styles and learn how to blend them with the layers of your wolfcut.
Different Bang Styles
Choosing the right bang style can change your whole look.
Here are a few options:
Blunt Bangs: Cut straight across, these bangs give a bold and edgy look.
They suit most face shapes and add a dramatic flair.
Side-Swept Bangs: These bangs sweep to one side, creating a softer, more romantic appearance.
They work well for round and square faces.
Wispy Bangs: Light and airy, these bangs provide a relaxed and casual vibe.
They are perfect for heart-shaped faces.
Curly Bangs: Embrace your natural curls with curly bangs.
They add volume and texture, enhancing your wolfcut.
Blending Bangs With Layers
Blending bangs with layers creates a seamless look.
It ensures your hair flows naturally.
Here’s how to do it:
First, trim your bangs to your desired length.
Use small, vertical snips to avoid a blunt cut.
Then, blend the bangs into the layers by cutting at an angle.
This helps the bangs merge with the rest of your hair.
Finally, use a round brush and blow dryer to style.
This gives your bangs volume and movement.
Blending bangs with layers adds harmony to your wolfcut.
It keeps your hairstyle looking fresh and cohesive.
9. Step 6: Blow Drying
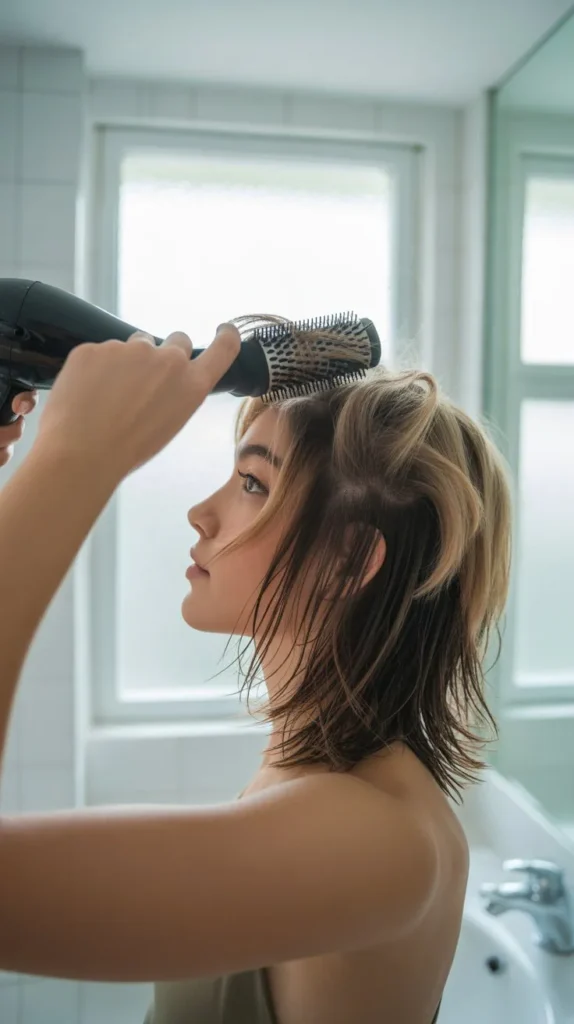
Hey there! So, you’ve made it to Step 6 in your journey to achieve that fabulous wolf cut.
Congratulations!
This step is all about blow drying.
It might sound simple, but it’s super important to get it right.
Blow drying can make or break your hairstyle.
Don’t worry, I’ll guide you through it.
Let’s dive in.
10. Blow Drying Tips
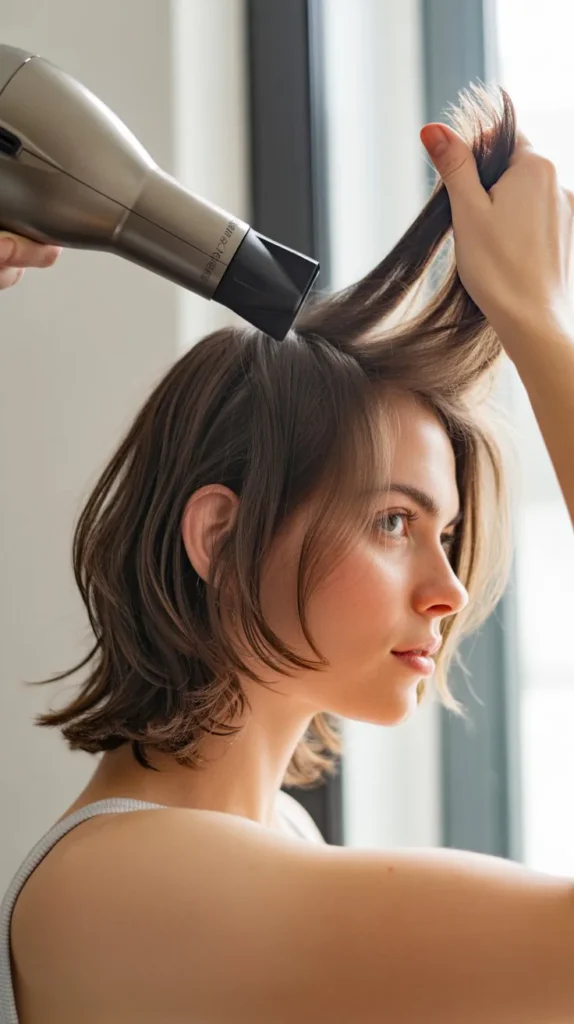
First, let’s talk about some blow drying tips.
These will help you get that perfect finish.
- Section your hair: Start by dividing your hair into sections.
- This makes it easier to manage.
- Use the right brush: A round brush works wonders.
- It adds volume and shape.
- Dry from roots to ends: Always start drying at the roots and move towards the ends.
- This gives a natural look.
- Keep the dryer moving: Don’t let the heat stay in one place for too long.
- It can damage your hair.
- Use a cool shot: Finish with a blast of cool air.
- It sets the style and adds shine.
11. Using Heat Protectant
Now, let’s talk about protecting your hair.
Heat can be harsh, so using a heat protectant is crucial.
Here’s why:
- Prevents Damage: Heat protectants create a barrier.
- They prevent your hair from getting fried.
- Adds Shine: Some products can make your hair look shiny and healthy.
- Reduces Frizz: Heat protectants can tame those pesky flyaways.
Here’s how to use it:
- Apply evenly: Spray or apply the product evenly on damp hair.
- Make sure every strand is covered.
- Comb through: Use a comb to distribute the product.
- This ensures even coverage.
- Don’t overdo it: A little goes a long way.
- Too much product can weigh your hair down.
And there you have it!
Blow drying your wolf cut doesn’t have to be complicated.
Just follow these simple steps, and you’ll look amazing.
Happy styling!
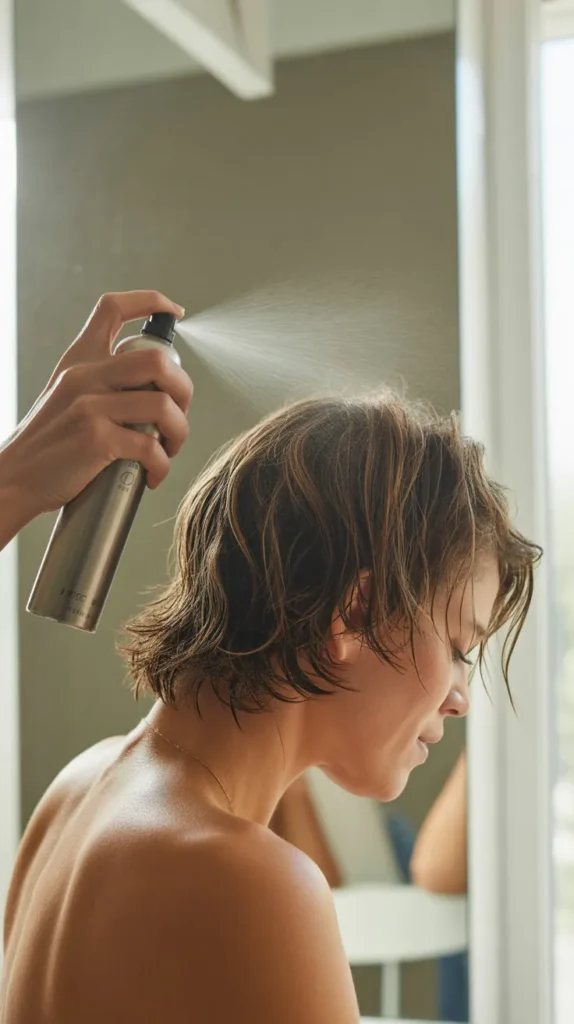
12. Step 7: Final Touches
Step 7 is all about the final touches.
You’ve cut and styled your wolfcut, but these last touches make a big difference.
They help bring the look together and ensure it lasts.
Let’s dive into the details.
Adding Hair Products
Use a light styling cream to add texture.
Rub a small amount between your palms.
Then, scrunch it into your hair to enhance the layers.
For a bit more hold, use a light hairspray.
Spray from a distance to avoid clumping.
This keeps the wolfcut looking natural.
Consider using a shine serum.
Just a few drops can make a difference.
Apply it to the ends to give your hair a healthy glow.
Be careful not to use too much, as this can make your hair look greasy.
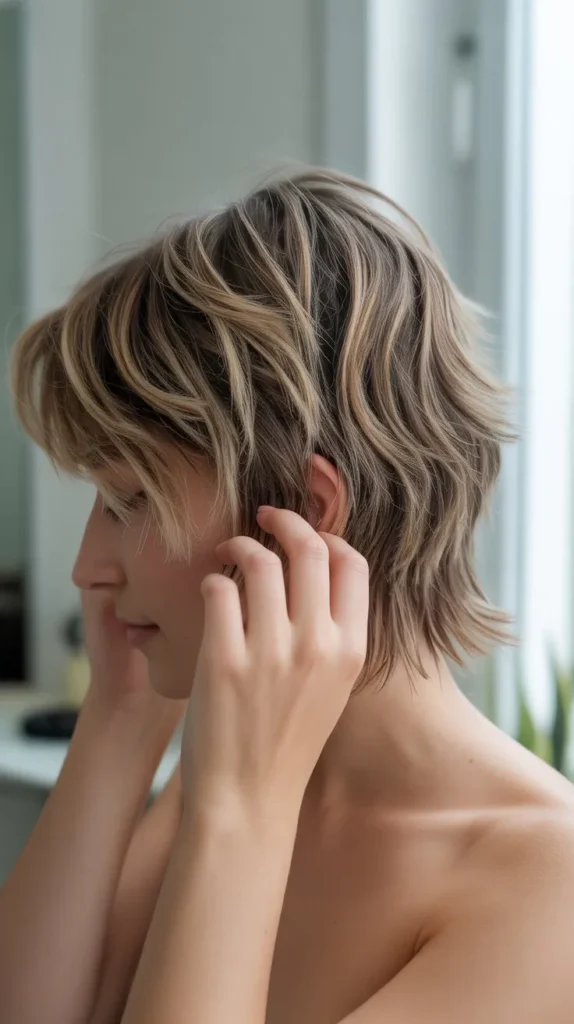
13. Maintaining The Style
To maintain your wolfcut, you need regular trims.
Visit your stylist every 6-8 weeks.
This keeps the layers looking fresh.
At home, use a wide-tooth comb.
It helps avoid tangles without disrupting the style.
Wash your hair with a gentle shampoo.
Use conditioner to keep the ends soft.
Avoid heavy products that can weigh down the layers.
Dry your hair with a diffuser to keep the volume.
If you air dry, scrunch your hair occasionally.
This maintains the natural texture of the wolfcut.
Achieving the perfect Wolfcut is now within reach.Just follow these seven steps.
Each step brings you closer to a trendy, stylish look.Remember to use the right tools and take your time.
Practice makes perfect, so don’t rush.Experiment with small changes to find your unique style.
Enjoy the process and embrace your new hairdo.With patience and care, your Wolfcut will look amazing. Happy styling!