Dreaming of that effortlessly chic, voluminous look? If you’ve been captivated by the trending butterfly haircut but wondered if it’s achievable with short hair, get ready to have your hopes soar!
This comprehensive guide, How to Get Butterfly Haircut for Short Hair Yourself at Home, is designed to demystify the process, empowering you to either communicate your vision effectively to your stylist or even attempt a DIY version with confidence.
We’ll break down everything you need to know to transform your short locks into a beautiful, flowing masterpiece that’s as light and graceful as a butterfly’s wings.
Here’s an overview of what you’ll discover in this article: We’ll begin by understanding the core principles of a butterfly haircut and how they apply to shorter lengths.
Then, we’ll walk you through the essential tools and preparations needed, whether you’re going to a professional or trying it at home.
We’ll cover detailed steps for achieving the cut, including specific sectioning and layering techniques. Finally, we’ll provide crucial tips for styling and maintaining your new butterfly haircut to ensure it always looks its best.
1. Understanding the Butterfly Haircut for Short Hair
Before diving into the “how-to,” it’s essential to grasp what makes a butterfly haircut unique, especially when adapted for shorter lengths.
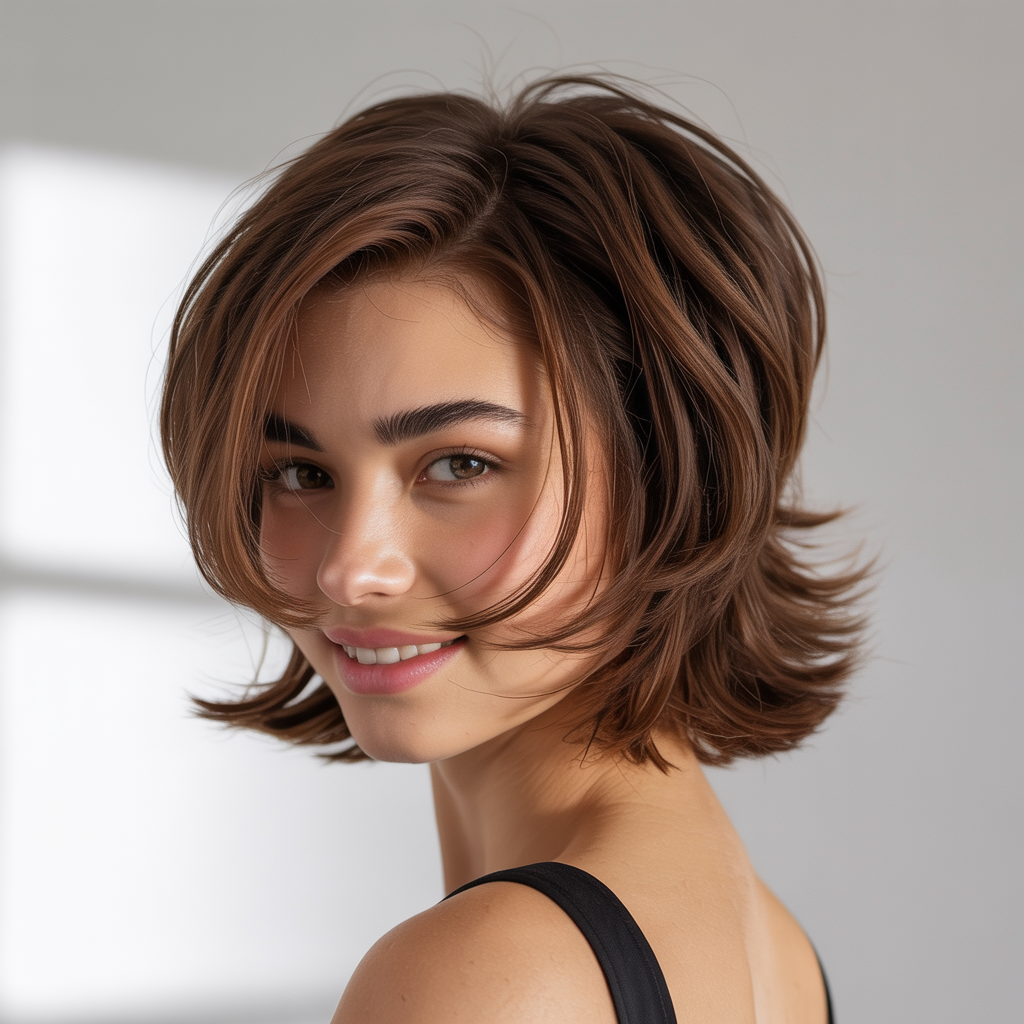
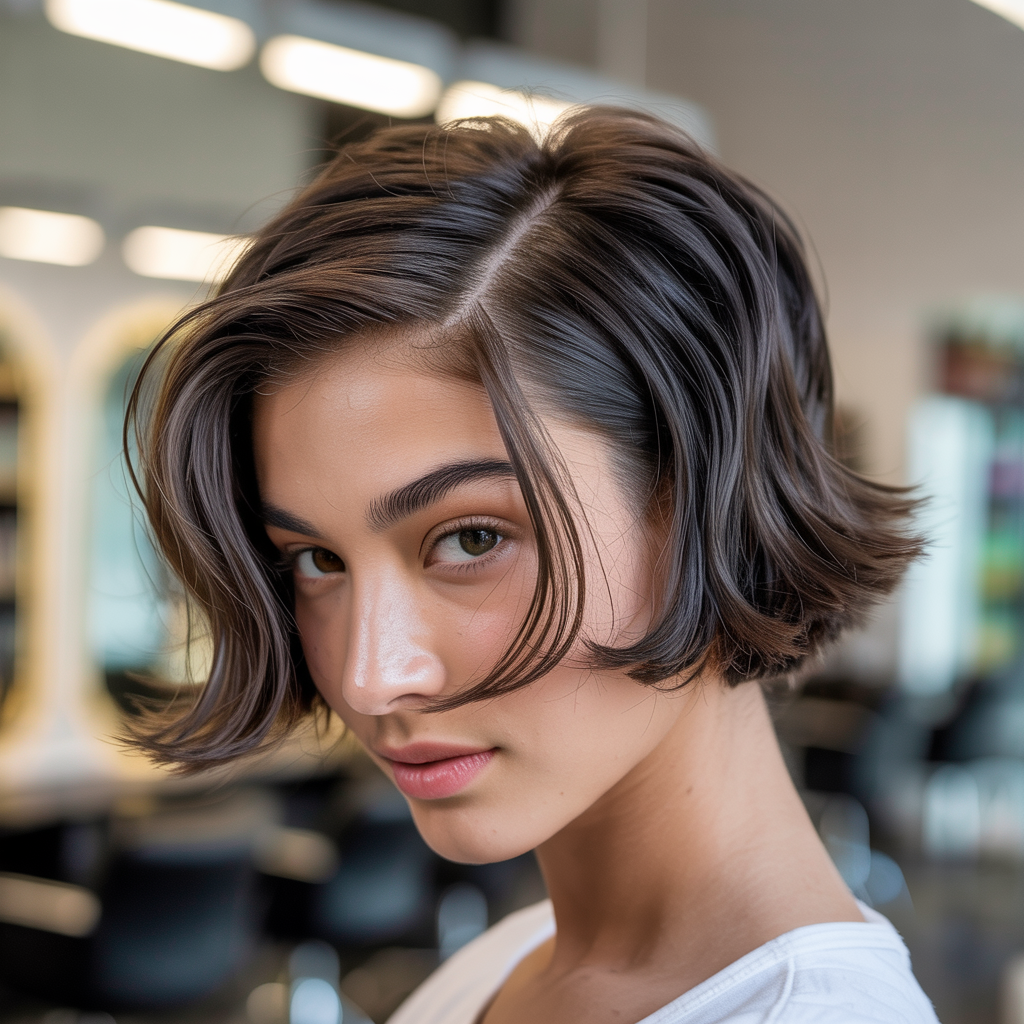
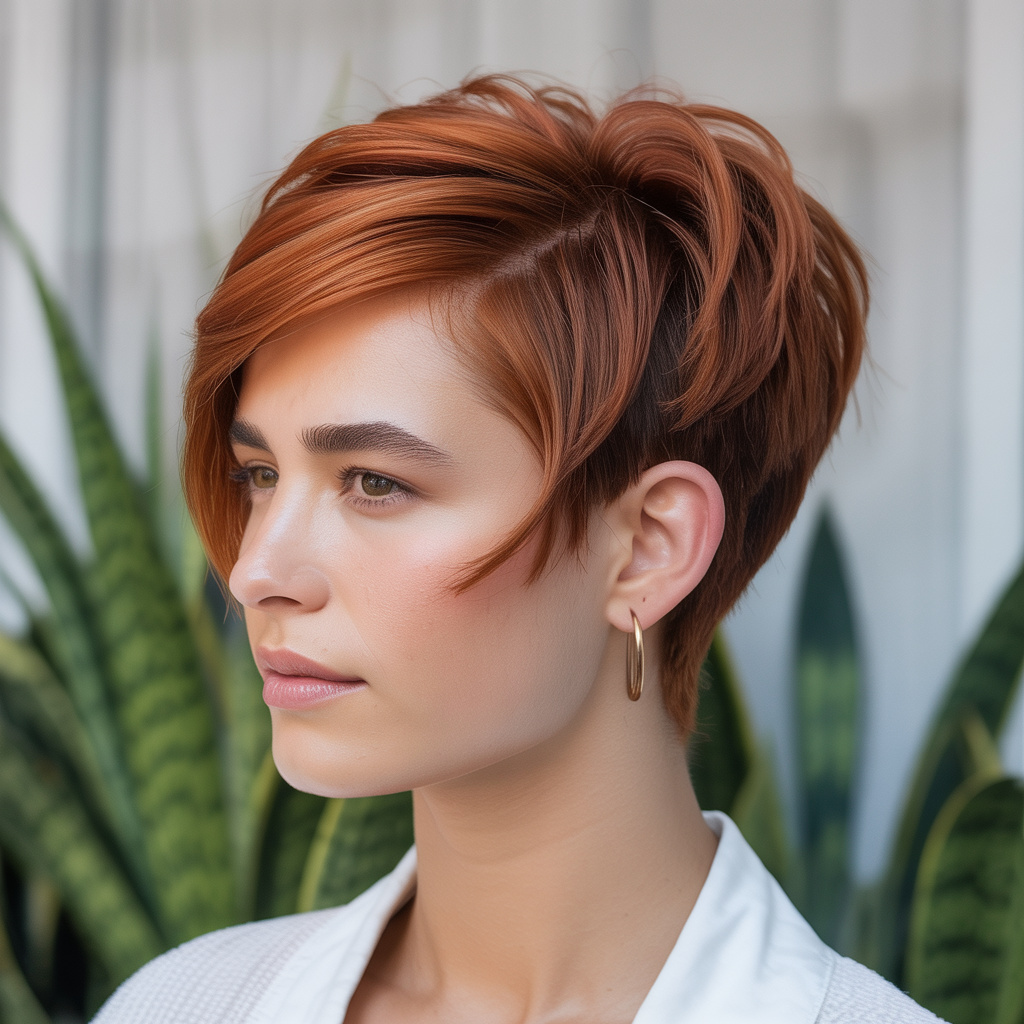
This cut is all about creating soft, face-framing layers that mimic the shape of a butterfly’s wings, adding volume and movement without sacrificing overall length.
- For short hair, this often means creating shorter, more prominent layers around the face.
- These layers then gradually lengthen towards the back, blending seamlessly.
- The goal is to achieve a bouncy, airy feel that gives the illusion of more hair.
- It’s a fantastic way to add dimension and flair to bobs, lobs, and even longer pixies.
2. Essential Tools for a Butterfly Haircut

Having the right tools is crucial for achieving a precise and flattering butterfly haircut, whether you’re at home or guiding your stylist. Quality tools make a significant difference in the outcome and the health of your hair.
- Sharp Hair Shears: This is non-negotiable for clean cuts and preventing split ends.
- Texturizing Shears (optional but recommended): These help to remove bulk and create soft, feathered ends.
- Fine-Tooth Comb and Wide-Tooth Comb: For precise sectioning and detangling.
- Hair Clips or Sectioning Clips: To hold sections of hair out of the way.
- Spray Bottle with Water: To keep hair damp throughout the cutting process.
- Hand Mirror (for DIY): Essential for checking the back of your head.
- Heat Protectant and Styling Products: For post-cut styling and maintenance.
3. Preparing Your Hair for the Cut
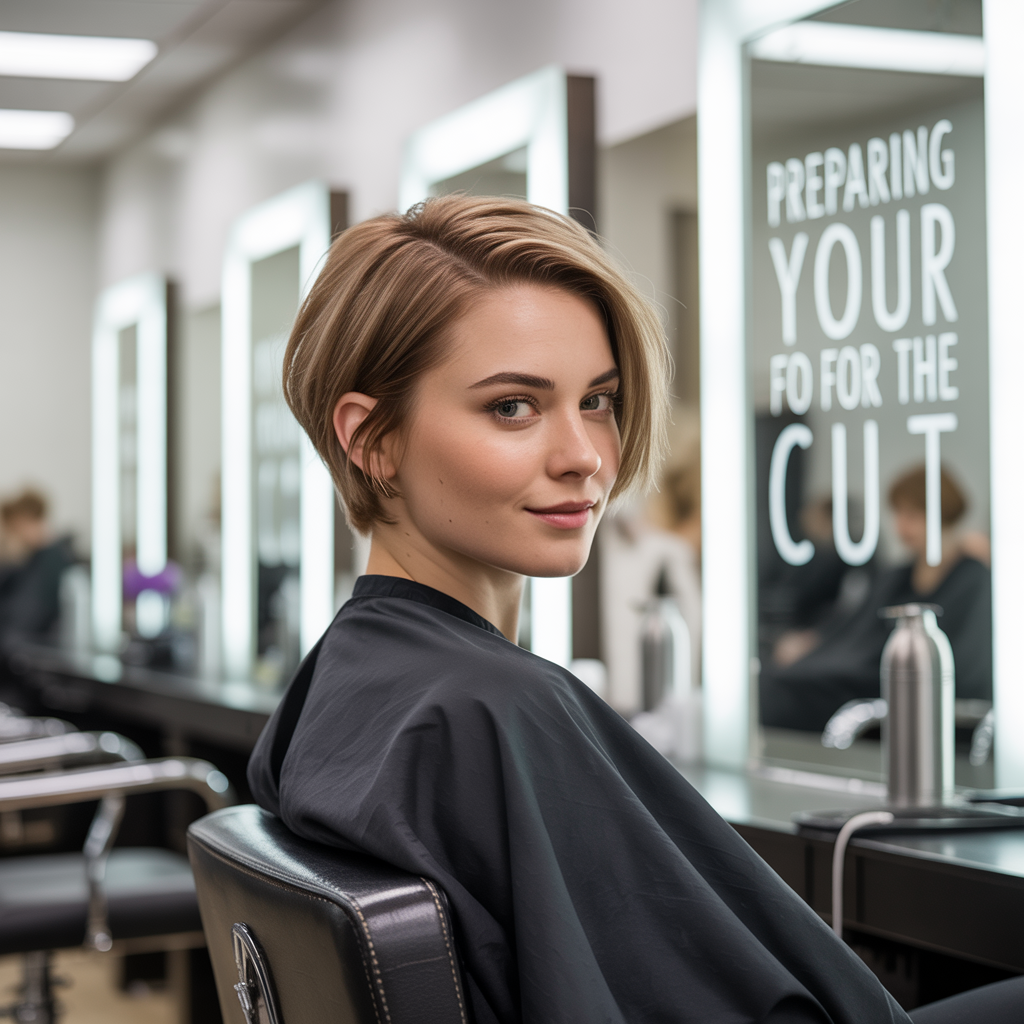
Proper preparation is the foundation for a successful haircut. This step ensures your hair is in the optimal condition for precise cutting and helps you visualize the outcome.
- Wash and Condition Your Hair: Start with clean hair to remove any product buildup.
- Towel Dry Until Damp: Hair should be damp, not dripping wet. This allows for better control and prevents uneven cuts.
- Detangle Thoroughly: Use a wide-tooth comb to remove all knots and tangles.
- Part Your Hair: Decide on your usual part (side, middle, or no part) as this will influence the face-framing layers.
4. Sectioning Techniques for Short Butterfly Hair
Precise sectioning is the secret to a well-executed butterfly haircut. It allows you to control the amount of hair in each layer and ensures symmetry.
- Create a Horseshoe Section: Starting from just behind your ears, draw a line across the top of your head, creating a horseshoe-shaped section on top. Clip this hair up. This will be your top “volume” section.
- Divide the Remaining Hair: The hair below the horseshoe section can be divided into two or three horizontal sections, depending on your hair’s thickness.
- Front Sections for Face Framing: For the crucial face-framing layers, create two triangular sections at the front, extending from your part down to your temples.
- Remember, cleaner sections lead to cleaner cuts.
5. Cutting the Face-Framing Layers (The “Wings”)

This is where the magic happens and the “butterfly” effect truly comes to life. These layers are crucial for softening your features and adding that signature bounce.
- Isolate a Front Section: Take one of your triangular front sections.
- Determine Your Shortest Length: This is usually around chin or collarbone length, depending on your desired look.
- Point Cutting Technique: Hold the hair straight out from your head and use a point cutting technique (cutting into the hair vertically) to create soft, feathered ends. Avoid blunt cuts here.
- Angle for Softness: Angle your fingers slightly downwards as you cut to encourage the hair to fall away from the face.
- Repeat on the Other Side: Ensure symmetry by comparing the lengths.
6. Layering the Top and Crown Sections
Adding layers to the top and crown areas creates volume and connects the face-framing layers to the rest of your short hair. This prevents a “shelf” effect.
- Release the Horseshoe Section: Let down your top horseshoe section.
- Elevate and Cut: Take vertical subsections within this section, elevating the hair straight up (90 degrees from the scalp).
- Guide Length: Use the longest part of your face-framing layers as a guide for the shortest layers on top.
- Overdirection: Slightly overdirect the hair forward as you cut to create more softness and blend.
- Connect to the Back: Gradually blend these layers into the back sections of your hair, ensuring no harsh lines.
7. Blending and Refining the Back Sections

Even with short hair, the back needs attention to ensure a cohesive and well-blended butterfly cut. This step focuses on connecting all the layers.
- Take Horizontal Subsections: Work your way up the back of your head, taking small horizontal subsections.
- Elevate and Cut: Elevate each section to about 45 degrees and cut to blend with the layers from the top.
- Check for Consistency: Ensure the layers flow smoothly from the crown to the nape of your neck.
- Use Texturizing Shears (Optional): If your hair is thick, use texturizing shears through the ends to remove bulk and add movement.
8. Checking for Symmetry and Balance

After the initial cut, it’s vital to check your work for symmetry and overall balance. This step allows you to make any necessary adjustments.
- Dry Your Hair: Blow-dry your hair completely, as hair behaves differently when dry.
- Comb Through: Comb your hair into your natural part.
- Visual Inspection: Look in the mirror from all angles. Do the face-framing layers look even? Does the volume appear balanced?
- Pinch and Compare: Take small sections of hair on either side and pinch them between your fingers to compare lengths.
- Trim as Needed: Make small, precise trims to correct any unevenness. Remember, you can always cut more, but you can’t put it back!
9. Styling Your Short Butterfly Haircut
Now that you have the cut, it’s time to bring out its full potential with proper styling. The butterfly cut is designed for movement, so emphasize that!
- Heat Protectant: Always apply a heat protectant before using any heat tools.
- Volumizing Mousse or Spray: Apply to damp roots for extra lift.
- Round Brush Blowout: Use a medium-sized round brush to blow dry your face-framing layers away from your face for that signature “wing” effect.
- Curling Iron/Wand: Add soft waves or curls to the ends of your layers for more bounce. Use a 1-inch or 1.25-inch barrel.
- Texturizing Spray: Finish with a light texturizing spray to enhance separation and movement.
- Light-Hold Hairspray: To set your style without making it stiff.
10. Maintaining Your Short Butterfly Haircut
To keep your butterfly haircut looking fresh and vibrant, regular maintenance is key. This includes trims and appropriate hair care.
- Regular Trims: Schedule trims every 6-8 weeks to maintain the shape and prevent split ends.
- Sulfate-Free Products: Use shampoos and conditioners that are free of harsh sulfates to preserve hair health and color.
- Deep Conditioning: Incorporate a weekly deep conditioning treatment to keep your hair hydrated and shiny.
- Protect from Heat: Minimize heat styling when possible, and always use heat protectant.
- Protect from Sun: Wear a hat or use UV protectant spray when spending extended time in the sun.
| Styling Tool | Purpose for Butterfly Haircut |
|---|---|
| Round Brush | Creates volume and flips layers away from face |
| Curling Iron/Wand | Adds soft waves and bounce to layers |
| Texturizing Spray | Enhances layer separation and adds grit |
| Volumizing Mousse | Lifts roots for added fullness |
| Heat Protectant | Shields hair from heat damage during styling |
Embarking on the journey of How to Get Butterfly Haircut for Short Hair Yourself at Home is an exciting step towards a refreshed and dynamic look.
Whether you’re confidently snipping away at home or meticulously guiding your stylist, understanding the principles of sectioning, layering, and blending is paramount.
By following these steps and embracing the versatility of this trendy cut, you’ll soon be flaunting a voluminous, face-framing style that’s as enchanting and effortless as a butterfly in flight.