Learning to braid your own hair can feel challenging at first, but it’s one of the most rewarding skills you can master.
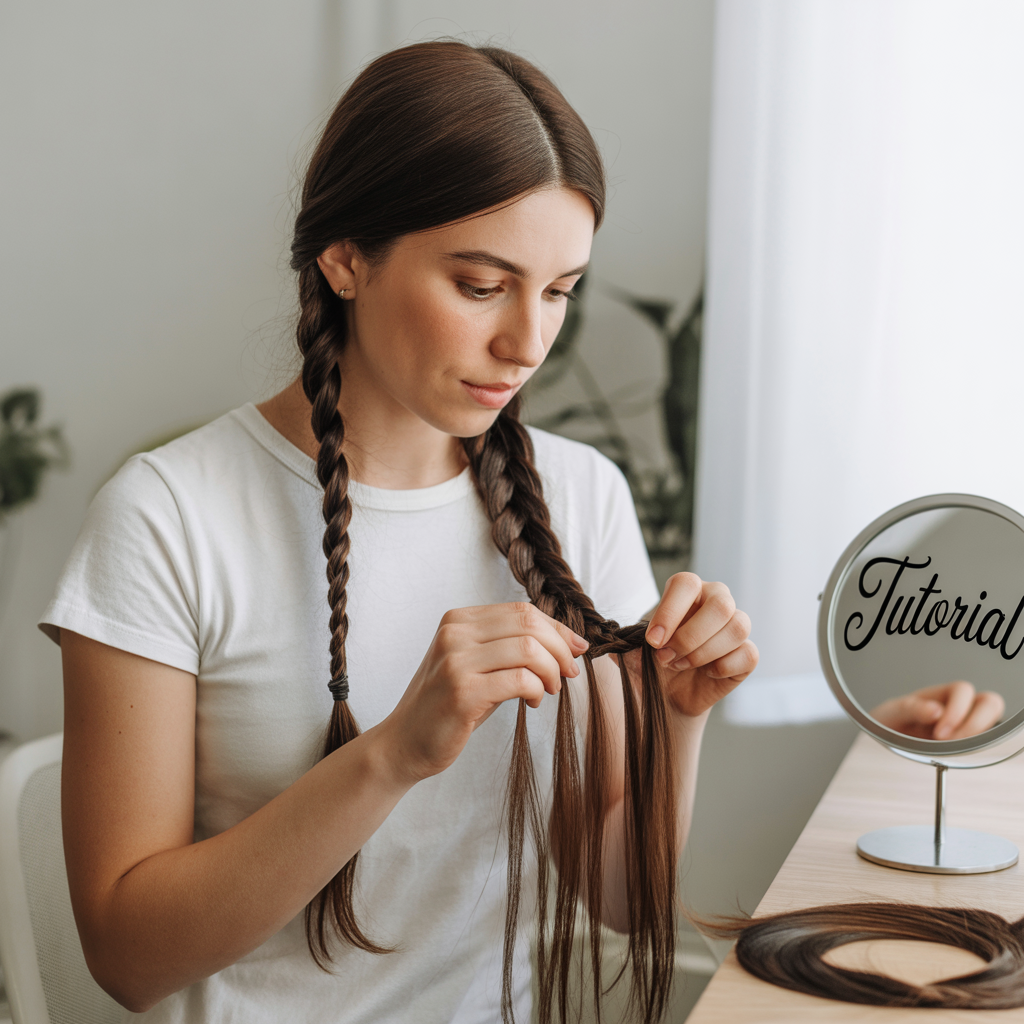
In How to Do Braids on Yourself Tutorials, you’ll get clear, easy-to-follow instructions to help you braid your own hair step by step, whether you’re starting with a simple braid or leveling up to more advanced styles.
This guide explains the basics, the must-have tools, detailed tutorials for different braid types, common problems and solutions, plus extra pro tips to help you build confidence and braid your hair beautifully every time.
By the end, you’ll feel ready to pick up your comb, part your hair, and braid with ease.
1️⃣ Why Learn to Braid Your Own Hair
Before jumping into tutorials, it helps to know why this skill is so useful.
This section shows why braiding your own hair is worth learning and practicing.
- Braiding your own hair saves money and time spent at salons.
- You can style your hair anytime, anywhere, even on busy mornings.
- Braids protect your hair from breakage and tangling.
- Braiding improves hand coordination and builds patience.
- It’s a creative way to express your personal style daily.
2️⃣ Must-Have Tools to Braid Your Own Hair
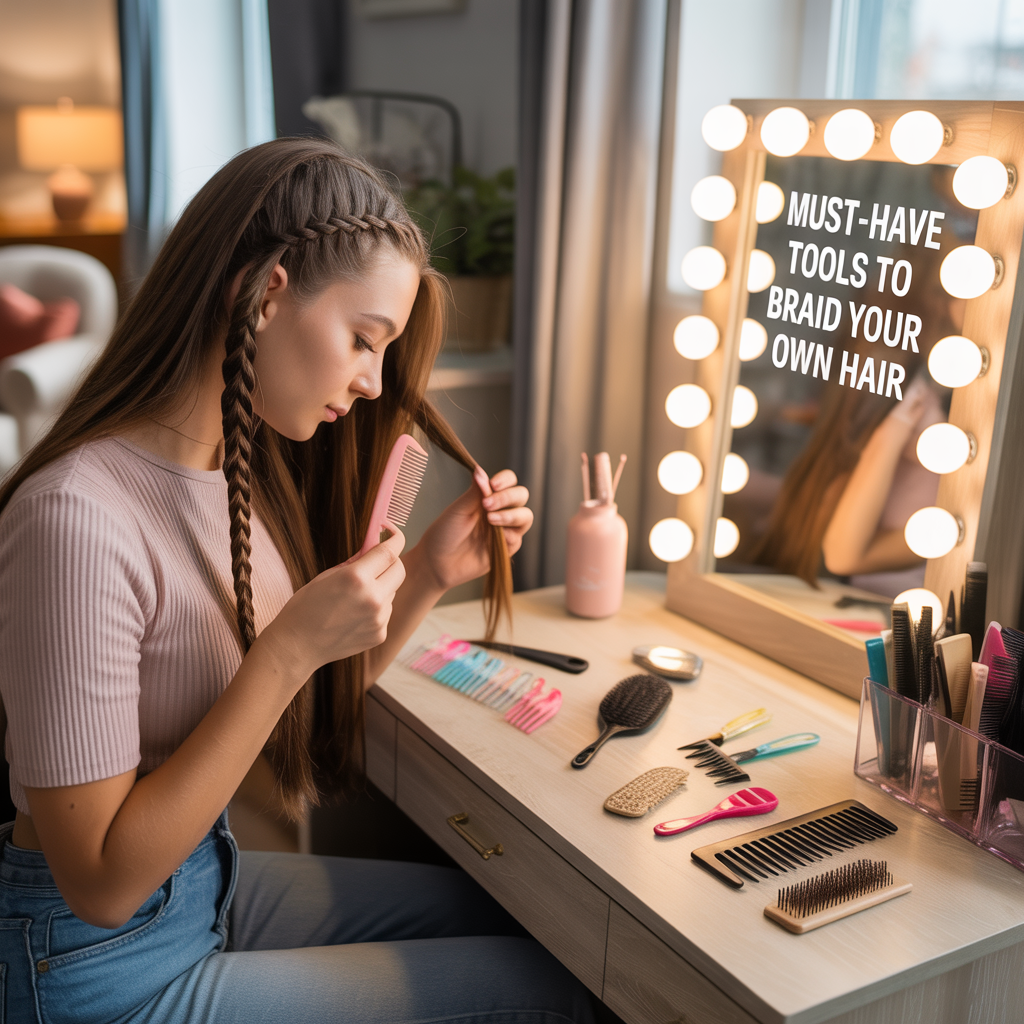
To braid well, you need the right tools ready at hand.
This list makes sure you’re set up for smooth, frustration-free braiding sessions.
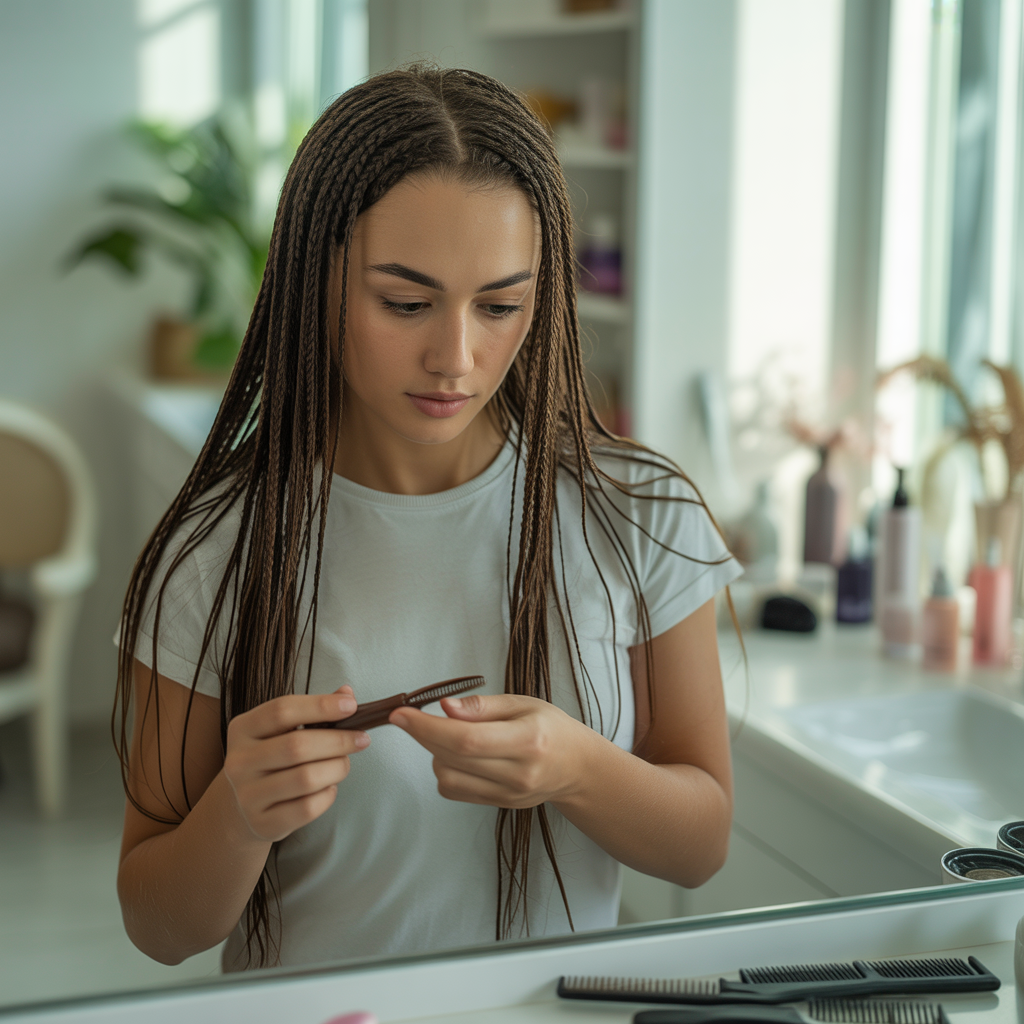
- Wide-tooth comb for gentle detangling.
- Fine-tooth or rat-tail comb for clean, sharp parts.
- Sectioning clips to hold hair out of the way.
- Small snag-free elastics for securing braid ends.
- Hairpins or bobby pins for pinning loose ends.
- A mirror setup — front and handheld — to see all angles.
- Light styling cream, gel, or a bit of water for grip and control.
| Tool | Purpose | Extra Tip |
|---|---|---|
| Wide-Tooth Comb | Detangle hair | Work ends to roots to avoid breakage |
| Rat-Tail Comb | Part hair | Straight parts = neater braids |
| Clips | Hold sections | Makes braiding neater |
| Elastics | Tie braid ends | Choose ones that don’t snag |
| Bobby Pins | Pin flyaways | Keep a few handy |
| Styling Cream | Tame frizz | Use sparingly to avoid buildup |
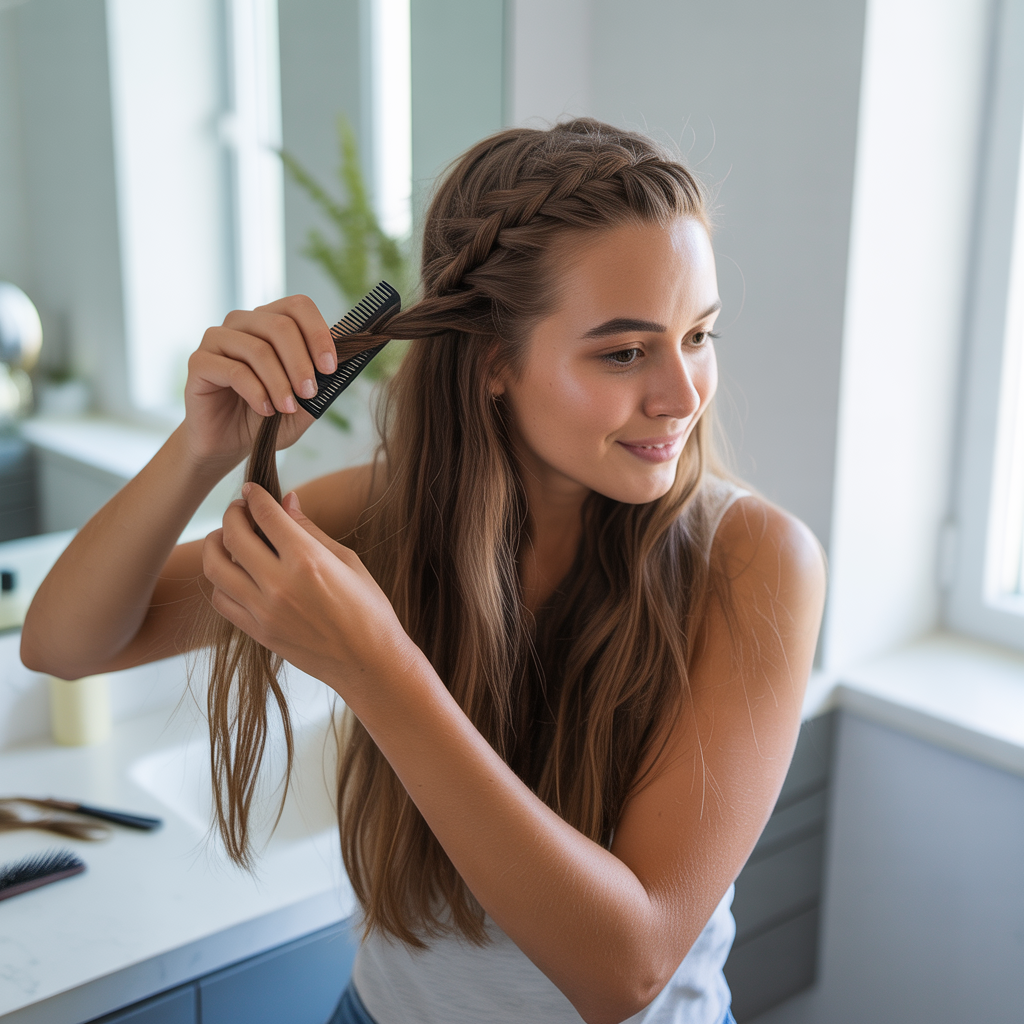
3️⃣ Prepping Your Hair Before You Braid
How you prep your hair makes a big difference when braiding yourself.
This step ensures your braid stays neat and lasts longer.
- Wash and condition your hair if needed — clean hair is easier to work with.
- Let hair air dry or keep it slightly damp for better grip.
- Gently detangle hair with a wide-tooth comb.
- Decide where you want your braid — side, back, crown, or pigtails.
- Use your rat-tail comb to create clean parts.
- Clip away sections you’re not braiding yet.
- Apply a bit of leave-in conditioner or styling cream if needed.
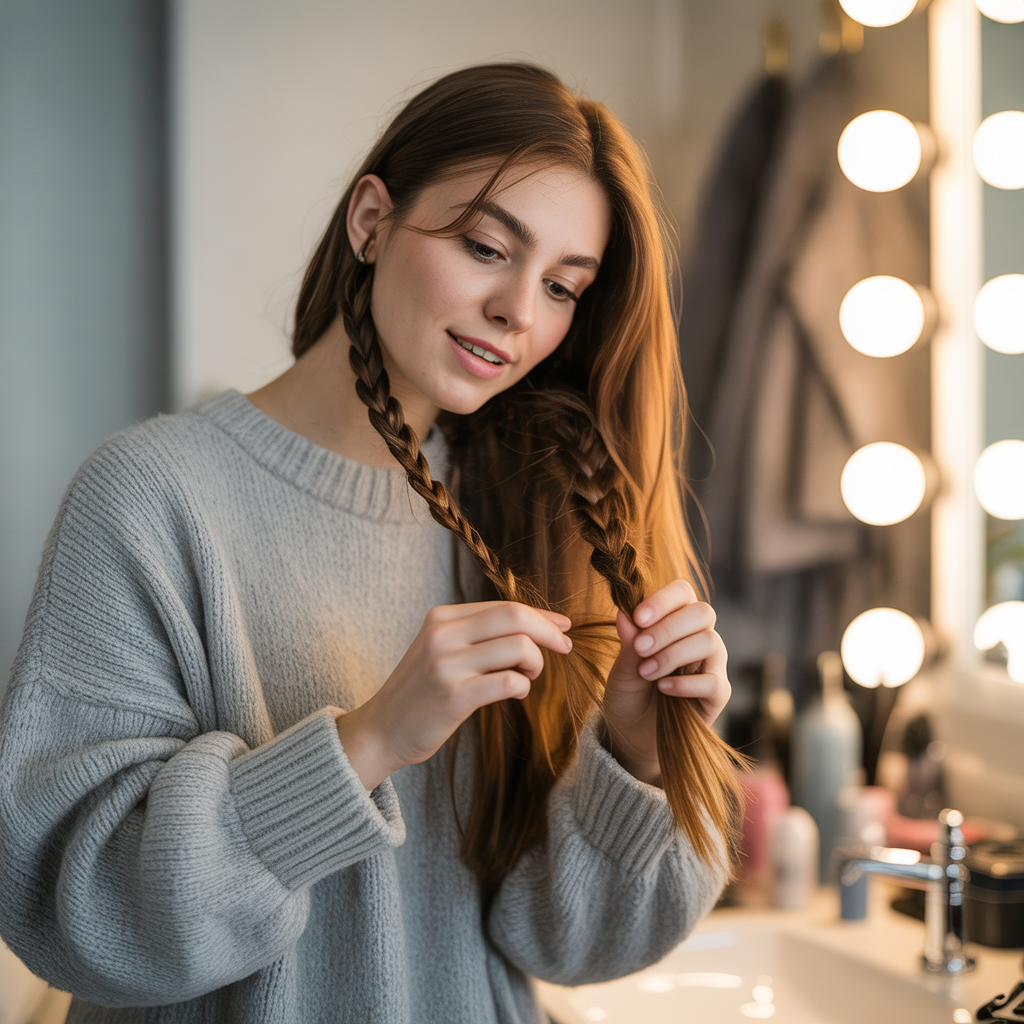
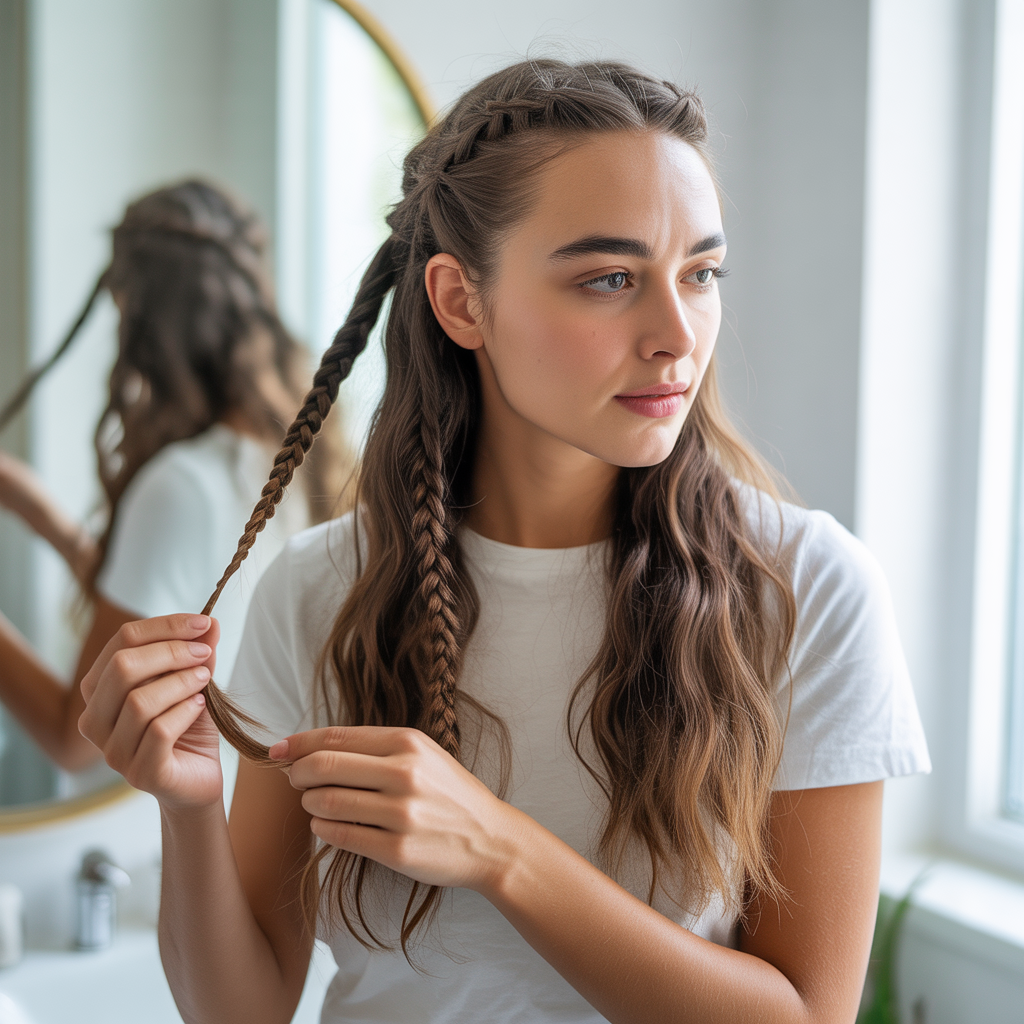
4️⃣ Tutorial: Basic Three-Strand Braid on Yourself
This is the best place to start.
A simple three-strand braid helps you practice finger movement and tension control.
- Bring hair to one side over your shoulder for better visibility.
- Divide hair into three equal sections.
- Hold two sections in one hand and the third in the other.
- Cross the right section over the middle one.
- Then cross the left section over the new middle one.
- Repeat this pattern until you reach the ends.
- Secure the end with a small elastic.
- Gently pull at the braid for more volume if you like.
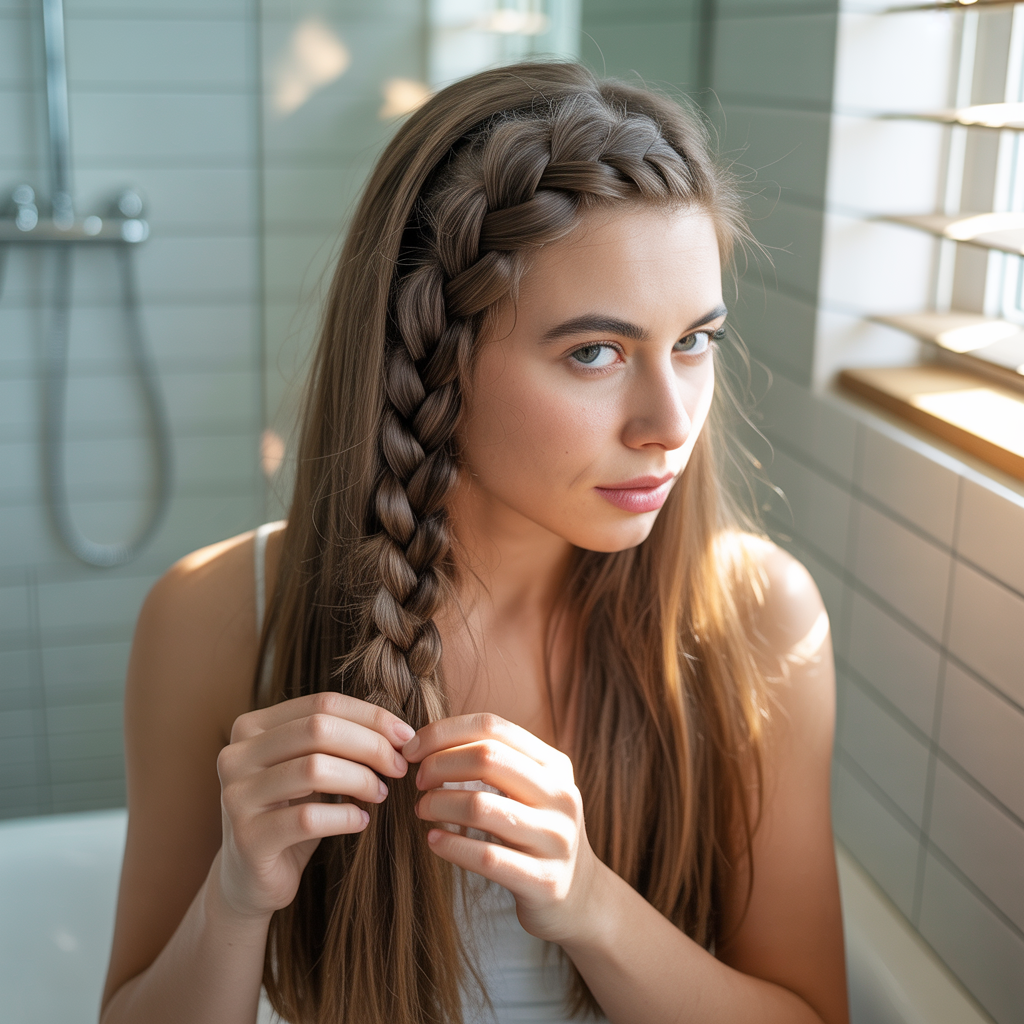
5️⃣ Tutorial: French Braid on Yourself
Once you master the basic braid, try a French braid.
It looks complex but follows the same pattern — with added sections.
- Start with brushed, detangled hair.
- Take a section at the top of your head and split it into three parts.
- Cross the right section over the middle, then the left over the middle.
- Add a little hair to the right section from the side before crossing over.
- Do the same on the left side.
- Continue adding hair each time you cross until you reach your neck.
- Braid the remaining length normally.
- Secure with an elastic.
- Smooth any flyaways with a tiny dab of styling cream.
6️⃣ Tutorial: Dutch Braid on Yourself
Dutch braids are like French braids but look more dramatic because they sit on top of the hair.
Perfect for sporty days or bold everyday looks.
- Section the top part of your hair as for a French braid.
- Divide into three strands.
- Instead of crossing over, cross the right and left sections under the middle.
- Add hair from the side each time you cross under.
- Keep tension firm so the braid stays raised.
- Continue braiding to the neck, then finish with a normal braid.
- Tie the end and loosen sections gently for volume.
7️⃣ Tutorial: Braided Crown on Yourself

This style looks fancy but is easier than it seems.
Perfect for special occasions, festivals, or a romantic look.
- Part your hair down the middle.
- Take a section near your ear and start a simple three-strand braid.
- Braid all the way to the ends.
- Repeat on the other side.
- Wrap each braid across the top of your head like a headband.
- Pin each braid securely with bobby pins.
- Tuck the ends under the braid or behind your ear.
- Set with light hairspray if needed.
8️⃣ Common Problems and Quick Fixes
Braiding your own hair can be awkward at first — but don’t get discouraged.
Here’s how to fix the most common issues.
- Braid too loose? Keep your hands close to the braid.
- Arms tired? Rest your elbows on a table or take breaks.
- Flyaways everywhere? Use a tiny bit of styling cream or gel.
- Sections uneven? Use your mirror to check parts carefully.
- Ends sticking out? Tuck them in and secure with pins.
Conclusion
Practicing How to Do Braids on Yourself Tutorials will help you turn braiding into an easy, stress-free part of your routine.
Start small, build up your skills, and don’t be afraid to experiment with new styles and placements.
With these clear tutorials and tips, you’re ready to braid your own hair beautifully and confidently whenever you like.