Braids have been loved for centuries, not just for their beauty but for their versatility and practicality.
Whether you’re styling your hair for a casual day, a special event, or to keep it neat during workouts, learning How to Do Braids will open up countless styling possibilities.
In this guide, you’ll learn about essential tools, basic and advanced techniques, step-by-step instructions for popular braid types, solutions for common mistakes, and expert tips to make your braids last longer and look professional.
By the end, you’ll feel confident enough to braid your own hair or someone else’s, no matter the occasion.
1️⃣ Understanding the Basics of Braiding
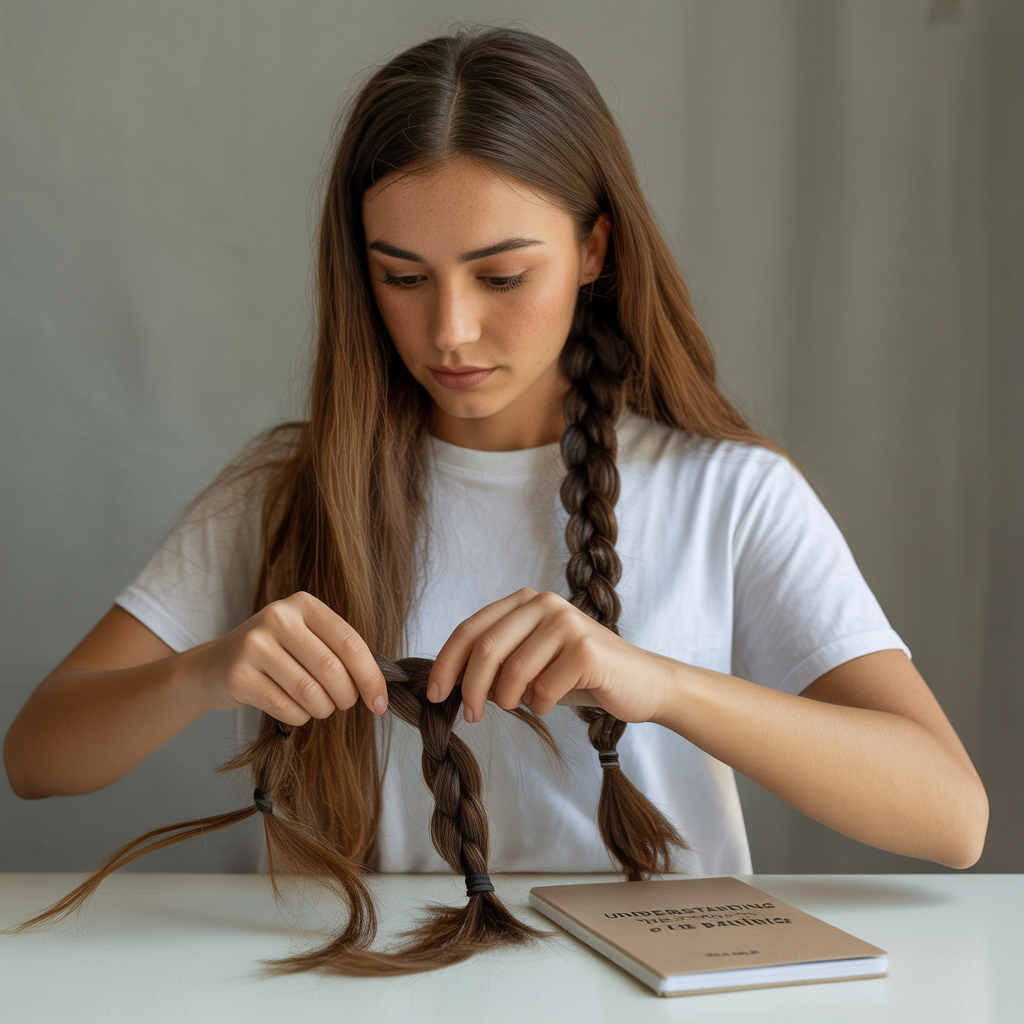
Before creating any braid, it’s crucial to understand how braiding works.
This section explains the core principles and sets you up for success.
- Braiding is the art of weaving sections of hair in a specific pattern to create a structured style.
- The foundation of braiding is the three-strand braid, which helps you build finger coordination and tension control.
- Clean, tangle-free hair is essential; always brush or comb thoroughly before you start.
- Damp hair can help manage flyaways but avoid soaking wet hair, as it can stretch and break more easily.
- Practicing on someone else or a mannequin head can help you master the hand movements faster.
- Try practicing with thick yarn or ribbons if you want to build confidence before working with real hair.
2️⃣ Essential Tools and Products for Perfect Braids
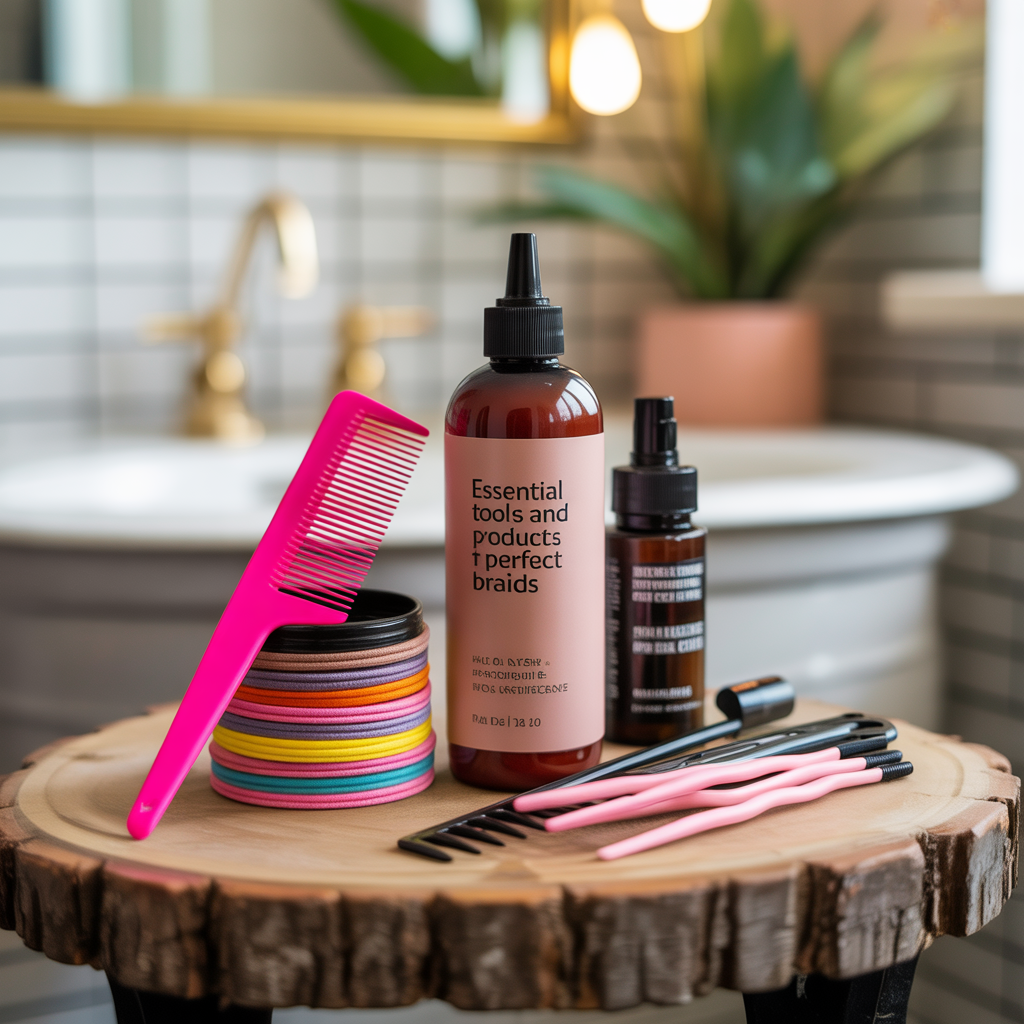
The right tools can make braiding easier, faster, and cleaner.
Here’s an in-depth look at what you should keep in your braiding kit.
- Use a wide-tooth comb to gently detangle hair from tips to roots without causing breakage.
- A fine-tooth comb helps you create sharp, clean parts — essential for neat braids.
- Hair clips or sectioning clamps hold parts of the hair securely out of the way while you work.
- Small, snag-free elastic bands are a must for securing braid ends.
- A good leave-in conditioner adds moisture and slip, making hair smoother to handle.
- Lightweight styling gels or edge control products keep baby hairs and flyaways in place.
- A spray bottle with water can refresh dry hair and help you rework sections if needed.
- Keep a soft brush handy for smoothing and finishing touches.
| Tool | What It’s For | Extra Tip |
|---|---|---|
| Wide-Tooth Comb | Detangling | Start at the ends and work up |
| Fine-Tooth Comb | Parting hair | Use for clean sections |
| Hair Clips | Sectioning | Use multiple clips for thick hair |
| Elastics | Securing ends | Choose clear or color-matching bands |
| Styling Gel | Smoothing edges | Avoid heavy products that cause buildup |
| Spray Bottle | Moistening hair | Use warm water for extra manageability |
3️⃣ Mastering the Classic Three-Strand Braid
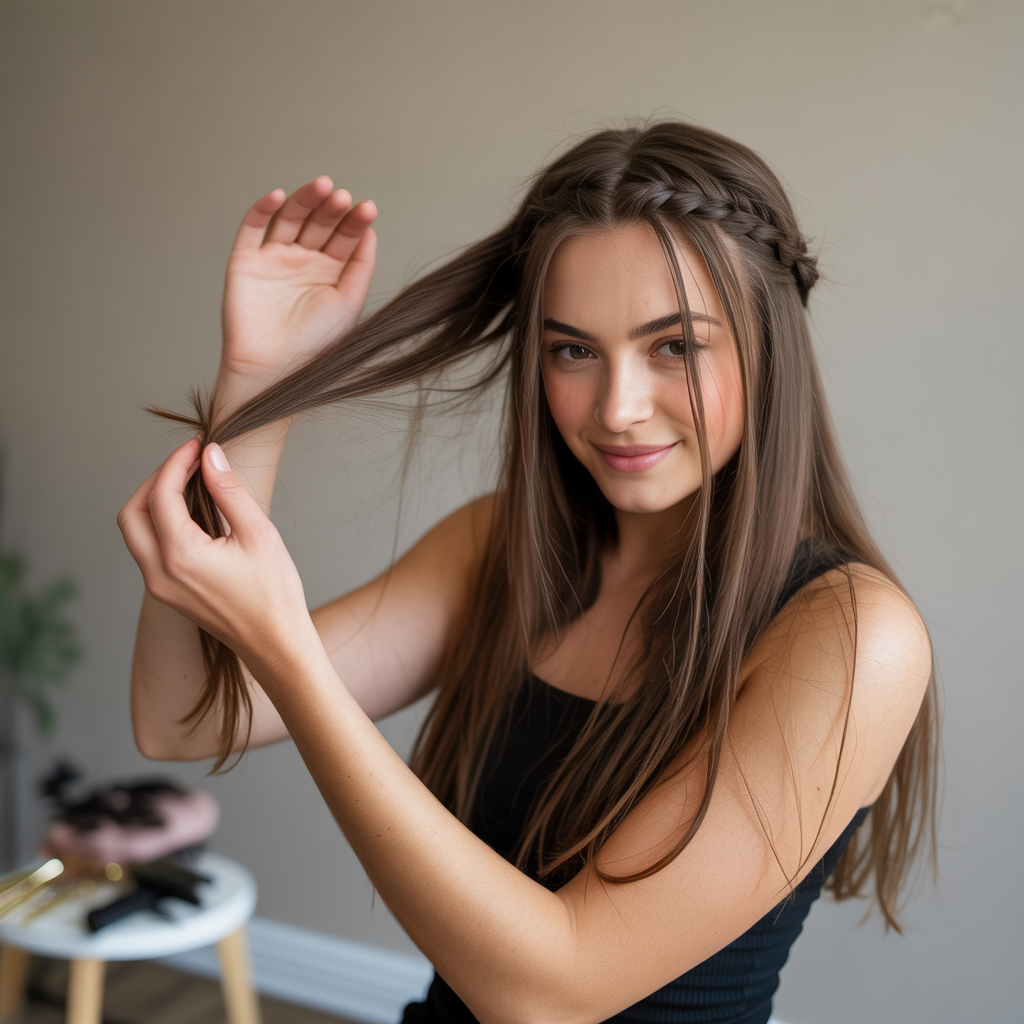
The three-strand braid is the starting point for all braiding techniques.
It’s simple but teaches the coordination you’ll need for every other style.
- Begin by brushing the hair thoroughly to remove all tangles.
- Separate a section of hair and divide it evenly into three parts.
- Hold the right section in your right hand and the other two in your left.
- Cross the right section over the middle — this makes the right section the new middle.
- Now cross the left section over the new middle section.
- Continue crossing right and left sections alternately over the middle section.
- Keep the tension firm but not too tight — tight braids can cause breakage or discomfort.
- Once you reach the end, secure it with an elastic.
- For a fuller, boho look, gently pull the braid apart by tugging small pieces.
- To practice, try braiding ribbons first to get comfortable with the crossing pattern.
4️⃣ Trying Out French Braids
French braids elevate your look and are practical for keeping hair secure all day.
They look complicated but build directly on the three-strand braid.
- Start by taking a section of hair at the crown of your head.
- Divide this section into three equal parts.
- Begin a normal three-strand braid for the first few stitches.
- As you braid, pick up small sections of hair from the left and right sides and add them to the outside sections before crossing them over.
- This “adding hair” step secures the braid tightly to your scalp.
- Continue adding hair and braiding until you reach the nape of your neck.
- Finish with a regular braid to the ends and secure with an elastic.
- For a polished look, smooth down any flyaways with styling gel or hairspray.
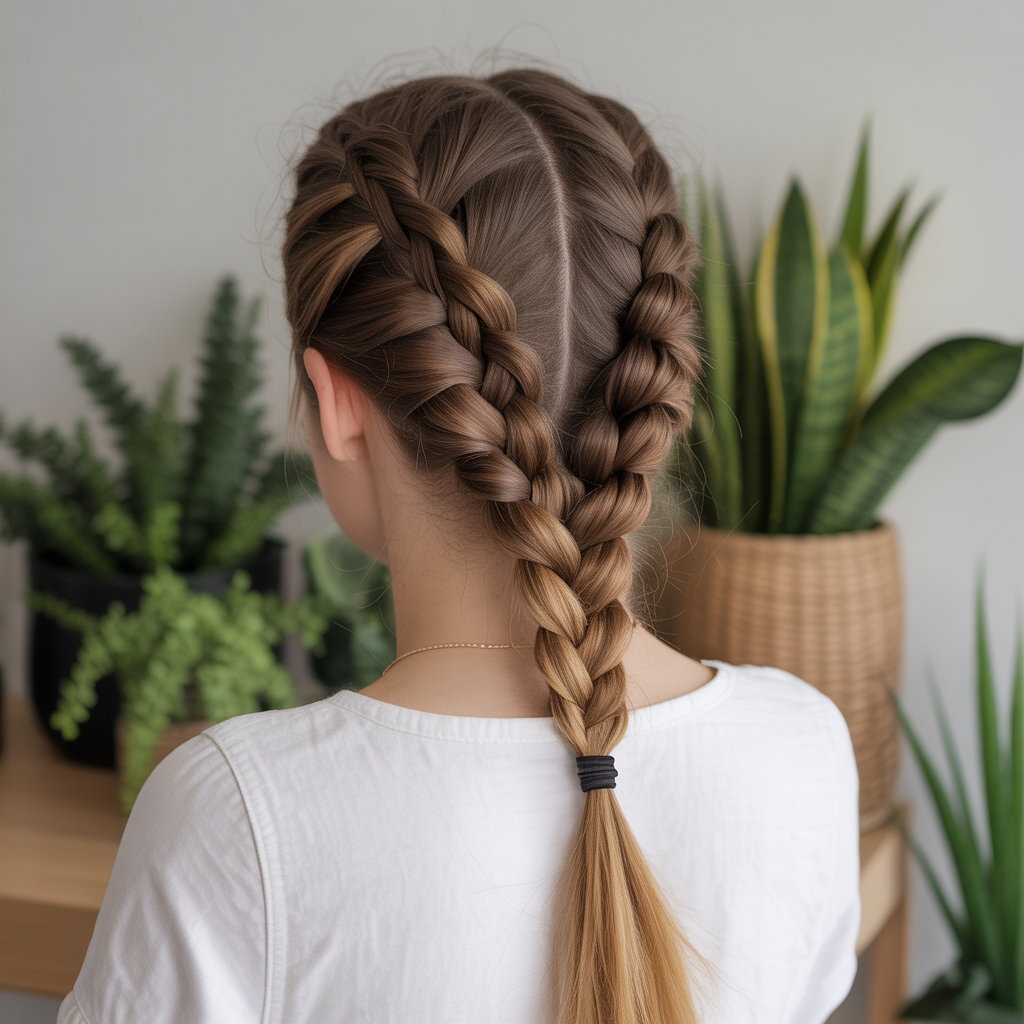
- To create a double French braid, part your hair down the middle and repeat on both sides.
French braids are excellent for sports or active days because they keep hair out of your face.
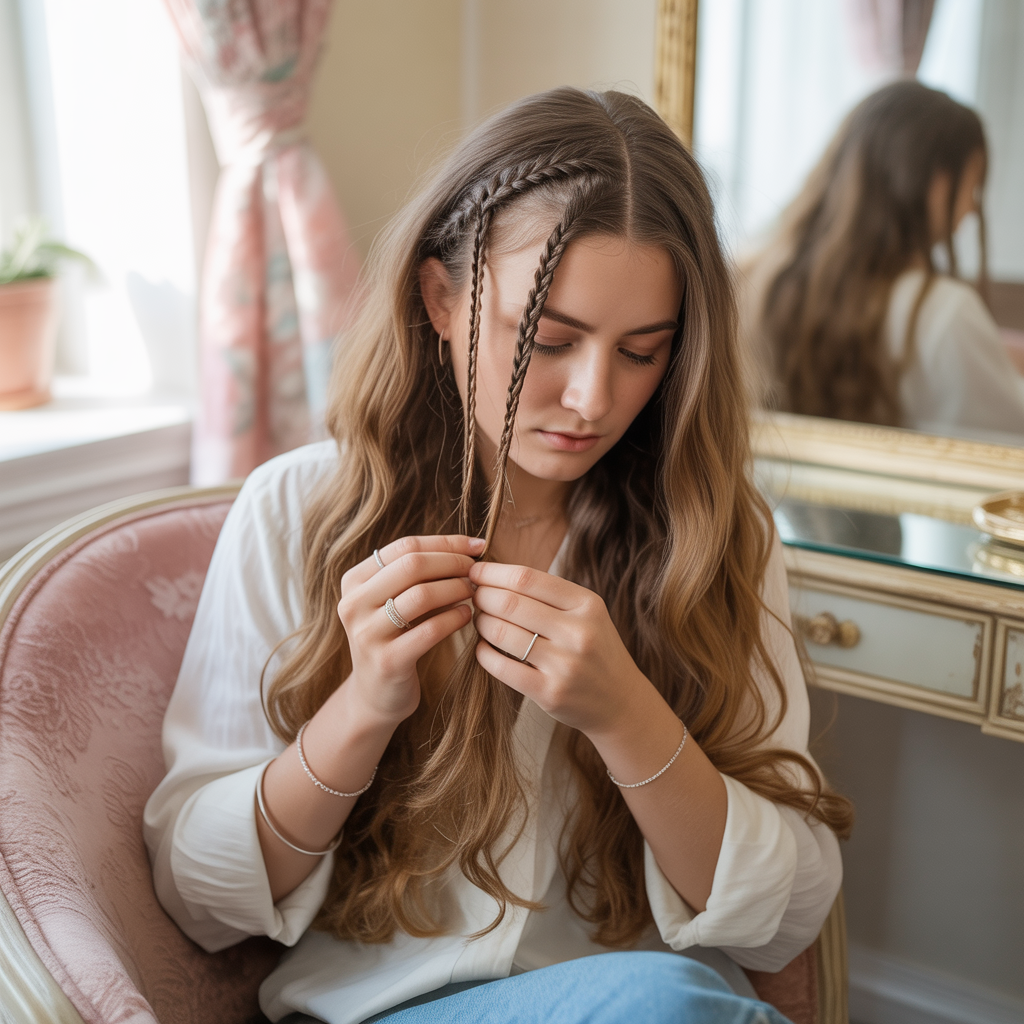
5️⃣ Exploring Fishtail Braids

The fishtail braid looks impressively intricate but is easy once you get the hang of it.
This braid is perfect for casual days, date nights, or even weddings.
- Brush hair thoroughly and split it into two equal sections.
- Hold one section in each hand.
- Take a thin piece from the outside of the left section and cross it over to the right section.
- Then, take a thin piece from the outside of the right section and cross it over to the left section.
- Repeat this crisscross pattern all the way down the length of your hair.
- Keep the sections small for a tight, detailed braid, or larger for a chunky look.
- Secure with an elastic at the end.
- Gently pull apart pieces for a messy, boho vibe if desired.
- Finish with light hairspray for hold.
6️⃣ Advanced Braids to Try Once You’ve Mastered the Basics

Once you’re comfortable with simple braids, you can experiment with more complex styles.
This section will inspire you to challenge yourself with creative braids.
- Dutch braids are like inverted French braids; instead of crossing sections over, you cross them under.
- Crown braids wrap around the head like a halo and look stunning for weddings or festivals.
- Waterfall braids create a cascading effect and work beautifully for romantic, flowy styles.
- Boxer braids are two tight Dutch braids that keep hair secure for sports or high-energy days.
- Rope braids twist sections of hair instead of weaving — quick but eye-catching.
- Try mixing braids with buns or ponytails for modern looks.
7️⃣ Common Braiding Mistakes and How to Avoid Them
Even skilled braiders run into challenges.
This section will help you fix common mistakes and improve your braiding results.
- Not detangling properly can lead to painful knots and messy sections.
- Uneven sectioning can make your braid lopsided or bulky in spots.
- Using too much product can weigh hair down and make braids slip out.
- Pulling too tight can cause tension headaches or even hair breakage over time.
- Rushing through the braid often creates lumps or loose sections.
- If your hands get tired easily, take breaks and stretch your fingers.
- Practice makes perfect; don’t be discouraged if your braids look uneven at first.
Braids are more than just a hairstyle — they’re a craft that combines creativity and practicality.
By following this complete guide on How to Do Braids, you now have the knowledge and techniques to create beautiful, unique styles for any occasion.
With patience and practice, your braiding skills will grow, and you’ll always have a classic, elegant way to style your hair.
Happy braiding, and may every braid you create reflect your personal touch!