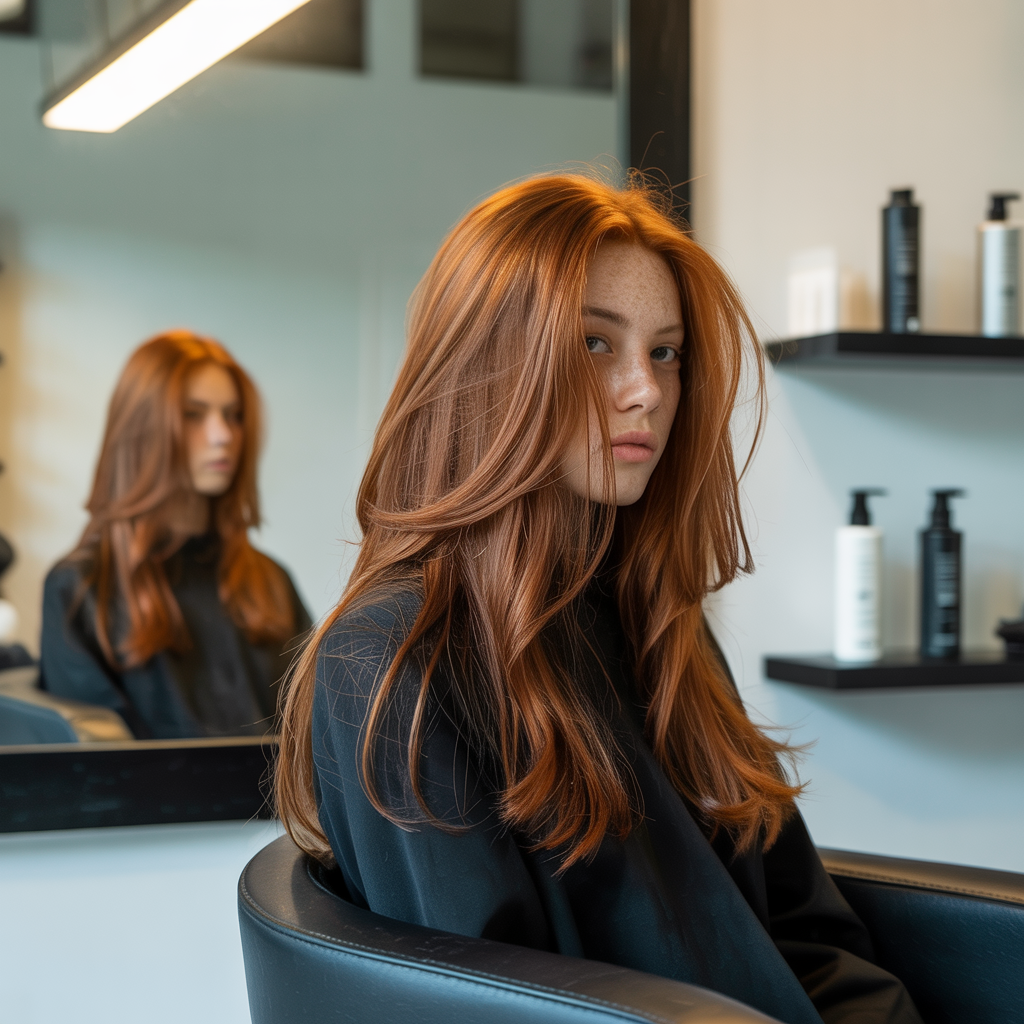
Dreaming of luscious, voluminous layers that effortlessly frame your face and give your long hair a fresh, dynamic look?
How to Do a Butterfly Haircut for Long Hair is a question that pops up for anyone wanting a salon-quality style without the salon price tag.
This guide is designed to empower you with the knowledge and techniques to achieve this trendy, face-framing haircut right at home.
We’ll walk you through everything from selecting the right tools and prepping your hair to the precise cutting steps and essential blending tips, ensuring you finish with a gorgeous, flowing style that boosts your confidence and transforms your tresses.
1. Assembling Your Arsenal: Essential Tools for the Butterfly Cut
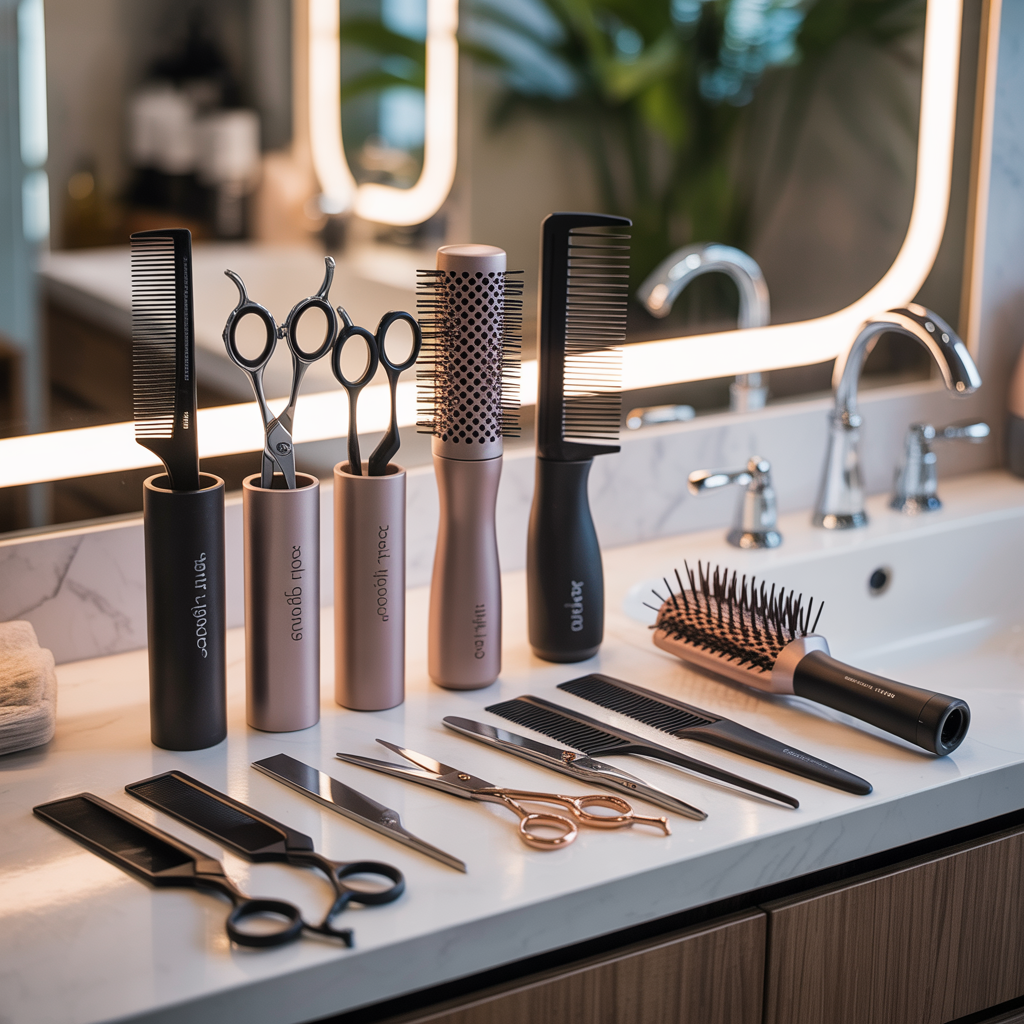
Before you embark on your hair transformation journey, gathering the right tools is paramount.
Having a precise set of instruments will make the cutting process smoother, more accurate, and ultimately lead to a more professional-looking result.
Skimping on quality tools can lead to frustration and an uneven cut, so take a moment to ensure you’re well-equipped.
- You’ll need a pair of sharp hair-cutting shears specifically designed for cutting hair; household scissors can damage hair and create split ends.
- A fine-tooth comb is crucial for precise sectioning and ensuring each strand is perfectly aligned before cutting.
- Hair clips or hair ties will be indispensable for securely holding sections of hair out of your way as you work.
- A spray bottle filled with water is vital for keeping your hair consistently damp throughout the cutting process, as dry hair can be harder to cut evenly.
- A hand mirror or a second mirror will be extremely helpful for checking the back and sides of your hair to ensure symmetry and evenness.
2. Preparing Your Canvas: The Foundation for a Perfect Cut
Proper hair preparation is often overlooked but is a fundamental step in achieving a successful haircut, especially for a layered style like the butterfly cut.
Starting with clean, detangled, and appropriately damp hair provides the best possible foundation, allowing for cleaner cuts and better control.
This step ensures your hair is ready to be transformed.
- Begin by washing your hair thoroughly with your regular shampoo and conditioner to remove any product buildup or oils.
- Gently towel-dry your hair until it’s damp but not dripping wet; hair that’s too wet can be difficult to manage, while dry hair can lead to inaccurate cuts.
- Take your time to detangle your hair completely with a wide-tooth comb, working from the ends upwards to avoid breakage.
- Ensure your hair is smooth and free of any knots or tangles before you begin sectioning.
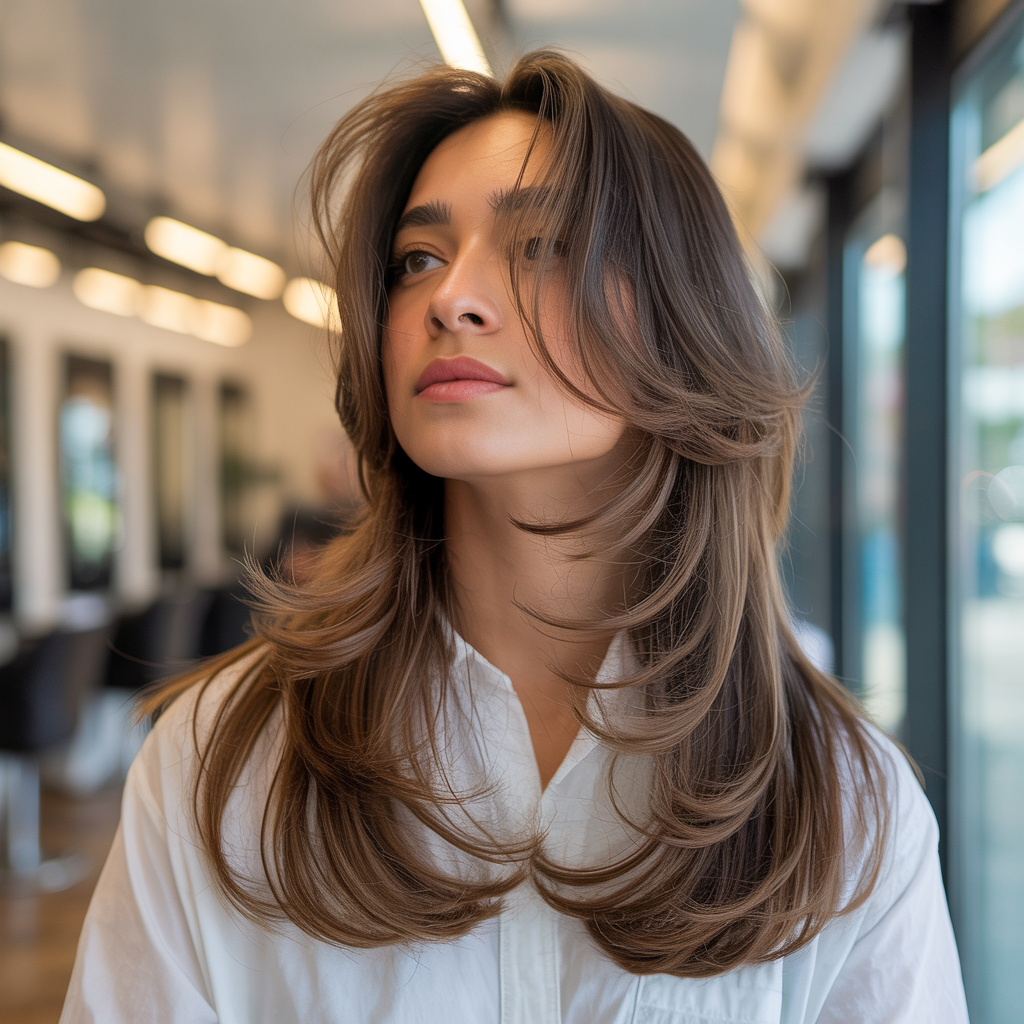
3. Understanding the Butterfly Haircut: Unveiling Its Unique Charm
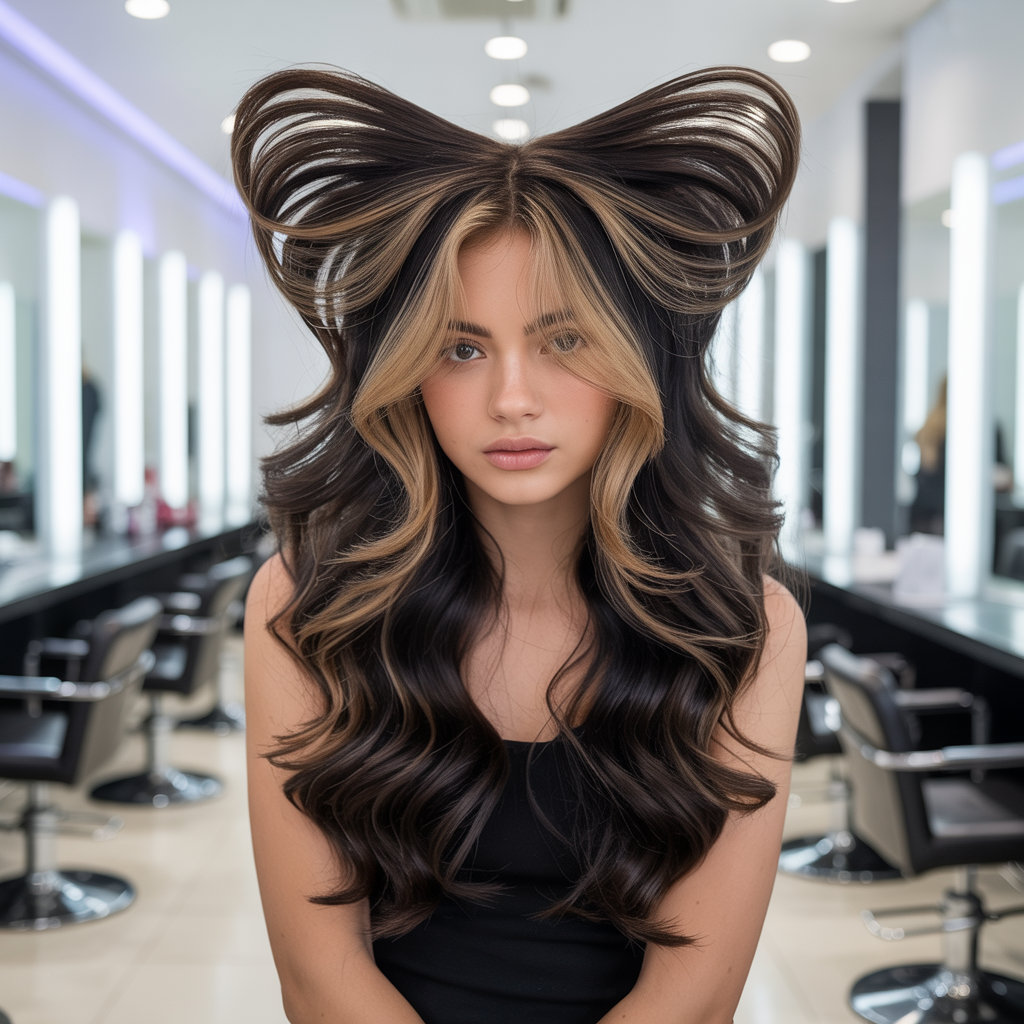
The butterfly haircut isn’t just a trend; it’s a meticulously layered style designed to create significant volume and movement, giving the illusion of shorter hair around the face while maintaining length in the back.
This unique layering technique mimics the graceful shape of a butterfly’s wings, hence its name. Understanding this concept is key to successfully executing the cut.
- The core principle of the butterfly cut involves creating shorter, face-framing layers that gradually blend into longer layers throughout the rest of your hair.
- This layering creates a soft, feathered effect that adds incredible bounce and body, making long hair feel lighter and more dynamic.
- It’s a versatile style that offers the best of both worlds: the definition and lift of shorter layers with the elegance and flow of long hair.
- The strategically placed layers enhance natural waves and curls, but also look stunning when styled sleek and straight.
4. Masterful Sectioning: The Key to Symmetrical Layers
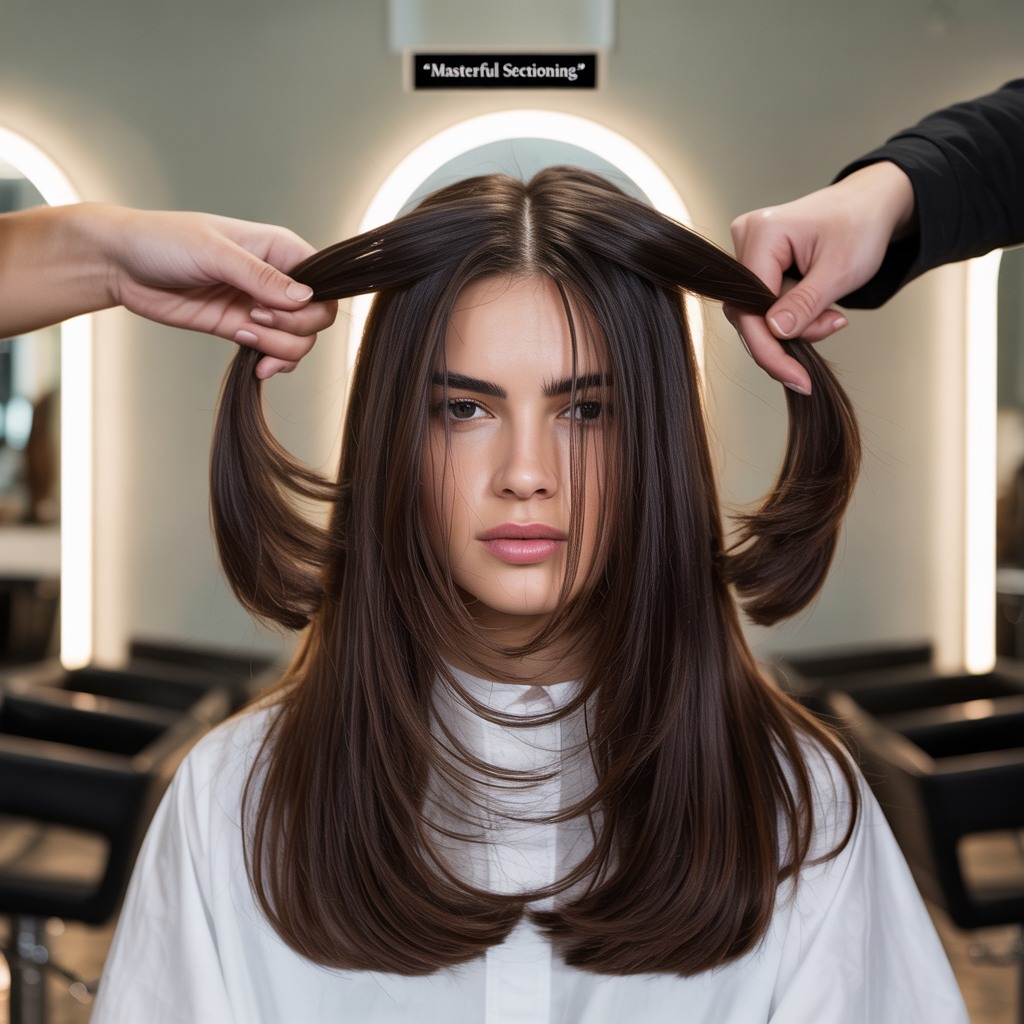
Accurate sectioning is arguably the most crucial step in achieving a balanced and symmetrical butterfly haircut.
This technique involves dividing your hair into specific, manageable sections, which serve as guides for your cutting.
Precise sectioning ensures that your layers are even on both sides and blend seamlessly, avoiding an lopsided appearance.
- Start by parting your hair down the middle, from your forehead all the way to the nape of your neck.
- Now, create a “half-up, half-down” section: gather the top half of your hair into a high ponytail right on top of your head, positioned towards the front. This will be your guide for the shortest, face-framing layers.
- Ensure this ponytail is centered and smooth, as any bumps will affect the evenness of your layers.
- Secure the bottom half of your hair with a clip or elastic to keep it completely out of the way while you work on the top section.
- For even more defined face-framing layers, some people opt to create a second, smaller ponytail directly in front of their face from the very front section of their hair, and then create the main top ponytail.
5. Crafting the Front Layers: The Essence of the Butterfly
The front layers are the heart of the butterfly haircut, responsible for that beautiful, face-framing effect that distinguishes this style.
This step focuses on carefully cutting the hair within your high ponytail to create the desired shortest layers that will beautifully frame your features.
Precision in this step is vital for a flattering result.
- Bring your high ponytail directly in front of your face, extending it straight out.
- Decide on the desired length for your shortest face-framing layers. A common and flattering length is around your chin or collarbone, but you can adjust this based on your personal preference and face shape.
- Hold the hair taut and straight between your fingers.
- Using your sharp hair-cutting shears, cut straight across the ponytail at your chosen length.
- To create a softer, more blended edge, you can point-cut into the ends of the freshly cut hair, holding your scissors vertically and snipping into the ends.
- Remember the golden rule of hair cutting: you can always cut more, but you can’t put it back. Start longer if you’re unsure about the ideal length.
6. Shaping the Back Layers: Achieving Seamless Flow and Volume
With your front layers established, the next crucial step is to cut and blend the back sections of your hair.
This creates the longer layers that seamlessly connect with the front, adding volume and movement throughout your entire long mane.
The goal here is to ensure a harmonious and flowing transition from your shortest to longest layers.
- Release the bottom half of your hair that you previously secured.
- Divide this section into two more manageable parts, one on each side of your head.
- Bring one of these sections forward over your shoulder.
- Using your already cut front layers as a guide, carefully cut the back section, angling your scissors to create a gradual, flowing layer that connects.
- Repeat this process on the other side, ensuring that both sides are symmetrical and blend well.
- Alternatively, for a more subtle and diffused layering effect, you can gather all of your remaining hair (excluding the top section you already cut) into a low ponytail at the nape of your neck and cut straight across. This can create a beautiful, softened “V” shape at the back.
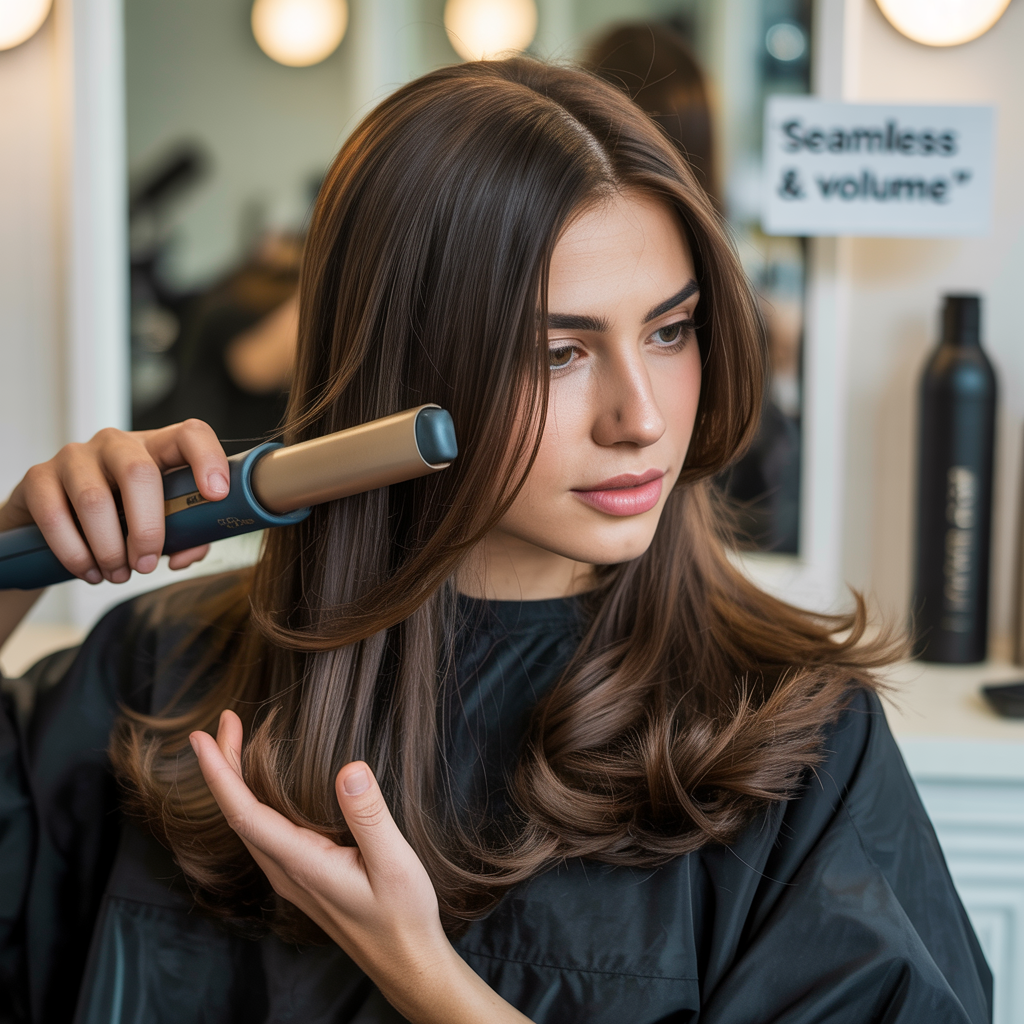
7. The Art of Refinement and Blending: Perfecting Your Butterfly Cut
After the initial cuts, the refinement and blending stage is where your butterfly haircut truly comes to life, transitioning from distinct sections to a seamless, flowing style.
This step is about perfecting the layers, ensuring there are no harsh lines and that they beautifully frame your face, creating that soft, airy look.
Take your time during this crucial stage to achieve a polished result.
- Comb all your hair down and carefully examine it from all angles (using your hand mirror for the back).
- Look for any uneven spots, blunt edges, or harsh lines between your layers.
- To soften the edges and encourage movement, point-cut into the ends of any areas that appear too blunt. Hold your scissors vertically and snip into the hair’s ends.
- You can also use a light “slide cutting” technique for a more seamless blend, gently opening and closing your shears as you slide them down the hair shaft (be very gentle and practiced with this, or skip if unsure).
- Ensure that the front and back layers merge harmoniously, creating the signature voluminous “butterfly” effect.
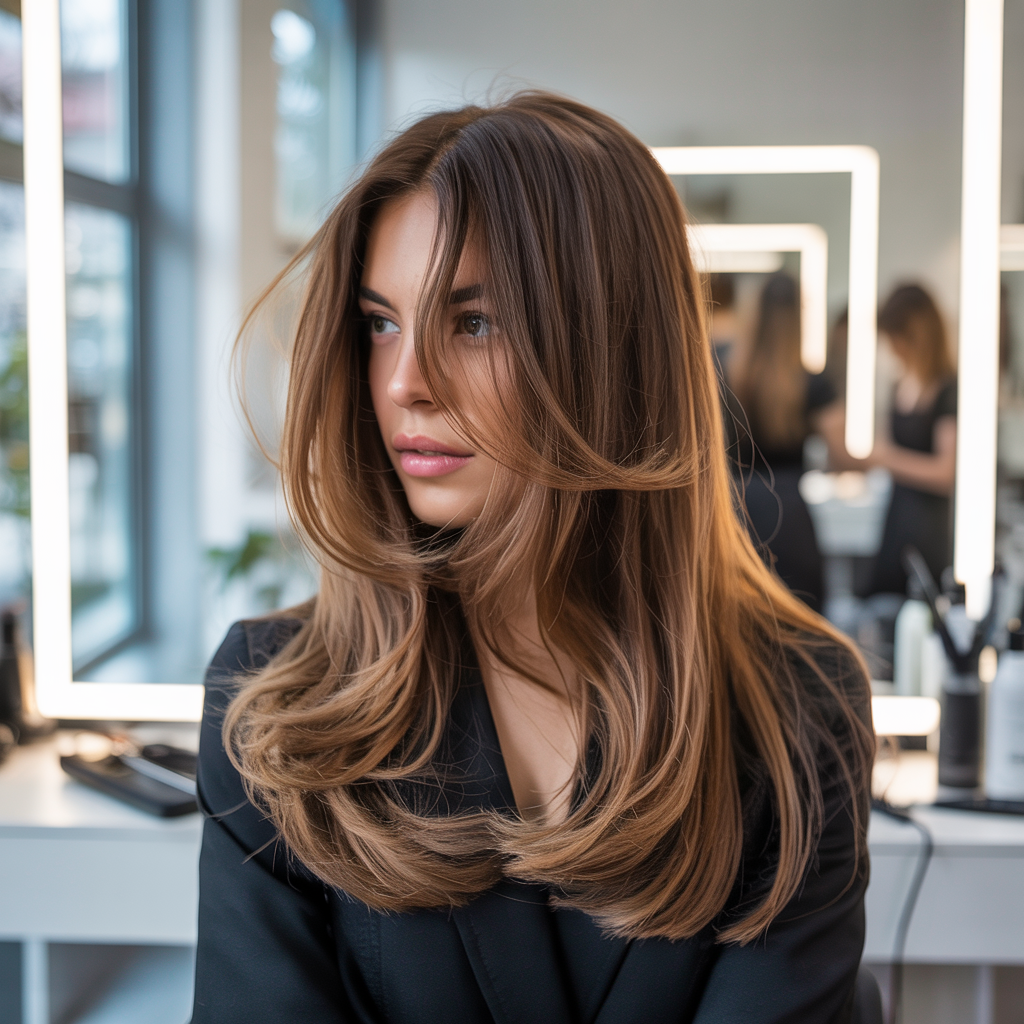
8. Styling Your New Look: Unleashing the Butterfly’s Potential
Now that you’ve successfully learned How to Do a Butterfly Haircut for Long Hair, it’s time to style it and truly showcase its magnificent volume and movement.
The butterfly cut is incredibly versatile and shines with various styling techniques, from bouncy blowouts to effortless waves.
Experiment with different methods to discover how to best highlight your new layers and complement your hair type.
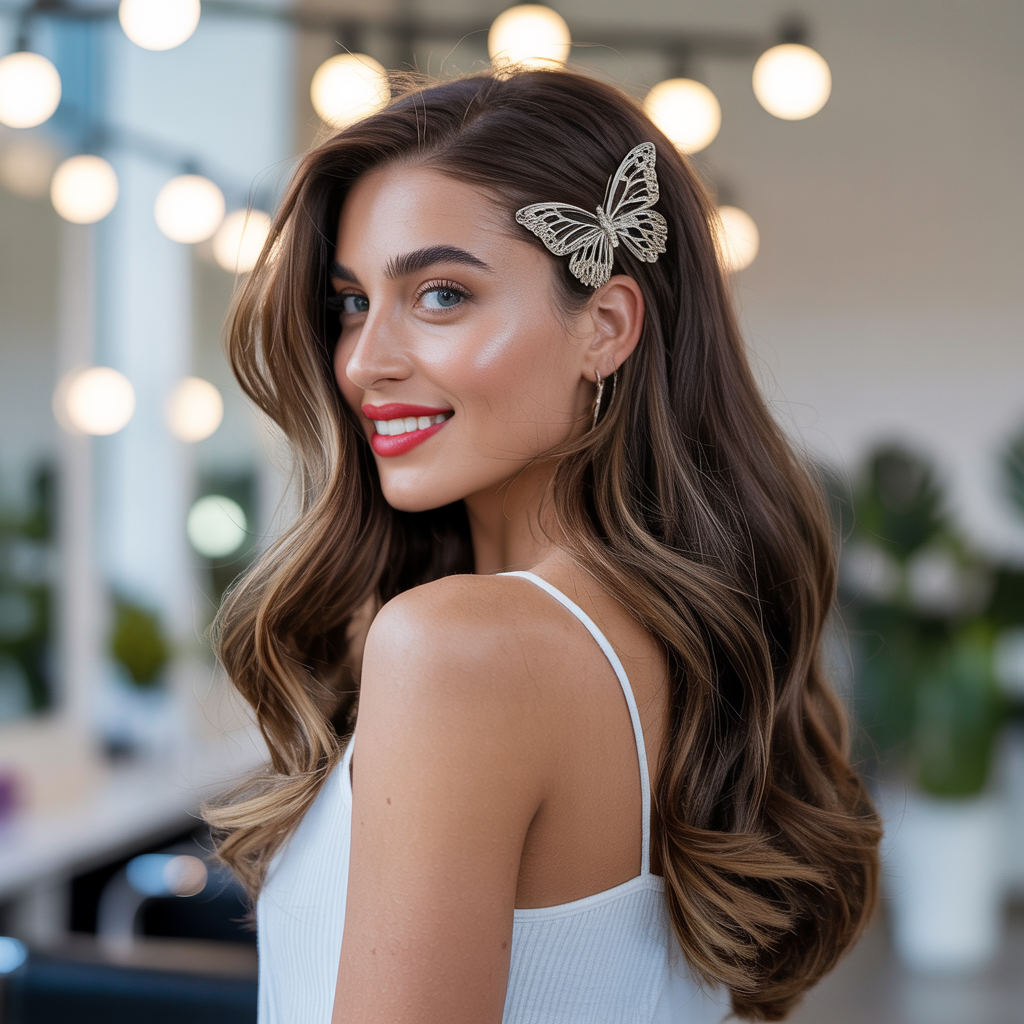
- For maximum volume and the classic butterfly effect, blow-dry your hair using a large round brush. Lift the roots and curl the ends under or away from your face to enhance the layers’ bounce.
- Use a large barrel curling iron or hot rollers to create soft, voluminous waves that perfectly accentuate the movement of your layers.
- Apply a volumizing mousse or spray to your roots before blow-drying for extra lift and body.
- For a more relaxed look, apply a texturizing spray and scrunch your hair to enhance its natural waves and let it air dry.
| Hair Tool | Best Use Case | Tips for Butterfly Cut Success |
|---|---|---|
| Sharp Hair Shears | Precision cutting, clean lines | Essential for avoiding split ends and achieving a professional finish. |
| Fine-Tooth Comb | Accurate sectioning, detangling | Crucial for perfectly even layers and preventing tangles during cutting. |
| Hair Clips/Ties | Securing sections, organizing hair | Keeps unused hair out of the way for clean and precise cuts. |
| Spray Bottle | Keeping hair damp | Ensures consistent moisture, making hair easier to cut evenly. |
| Hand Mirror | Checking symmetry, viewing the back of your head | Invaluable for ensuring your layers are balanced on both sides. |
| Large Round Brush | Adding volume, creating a bouncy blowout | Ideal for styling the signature voluminous look of the butterfly cut. |
| Volumizing Mousse | Root lift, overall body | Apply to damp hair before blow-drying for enhanced volume. |
| Texturizing Spray | Enhancing natural waves, adding grip | Great for a more effortless, lived-in look with added texture. |
Mastering How to Do a Butterfly Haircut for Long Hair yourself is a fulfilling endeavor that can save you time and money while giving you complete control over your style.
By meticulously following these steps, you’ve equipped yourself with the knowledge to create a stunning, voluminous, and beautifully layered look that will undoubtedly turn heads.
Each time you style your hair, you’ll be reminded of your newfound skill and confidence.
So, embrace your refreshed locks and enjoy the effortless charm of your new butterfly haircut!