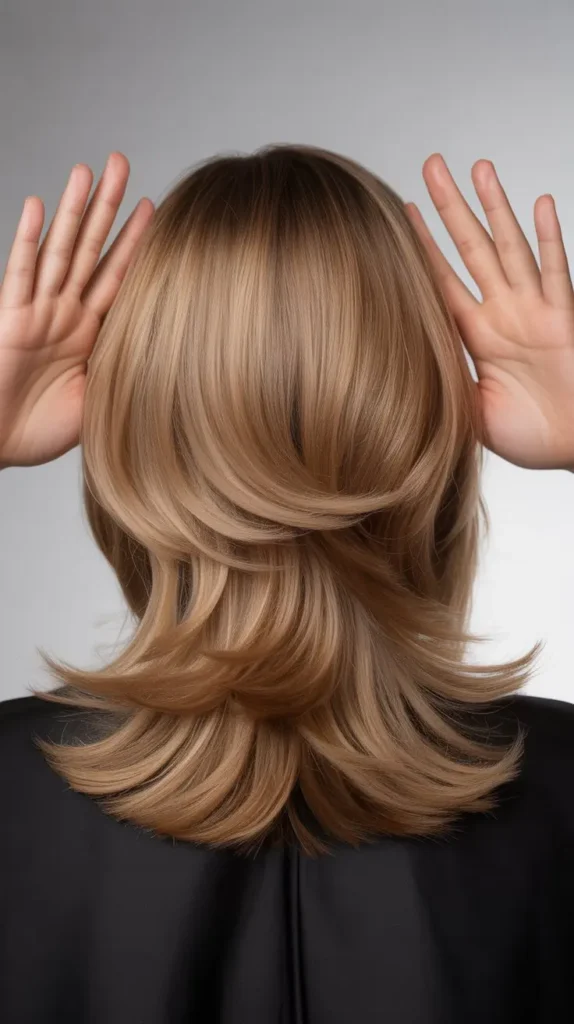
Cutting your own hair in layers can seem tricky. But with some guidance, you can achieve a stylish look at home.
Layering your hair at home can save time and money. It also gives you control over your style.
Many people feel nervous about cutting their hair, but with the right steps, it can be simple.Learning to cut your own hair in layers is empowering.
You can create a fresh, trendy look without visiting a salon.This guide will help you understand the basics of layering your hair.
Follow these easy steps to get a professional result at home. Ready to transform your hair?Let’s get started!
1. Preparing Your Tools
Preparing your tools is the first step to cutting your own hair in layers. The right tools ensure a smooth and professional look.
Let’s explore the essential supplies and the importance of choosing the right scissors for the job.
2. Essential Supplies
Start by gathering all the necessary items. You will need a good mirror. A handheld mirror helps you see the back of your head.
You also need hair clips to section your hair. A fine-tooth comb is essential for detangling and parting your hair evenly.
Have a spray bottle filled with water to keep your hair damp. Damp hair is easier to cut and manage. Lastly, place a towel around your shoulders to catch loose hair and keep your clothes clean.
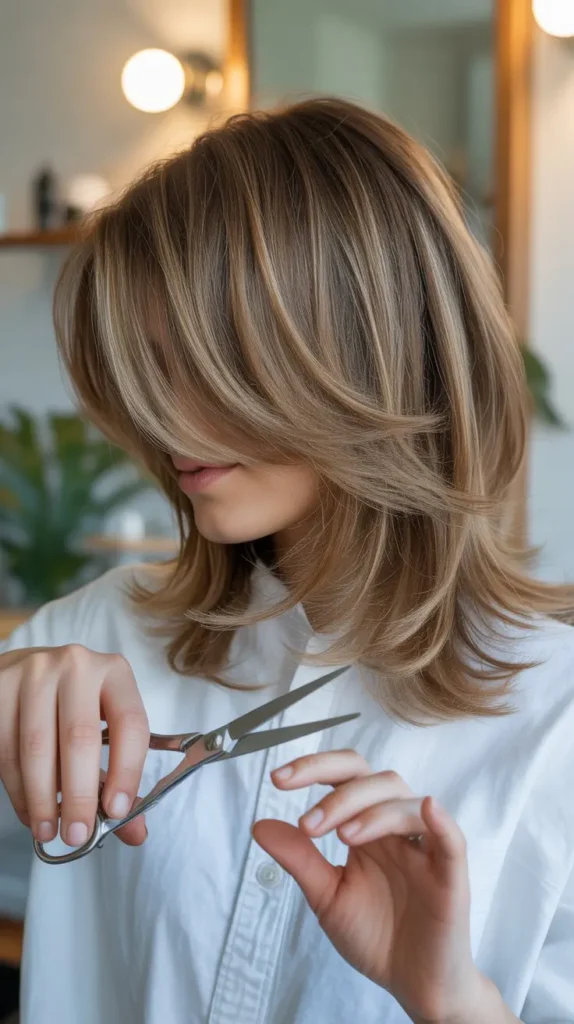
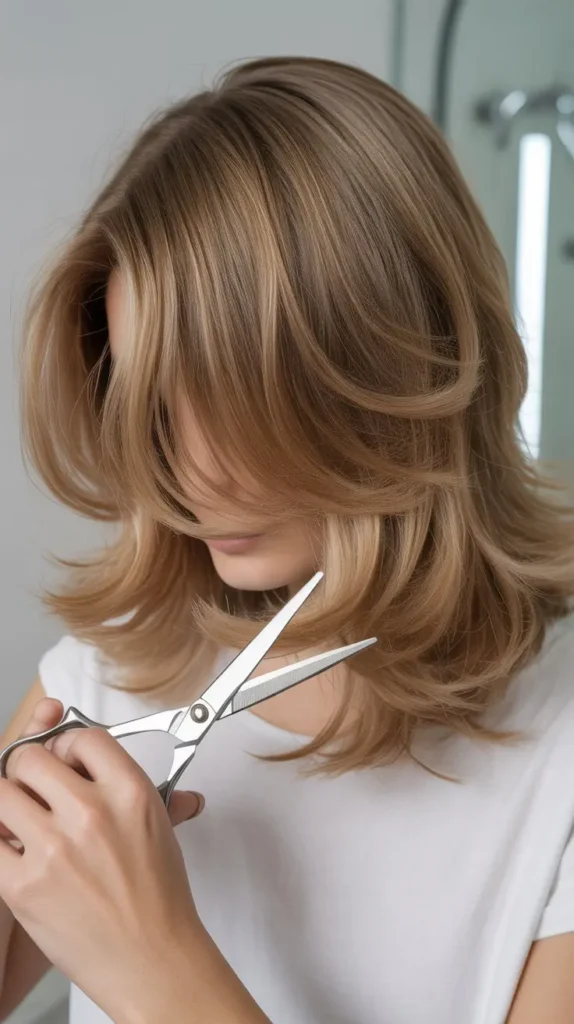
3. Choosing The Right Scissors
Using the right scissors is crucial. Regular household scissors are not suitable for cutting hair. Invest in a pair of hairdressing scissors.
These scissors are sharp and designed for precise cuts.
Look for scissors with a comfortable grip. This helps you control the scissors better. Proper scissors prevent split ends and uneven cuts. A good pair of hairdressing scissors makes a big difference in the final result.
4. Setting Up Your Space
Cutting your own hair can save money and give you control over your style.
Proper setup is crucial for success. Create a comfortable, well-lit space with the right tools.
This will make the process easier and more enjoyable.
Finding The Right Spot
First, choose a room with enough space to move around. A bathroom is ideal because it often has a large mirror and good lighting.
Ensure there are no distractions. You need to focus fully on the task at hand. If the bathroom isn’t an option, any room with a large mirror will work.
Lighting And Mirrors
Good lighting is essential. Natural light is best, so set up near a window if possible. If natural light isn’t available, use bright, white lights to mimic daylight. Avoid yellow or dim lights. They can make it hard to see clearly.
Use multiple mirrors. A large wall mirror will let you see the front and sides of your hair. A handheld mirror helps you see the back. Position the mirrors so you can see your head from all angles. This is key for even layers.
5. Understanding Hair Types
Ready to take the plunge and cut your own hair in layers? It’s important to know your hair type first. Different hair types need different techniques.
Let’s explore how to handle straight, curly, and wavy hair.
6. Straight Hair Considerations
Straight hair can be a blessing and a curse. On the one hand, it’s easy to see what you’re doing. On the other hand, mistakes are more noticeable. Here are some tips:
- Invest in sharp scissors: Dull scissors will make your hair look uneven.
- Work in small sections: This helps you maintain control and precision.
- Point-cut for texture: Instead of snipping straight across, cut into the ends at an angle.
Remember, patience is key. Rushing can lead to uneven layers and a bad hair day – or worse, a bad hair month!
7. Curly And Wavy Hair Tips

Curly and wavy hair has a mind of its own. Each curl is unique, so cutting it can be tricky. Here’s how to manage:
- Cut when dry: Wet curls shrink when they dry. Cut your hair dry to see the true length.
- Follow the curl pattern: Trim each curl individually, following its natural shape.
- Use a wide-tooth comb: This helps avoid breakage and keeps curls intact.
Don’t forget: curly hair is forgiving. Small mistakes blend in with the curls. Embrace the bounce and let your personality shine through your locks!
Washing And Drying
Washing and drying your hair properly is crucial before cutting it in layers. Clean and dry hair allows for a more precise cut. Follow these steps for the best results.
Shampoo And Condition
Begin by thoroughly washing your hair with a gentle shampoo. Focus on cleansing the scalp to remove any oil and dirt.
Rinse out the shampoo completely. Apply conditioner from mid-lengths to ends. This helps to detangle and smooth the hair. Leave the conditioner in for a few minutes, then rinse well with cool water.
8. Proper Drying Techniques
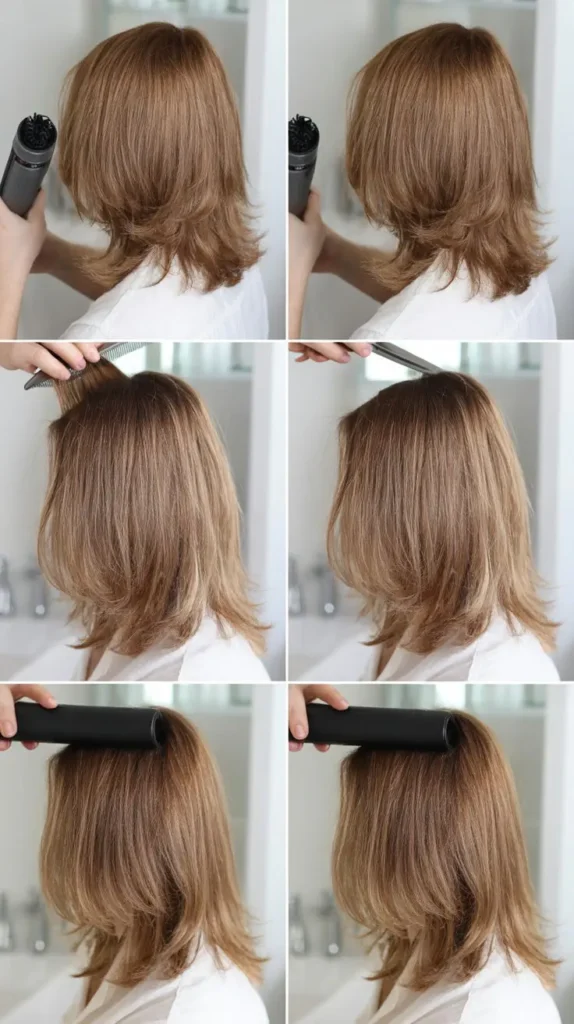
After washing, gently squeeze out excess water from your hair. Avoid rubbing your hair with a towel, as this can cause frizz and breakage.
Instead, pat your hair dry or wrap it in a microfiber towel. Let your hair air dry to retain moisture and reduce heat damage.
If you prefer using a hairdryer, use a low heat setting. Keep the dryer at a distance and move it around to avoid concentrating heat in one spot.
9. Sectioning Your Hair
Ready to give yourself a fabulous layered haircut at home? The secret to achieving a salon-quality look lies in how you section your hair.
Proper sectioning ensures even layers and a balanced finish. Trust me, you don’t want to skip this step.
Let’s dive into the essential process of sectioning your hair for that perfect layered cut.
10. Creating Sections
First things first, you’ll need to create sections in your hair. This makes it easier to handle and ensures each layer is cut evenly. Here’s a simple way to get started:
- Brush your hair: Make sure your hair is tangle-free. Use a wide-tooth comb for best results.
- Part your hair: Use a fine-tooth comb to part your hair down the middle, from your forehead to the nape of your neck. This will give you two large sections.
- Divide each half: Take one of the halves and part it horizontally from ear to ear. You should now have four sections in total.
- Clip the sections: Use hair clips to secure each section. This keeps them separated and manageable.
11. Clipping For Control
Clipping your hair sections is crucial for maintaining control over the cutting process. Here’s how to do it right:
- Choose the right clips: Alligator clips or sectioning clips work best because they hold hair firmly in place.
- Secure each section: Twist each section slightly and clip it close to the roots. This keeps the hair taut and easy to cut.
- Work in layers: Start with the bottom sections and work your way up. This ensures you don’t miss any hair and get a consistent cut.
- Check your work: Before cutting, make sure all sections are even and secure. Adjust if necessary.
By properly sectioning and clipping your hair, you set yourself up for a successful at-home layered haircut.
It might seem like a lot of prep, but trust me, it’s worth it. Now, grab those scissors and get ready to transform your look!
| Step | Description |
|---|---|
| Brush | Remove tangles with a wide-tooth comb |
| Part | Divide hair down the middle |
| Divide | Split each half horizontally |
| Clip | Secure sections with clips |
Cutting The Layers
Cutting your own hair in layers can feel intimidating. But with the right technique, you can achieve a salon-quality look at home. Follow these steps to get even layers and a balanced haircut.
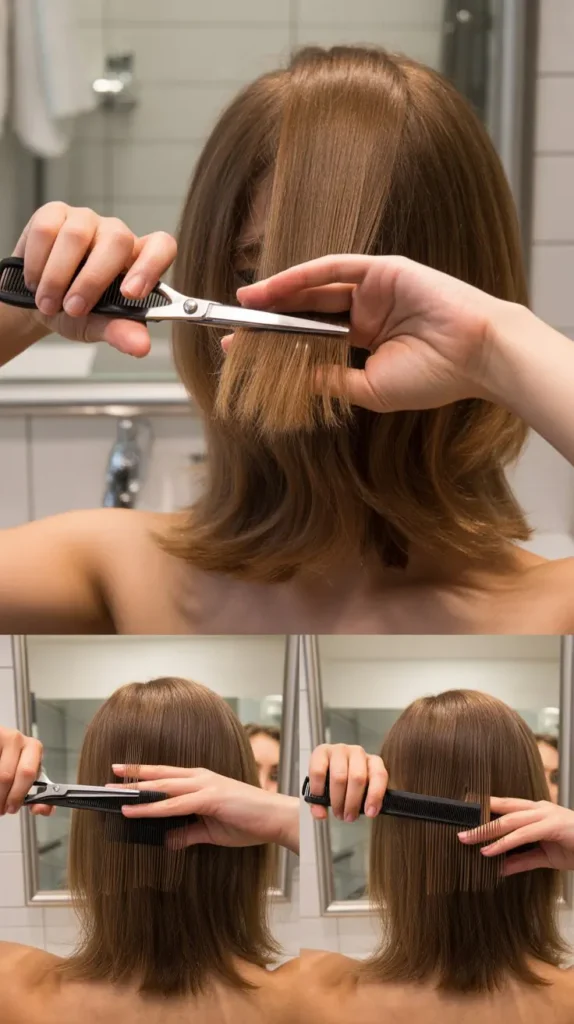
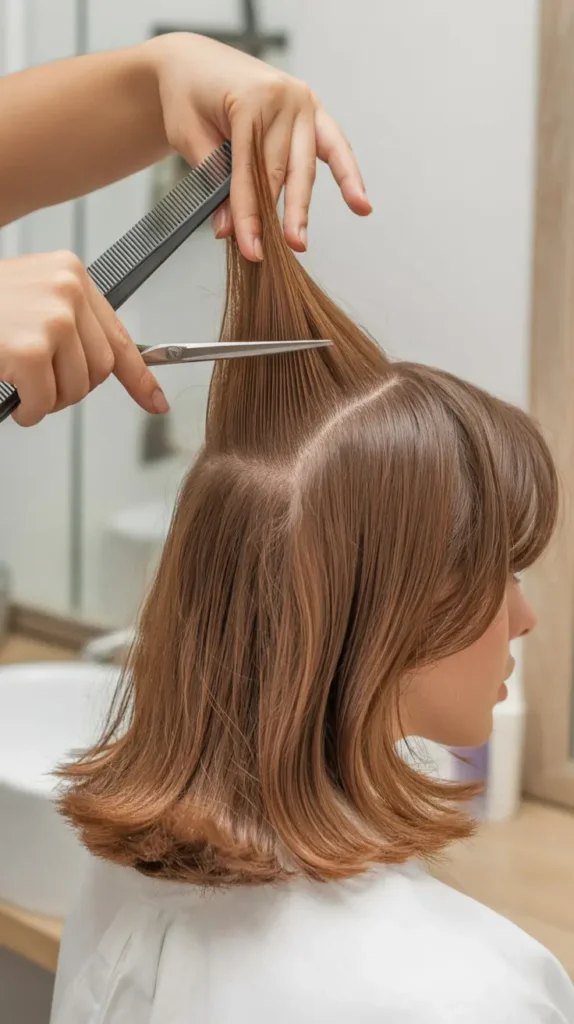
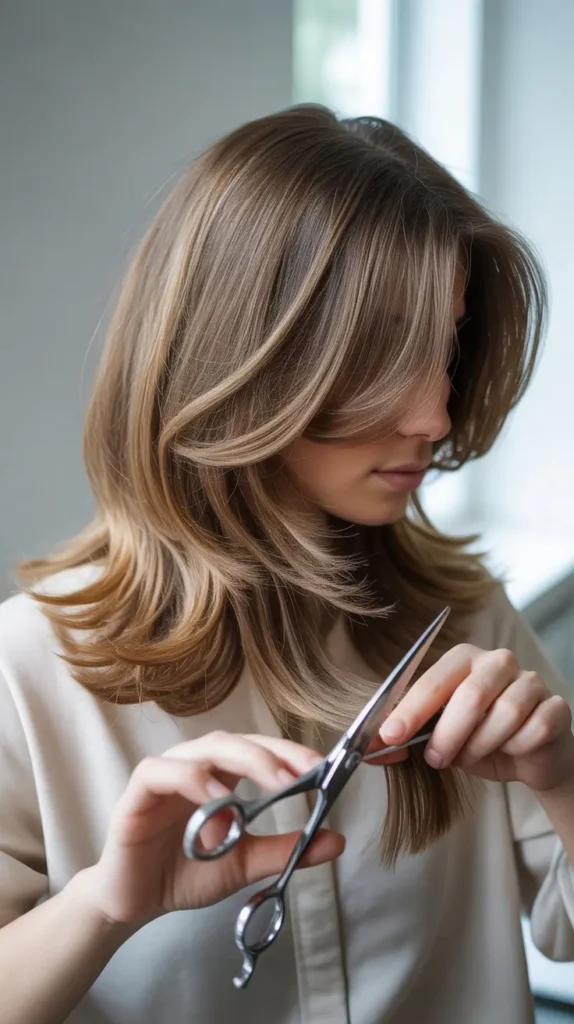
12. Starting With The Bottom Layer

Begin by separating your hair into sections. Clip the top layers up, leaving the bottom layer down. Ensure your hair is damp for easier handling. Comb the bottom section straight.
Use a pair of sharp scissors to trim the ends. Keep the scissors at an angle to create the layered effect. Trim slowly, checking your progress in the mirror.
13. Working Your Way Up
Release the next section of hair from the clips. Comb it straight down. Use the bottom layer as a guide.
Trim the ends at an angle, maintaining the layered look. Continue this process, working your way up the head. Each section should be trimmed slightly shorter than the one beneath it.
Pay attention to symmetry. Ensure both sides are even. Take your time. Trim small amounts to avoid mistakes.
Once you reach the top layer, give it a final comb-through. Check the overall balance of your haircut. Make any necessary adjustments.
14. Blending And Texturizing
Blending and texturizing are essential steps in cutting your own hair in layers. These techniques ensure a smooth transition between layers and add movement to your hair.
Proper blending and texturizing make your haircut look professional and polished.
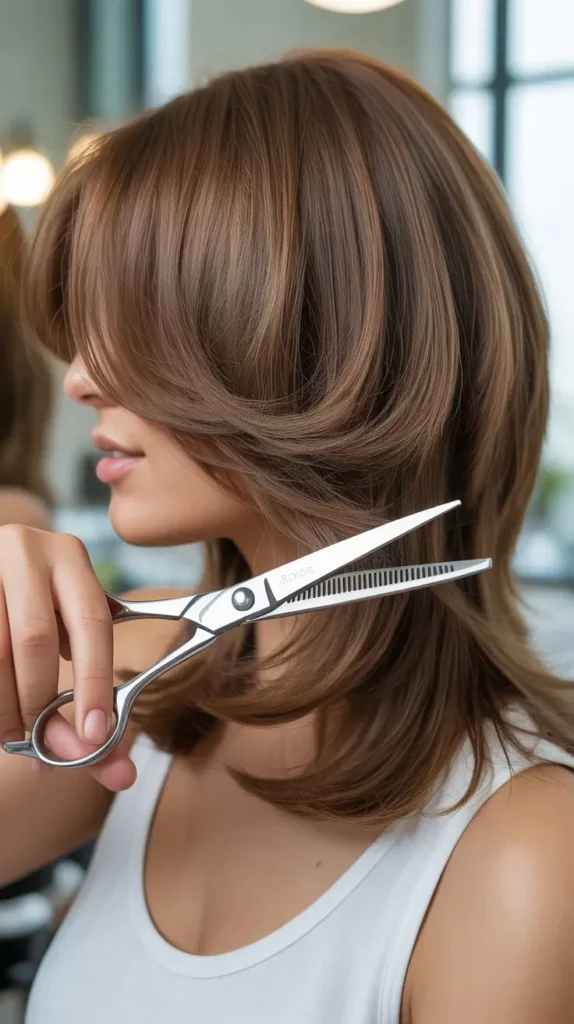
Blending Techniques
Blending removes any harsh lines between layers. Use a pair of thinning shears for this purpose. Thinning shears have teeth that cut some hairs while leaving others untouched. This creates a softer, more natural look.
First, hold a section of hair between your fingers. Place the thinning shears about an inch above where the layers meet. Cut into the hair with a gentle snipping motion. Repeat this process all around your head.
Another method involves using regular scissors. Point cut into the ends of your hair. This means cutting at a slight angle rather than straight across. Point cutting softens the edges and helps the layers blend seamlessly.
15. Adding Texture
Texturizing adds movement and dimension to your haircut. It prevents the layers from looking too uniform. One simple technique is to use a razor. A razor removes bulk and creates wispy ends.
To texturize with a razor, start by taking a small section of hair. Hold the section taut and gently glide the razor down the hair shaft.
Be careful not to remove too much hair at once. Work in small sections until you achieve the desired texture.
Another way to add texture is through twist cutting. Take a section of hair and twist it tightly. Use scissors to make small snips along the twist. This creates uneven lengths, adding natural texture and volume.
Remember, less is more with texturizing. Always start with small amounts. You can always go back and add more if needed.
Final Touches
Congratulations! You’ve made it this far in your DIY haircut journey. Now, it’s time for the final touches to ensure your new layers look flawless.
This step is all about perfecting your cut and making sure you leave your bathroom feeling like a pro hairstylist. Let’s dive into those crucial final steps.
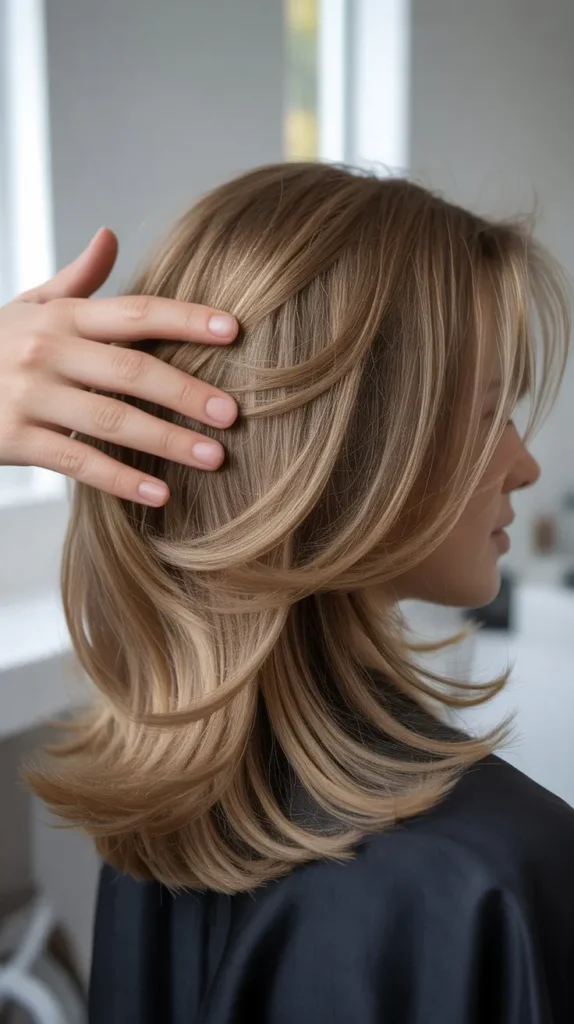
Checking For Evenness
First things first, you need to check for evenness. This part can make or break your new look. Follow these simple steps to make sure your layers are balanced:
- Use a mirror: Stand in front of a large mirror and use a handheld mirror to check the back. It might feel like a game of twister, but it’s worth it.
- Comb through: Comb your hair out and look for any uneven strands. If you spot some, don’t worry. Simply snip off any longer pieces to match the rest.
- Feel it out: Run your fingers through your hair to feel for any inconsistencies. Your hands can often detect unevenness better than your eyes.
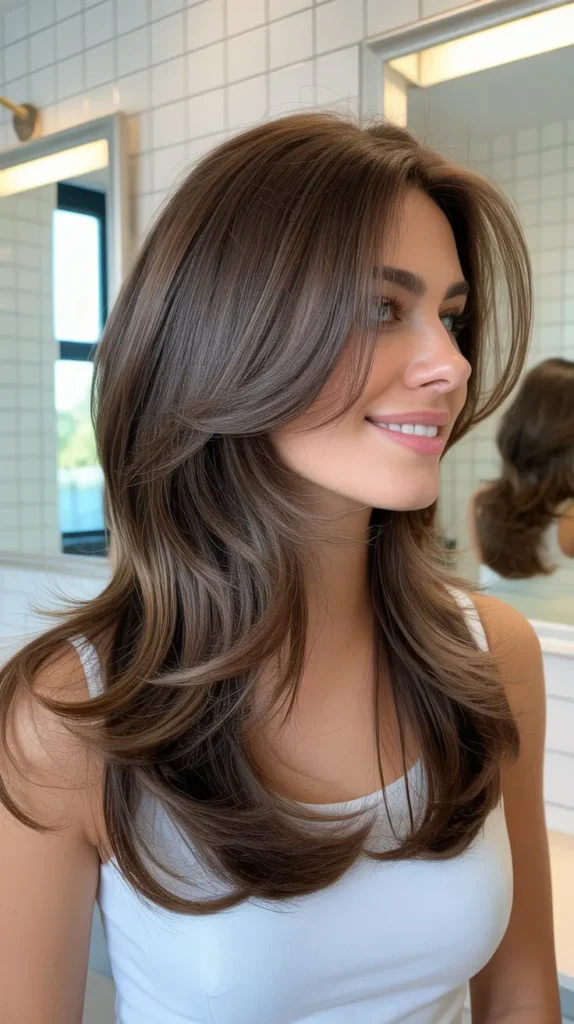
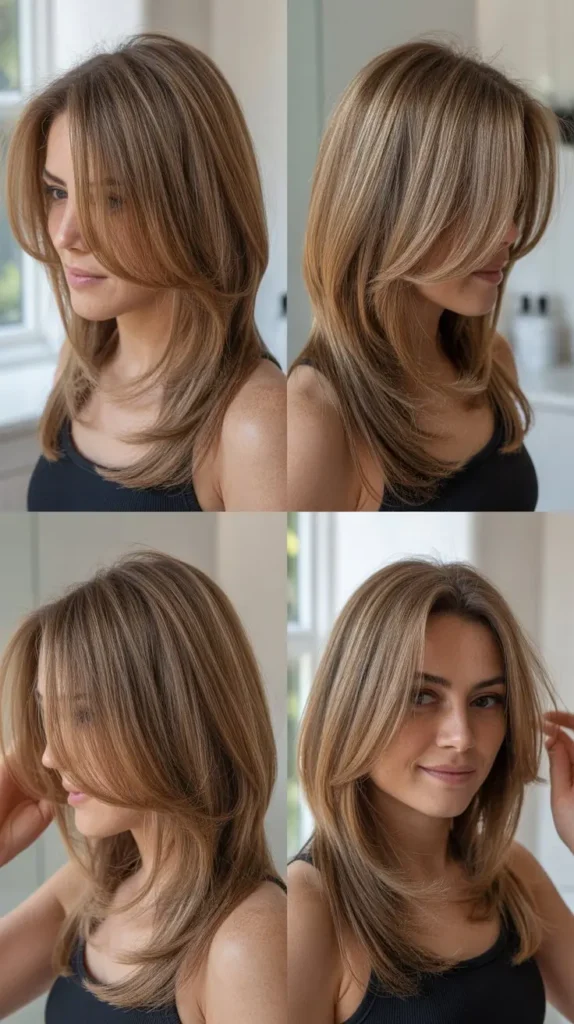
Styling Your New Layers
Now that your layers are even, it’s time to style them. This is where the magic happens! Follow these steps to bring out the best in your new haircut:
- Blow dry: Use a blow dryer and a round brush to give your layers volume and shape. Start from the roots and work your way down.
- Texturize: Apply a small amount of texturizing spray or mousse to add some definition. This will make your layers stand out.
- Finish with a serum: Apply a few drops of hair serum to the ends to keep them smooth and shiny.
And there you have it! Your new layered haircut is ready to show off. Remember, practice makes perfect. The more you do it, the better you’ll get. So, grab those scissors and give yourself a pat on the back – you’ve earned it!
Frequently Asked Questions
Can You Cut Layers In Your Own Hair?
Yes, you can cut layers in your own hair. Use sharp scissors and follow online tutorials for guidance.
What Are Waterfall Layers?
Waterfall layers in project management involve sequential stages. Each phase depends on the completion of the previous one. This method ensures thorough planning and structured progress.
Should You Cut Layers On Dry Or Wet Hair?
Cut layers on dry hair for more accurate results. Dry hair shows the true length and texture, ensuring precise layering.
How To Cut Layers Using The Ponytail Method?
Gather hair into a high ponytail. Secure with an elastic band. Cut straight across the desired length. Release ponytail and adjust layers.
Conclusion
Cutting your own hair in layers can be easy and fun. With practice, you can achieve salon-like results at home. Follow the steps carefully and use the right tools.
Remember, start with small trims to avoid mistakes. Always check your work in a mirror.
Patience and practice will improve your skills. Enjoy your new layered look and save money on haircuts. Share your experience with friends and inspire them to try too.
Happy cutting!