Have you fallen in love with the effortlessly chic, face-framing appeal of butterfly bangs and are wondering How to Cut Butterfly Bangs for Long Hair yourself?
This popular fringe style, known for its soft, sweeping layers that blend seamlessly with longer hair, can dramatically transform your look, adding volume and a flattering contour to your face.
While professional stylists are highly recommended for precise cuts, understanding the technique can empower you or guide your conversations with a hairdresser.
This article will break down the essential steps and considerations for achieving these beautiful, flowing bangs, ensuring you get that coveted, voluminous, and perfectly blended frame for your long hair.
1. Understanding Butterfly Bangs: What Makes Them Unique

Before you even think about picking up scissors, it’s crucial to understand what distinguishes butterfly bangs from other fringe styles.
This knowledge is the foundation for successfully achieving this soft, voluminous, and highly flattering look for your long hair.
Butterfly bangs are all about creating a seamless, face-framing effect that integrates with your longer layers.
- Butterfly bangs are characterized by being longer at the temples and gradually shorter towards the center, creating a soft “V” or “U” shape around the face.
- They are designed to blend effortlessly into the face-framing layers of a butterfly haircut, giving a cohesive look.
- Unlike blunt bangs, they are typically feathered and soft, avoiding a harsh line.
- The goal is to create a light, airy frame that enhances facial features and adds volume.
2. Essential Tools for Cutting Butterfly Bangs
Having the right tools is paramount for achieving a clean, precise, and professional-looking butterfly bang cut.
Using dull or incorrect tools can lead to uneven results, damage to your hair, and frustration. Ensure you have these items ready before you begin the cutting process.
- Sharp hair-cutting shears: These are specifically designed for hair and ensure a clean cut, preventing split ends.
- Fine-tooth comb: Essential for precise parting and sectioning of the hair.
- Hair clips: To section off and secure the rest of your hair while you work on the bangs.
- Spray bottle with water: To dampen the hair for a more controlled cut.
- Hand mirror: For checking symmetry and angles from different views.
- Flat iron or round brush & blow dryer: For styling and checking the finished look.
3. Preparing Your Hair for the Cut

Proper hair preparation is crucial for a successful butterfly bang cut. Starting with clean, slightly damp hair allows for better control and ensures that the hair falls naturally, making it easier to gauge the length and shape accurately.
Avoid cutting completely dry hair, especially if you have waves or curls, as it can spring up more than anticipated.
- Start with clean, detangled hair that’s either dry or slightly damp.
- Dampening the hair with a spray bottle can help for more precise cutting, but avoid soaking wet hair (as it shrinks when dry).
- Ensure your hair is combed straight and free of knots to prevent uneven cuts.
- Work in a well-lit area where you can see your hair clearly from all angles.
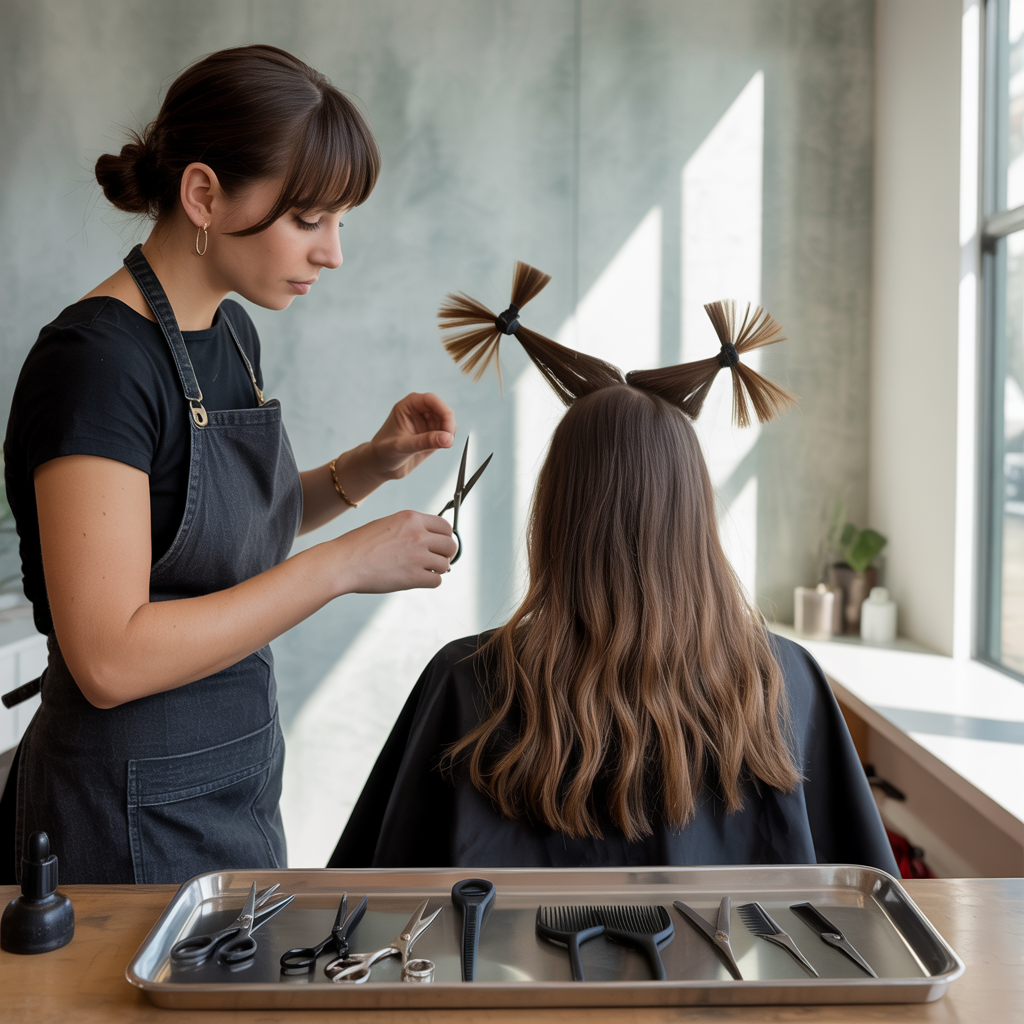
4. Sectioning the Hair for Butterfly Bangs

Accurate sectioning is perhaps the most critical step in cutting butterfly bangs.
This ensures that you’re only cutting the hair intended for the bangs, preventing accidental snips from your longer layers. A common method involves creating a triangle section at the front of your head.
- Determine your desired parting (middle part is common for butterfly bangs).
- Create a triangular section at the front of your head, extending from your part down towards your temples.
- The apex of the triangle should be at your desired part line (e.g., middle of the head).
- The base of the triangle should extend to just above your eyebrows, or slightly wider depending on how much face-framing you want.
- Twist the rest of your hair back and secure it tightly with hair clips, ensuring it’s completely out of the way.
5. Determining the Shortest Length of Your Butterfly Bangs

The shortest length of your butterfly bangs is key to defining their face-framing effect.
This length will typically fall around your cheekbones or chin, serving as the starting point for the gradual layers. It’s essential to visualize and decide on this length before making the first cut.
- Comb the triangular section of hair straight down over your face.
- Decide where you want the shortest part of your bangs to fall – typically around the mid-nose, cheekbone, or chin level.
- Pinch the hair between your fingers at this desired shortest length.
- Remember, it’s always better to cut less than more; you can always go shorter.
6. The Initial Cut: Creating the Guide
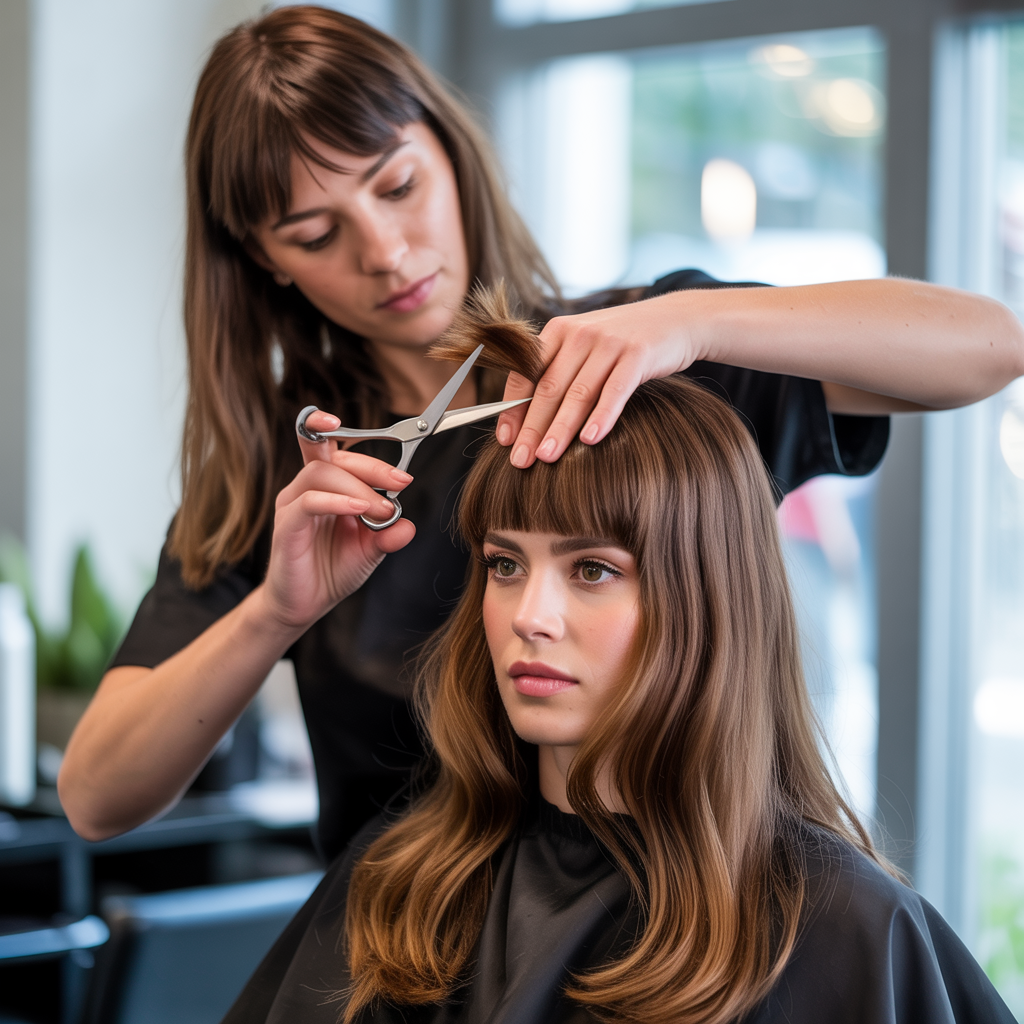
With your shortest length determined, the initial cut serves as your guide for the rest of the butterfly bangs.
This first snip establishes the central, shortest point from which the other layers will gradually extend. This is a crucial step that sets the foundation for the entire bang.
- Hold the section of hair you’ve pinched straight out from your face.
- Use your sharp hair-cutting shears to make a straight cut across at your determined shortest length.
- This creates a guide piece that will inform the length of the rest of your bangs.
- Double-check the length to ensure it’s exactly where you want it.
7. Creating the “Butterfly Wing” Layers

Now comes the signature “butterfly wing” effect, where you’ll gradually layer the bangs to sweep away from your face and blend into your longer hair.
This involves cutting at an angle to create the desired face-framing shape.
- Divide your newly cut bangs section into two equal halves (left and right).
- Take one half and comb it diagonally away from your face, towards your cheekbone or jawline.
- With your shears, cut downwards at an angle, following the line of your cheekbone, connecting to the shorter guide piece you just cut. This creates a softer, feathered edge.
- Repeat this angled cutting on the other side, ensuring symmetry.
8. Softening the Edges with Point Cutting (Optional but Recommended)

For a truly professional and soft finish, point cutting is a technique that can be used after the main cut.
This helps to remove any bluntness and creates a more natural, feathered edge, making your butterfly bangs blend even more seamlessly.
- Hold your shears vertically and make small snips into the very ends of your bangs.
- This technique, called point cutting, softens the edges and adds texture.
- It helps the bangs lay more naturally and look less “cut.”
- Use sparingly and subtly to avoid removing too much length.
9. Styling Your Butterfly Bangs

Once your butterfly bangs are cut, styling them correctly is key to bringing out their full voluminous and face-framing potential.
This involves using heat and brushing techniques to achieve that signature outward sweep and bounce.
- Apply a light heat protectant to your damp bangs.
- Using a round brush (small to medium size), direct the hair upwards and outwards as you blow-dry.
- For the face-framing pieces, curl them away from your face with the round brush, holding for a few seconds to set.
- Alternatively, use a flat iron to create gentle outward curves on your bangs.
- Finish with a light hold hairspray to maintain volume and shape.
10. Troubleshooting and Tips for Perfect Butterfly Bangs
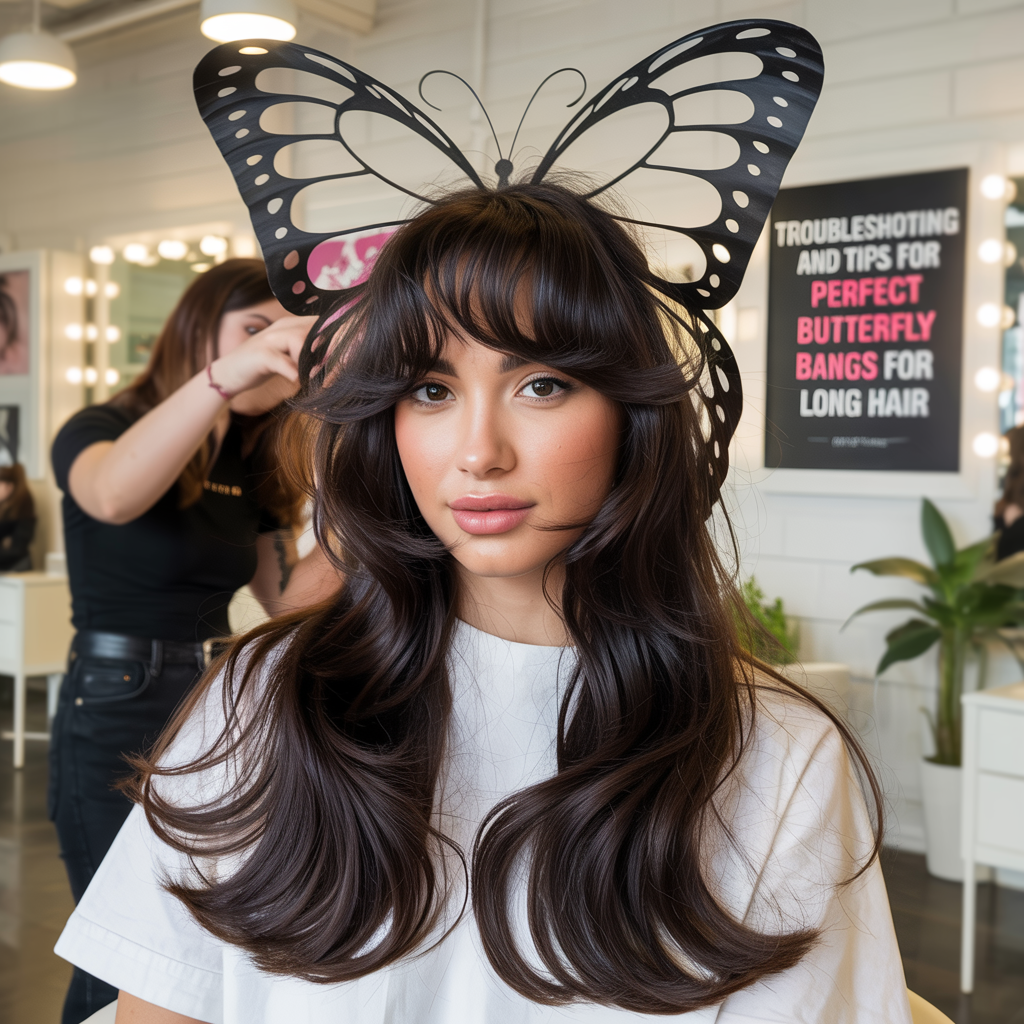
Even with careful planning, sometimes things don’t go exactly as expected. Knowing how to troubleshoot common issues and having some extra tips can ensure your butterfly bangs turn out beautifully.
- Too short? Don’t panic. You can try pinning them back or styling them as a faux fringe while they grow.
- Uneven? Dampen the hair again and very carefully trim the longer side to match, going slowly.
- Too blunt? Use point cutting sparingly to soften the edges.
- Always cut less than you think you need. You can always cut more, but you can’t add hair back.
- Work in a well-lit area with good mirrors.
- Take breaks if you feel overwhelmed to avoid mistakes.
- For complex cuts or if you’re unsure, consult a professional stylist.
| Tool/Technique | Purpose | Key Benefit for Butterfly Bangs |
|---|---|---|
| Sharp Shears | Clean, precise cutting | Prevents split ends, allows for accurate layering |
| Triangle Sectioning | Isolates bang area effectively | Ensures only intended hair is cut, crucial for shape |
| Angled Cutting | Creates signature sweeping layers | Forms the “butterfly wing” effect, blends with face-framing |
| Point Cutting | Softens edges, adds texture | Removes blunt lines, makes bangs lay more naturally and less heavy |
| Round Brush Styling | Creates volume and outward curve | Gives the classic voluminous, bouncy look to the bangs |
| Heat Protectant | Protects hair from damage during styling | Keeps hair healthy and shiny, crucial for maintaining voluminous look |
| Patience & Precision | Avoids mistakes, ensures desired outcome | Allows for careful execution, especially for DIY cutting. |
Successfully learning How to Cut Butterfly Bangs for Long Hair can be a rewarding experience, transforming your look with a stylish, voluminous, and face-framing fringe.
While precision and patience are key, understanding each step from sectioning to styling will guide you toward achieving those coveted, flowing layers.
Remember, these bangs are all about enhancing your features and adding dynamic movement to your long hair.
Embrace the process, and soon you’ll be rocking a beautiful, effortless butterfly fringe that truly makes your long hair sing!