Want to learn how to curl hair with a curling iron?You’ve come to the right place.
This guide will show you how to achieve perfect curls in seven simple steps.
Curling your hair with a curling iron can seem tricky at first.But with a bit of practice, you’ll find it’s easier than you think.
Whether you’re preparing for a special event or just want a fresh look, curled hair can add volume and style.
In this post, we’ll break down the process into easy-to-follow steps.
You don’t need to be a professional hairstylist to get salon-quality curls at home.
With the right tools and techniques, you can create beautiful curls with ease.Let’s get started!
Choosing The Right Curling Iron
Choosing the right curling iron is crucial for achieving perfect curls.
The right tool can make your curling process smooth and efficient.
It also ensures your hair remains healthy and shiny.
Let’s dive into the details of what you should consider.
Barrel Size Matters
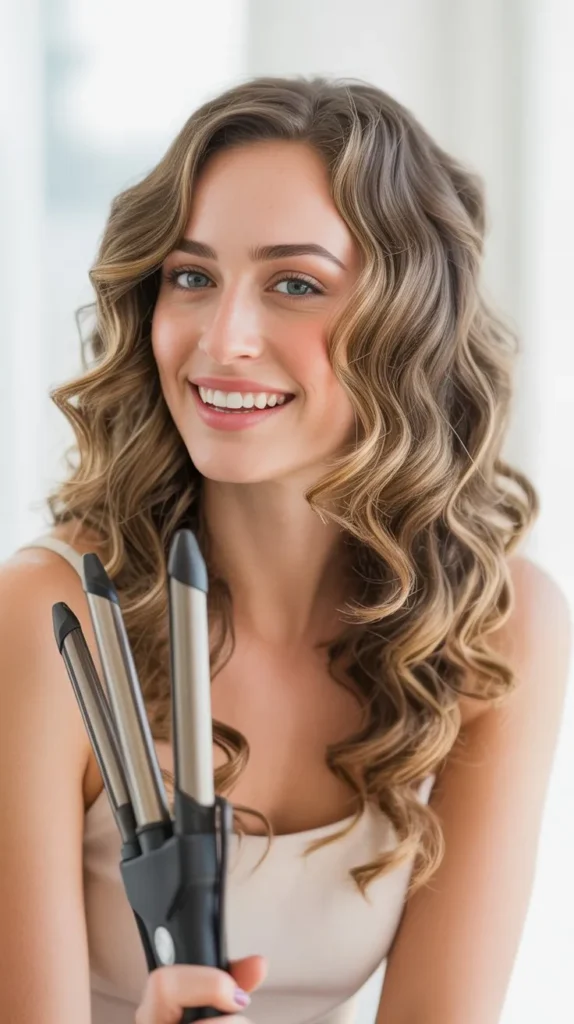
The barrel size of your curling iron affects the type of curl.
A small barrel (1 inch or less) creates tight curls and ringlets.
A medium barrel (1.25 inches) is great for classic curls.
A large barrel (1.5 inches or more) produces loose waves.
Choose a barrel size based on your desired curl type.
Material And Technology

The material of the curling iron impacts the health of your hair.
Ceramic irons distribute heat evenly, preventing hot spots.
This material is gentle on your hair, reducing damage.
Tourmaline irons emit negative ions, making hair smooth and shiny.
Titanium irons heat up quickly and maintain temperature, ideal for thick hair.
Advanced technology can enhance your curling experience.
Some irons have adjustable temperature settings.
This allows you to choose the right heat level for your hair type.
Automatic shut-off features add safety, preventing overheating.
Digital displays provide precise temperature control.
With the right material and technology, your curls will look stunning and your hair will stay healthy.
Preparing Your Hair
Getting ready to curl your hair with a curling iron starts with proper preparation.
Properly prepared hair ensures better curls and protects your hair from damage.
Follow these steps to prepare your hair before curling.
Washing And Conditioning
Start by washing your hair with a gentle shampoo.
This removes dirt and oil.
Follow with a conditioner that suits your hair type.
Conditioner helps to keep your hair smooth and manageable.
Rinse thoroughly to remove all the product.
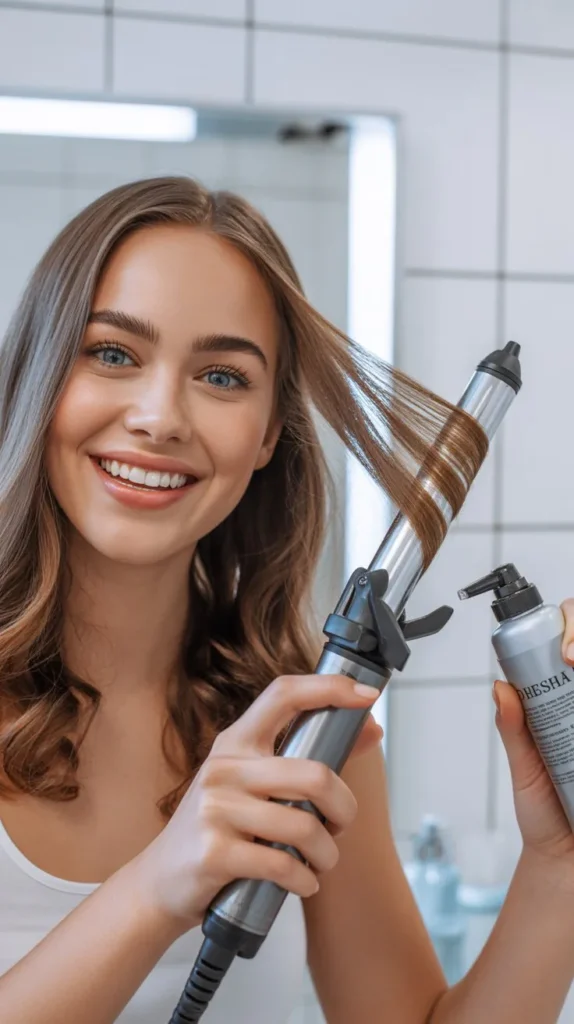
Applying Heat Protectant
After washing and conditioning, towel dry your hair to remove excess water.
Before using a curling iron, apply a heat protectant spray.
This product shields your hair from heat damage.
Spray it evenly from roots to tips.
Comb through your hair to distribute the product evenly.
Allow your hair to air dry or use a blow dryer on a low setting.
Sectioning Your Hair
Sectioning your hair is a crucial step in curling your hair with a curling iron.
Proper sectioning ensures even curls and makes the process easier.
It helps you manage your hair and achieve consistent results.
Let’s dive into the best ways to section your hair for perfect curls.
Top And Bottom Layers
Start by dividing your hair into top and bottom layers.
Use a comb to create a horizontal part from ear to ear.
Clip the top layer up and out of the way.
This makes it easier to curl the bottom layer first.
Working in layers helps you focus on smaller sections.
It leads to a more polished look.
Clipping Sections
Next, divide the bottom layer into smaller sections.
Clip each section to keep them separate.
Start curling one section at a time.
This method ensures you don’t miss any strands.
It also keeps your hair tangle-free.
Using clips makes the process organized and efficient.
Repeat this for the top layer after finishing the bottom.
Setting The Temperature
Setting the temperature on your curling iron is crucial for achieving beautiful curls without damaging your hair.
But how do you know which temperature is right for your hair type?
Let’s dive into the specifics for both fine and thick hair.
Fine Hair Settings
Fine hair is delicate. It can easily be damaged by high heat.
To protect your fine hair while curling, follow these simple tips:
- Set your curling iron to a low temperature, typically between 250°F and 300°F.
- Test a small section of hair first to make sure it curls properly without burning.
- Use a heat protectant spray to add an extra layer of protection.
Remember, less is more.
Fine hair requires gentler heat to avoid breakage and maintain its health.
Thick Hair Settings
Thick hair can handle more heat, but it still needs to be treated with care.
Here’s how to set your curling iron for thick hair:
- Increase the temperature to between 350°F and 400°F.
- Work with smaller sections to ensure even heat distribution.
- Consider using a higher heat protectant that can withstand the increased temperature.
Thick hair needs more heat to hold curls.
But don’t go too high.
Stick within the recommended range to prevent damage.
By adjusting the temperature based on your hair type, you’ll get the best curls while keeping your hair healthy.
So, next time you pick up that curling iron, set the right temperature and enjoy those beautiful, bouncy curls!
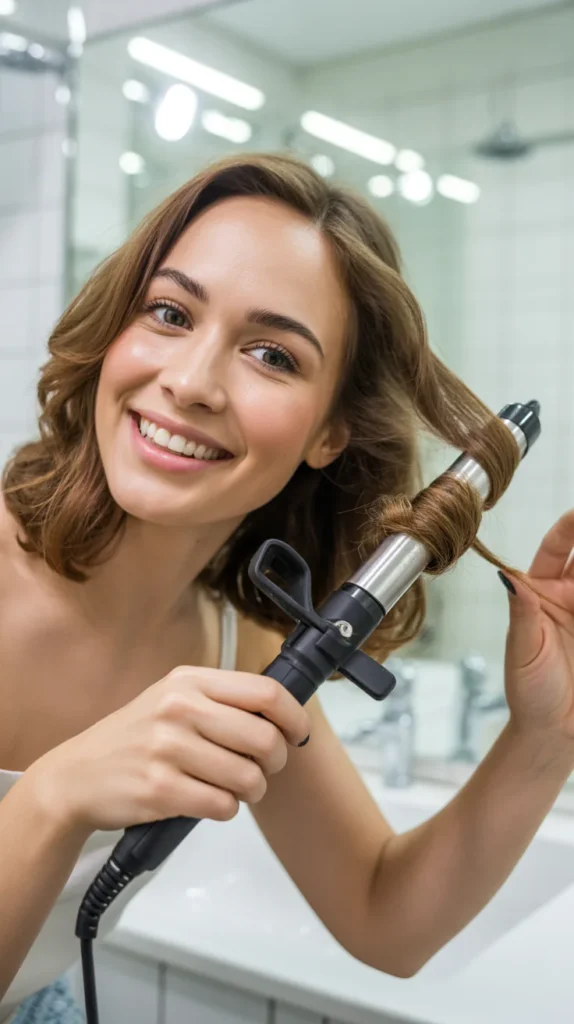
Curling Technique
Hey there! Ready to get those perfect curls with a curling iron?
Let’s talk about the Curling Technique.
It might seem tricky at first, but with a little practice, you’ll be a pro in no time.
Remember, it’s all about the right technique and a bit of patience.
Let’s dive into the steps, shall we?
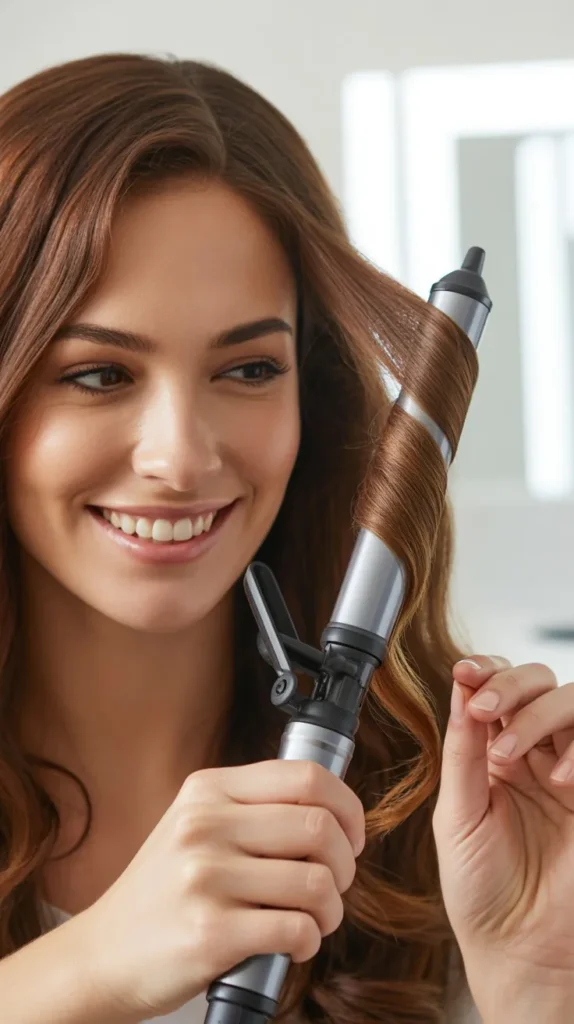
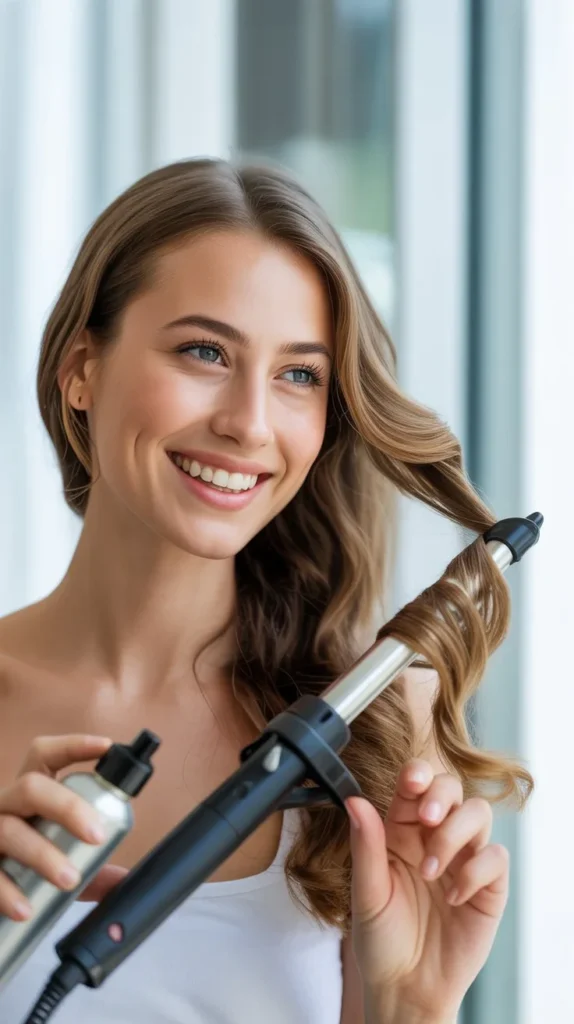
Wrapping Hair Around Barrel
This is where the magic happens.
Take a small section of your hair.
About one inch is good.
Then, place the curling iron near the root of that section.
Start wrapping your hair around the barrel.
Make sure the hair is evenly spread out.
This helps to get those smooth, bouncy curls.
Keep wrapping until you reach the ends of your hair.
Be careful not to overlap the hair too much.
It should look like a neat spiral around the barrel.
Got it? Great, let’s move on!
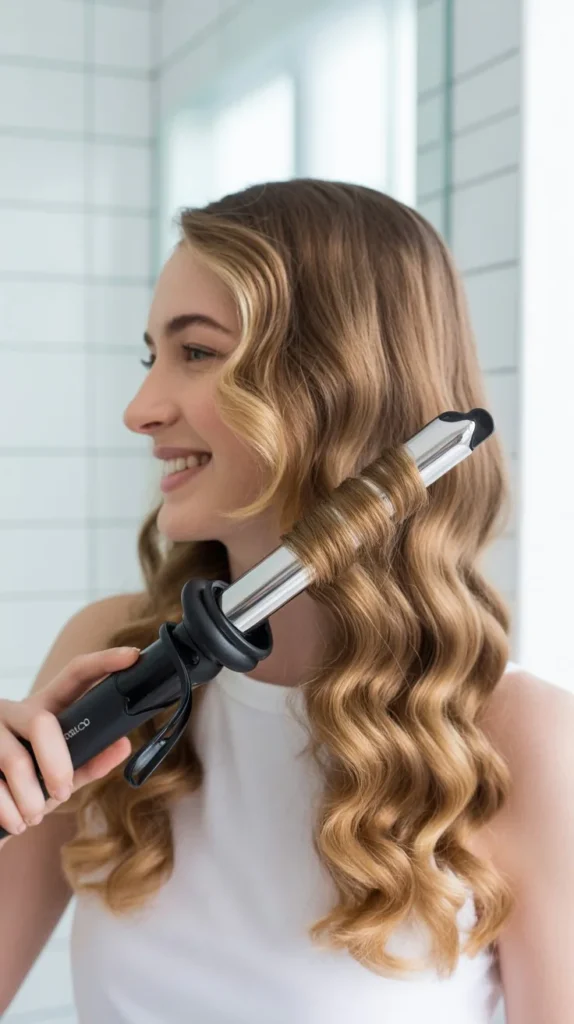
Holding Time
Now comes the waiting game.
How long you hold the curling iron in place is super important.
Too long, and you risk burning your hair.
Too short, and the curls won’t hold.
Hold the curling iron for about 10-15 seconds.
This is usually the sweet spot.
If you have fine hair, aim for the lower end of this range.
If your hair is thicker, you might need the full 15 seconds.
Pro tip: If you’re unsure, start with 10 seconds and adjust as needed.
It’s better to start with less time and add more if needed than to burn your hair.
And there you have it!
Two simple but crucial steps to getting those beautiful curls.
Practice a few times, and soon you’ll be curling like a champ. Happy curling!
Finishing Touches
You’ve curled your hair and it looks amazing, but you’re not quite done yet.
The final touches are just as important as the curling process itself.
These steps will ensure that your curls stay bouncy and beautiful all day long.
Let’s dive into the finishing touches that will perfect your look.
Brushing Out Curls
Once your curls have cooled, it’s time to brush them out.
This step is crucial for achieving a more natural and soft look.
Here’s how you can do it:
- First, gently run your fingers through your curls to separate them.
- Next, take a wide-tooth comb or a brush designed for curly hair.
- Start brushing from the ends and work your way up to the roots.
- Be gentle to avoid breaking the curls or causing frizz.
Remember, the goal is to blend the curls together for a seamless, voluminous look.
If you want a more defined curl, skip the brush and use your fingers instead.
I once brushed my curls too aggressively, and they turned into a frizzy mess.
Lesson learned!
Applying Hair Spray
Now that your curls are looking soft and natural, it’s time to make sure they stay that way.
Hair spray is your best friend here.
Follow these simple steps:
- Hold the hair spray about 12 inches away from your head.
- Lightly mist your curls, focusing on the areas that tend to lose shape first.
- For extra hold, flip your hair upside down and spray from underneath.
Avoid using too much hair spray.
You want your curls to hold, but not look stiff.
I remember the first time I used hair spray, I went overboard and my hair felt like straw. Less is more!
There you have it!
With these finishing touches, your curls will look polished and stay in place all day.
Happy styling!
Maintaining Your Waves
Once you have curled your hair, it’s important to maintain those waves.
Proper care can keep your curls looking fresh and bouncy for days.
Here are some simple steps to help you maintain your waves.
Nighttime Care
Before bed, protect your curls. Use a silk or satin pillowcase.
It reduces friction and keeps your hair smooth.
Another option is to tie your hair in a loose bun.
This will help your curls stay intact overnight.
Consider using a silk or satin scarf.
Wrap it around your hair to keep the curls in place.
This can also help reduce frizz.
Avoid sleeping with wet hair.
Wet hair can lose its shape and become tangled.
Refreshing Curls
In the morning, your curls may need a quick refresh.
Use a light mist of water or a curl refreshing spray.
Gently scrunch your hair to bring back the bounce.
Avoid using too much product.
It can weigh down your hair and make it look greasy.
Touch up any loose curls with a curling iron.
Use a low heat setting to avoid damage.
Be sure to apply a heat protectant spray.
This will help prevent heat damage.
Keep your curls looking fresh and healthy.
Common Mistakes To Avoid
Hey there!
Curling your hair with a curling iron can give you those beautiful waves and curls you dream of.
But, it’s easy to make mistakes that can damage your hair or ruin your style.
Let’s talk about some common mistakes to avoid so you can have the best experience and the best curls possible.
Overheating Hair
One of the biggest mistakes is using too much heat.
I get it, you want those curls to last.
But cranking up the temperature can seriously harm your hair.
It’s like cooking food on high heat.
Sure, it cooks faster, but it can burn easily.
Here’s what you should do instead:
- Set the right temperature: For fine hair, keep the heat between 250°F to 300°F.
- For thicker hair, 300°F to 350°F is usually enough.
- Don’t hold too long: Hold the curling iron on your hair for about 10 seconds.
- Any longer, and you’re risking damage.
My friend once used a high setting on her fine hair, and it ended up looking like straw.
Trust me, lower heat is better.
Skipping Heat Protectant
Another biggie is skipping heat protectant.
Think of it like sunscreen for your hair.
You wouldn’t go to the beach without sunscreen, right?
Same goes for using heat tools.
Here’s why you should always use heat protectant:
- Prevents damage: It adds a layer of protection against the heat.
- Keeps hair shiny: It helps maintain your hair’s natural shine and moisture.
I once skipped this step because I was in a hurry.
Big mistake.
My hair felt dry and brittle for weeks.
So, always spritz on that heat protectant before you curl.
It only takes a few seconds, but it makes a world of difference.
By avoiding these common mistakes, you’ll not only get better curls, but you’ll also keep your hair healthier.
Happy curling!
Frequently Asked Questions
How To Curl Hair With A Curling Iron For Beginners?
Start with clean, dry hair. Section your hair.
Wrap small sections around the curling iron.
Hold for 10 seconds. Release and let cool. Apply hairspray for hold.
How To Curl Your Hair For Dummies?
Section hair, use a curling iron, wrap hair around the barrel, hold for 10 seconds, release. Repeat.
How To Avoid Clamp Marks When Curling Hair?
To avoid clamp marks when curling hair, use a high-quality curling iron.
Don’t clamp too tightly.
Wrap hair smoothly around the barrel.
Use even tension.
Finish with a light touch.
Do You Curl Inward Or Outward?
Curl inward for a voluminous look or outward for a flipped style.
Choose based on your desired hairstyle.
Conclusion
You now know how to curl hair with a curling iron in just seven easy steps. Remember to protect your hair with heat spray.
Practice makes perfect.Try different techniques to find what works best for you.
Enjoy your beautiful curls!Share your new skills with friends.Happy styling!