Learning how to curl hair with a straightener for effortless waves opens up a world of styling possibilities without needing multiple heat tools cluttering your vanity.
This versatile technique transforms your flat iron into a powerful curling tool that creates everything from loose, beachy waves to tight, defined spirals with just a twist of your wrist.
Whether you’re dealing with stubborn straight hair that won’t hold traditional curls or simply want to master a time-saving styling method, this comprehensive guide will walk you through every step of the process.
From selecting the right straightener and preparing your hair properly to mastering advanced techniques that create salon-quality results, you’ll discover professional secrets that make gorgeous waves achievable at home.
Get ready to revolutionize your hair routine and create the effortless, tousled waves you’ve always admired with nothing more than your trusty flat iron and a few essential products.
1. Choosing the Right Straightener for Curling

Selecting the appropriate flat iron is crucial for achieving beautiful curls and preventing hair damage during the styling process.
The width, material, and features of your straightener will significantly impact your curling results and overall styling experience.
- Opt for a straightener with plates between 1 to 1.5 inches wide for the most versatile curling options and manageable sectioning
- Ceramic or tourmaline plates distribute heat evenly and reduce frizz, while titanium plates heat up quickly and work well for thick or coarse hair
- Look for rounded edges on the plates, as sharp corners can create unwanted kinks and creases in your hair
- Choose a straightener with adjustable temperature settings to customize heat levels based on your hair type and desired curl longevity
- Ensure the plates have a smooth gliding action without gaps or uneven surfaces that could snag or damage your hair
- Consider straighteners with floating plates that adjust to hair thickness for consistent pressure and even heat distribution
2. Preparing Your Hair for Heat Styling
Proper hair preparation is essential for achieving long-lasting curls while protecting your strands from heat damage.
Taking time to prepare your hair correctly will result in better curl formation and healthier-looking hair overall.
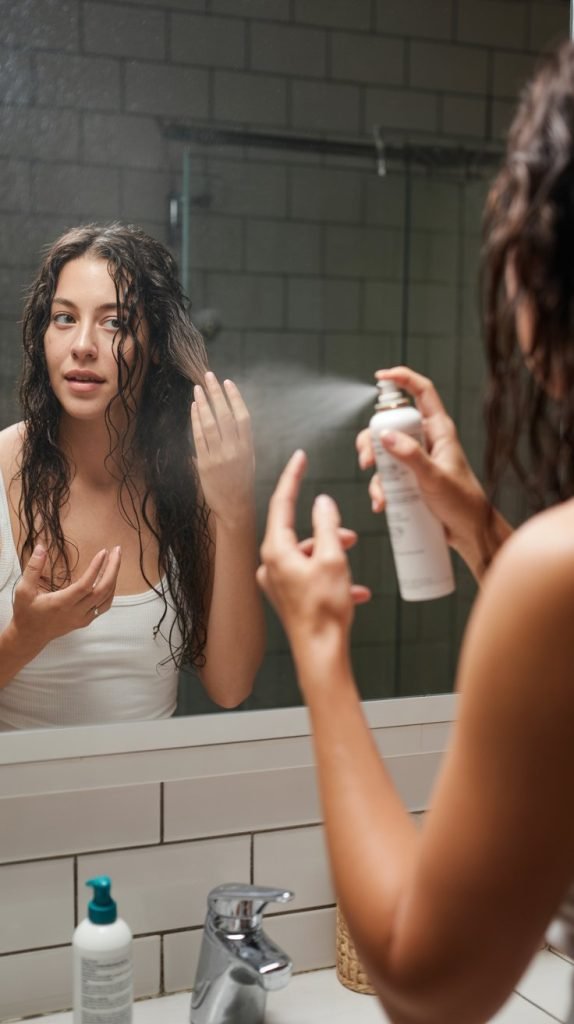
- Start with freshly washed hair using a volumizing shampoo and lightweight conditioner to create the ideal texture for curling
- Apply a heat protectant spray evenly throughout damp hair, focusing on mid-lengths and ends where damage typically occurs first
- Use a volumizing mousse or root lift spray at the roots to create lift and body that will support your curls throughout the day
- Blow-dry your hair completely using a round brush to create smoothness and eliminate any natural texture that might interfere with curl formation
- Allow hair to cool completely after blow-drying before beginning the curling process to ensure optimal curl hold
- Section hair into manageable portions using clips, typically dividing hair into 4-6 sections depending on thickness and length
3. Basic Curling Technique with a Straightener
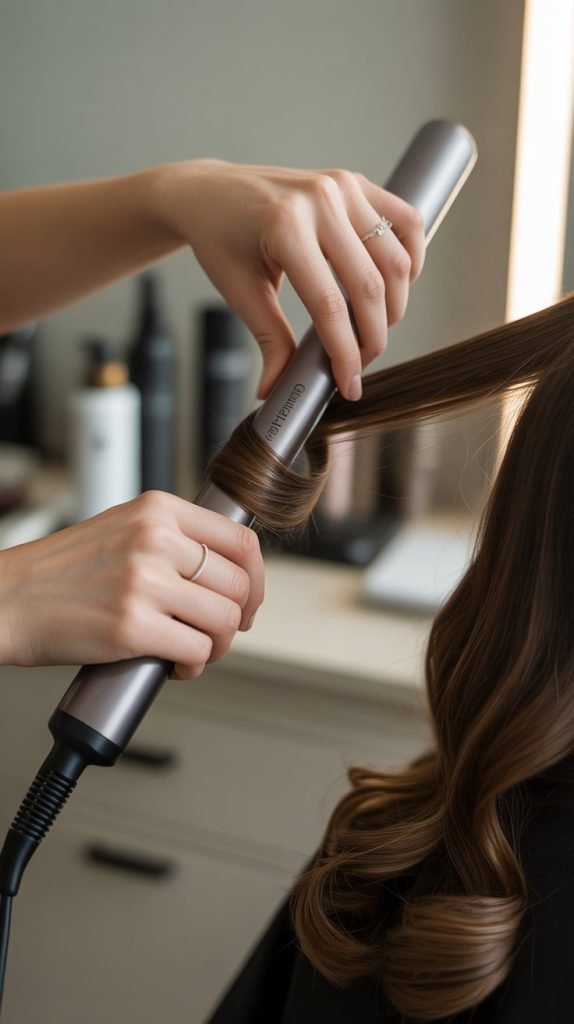
Mastering the fundamental curling technique with a flat iron forms the foundation for all other wave variations.
This method creates classic curls that can be modified for different looks and styles.
- Begin with a 1-2 inch section of hair, ensuring the section is thin enough for the straightener plates to grip completely
- Position the straightener about 2 inches away from your scalp to avoid burning your skin and create natural-looking root volume
- Clamp the hair between the plates and rotate the straightener 180 degrees away from your face while slowly gliding down the hair shaft
- Maintain consistent tension and speed as you move the straightener down the section to create even curl formation
- Allow each curl to cool in your palm for a few seconds before releasing it to set the shape and improve longevity
- Continue this process section by section, alternating curl directions for a more natural, varied wave pattern
4. Creating Different Wave Styles
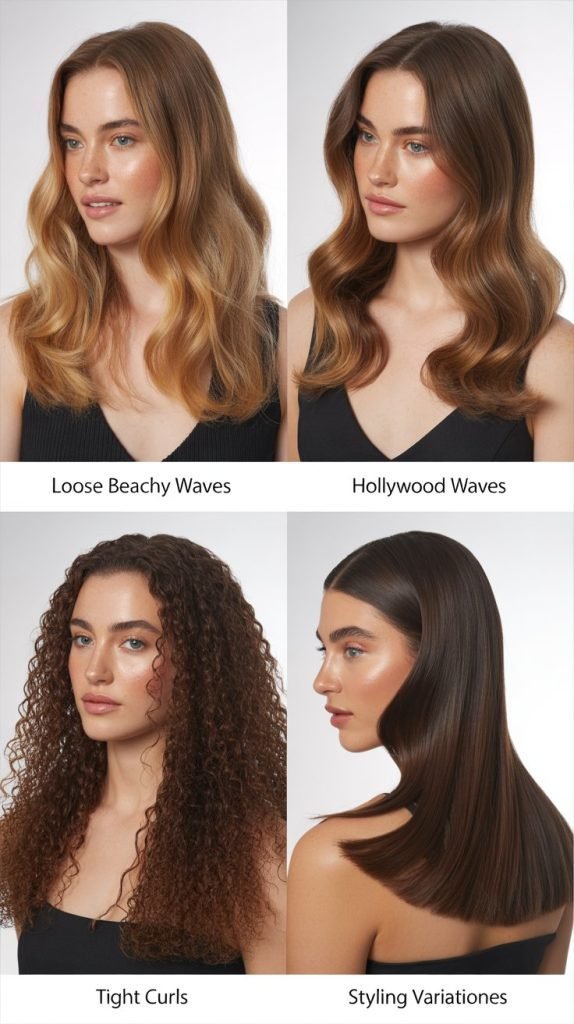
Various wave styles can be achieved by modifying your curling technique, section size, and finishing methods.
Understanding these variations allows you to create looks ranging from tight spirals to loose, beachy waves.
- For loose, beachy waves, use larger hair sections (2-3 inches) and move the straightener more quickly through the hair
- Create tight, defined curls by using smaller sections (0.5-1 inch) and rotating the straightener a full 360 degrees instead of 180
- Alternate curl directions by rotating some sections toward your face and others away for a more natural, voluminous appearance
- For asymmetrical waves, vary your section sizes throughout your head, mixing larger and smaller pieces randomly
- Achieve vintage Hollywood waves by curling all sections in the same direction and then brushing through with a wide-tooth comb
- Create spiral curls by wrapping hair around the straightener barrel and pulling it through slowly while maintaining the twist
5. Temperature Settings for Different Hair Types
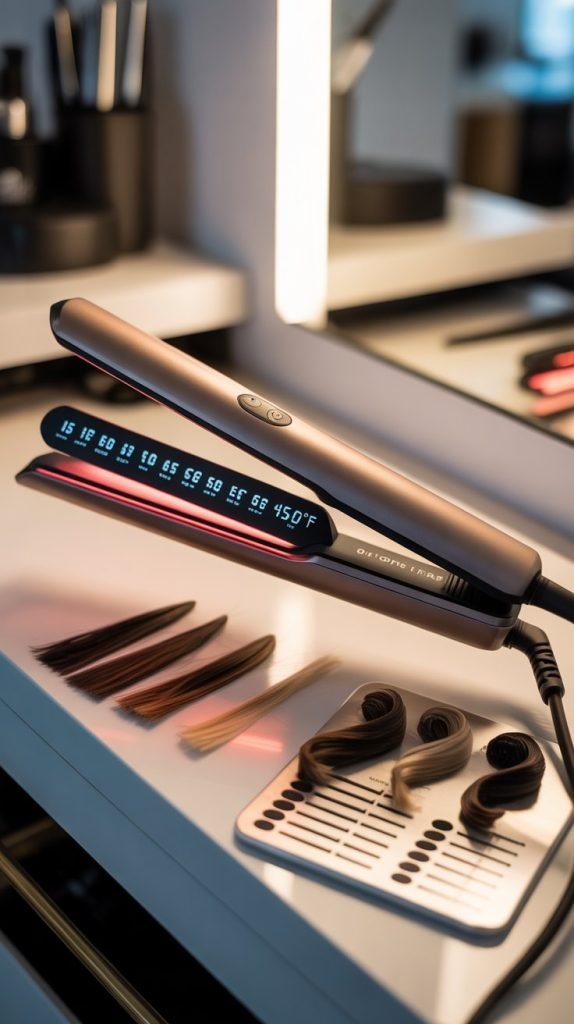
Understanding the appropriate temperature settings for your hair type prevents damage while ensuring your curls hold properly.
Different textures and conditions require specific heat levels for optimal results.
- Fine or damaged hair should use temperatures between 250-300°F to prevent breakage while still achieving curl formation
- Medium-texture hair responds well to temperatures between 300-350°F for good curl hold without excessive heat exposure
- Thick or coarse hair may require temperatures between 350-400°F to penetrate the hair cuticle and create lasting curls
- Color-treated or chemically processed hair should use lower temperatures (250-320°F) regardless of natural thickness
- Start with lower temperatures and gradually increase if needed, as it’s easier to add heat than to repair heat damage
- Test temperature on a small hidden section first to gauge your hair’s response before styling your entire head
6. Sectioning Strategies for Even Results

Proper sectioning ensures consistent curl formation throughout your head and prevents missed areas or uneven styling.
Strategic division of your hair creates professional-looking results with minimal effort.
- Start by creating a horizontal part from ear to ear, dividing your hair into upper and lower sections for systematic styling
- Work from the bottom layer upward, keeping upper sections clipped away to prevent interference with your curling process
- Divide each layer into vertical sections that match your straightener width for optimal plate contact and even heat distribution
- Use tail comb to create clean, straight parts that result in uniform section sizes throughout your styling session
- Clip completed sections away from your working area to avoid accidentally re-curling already styled pieces
- Take smaller sections around your face and hairline where precision and definition are most important for framing features
7. Common Mistakes to Avoid

Recognizing and avoiding common curling mistakes will improve your results dramatically while protecting your hair from unnecessary damage.
These frequent errors can sabotage even the best technique and products.
- Never use a straightener on wet or damp hair, as this can cause severe damage and uneven curl formation
- Avoid moving the straightener too quickly through sections, which results in weak curls that fall out within hours
- Don’t clamp the straightener too tightly, as excessive pressure can create dents and kinks instead of smooth curls
- Resist the urge to touch or manipulate curls immediately after styling, as this can disrupt the curl pattern and cause frizz
- Never skip heat protectant products, even if you’re using lower temperature settings or have naturally resilient hair
- Don’t curl the same section multiple times in one session, as this increases damage risk without improving curl quality
8. Products to Enhance Curl Hold

The right styling products can significantly extend the life of your curls while adding texture, shine, and protection.
Understanding which products work best for your hair type and desired look is crucial for success.
- Apply a lightweight mousse before blow-drying to create texture and grip that helps curls hold longer
- Use texturizing spray on dry hair before curling to add grit and volume that supports curl formation
- Finish with a light-hold hairspray while curls are still warm to lock in the shape without creating stiffness
- Consider using a curl-enhancing cream on slightly damp hair if you have naturally wavy or curly texture to work with
- Sea salt spray creates beachy texture and enhances natural wave patterns when applied before or after curling
- Avoid heavy oils or serums before curling, as they can weigh down hair and prevent proper curl formation
9. Troubleshooting Flat or Falling Curls

When curls don’t hold or fall flat quickly, specific adjustments to your technique and product selection can dramatically improve results.
Understanding why curls fail helps you make targeted improvements.
- Increase your straightener temperature by 25-50 degrees if curls are forming but falling out within the first hour
- Use smaller hair sections to ensure complete heat penetration and stronger curl formation throughout each strand
- Apply more texturizing products before styling if your hair is naturally smooth and resistant to holding styles
- Allow each curl to cool completely in your palm before releasing to set the shape more permanently
- Check that your hair is completely dry before curling, as any residual moisture will prevent proper curl formation
- Consider using clips to pin curls up against your head while they cool for maximum curl retention and longevity
10. Advanced Techniques for Natural-Looking Waves

Sophisticated curling methods create more realistic, effortless-looking waves that appear naturally tousled rather than obviously styled.
These advanced techniques elevate your styling game significantly.
- Vary your curl directions randomly throughout your head rather than following a systematic pattern for natural movement
- Use the “twist and pull” method, wrapping hair loosely around the straightener and pulling it through quickly for softer waves
- Try the “S-wave” technique by creating alternating bends in the hair rather than traditional circular curls for modern texture
- Combine different section sizes within the same styling session to create varied wave patterns that look naturally irregular
- Use your fingers to gently rake through completed curls to break up uniformity and create a more lived-in appearance
- Focus on creating volume at the roots by lifting sections upward while curling rather than pulling them straight down
11. Finishing Touches for Long-Lasting Results

The final steps in your curling routine can make the difference between curls that last all day and ones that fall flat within hours.
These finishing techniques lock in your style and add professional polish.
- Run your fingers gently through cooled curls to soften harsh lines and create natural-looking separation between waves
- Apply a light mist of flexible-hold hairspray from 12 inches away to avoid weighing down your curls with product buildup
- Flip your head upside down and gently shake your roots to add volume and create lift at the crown area
- Use a wide-tooth comb or your fingers to blend any harsh lines between curled sections for seamless wave flow
- Apply a tiny amount of lightweight hair oil to your palms and gently press over the surface to add shine without disturbing curl pattern
- Set your style with cool air from your blow dryer for 30 seconds to lock in the curl pattern and increase longevity
Mastering how to curl hair with a straightener for effortless waves transforms your daily styling routine and expands your hairstyling capabilities without requiring additional tools or expensive salon visits.
With the techniques, tips, and troubleshooting strategies outlined in this comprehensive guide, you now have everything needed to create beautiful, long-lasting waves that look naturally effortless yet professionally polished.
Remember that practice makes perfect, and each styling session will help you refine your technique and develop muscle memory for consistent results.
Whether you’re preparing for a special occasion or simply want to elevate your everyday look, these versatile curling methods with a straightener will become an invaluable part of your beauty arsenal.
Embrace the convenience and versatility of this multi-purpose styling approach, and enjoy the confidence that comes with perfectly tousled waves that look like you just stepped off the beach.