Transforming your brunette hair with stunning balayage highlights doesn’t require expensive salon visits or professional training.
This comprehensive guide will walk you through every step of achieving salon-quality balayage results in the comfort of your own home.
Whether you’re looking to add subtle dimension or create dramatic contrast, mastering the art of How to Balayage Brunette Hair at Home Like a Pro is entirely achievable with the right techniques, tools, and patience.
From selecting the perfect shade to applying the highlights with precision, you’ll discover professional secrets that will help you create natural-looking, sun-kissed highlights that complement your brunette base beautifully.
1. Understanding Balayage Technique for Brunette Hair
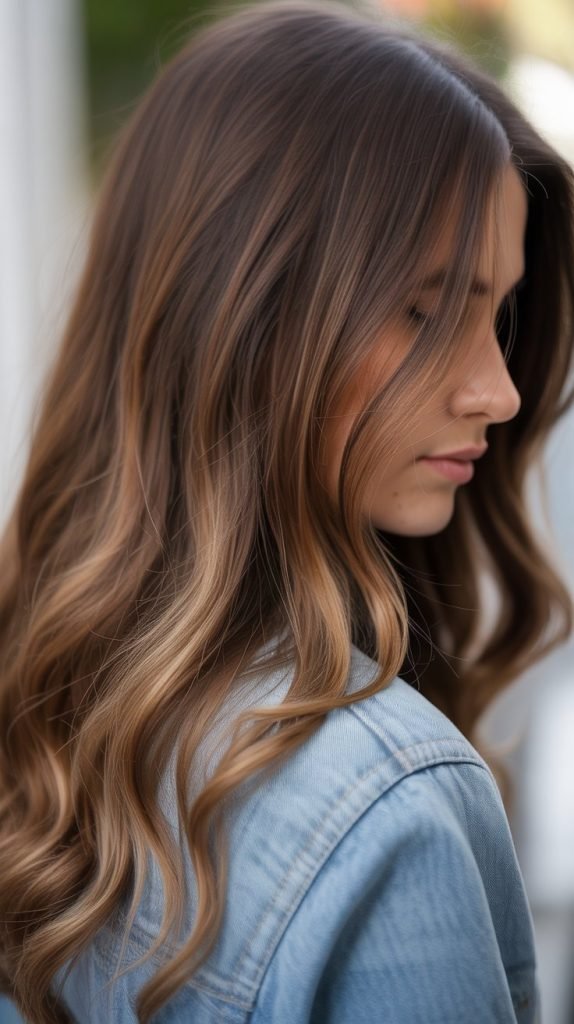
Balayage is a French highlighting technique that creates natural-looking, hand-painted highlights that blend seamlessly with your base color.
For brunette hair, this technique offers the perfect way to add dimension and brightness without harsh lines or obvious regrowth patterns.
- The balayage technique involves painting lightener onto select sections of hair in a sweeping motion
- Unlike traditional foil highlights, balayage creates a more organic, sun-kissed appearance
- The method focuses on highlighting areas where natural sunlight would typically hit your hair
- For brunettes, balayage can range from subtle caramel tones to dramatic blonde contrasts
- The technique allows for customization based on your skin tone and personal style preferences
- Professional colorists often use a freehand painting approach to ensure each strand looks naturally placed
2. Essential Tools and Materials for Home Balayage
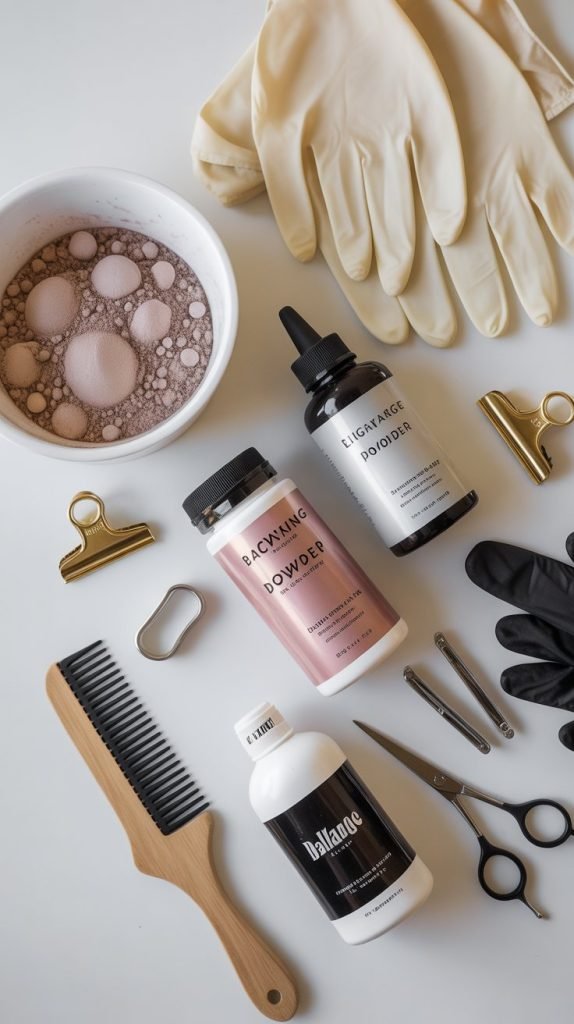
Having the right tools and products is crucial for achieving professional balayage results at home. Quality materials will ensure even application and minimize the risk of hair damage during the lightening process.
- High-quality lightening powder or bleach specifically designed for at-home use
- Developer in appropriate volume (20 or 30 volume for most brunette hair types)
- Professional mixing bowl made of glass or plastic (never metal)
- Balayage brush with firm bristles for precise application
- Tail comb for sectioning hair cleanly and accurately
- Hair clips to separate and hold sections during application
- Protective gloves to prevent skin irritation and staining
- Hair cape or old towels to protect clothing and surfaces
- Timer to track processing times accurately
- Deep conditioning treatment for post-lightening care
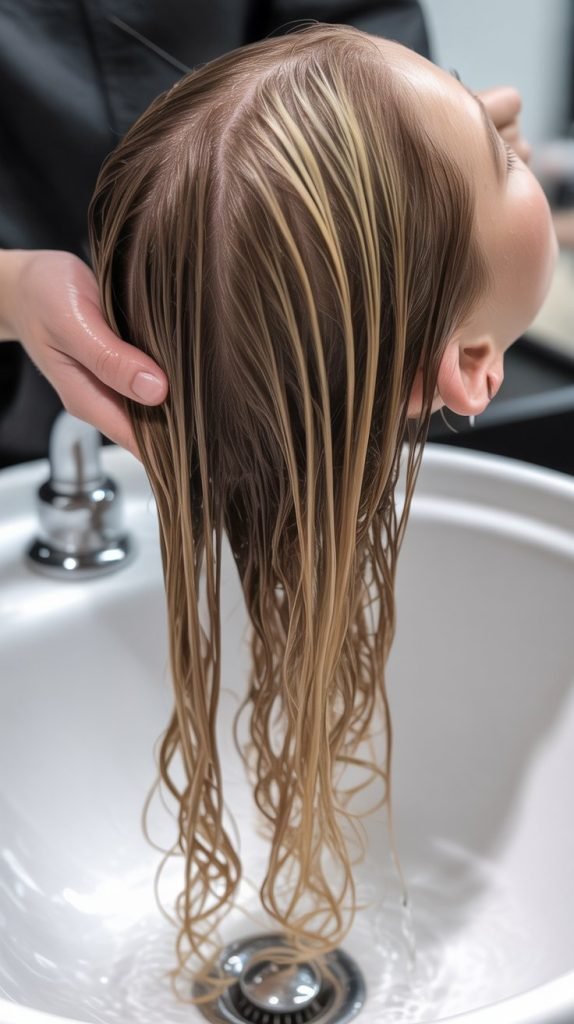
3. Preparing Your Hair and Workspace
Proper preparation is essential for achieving even results and preventing damage to your hair and surroundings.
Taking time to set up your workspace and assess your hair condition will contribute significantly to your success.
- Wash your hair 24-48 hours before lightening to allow natural oils to protect your scalp
- Ensure your hair is completely dry before beginning the lightening process
- Set up your workspace in a well-ventilated area with excellent lighting
- Cover all surfaces with towels or plastic to prevent staining
- Perform a strand test on a hidden section to determine processing time
- Section your hair into manageable quadrants using clips
- Have all tools and materials within easy reach before starting
- Check that your hair is free from heavy product buildup that could interfere with lightening
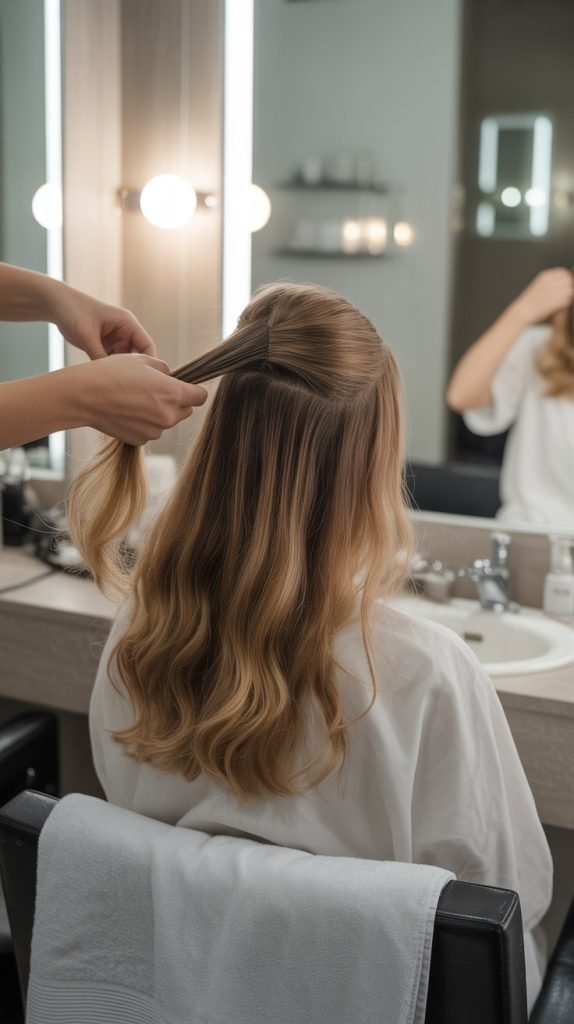
4. Sectioning Techniques for Natural-Looking Results

Strategic sectioning is the foundation of professional-looking balayage results. The way you divide and select hair sections will determine the final placement and natural appearance of your highlights.
- Start by creating a center part and dividing hair into four main quadrants
- Within each quadrant, create irregular horizontal sections of varying widths
- Avoid perfectly straight or uniform sections to maintain a natural appearance
- Focus on face-framing pieces and areas where light naturally hits
- Leave some sections unhighlighted to maintain depth and dimension
- Create smaller, more frequent sections around the hairline for subtle brightness
- Use larger sections toward the back for more dramatic contrast
- Consider your hair’s natural growth patterns when planning section placement
5. Mixing and Applying Lightener Correctly

The mixing ratio and application technique directly impact both the effectiveness of the lightening process and the health of your hair. Following proper mixing guidelines ensures consistent results throughout your hair.
- Mix lightener and developer according to manufacturer’s instructions
- Achieve a smooth, creamy consistency without lumps or dry spots
- Begin application immediately after mixing to prevent product degradation
- Paint lightener onto hair using upward sweeping motions
- Apply more product to the mid-lengths and ends than to the roots
- Blend the product seamlessly to avoid harsh demarcation lines
- Work quickly but carefully to ensure even saturation
- Check your work frequently in good lighting to maintain consistency
6. Processing Time and Safety Monitoring
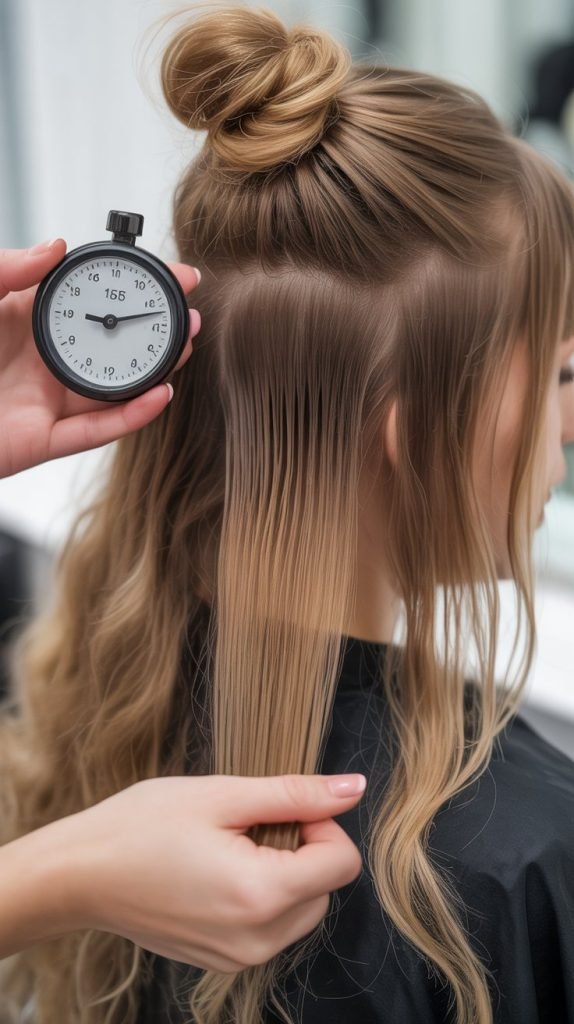
Monitoring the lightening process carefully prevents over-processing and ensures optimal color development. Understanding how to assess lift progress keeps your hair healthy while achieving desired results.
- Set a timer immediately after completing your application
- Check lift progress every 10-15 minutes during processing
- Look for gradual lightening without excessive heat or discomfort
- Stop processing if you notice any scalp irritation or burning sensation
- Rinse immediately if hair appears over-processed or damaged
- Expect processing times to vary based on your starting color and hair condition
- Document your timing and results for future reference
- Never exceed recommended maximum processing times stated on product instructions
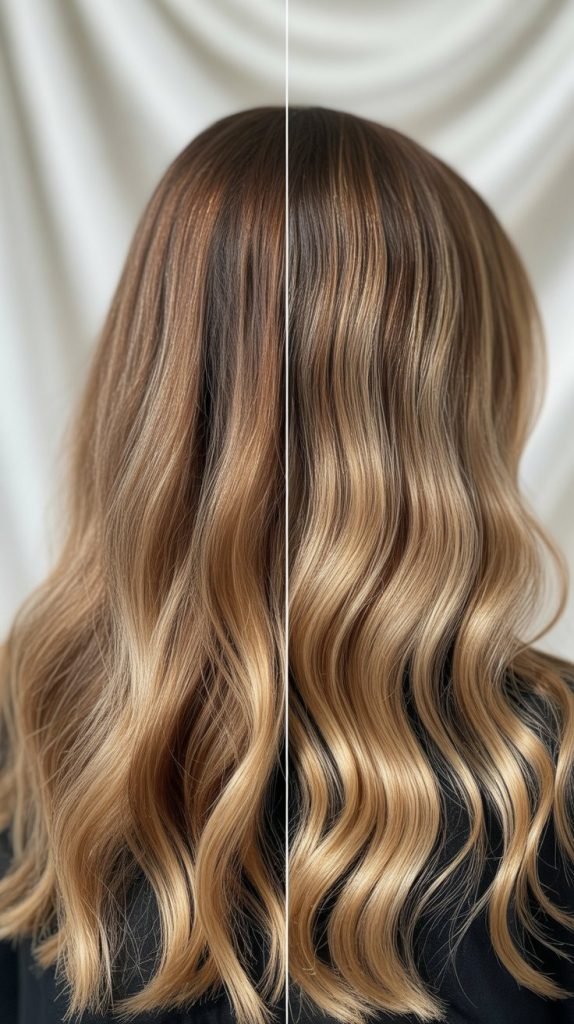
7. Rinsing and Toning Your New Highlights
Proper rinsing and toning techniques ensure your balayage highlights have the perfect color and tone. This final step transforms brassy or yellow tones into beautiful, salon-worthy results.
- Rinse hair with lukewarm water until water runs completely clear
- Apply a deep conditioning treatment immediately after rinsing lightener
- Assess the underlying tone of your lightened hair before toning
- Choose a toner that complements your desired final result
- Apply toner evenly to all lightened sections using the same sectioning pattern
- Process toner according to manufacturer’s instructions (typically 10-20 minutes)
- Rinse toner thoroughly and follow with a color-safe shampoo and conditioner
- Style hair gently to assess the final color and make note of any needed adjustments
8. Post-Balayage Hair Care and Maintenance
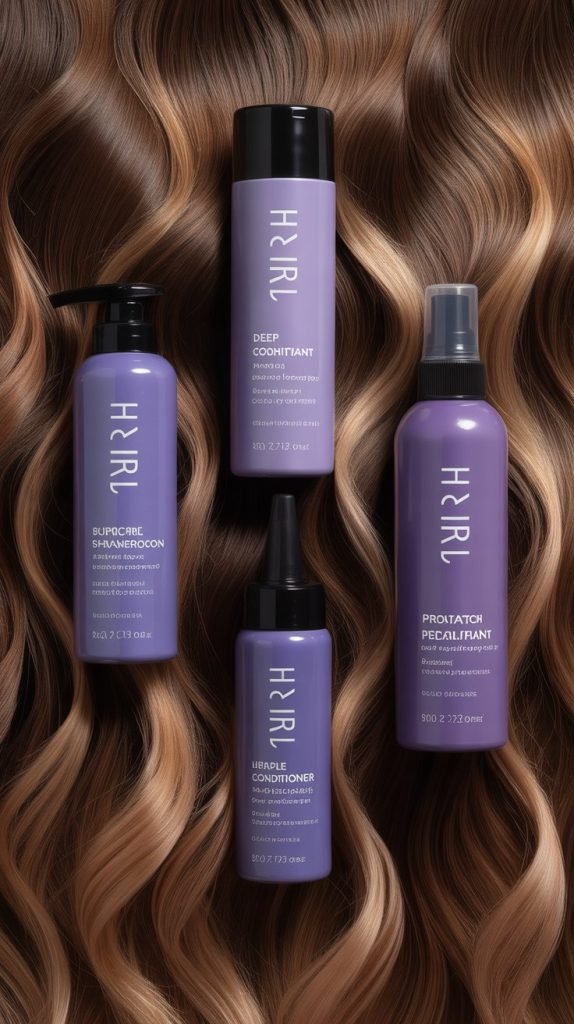
Maintaining your beautiful balayage requires specific care routines and products designed to preserve color and hair health. Proper maintenance extends the life of your highlights and keeps your hair looking salon-fresh.
- Use sulfate-free shampoo to prevent color fading and maintain hair health
- Incorporate purple or blue-toned shampoo weekly to neutralize brassiness
- Apply deep conditioning treatments bi-weekly to restore moisture and strength
- Limit heat styling and always use thermal protection products when styling
- Schedule touch-up appointments or at-home maintenance every 8-12 weeks
- Sleep on silk or satin pillowcases to reduce friction and color loss
- Protect hair from UV damage with products containing sun protection
- Avoid over-washing and use dry shampoo between washes when possible
9. Troubleshooting Common Balayage Issues
Even with careful preparation and execution, challenges can arise during the balayage process. Understanding how to identify and address common issues ensures you can achieve beautiful results despite unexpected complications.
- Uneven lightening often results from inconsistent application or sectioning errors
- Brassiness can be corrected with proper toning using complementary color theory
- Over-processing appears as damaged, brittle hair that requires immediate deep conditioning
- Patchy results typically indicate insufficient product application or poor sectioning
- Too-light sections can be balanced with lowlights or color correction techniques
- Harsh lines can be softened with additional blending during future touch-ups
- Insufficient lift may require a second lightening session after hair recovery
- Always wait at least two weeks between major color corrections to prevent damage
Successfully mastering How to Balayage Brunette Hair at Home Like a Pro requires patience, practice, and attention to detail, but the stunning results make every effort worthwhile.
With the comprehensive techniques and professional tips outlined in this guide, you now have all the knowledge needed to create beautiful, natural-looking balayage highlights that rival expensive salon treatments.
Remember to prioritize hair health throughout the process, take your time with each step, and don’t hesitate to seek professional help if you encounter any complications.
Your gorgeous, sun-kissed balayage will not only enhance your natural beauty but also boost your confidence knowing you achieved these professional results entirely on your own.