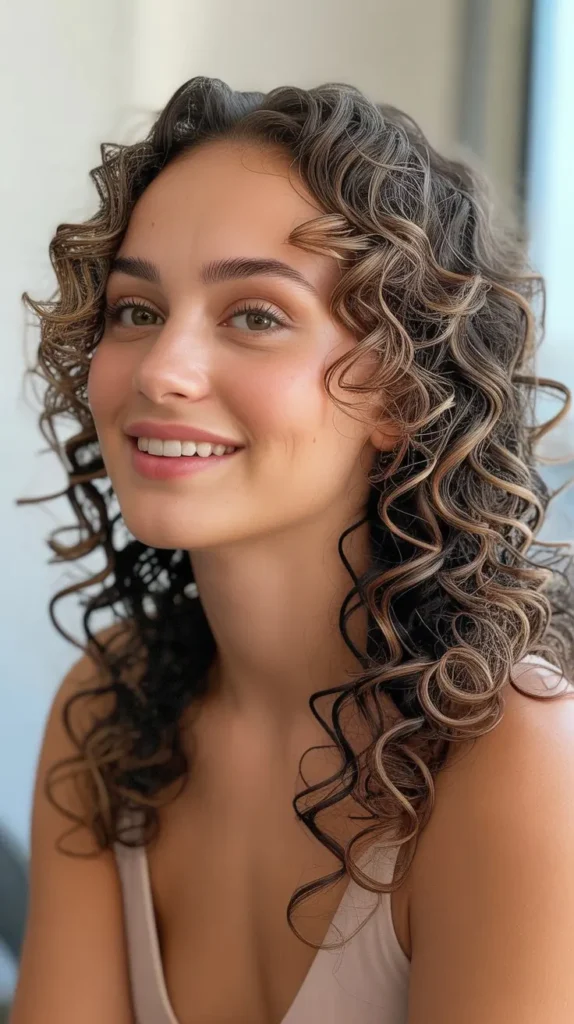
Curly hair can transform your look with minimal effort.
Many people love the charm of cute curls.
In this blog post, we’ll explore seven easy steps to achieve adorable curls.
Curly hair adds fun and elegance to any style.
You don’t need fancy tools or skills to create these curls.
With simple methods, you can curl your hair at home.
Whether you have long or short hair, these steps will work for you.
From using a curling iron to trying overnight techniques, there are many ways to get those perfect curls.
Ready to add some bounce to your hair?
Let’s dive into these cute ways to curl your hair.
Preparing Your Hair
Before you start curling your hair, it’s important to prepare it properly.
This ensures your curls will hold longer and look better.
Let’s go through the essential steps to get your hair ready for curling.
It’s easy, I promise!
Clean And Dry
First things first, make sure your hair is clean.
Dirty hair can make your curls look greasy and won’t hold as well.
Wash your hair with your favorite shampoo and conditioner.
I recently tried a new shampoo with a fresh scent, and it made my hair feel amazing.
After washing, dry your hair completely.
Damp hair won’t curl properly and can even damage your curling iron.
Use a towel to gently pat your hair dry, and then use a blow dryer.
If you have time, air drying is also a great option.
Just make sure it’s fully dry before you move on.
Brush Out Tangles
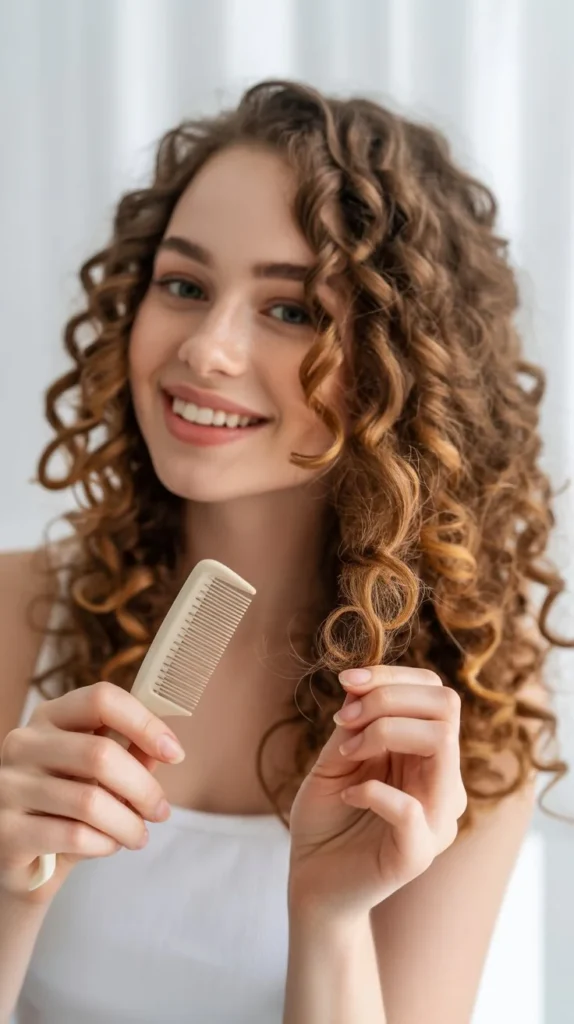
Once your hair is dry, it’s time to brush out any tangles.
This step is crucial because tangled hair can make curling a nightmare.
Use a wide-tooth comb or a gentle hairbrush.
Start from the ends of your hair and work your way up to avoid breakage.
Trust me, I learned this the hard way after a few too many broken strands.
Brushing your hair will also help distribute natural oils from your scalp to the ends of your hair.
This makes your hair look shinier and healthier.
Plus, it feels really nice to have smooth, tangle-free hair before you start curling.
Preparing your hair properly is just the beginning.
Next, we’ll dive into the fun part – curling!
Stay tuned for more easy steps to achieve those cute curls you’ve been dreaming of.
Choosing The Right Tools
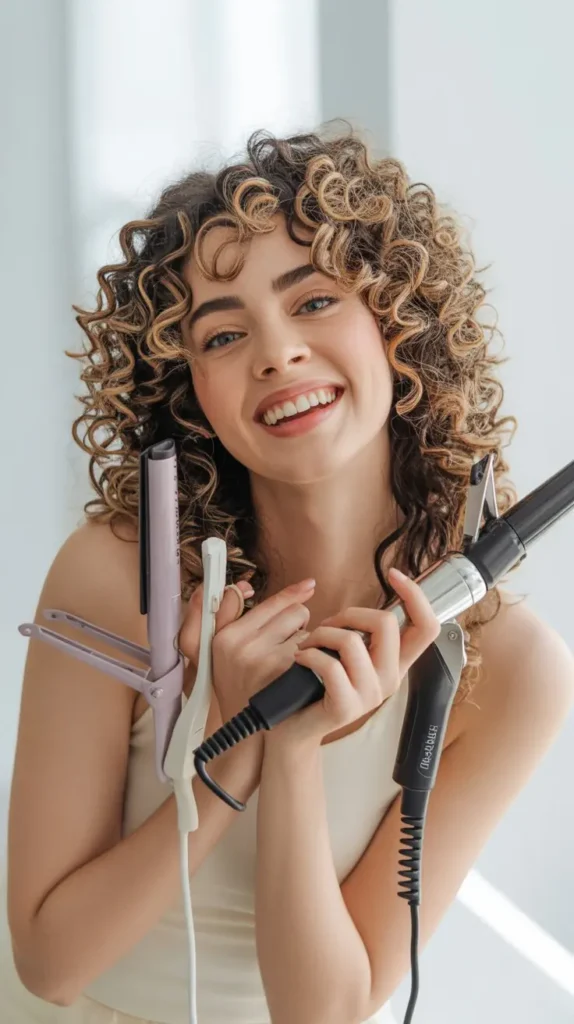
Choosing the right tools is crucial for curling your hair.
The right equipment can make the process smooth and safe.
You need to pick tools that suit your hair type.
Below are some key tools to consider.
Curling Iron Or Wand
A curling iron gives you more control over the curls.
It has a clamp that holds the hair in place.
This tool is great for creating tight curls.
A curling wand, on the other hand, does not have a clamp.
This makes it easier to create loose, beachy waves.
Both tools come in different sizes.
Smaller barrels create tighter curls.
Larger barrels give you bigger, looser waves.
Heat Protectant Spray
Heat can damage your hair.
A heat protectant spray is essential.
It shields your hair from high temperatures.
Spray it evenly on your hair before curling.
This product helps to keep your hair healthy and shiny.
It also reduces the risk of split ends.
Using a heat protectant spray is a simple step.
Yet, it makes a big difference in maintaining your hair’s health.
Sectioning Your Hair
Hey friends, have you ever struggled to curl your hair evenly?
The secret to perfect curls lies in how you section your hair.
In this guide, we’ll walk you through the steps to create stunning curls by properly sectioning your hair.
Trust me, it makes a huge difference!
Divide Into Layers
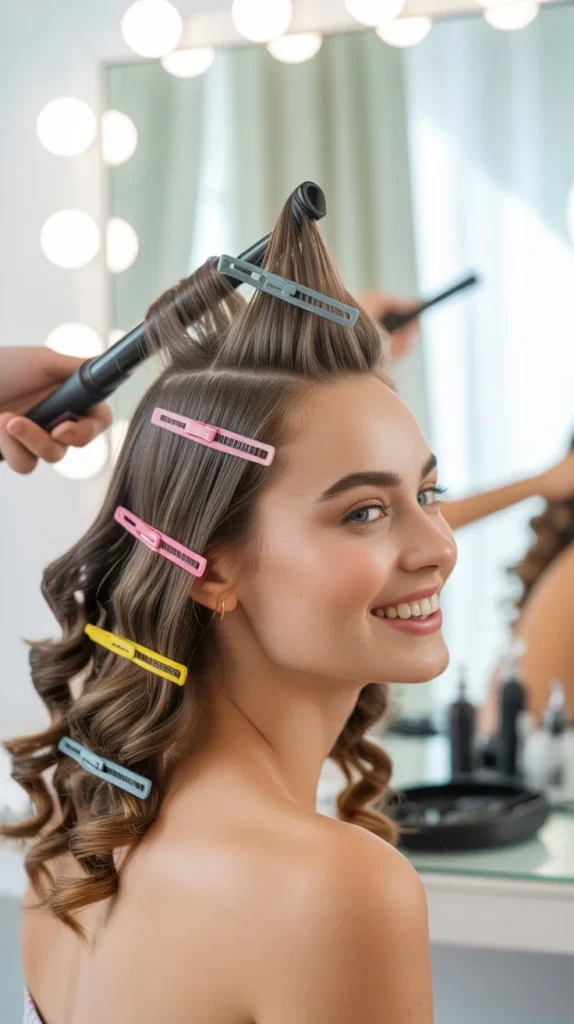
First things first, let’s divide your hair into layers.
This is super important. Why?
Because it helps you manage your hair better.
Imagine trying to curl all your hair at once. It’s chaotic, right?
So, let’s break it down:
- Top Layer: This is the hair on the crown of your head. Clip it up for now.
- Middle Layer: This is the hair from your ears to the top layer. We’ll work on this next.
- Bottom Layer: This is the hair at the nape of your neck. Start here.
My friend Sarah always starts with the bottom layer.
She says it gives her more control. And it really works!
Clip Up Sections
Now that we’ve divided your hair into layers, let’s clip up the sections.
This step keeps the hair you’re not working on out of the way.
Here’s how:
- Use hair clips or pins. Make sure they are sturdy.
- Clip up the top and middle layers. Leave the bottom layer down.
- As you finish curling one section, unclip the next. Simple and effective.
I once tried skipping this step. Big mistake!
My curls were all tangled.
So, trust me, clipping up sections really helps.
By following these easy steps, you’ll find curling your hair much more manageable.
The good news?
It only takes a few minutes to section your hair properly.
And the result?
Gorgeous, even curls every time.
Curling Technique
Hey friends, today we’re diving into one of my favorite beauty tricks: curling hair.
It can seem tricky, but trust me, with the right technique, it’s a breeze.
So, let’s talk about the Curling Technique.
It’s all about how you handle the curling tool and the time you dedicate to each curl.
Ready to transform your look? Let’s get started!
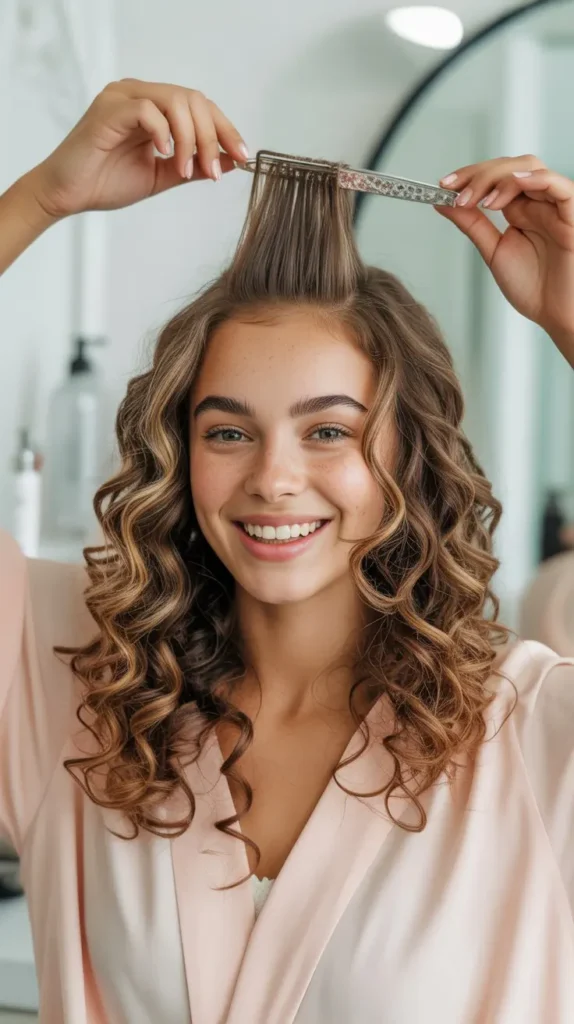
Wrapping Hair Around Tool
The first step is wrapping your hair around the tool.
This is the most important part. Here’s a simple way to do it:
- Start with dry, tangle-free hair: Wet hair can get damaged by heat. Make sure your hair is clean and brushed.
- Take a small section: About 1-2 inches wide. Too much hair at once won’t curl properly.
- Wrap it around the tool: Use a curling iron or wand.
- Start from the bottom and wrap upwards. Be careful not to burn yourself!
Remember, the way you wrap your hair affects the curl.
Want tight curls? Wrap hair tightly and close together. Want looser waves?
Wrap it loosely and leave some space between wraps.
Hold For Correct Time
Now, let’s talk about timing.
Holding your hair on the curling tool for the right amount of time is key:
- 10-12 seconds for tighter curls: This gives your hair enough time to take shape. But don’t overdo it, or you’ll damage your hair.
- 5-8 seconds for loose waves: This is perfect for a more relaxed look.
- It’s quicker and gives a soft, natural wave.
It’s like baking cookies.
Leave them in too long, and they burn.
Too short, and they’re not fully baked.
Find that sweet spot for perfect curls.
Here’s a quick tip: If you’re unsure about timing, start with less time and gradually increase.
It’s easier to re-curl if needed than to fix heat-damaged hair.
I remember my first time curling my hair.
I was so nervous! But with practice, it became second nature.
Follow these steps, and soon you’ll be curling your hair like a pro too!
Setting The Curls
Setting the curls is crucial for a lasting, beautiful hairstyle.
After curling your hair, proper setting ensures the curls stay in place all day.
Follow these steps to make your curls look amazing.
Let Curls Cool
Allow your curls to cool completely.
This helps them set better.
Hold each curl in place for a few seconds right after curling.
Use clips or pins to hold them in shape.
Once they cool, the curls will stay longer and look more defined.
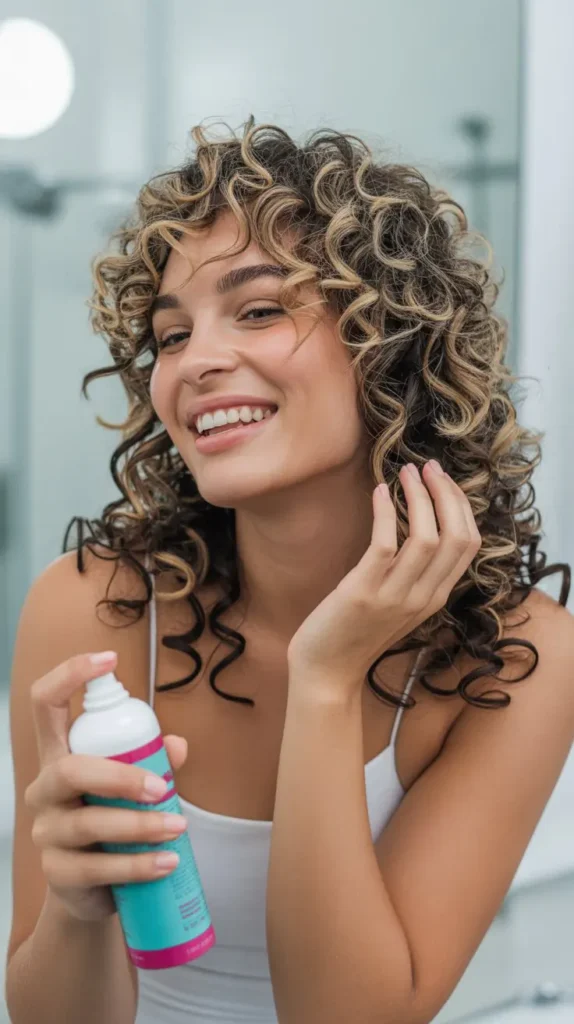
Use Hairspray

Once your curls are cool, lightly spray them with hairspray.
This adds extra hold and prevents frizz.
Choose a flexible hold hairspray for a natural look.
Spray evenly over your curls, keeping the can about 12 inches away.
This ensures even distribution without weighing down your hair.
Styling The Curls
Discover cute ways to curl your hair with these 7 easy steps.
Achieve beautiful, bouncy curls effortlessly and enhance your natural beauty.
Perfect for any occasion!
Once you’ve curled your hair, it’s time to style those beautiful curls.
Proper styling can make your curls look natural and bouncy.
With just a few simple steps, you can achieve a polished and professional look.
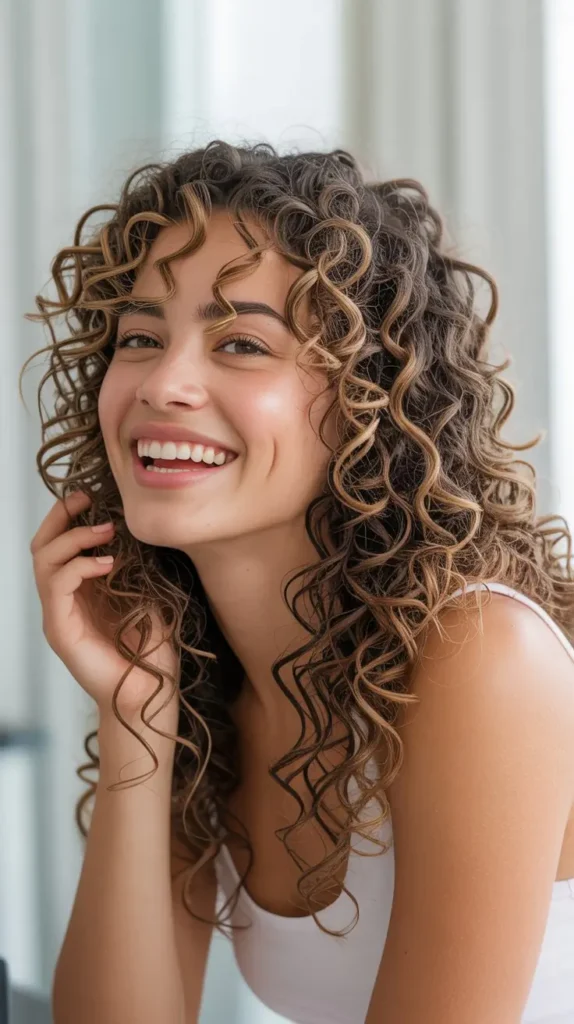
Finger Comb Curls
Finger combing is a gentle way to separate curls.
Use your fingers to comb through your curls.
This helps maintain their shape.
Avoid using a brush as it can cause frizz.
Finger combing keeps the curls defined and neat.
Add Volume
Volume gives your curls a fuller look.
To add volume, flip your head upside down.
Gently shake your hair at the roots.
Use a light hairspray to hold the volume.
This technique creates a lifted and bouncy effect.
For extra volume, use a diffuser while blow-drying.
Styling curls can be easy and fun.
With these steps, your curls will look stunning and full of life.
Maintaining Your Curls
Discover cute ways to curl your hair with seven easy steps.
Achieve perfect curls effortlessly while maintaining their bounce and shine.
Embrace your curly hair journey with these simple tips.
Keeping your curls looking cute can be tricky.
But with the right tips, it’s a breeze.
The key is to maintain those bouncy curls without damaging them.
Avoid Touching
Touching your hair too much can ruin your curls.
Your hands have natural oils.
These oils can make your curls lose their shape.
Try to keep your hands off your hair.
This will help your curls stay defined and bouncy.
Refresh With Dry Shampoo
Dry shampoo is a great way to refresh your curls.
It helps absorb excess oil.
This keeps your hair looking fresh.
Spray dry shampoo at your roots.
Then, use your fingers to fluff your curls gently.
This will add volume and keep your curls looking lively.
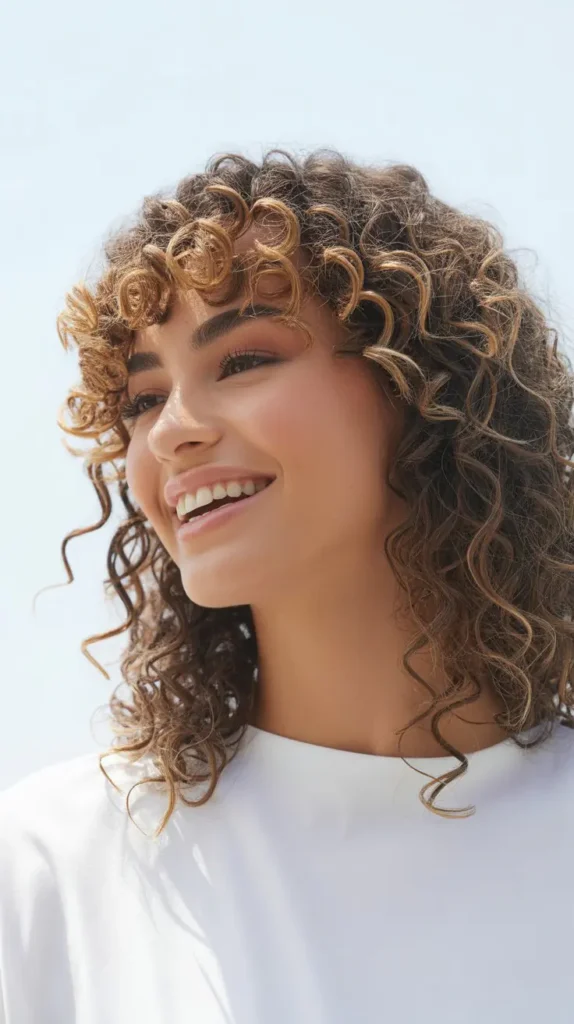
Cute Curl Ideas
Discover cute ways to curl your hair in just seven easy steps.
Achieve beautiful curls effortlessly with simple techniques.
Perfect for any occasion.
Looking to add some bounce to your hair?
Curling your hair can offer endless possibilities.
From loose beach waves to tight ringlets, there are many ways to style your hair.
Let’s dive into some cute curl ideas that will make your hair look fabulous.
Loose Beach Waves
Loose beach waves give you a relaxed and natural look.
They are perfect for a day out or a casual evening.
To achieve this style, start with slightly damp hair.
Use a curling wand or iron with a large barrel.
Wrap small sections of hair around the barrel, leaving the ends out.
Hold for a few seconds and release.
After curling all sections, gently run your fingers through your hair.
This will break up the curls and create soft waves.
Spray a light-hold hairspray to keep the waves in place.
Tight Ringlets
Tight ringlets are ideal for a more defined and bouncy look.
They work well for special occasions or a night out.
To create tight ringlets, use a small-barrel curling iron.
Begin with dry, clean hair.
Take small sections and wrap them tightly around the barrel.
Hold for a few seconds, then release.
Repeat until all your hair is curled.
For extra volume, gently shake out the curls with your fingers.
Apply a strong-hold hairspray to keep the ringlets intact throughout the day.
Frequently Asked Questions
How To Curl Hair Quickly And Easily?
Use a curling wand or iron on dry hair.
Section hair, wrap around the barrel, and hold for 10 seconds.
Finish with hairspray.
How To Make Your Hair Curly In 2 Minutes?
Use a curling iron on small sections of hair for quick curls.
Apply hairspray to set.
How To Curl Your Hair In 5 Minutes?
To curl your hair in 5 minutes, use a curling wand.
Wrap small sections around the barrel.
Hold for 10 seconds each.
Release and let the curls cool.
Finish with hairspray for hold.
How Can I Curl My Hair Fast For School?
Use a curling wand for quick results.
Section your hair, wrap small sections around the wand, and hold for 10 seconds.
Finish with hairspray.
Conclusion
Creating cute curls is easier than you think.
These seven steps make it simple and fun.
Try different techniques to find your favorite style.
Experimenting with curls adds a fresh look to your hair.
Remember to use heat protection to keep your hair healthy.
Enjoy your new curls and the compliments that follow.
Happy curling!