If you’ve ever admired the soft, flowy layers of a butterfly haircut but felt too intimidated to visit a salon or spend too much money, this Beginner’s Guide to Cutting Butterfly Haircuts on Long Hair at Home is exactly what you need.
In this guide, you’ll discover what makes the butterfly haircut unique, what tools you’ll need, how to prepare your hair properly, a detailed step-by-step cutting tutorial, and essential tips to maintain your new layers beautifully.
By the end, you’ll feel more confident to handle your scissors and embrace your stunning new look with ease and safety right in your bathroom mirror.
1. What is a Butterfly Haircut?
Let’s start with understanding what makes the butterfly haircut so trendy and timeless.
Knowing this will help you appreciate the method behind each snip.
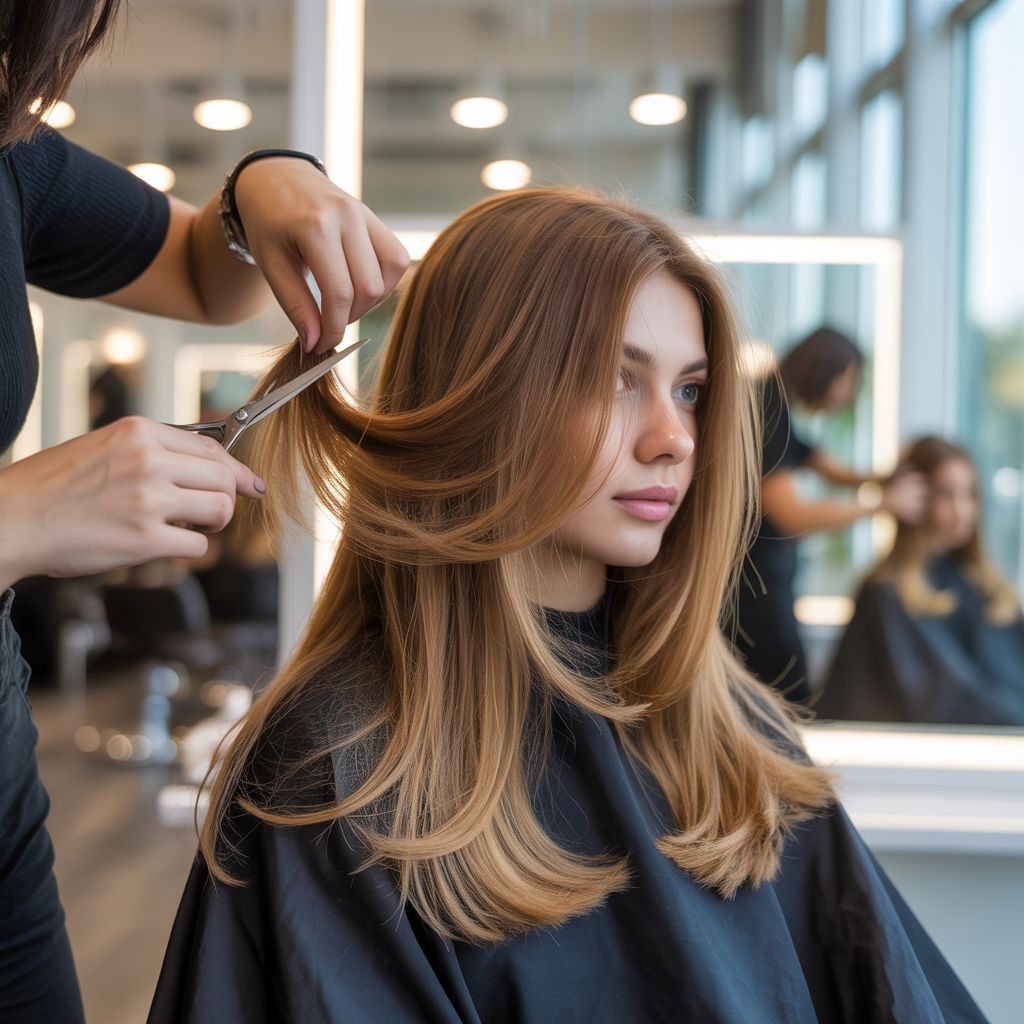
- The butterfly haircut is a layered style that gives your hair bounce, movement, and a soft, feathery look.
- It’s called “butterfly” because the top shorter layers frame your face like wings while the longer layers flow freely down your back.
- This style is especially flattering for long hair because it removes bulk without sacrificing length.
2. Tools You’ll Need Before You Start

Before you start cutting, it’s crucial to gather the right tools.
Having the proper tools will make your DIY butterfly haircut cleaner and safer.
- A sharp pair of hair-cutting scissors (never use kitchen or craft scissors).
- A fine-tooth comb for precise sectioning.
- Hair clips or hair ties to secure sections.
- A spray bottle filled with water to keep hair damp and manageable.
- A large mirror and a handheld mirror for checking the back of your hair.
Here’s a quick checklist for your convenience:
| Tool | Purpose |
|---|---|
| Hair-cutting scissors | Clean, precise cuts |
| Fine-tooth comb | Neat sectioning and detangling |
| Hair clips/ties | Holding sections out of the way |
| Spray bottle | Keeps hair evenly damp |
| Two mirrors | Helps see all angles |
For high-quality scissors, check trusted sites like this one.
3. How to Prep Your Hair for a Butterfly Haircut
Preparing your hair is as important as the actual cut.
Proper prep ensures you get even layers and avoid split ends.
- Wash your hair with a clarifying shampoo and condition well to remove any product buildup.
- Towel dry and comb through to remove tangles.
- Keep your hair damp, not dripping wet — this makes sectioning and cutting easier.
- Stand in a well-lit area with your mirrors set up before you start.
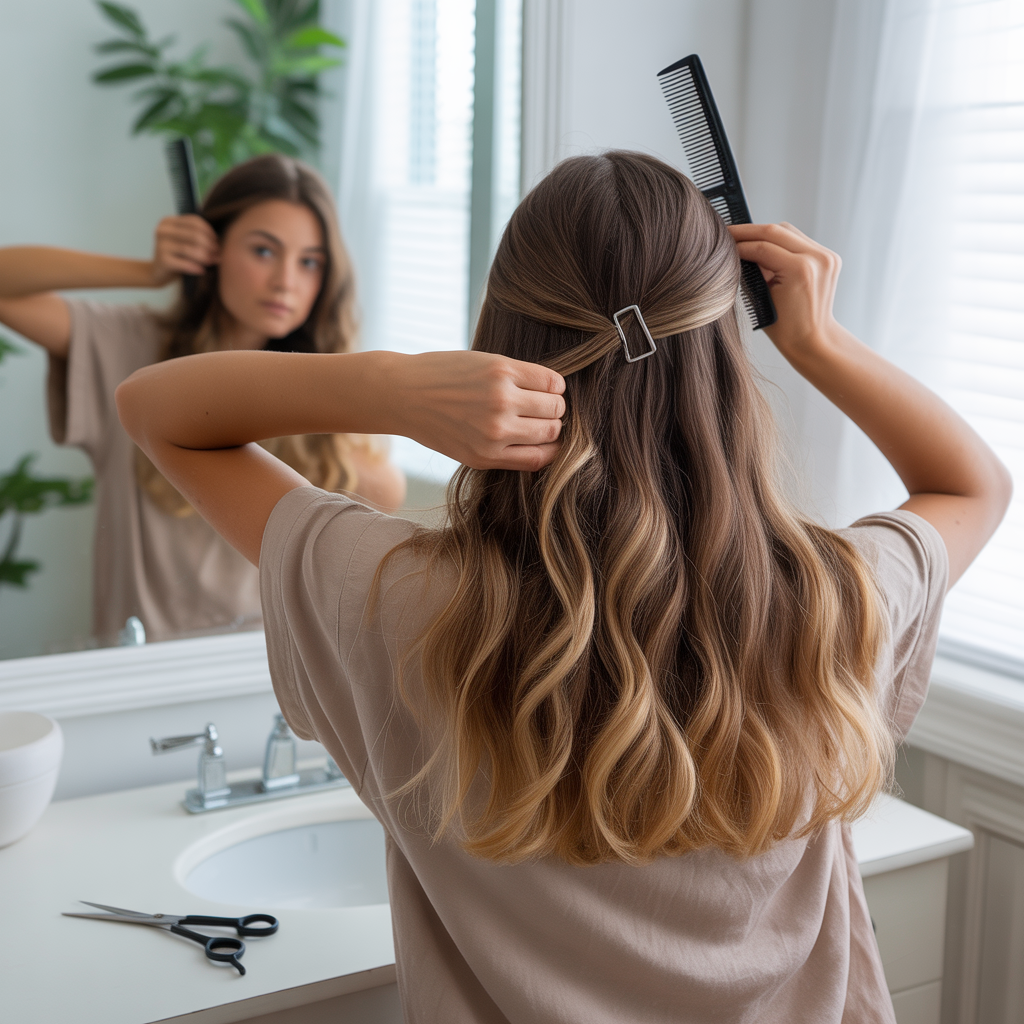
4. Sectioning Your Hair Like a Pro

Good sectioning is the secret to an even butterfly haircut.
Take your time here — it’s worth it.
- Part your hair down the middle from your forehead to your neck.
- Create a horizontal part from ear to ear, forming a “T” shape.
- Clip the bottom sections away.
- You’ll work with the top sections first to cut the shorter face-framing layers.
- Make sure all sections are smooth and tangle-free.
5. Step-by-Step: Cutting the Butterfly Layers
Now comes the exciting part — actually cutting the layers.
Follow these steps slowly and carefully.
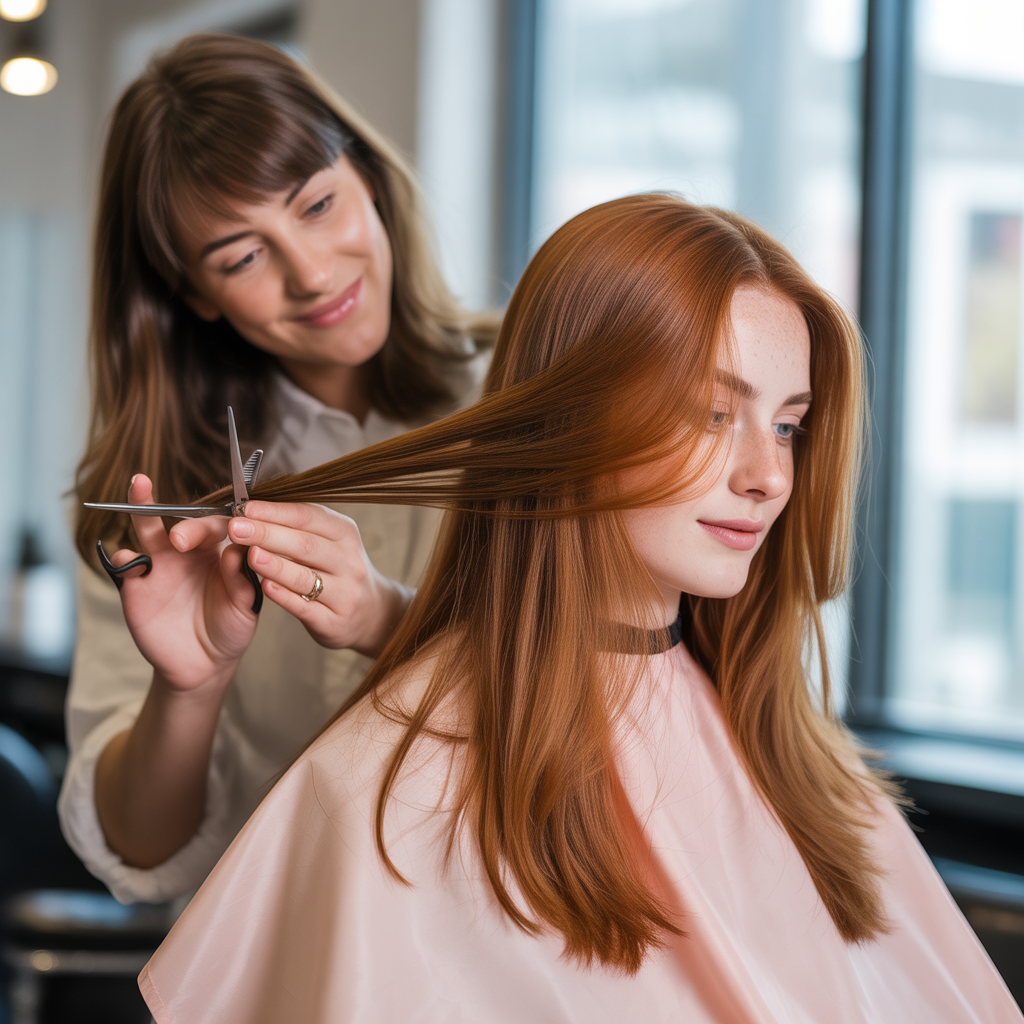
- Comb the front top section forward over your forehead.
- Gather this section like a ponytail at the front of your forehead.
- Hold it between your fingers at the length you want your shortest layer to be (typically around the chin or collarbone).
- Cut straight across or point-cut for a softer finish.
- Repeat with the top sections at the sides, blending into the front.
- Release the back sections and trim the ends to match the length of your longest layer.
- Blend the layers by combing and trimming any uneven spots.
6. Tips for Perfecting Your DIY Butterfly Haircut

Small finishing touches make a huge difference.
Use these pro tips to get salon-like results.
- Always cut less than you think — you can take more off but you can’t add it back.
- Cut with the scissors pointing up for a more natural, feathered look.
- Keep your head straight and check your layers with a mirror frequently.
- Ask a friend to help check the back for evenness if possible.
- If you make a mistake, don’t panic — small errors are usually fixable with gentle blending.
You can also watch trusted YouTube tutorials like this one to see the steps in action.
7. How to Maintain Your Butterfly Haircut at Home
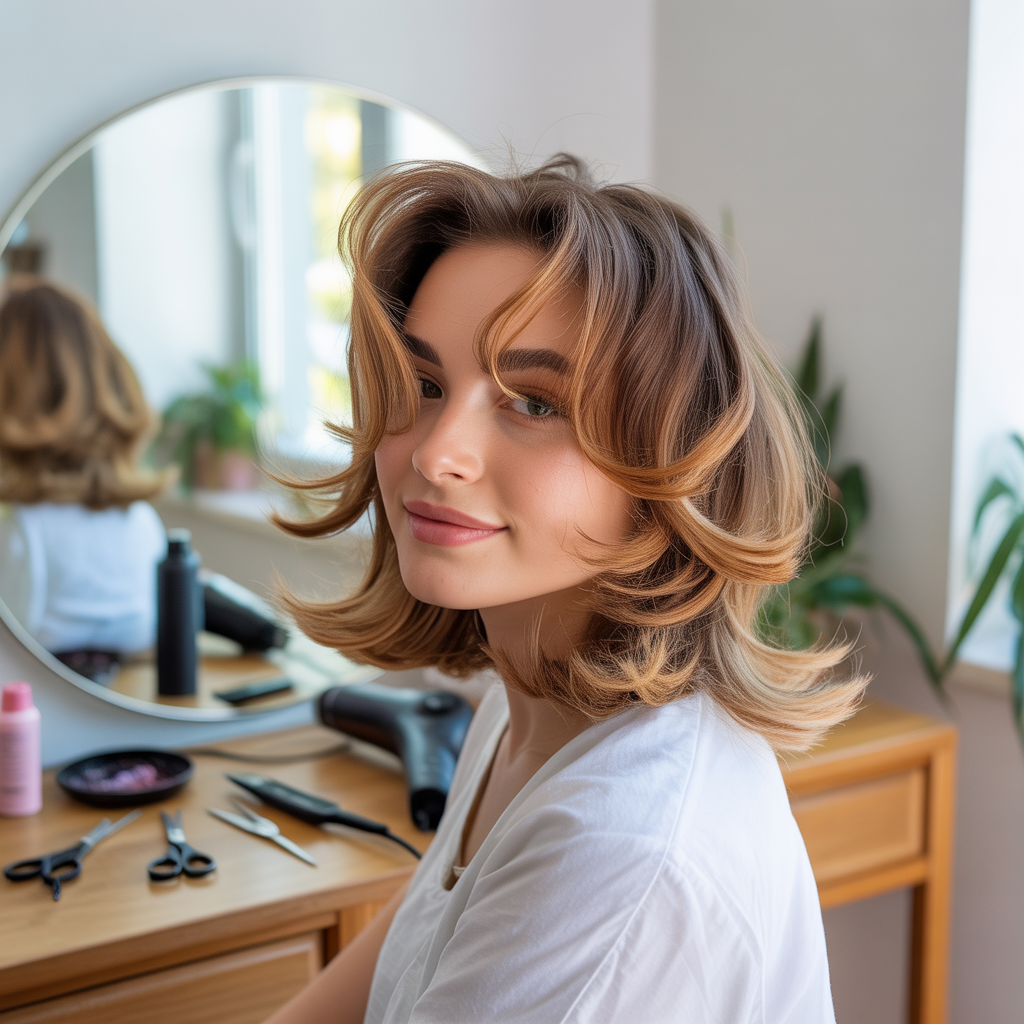
Once you’ve got your beautiful butterfly layers, you’ll want to keep them looking fresh.
Proper maintenance helps your hair stay healthy and stylish.
- Trim the ends every 6-8 weeks to avoid split ends.
- Use a lightweight leave-in conditioner to keep layers bouncy.
- Avoid heavy styling products that weigh down the layers.
- Dry your hair with a round brush for extra volume.
- Try heatless curls or rollers to enhance the layered flow naturally.
Beginner’s Guide to Cutting Butterfly Haircuts on Long Hair at Home
With this Beginner’s Guide to Cutting Butterfly Haircuts on Long Hair at Home, you now have the knowledge, tools, and confidence to create a gorgeous layered look without leaving your house.
Take it slow, trust the process, and remember — practice makes perfect.
Your fresh, airy butterfly haircut will have you feeling light, stylish, and empowered every day.