Coloring hair at home can be fun and rewarding. You can achieve salon-quality results with the right steps and tools.
Changing your hair color can refresh your look and boost your confidence.Many people think it’s difficult to do at home, but it’s actually quite simple.
You don’t need to be a professional to get great results.With a little patience and the right guidance, you can easily change your hair color.
This guide will take you through the process, step by step.By the end, you’ll know exactly what to do to achieve beautiful, vibrant hair.
Whether you’re going for a subtle change or a bold new shade, these easy steps will help you get there.Let’s dive in!
Preparation
Hey friends, are you ready to color your hair at home?
Before you begin, you need to prepare.
Proper preparation will help you get the best results.
It’s like getting ready for a big event.
You wouldn’t go in without planning, right?
Let’s start with the basics.
Gathering Supplies
First things first, you need to gather all your supplies.
Imagine you are a painter.
A painter needs brushes, colors, and a canvas.
Similarly, you need some essentials for coloring your hair:
- Hair color kit: This includes the dye and developer.
- Gloves: To protect your hands from staining.
- Old shirt or towel: To wear over your clothes.
- Hair clips: To section your hair.
- Comb: For detangling your hair.
- Vaseline or petroleum jelly: To apply around your hairline.
- Timer: To keep track of time.
Having all these items ready will make the process smooth.
You don’t want to run around looking for things with dye in your hair.
Trust me, I’ve been there. Not fun!
Choosing The Right Color
Now, let’s talk about choosing the right color.
This is like picking the perfect outfit for a party.
You want it to be just right.
Here’s how to choose:
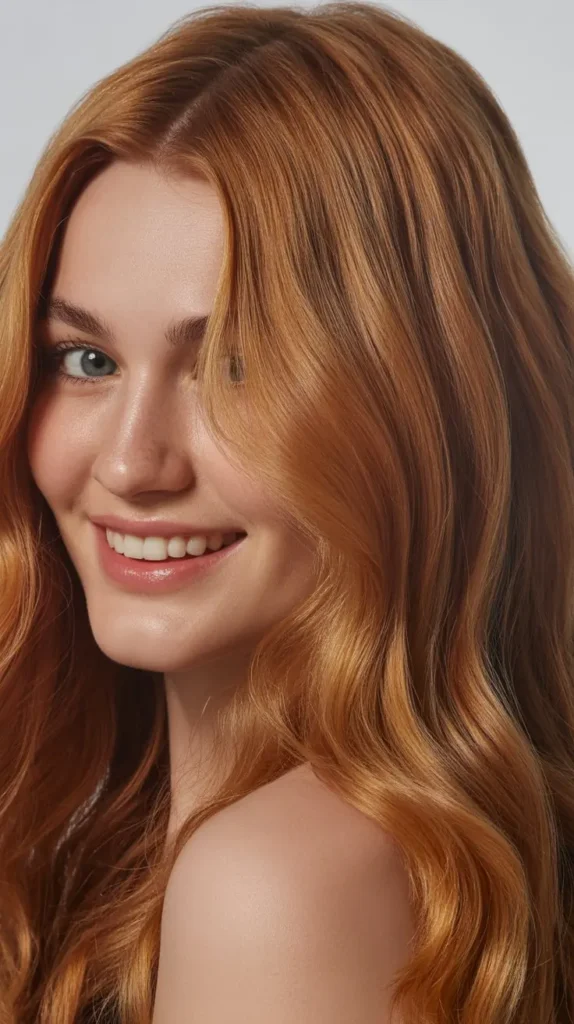
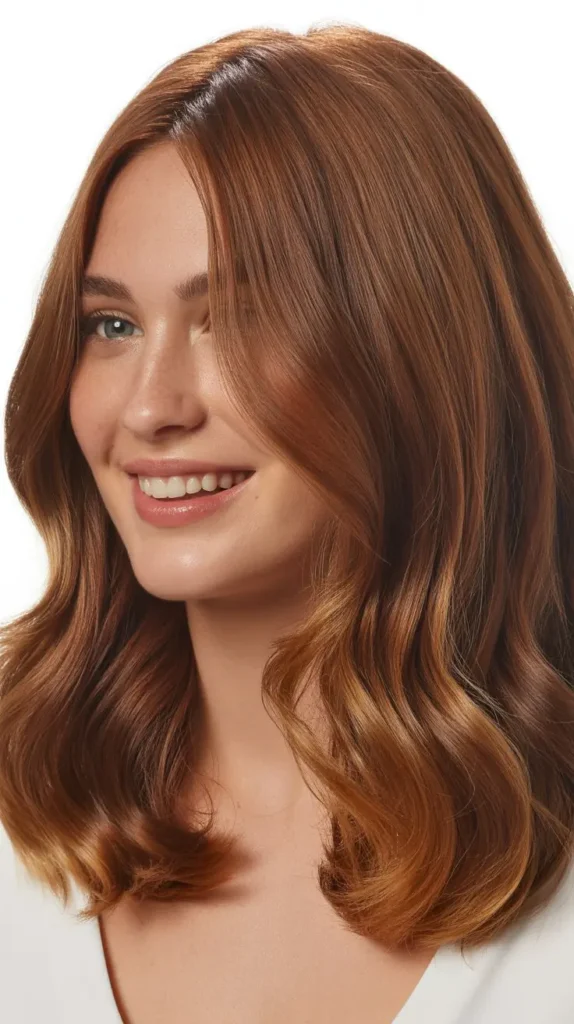
- Know Your Skin Tone: Warm skin tones look great with warm colors like golden blonde or rich brown.
- Cool skin tones suit cool colors like ash blonde or jet black.
- Check Your Natural Hair Color: If you’re new to coloring, don’t go more than two shades lighter or darker than your natural color.
- It’s a safe bet for beginners.
- Read Reviews: Look at reviews of the hair color you want to buy.
- Others’ experiences can guide you.
- Test First: If unsure, buy a temporary dye.
- It’s like trying on clothes before buying.
Picking the right color is important.
It sets the tone for your new look.
Take your time and make a choice you’ll love.
And there you go, friends!
Preparation is key to a great hair coloring experience.
Gather your supplies and choose the right color.
Stay tuned for the next steps in our hair coloring journey.
Protecting Your Skin
Coloring your hair can be a fun way to change your look.
But remember, it’s not just your hair that you need to think about.
Your skin needs protection too! Imagine this: You’re all set to dye your hair a fabulous new color.
You’ve got the dye, the brush, and the excitement.
But wait, what about your skin?
Dye on your skin can cause irritation and stains.
Here’s how to protect it.
Using Barrier Cream
Before you start coloring, take a moment to apply a barrier cream.
This is a special cream that creates a shield between your skin and the dye.
Think of it like putting on sunscreen before heading to the beach.
It prevents the dye from sticking to your skin.
Here’s how to use it:
- Choose a cream: You can find barrier creams at most beauty stores.
- Vaseline also works well.
- Apply the cream: Dab a bit of cream along your hairline, ears, and neck.
- These are the spots most likely to get dye on them.
- Be generous: Don’t be shy with the cream.
- A thick layer will give you better protection.
Now, you’re ready to move to the next step.
But first, let’s talk about those hands!
Wearing Gloves
Remember when you were a kid and wore gloves to play in the snow?
Coloring your hair is a bit like that.
Gloves protect your hands from the dye.
Here’s why you need them:
- Prevent stains: Dye can leave your hands looking like a rainbow.
- Gloves keep your hands clean.
- Safety: Some dyes can irritate your skin.
- Gloves act as a barrier.
Here’s how to use gloves:
- Choose the right size: Make sure the gloves fit snugly.
- You don’t want them to be too loose or too tight.
- Put them on before you start: Don’t wait until you’ve already started applying the dye.
- Wear them from the beginning.
- Check for holes: Make sure there are no tears or holes in the gloves.
- If there are, replace them.
By following these steps, you can keep your skin safe and focus on getting that perfect hair color.
Trust me, it’s worth the extra few minutes.
I once skipped these steps and ended up with purple hands for a week!
Sectioning Hair
Sectioning hair ensures even color application and prevents patchiness.
Divide hair into manageable sections for precise coloring.
This step is key to professional-looking results.
Sectioning hair is a crucial step in the hair coloring process.
It helps achieve even color distribution and makes application manageable.
Proper sectioning ensures that each strand gets adequate coverage, reducing the chances of missed spots.
Follow these simple steps to section your hair like a pro.
Dividing Into Quadrants
Start by combing your hair to remove any tangles.
Use a rat-tail comb to create a part from your forehead to the nape of your neck.
This divides your hair into two sections.
Next, create a part from ear to ear, separating the top and bottom halves.
You now have four quadrants.
Securing Sections
Secure each quadrant with clips.
This keeps the hair out of the way as you work.
Use sturdy clips to ensure the sections stay in place.
If your hair is thick, you might need extra clips.
Double-check that all sections are secure before you start applying color.
By following these steps, you can section your hair efficiently.
This makes the coloring process smooth and ensures even results.
Mixing Color
Mixing hair color can feel like a science experiment.
But don’t worry, it’s easier than you think.
Today, we’ll walk through the steps of mixing color.
Ready to get started?
Reading Instructions
First things first.
You need to read the instructions.
Every hair color box has them.
They tell you how to mix the color.
Don’t skip this part. It’s important.
Here’s what you should look for:
- How much color to use
- How much developer to mix
- How long to leave the color on your hair
Following these steps helps you get the best results.
Think of it like baking.
You wouldn’t just throw random ingredients into a bowl, right?
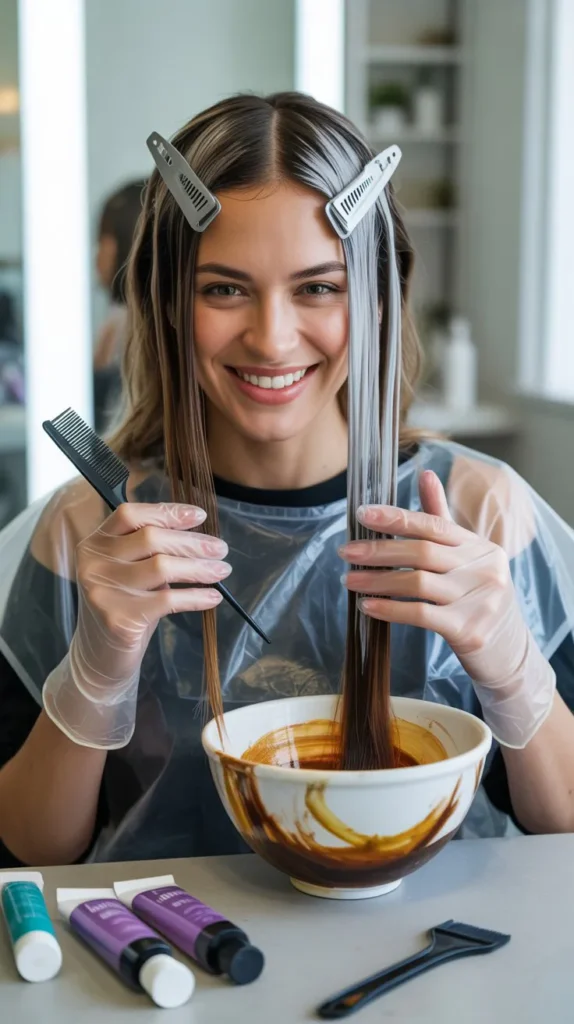
Combining Ingredients
Once you’ve read the instructions, it’s time to combine the ingredients.
This part is crucial.
The right mix gives you the perfect color.
Here’s a simple step-by-step:
- Take your color tube and squeeze it into the mixing bowl.
- Measure the developer. Use the amount the instructions say.
- Pour the developer into the bowl with the color.
- Use the applicator brush to mix them together.
- Mix until smooth and creamy.
It’s kind of like making a cake.
You need the right amounts of flour and sugar.
Mixing them well ensures a tasty cake.
Same with hair color. Mix well for even, beautiful results.
And there you have it.
Easy, right?
Just follow these steps and you’ll be on your way to gorgeous hair color.
Happy coloring!
Applying Color
Hey friends, applying hair color can seem tricky, but don’t worry!
It’s easier than you think.
Let’s walk through the steps together.
We’ll start with the roots and work our way to ensuring even coverage.
Ready to get started?
Let’s dive in!
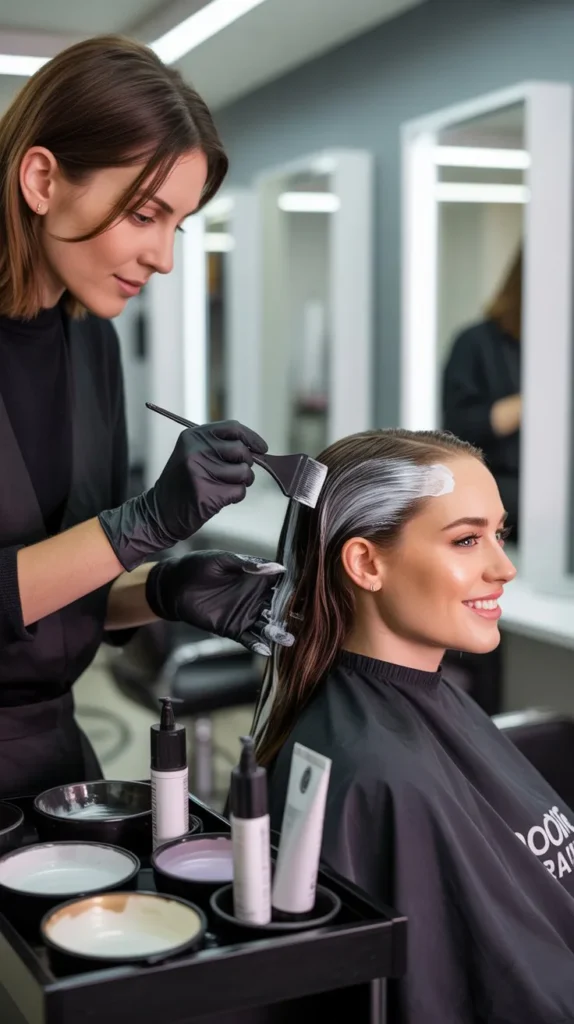
Starting At Roots
The first thing you need to do is start applying the color at your roots.
Why?
Because the roots need more time to process.
Think of it like baking a cake – the center always needs more time to cook than the edges.
Here’s how you do it:
- Part your hair into sections.
- This makes it easier to manage.
- Use a brush to apply the color to your roots.
- Be gentle but thorough.
- Work from the front to the back of your head.
- This ensures you don’t miss any spots.
Remember, the roots are where the color needs to stay the longest.
So, be patient and take your time here.
Ensuring Even Coverage
Once your roots are done, it’s time to make sure the rest of your hair gets the color evenly.
This is crucial for a natural look. Here’s a quick guide:
- Spread the color from the roots down to the tips.
- Use your fingers or a comb to distribute it evenly.
- Massage the color into your hair.
- This helps to cover every strand.
- Check for missed spots.
- Use a mirror or ask a friend to help.
- Missed spots can make your hair look patchy.
It’s like painting a wall – you want to make sure every inch is covered.
Take your time and don’t rush.
Your hair will thank you!
And there you have it!
Starting at the roots and ensuring even coverage are key steps in applying hair color.
Follow these tips, and you’ll have beautiful, even color in no time.
Happy coloring!
Processing Time
Processing time is critical in hair coloring.
It determines how the color develops and how vibrant it becomes.
Understanding this ensures your hair achieves the desired shade without damage.
Let’s delve into the essential aspects of processing time.
Setting Timer

Always set a timer once you apply the color.
This helps track the processing time accurately.
Different hair colors need different times.
Read the instructions on your hair dye box.
Follow them strictly. Setting a timer avoids over-processing.
Checking Progress
Check the color development periodically.
This ensures your hair doesn’t over-process.
Use a small section of hair to test.
Gently wipe the dye off that section.
Look at the color.
If it’s not ready, reapply and wait longer.
Repeat this until you achieve the desired shade.
Rinsing And Conditioning
Rinsing and conditioning are crucial steps in the hair coloring process.
Proper rinsing ensures that excess dye is removed from the hair.
Conditioning helps restore moisture and softness.
This guide will help you understand the importance of these steps and how to do them correctly.
Using Cool Water
Rinse your hair with cool water.
Warm water can cause color to fade quickly.
Cool water helps seal the hair cuticle, locking in the color.
Make sure to rinse thoroughly until the water runs clear.
This ensures all the dye is washed out.
Applying Conditioner
After rinsing, apply a color-safe conditioner.
This type of conditioner helps maintain the vibrancy of your color.
Apply the conditioner from mid-length to the ends of your hair.
Avoid applying it to the roots to prevent greasiness.
Leave the conditioner in your hair for a few minutes.
This allows it to deeply nourish and hydrate your hair.
Then, rinse it out with cool water.
Your hair should feel soft and smooth.
Styling And Maintenance
After coloring your hair, the next important steps are styling and maintenance.
Proper care keeps your hair vibrant and healthy.
Here are some easy tips to follow.
Drying Hair
Pat your hair dry with a soft towel.
Avoid rubbing it harshly.
Use a blow dryer on a low heat setting.
Let your hair air dry if possible.
This reduces the risk of breakage.
Maintaining Color
Use color-safe shampoos and conditioners.
They help keep your color lasting longer.
Wash your hair less often.
This prevents the color from fading quickly.
Avoid hot water while washing your hair.
Lukewarm water is gentler on the color.
Protect your hair from the sun.
UV rays can fade your color.
Wear a hat or use hair products with UV protection.
Avoid chlorine in swimming pools.
Chlorine can strip color from your hair.
Use a swim cap or rinse your hair immediately after swimming.
Conclusion
Changing your hair color is simpler than you think.Follow these seven steps for great results.
Remember, preparation is key.Gather all necessary tools before starting.
Take your time and apply the dye evenly.Rinse thoroughly to avoid any leftover dye.
Use conditioner to keep hair healthy.Enjoy your new look with confidence.
Practice makes perfect, so don’t be afraid to try again.Happy coloring!