Creating a messy bun can seem tricky, but it’s actually quite simple. This easy hairstyle is perfect for both casual and formal occasions.
Do you want to achieve that effortlessly chic messy bun look? You’re in the right place!
Whether you’re rushing to work or heading out for a night on the town, the messy bun is your go-to hairstyle.It’s quick, stylish, and works for almost any hair type.
In this blog post, we will guide you through eight easy steps to create the perfect messy bun.
Say goodbye to bad hair days and hello to a stunning, effortless look that you can achieve in minutes. Ready to get started? Let’s dive in!
In This Post......
- Introduction To Messy Buns
- Gather Your Supplies
- Prepare Your Hair
- Step 1: Brush And Detangle
- Step 2: Create A High Ponytail
- Step 3: Tease For Volume
- Step 4: Twist And Wrap
- Step 5: Secure The Bun
- Step 6: Pull And Loosen
- Step 7: Add Finishing Touches
- Step 8: Style And Personalize
- Maintaining Your Messy Bun
- Frequently Asked Questions
- Conclusion
Introduction To Messy Buns
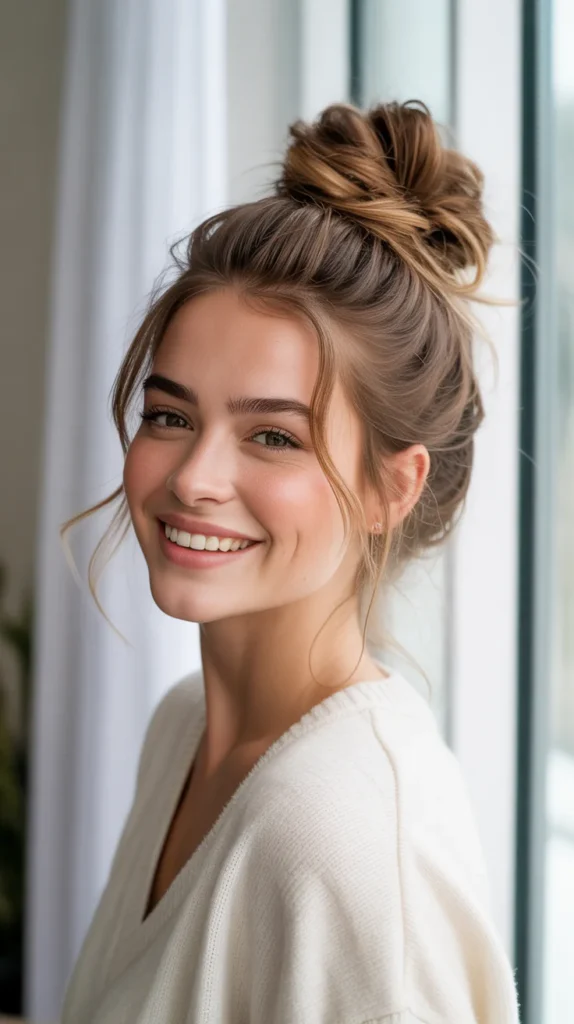
The messy bun is a versatile hairstyle that balances style and ease. It’s perfect for both casual and formal occasions.
This look can transform your appearance effortlessly. Whether you’re running errands or attending a formal event, a messy bun fits the bill.
Let’s dive into why you should choose this stylish hairdo.
Why Choose A Messy Bun
A messy bun offers several advantages:
- Quick and Easy: Creating a messy bun takes just a few minutes.
- Versatile: Suitable for various hair lengths and textures.
- Comfortable: Keeps hair out of your face, ideal for active days.
- Stylish: Gives an effortlessly chic look without much effort.
Occasions For Messy Buns
The messy bun can be worn on many occasions:
| Occasion | Why It’s Perfect |
|---|---|
| Casual Outings | Low maintenance and stylish for day-to-day activities. |
| Workouts | Keeps hair secured while you exercise. |
| Formal Events | Can be dressed up with accessories for elegance. |
| Office | Professional yet relaxed look for a busy workday. |
In the next section, we’ll explore how to create the perfect messy bun in just eight simple steps.
Gather Your Supplies
Before you start crafting your messy bun, gather your supplies. Having everything ready will make the process smooth and quick. You don’t want to stop midway to find a hair tie or bobby pin. Below, we will list the essential tools and optional accessories you might need.
Essential Tools
Let’s start with the essential tools you will need. These are the basic items necessary for a successful messy bun.
- Hairbrush or Comb: To detangle and smooth your hair.
- Hair Ties: Secure your bun in place.
- Bobby Pins: Keep loose strands in check.
- Hair Spray: Add hold and reduce flyaways.
Optional Accessories
Adding optional accessories can enhance your messy bun. These items are not required but can add a touch of style.
- Hair Donut: For added volume and a neater look.
- Decorative Pins: Add a bit of sparkle.
- Headbands: Keep hair off your face.
- Texturizing Spray: Give your hair more grip.
With these tools and accessories ready, you are set to create the perfect messy bun. Follow the steps, and you’ll have an effortless, stylish look in no time.
Prepare Your Hair
Before diving into creating the perfect messy bun, it’s crucial to prepare your hair. This step ensures your bun stays in place and looks effortlessly chic. Follow these simple steps to get your hair ready for styling.
Clean Or Dirty Hair
Deciding whether to work with clean or dirty hair is essential. Both have their benefits and will affect the final look of your messy bun.
| Hair Type | Benefits |
|---|---|
| Clean Hair | Provides a smooth base. Ideal for sleek messy buns. |
| Dirty Hair | Offers natural texture and grip. Perfect for a more tousled look. |
If your hair is freshly washed, use dry shampoo to add some texture. For dirty hair, you may only need a quick brush-through to remove tangles.
Add Texture
Adding texture to your hair is a key step for creating a lasting messy bun. It helps the style hold better and gives it that effortless look.
- Use a texturizing spray or dry shampoo.
- Apply the product evenly throughout your hair.
- Scrunch or tease your hair slightly to enhance the texture.
For those with naturally fine hair, consider using a volumizing mousse. Apply it to damp hair and blow-dry for added body.
Remember, the goal is to create a base that is neither too slick nor too frizzy. Finding the right balance of texture will make styling your messy bun easier and more effective.
Step 1: Brush And Detangle
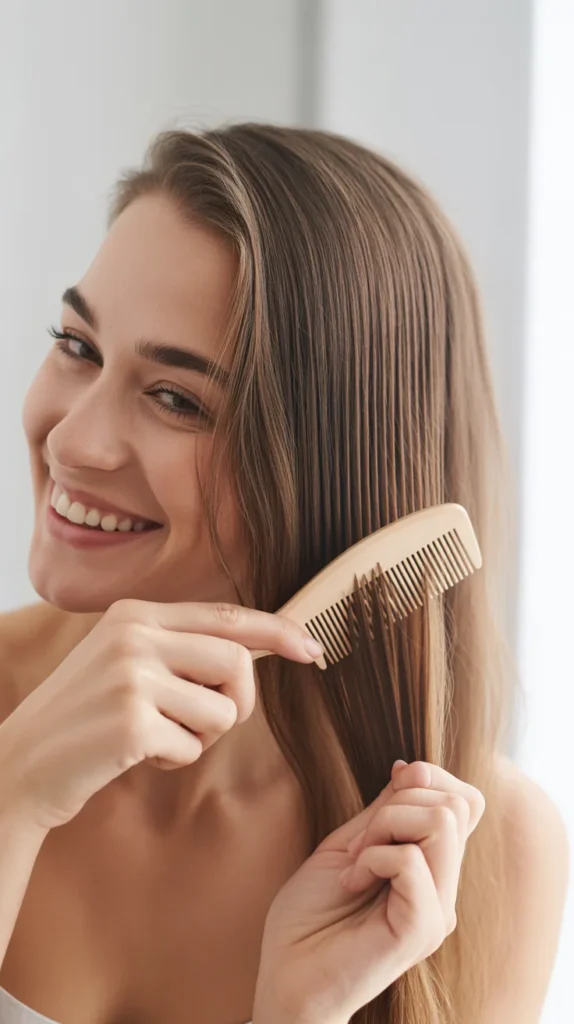
Start by brushing your hair to remove any tangles. This will make it easier to style your messy bun.
Creating the perfect messy bun starts with the basics. The first step is to brush and detangle your hair. This step lays the foundation for a smooth and easy styling process.
Tangles and knots can make it hard to form the bun. They can also cause breakage. So, taking a few minutes to properly brush your hair is key.
Importance Of Detangling
Detangling your hair is essential. It prevents breakage and makes styling easier. Tangles can cause pain and damage your hair.
Smooth, tangle-free hair is easier to work with. It also helps to distribute natural oils from your scalp to the ends of your hair. This keeps your hair healthy and shiny.
Best Brushes To Use
The right brush can make a big difference. For detangling, use a wide-tooth comb or a detangling brush. These tools are gentle on your hair.
They glide through knots without pulling or breaking your strands. A boar bristle brush is also a good option.
It smooths the hair and adds shine. Choose a brush that suits your hair type and length for the best results. “`
Step 2: Create A High Ponytail
Creating a high ponytail is a key step in achieving the perfect messy bun.
This step sets the foundation for the entire hairstyle. A high ponytail gives your bun volume and height, making it look effortlessly stylish.
Let’s break down this step into two main parts: positioning the ponytail and securing the ponytail.
Positioning The Ponytail
First, gather all your hair into your hands. Position it at the crown of your head. This is the highest point of your head. Use your fingers to comb through your hair. Ensure there are no tangles or bumps.
Next, tilt your head back slightly. This helps to get the right height. Keep your hair centered. This ensures your ponytail is even. For a more casual look, leave a few strands loose around your face.
Securing The Ponytail
Once your hair is in position, hold it tightly with one hand. Use the other hand to wrap a hair tie around it. Make sure the hair tie is tight. This keeps your ponytail secure.
For extra hold, you can use a second hair tie. This helps keep your ponytail in place all day. If you have thick hair, this step is important. A tighter ponytail means a more stable messy bun.
Step 3: Tease For Volume

Teasing your hair can add significant volume to your messy bun. This step is essential for creating that effortless look. Follow these simple instructions to achieve the perfect tease.
Teasing Techniques
Start with clean, dry hair. Section off the top layer of your hair. Use a fine-tooth comb for the best results. Gently backcomb the roots of each section.
Hold the section taut and comb from ends to roots. Avoid being too rough to prevent damage.
Volume Tips
For extra volume, use a volumizing spray before teasing. Spray lightly at the roots and let it dry.
Focus on the crown and back of your head. These areas need the most lift. After teasing, smooth the top layer gently. This will hide any visible teasing without losing volume.
Step 4: Twist And Wrap
Step 4 of creating the perfect messy bun involves the twist and wrap technique. This step is crucial for achieving that effortless yet chic look.
By properly twisting and wrapping your hair, you ensure the bun stays in place and looks voluminous.
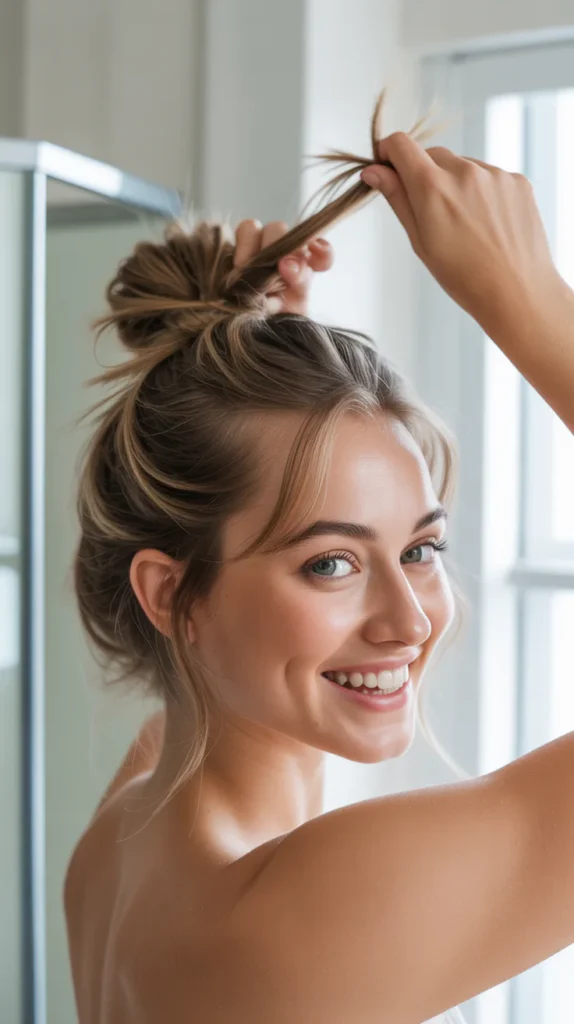
Twisting The Hair
First, gather your hair into a ponytail. Use your hands to smooth it out. Hold the ponytail at the base with one hand. With your other hand, begin twisting the length of the hair.
Twist it tightly to give the bun structure. Keep twisting until you reach the ends of your hair.
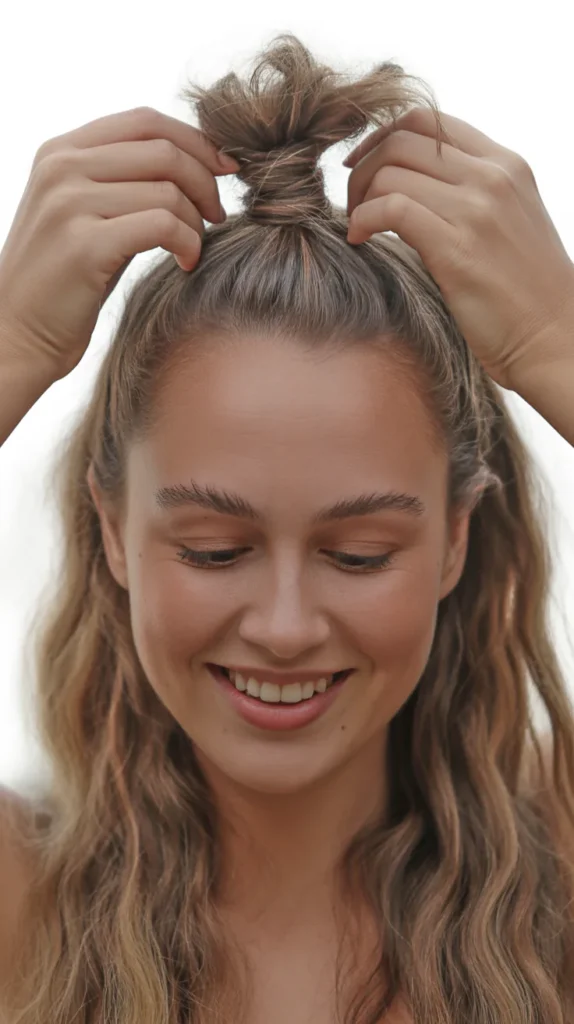
Forming The Bun
Once the hair is twisted, start wrapping it around the base of the ponytail.
Wrap it in a circular motion. This will create the bun shape. Tuck the ends of the hair under the bun.
Use bobby pins to secure the bun in place. Make sure the bun feels tight and secure.
For a messier look, gently pull on some strands of hair.
This will add volume and texture. You can also pull out a few face-framing pieces for a softer appearance. Feel free to adjust the bun until you are satisfied with the look.
Step 5: Secure The Bun
Step 5: Secure the Bun is a crucial part of achieving the perfect messy bun. Properly securing the bun ensures it stays in place all day while maintaining that effortless look.
This step can be done using hair ties or bobby pins. Both methods have their advantages, so choose the one that best suits your hair type and preference.
Using Hair Ties
Hair ties are a popular choice for securing a messy bun. They are quick and simple to use, making them perfect for busy mornings.
- Wrap a hair tie around the base of your bun.
- Twist the hair tie to create a second loop.
- Pull the bun through the second loop for added security.
Tip: For a more secure hold, use a thick or textured hair tie. This helps prevent the bun from slipping.
Using Bobby Pins
Bobby pins are great for a more flexible and adjustable hold. They allow you to perfect the shape of your messy bun.
- Insert a bobby pin at the base of your bun.
- Add more bobby pins around the bun to secure it.
- Use crisscross patterns for extra hold.
Tip: Choose bobby pins that match your hair color. This will help them blend in seamlessly.
| Hair Ties | Bobby Pins |
|---|---|
| Quick and easy to use | Offers a flexible hold |
| Best for thick hair | Great for all hair types |
| Less adjustable | Allows shaping and adjustment |
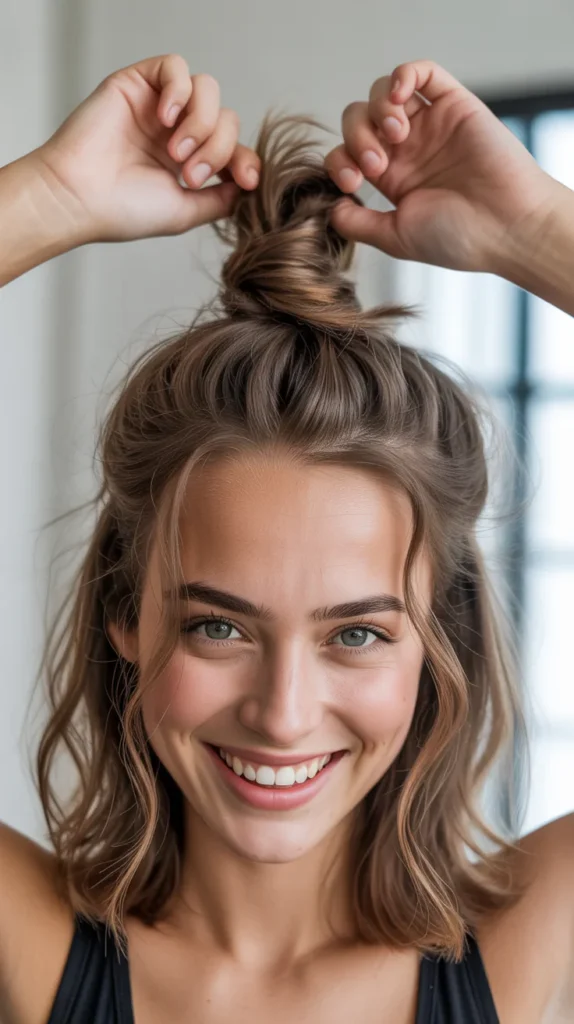
Step 6: Pull And Loosen

Step 6: Pull and Loosen is crucial for achieving that perfect messy bun look.
It’s the step where you transform a regular bun into a chic, effortless style. This step adds texture and volume, giving your hair that desired undone vibe.
Creating The Messy Look
Once your bun is secured, gently pull on small sections of hair. Focus on the top and sides of your bun. This creates a relaxed and natural look.
Use your fingers to tug and fluff the bun. Aim for an imperfect, tousled appearance. This adds character and charm to your hairstyle.
Adjusting For Comfort
Now, check how the bun feels. It should not be too tight. Loosen it a bit if needed. Pulling and loosening should make the bun feel comfortable.
You don’t want it to cause headaches or discomfort. Adjust any hairpins to ensure they hold the bun securely without poking your scalp.
Step 7: Add Finishing Touches
After creating the perfect messy bun, it’s time to add the finishing touches.
These final steps ensure your bun stays in place and looks polished.
Let’s explore how to use hairspray, products, and accessories to complete your look.
Hairspray And Products
To keep your messy bun intact, use a good hairspray. Hold the spray about 10 inches away from your head. Lightly mist your bun and any loose strands. This helps hold your style without making your hair stiff.
If you prefer a more natural look, opt for a texturizing spray. This adds volume and maintains the effortless vibe. Another great product is a shine serum. Just a few drops can make your hair look healthy and glossy.
Adding Accessories
Accessories can elevate your messy bun from simple to stylish. Here are some ideas:
- Bobby pins: Use decorative bobby pins to secure loose strands. They add a touch of sparkle.
- Headbands: A stylish headband can frame your face and keep flyaways in check.
- Scrunchies: A colorful scrunchie can make your bun pop. It also adds a fun element.
- Hair clips: Elegant hair clips can add a sophisticated finish to your look.
Experiment with different accessories to find what suits your style best. Remember, the goal is to keep it effortless yet chic.
Step 8: Style And Personalize
You’ve mastered the basics of creating a messy bun. Now, it’s time to add your personal touch. In Step 8, we’ll focus on styling and personalizing your bun.
This step allows you to express your unique style and follow the latest trends. From adding accessories to playing with textures, there are numerous ways to make your messy bun stand out.
Customizing Your Bun
Customizing your bun can be a fun and creative process. Here are a few ideas to get you started:
- Hair Accessories: Add a headband, scarf, or decorative pins.
- Hair Products: Use texturizing spray for a voluminous look.
- Teasing: Backcomb sections for added texture and height.
- Loose Strands: Pull out a few strands for a relaxed vibe.
These elements can transform a simple bun into a chic hairstyle.
Incorporating Trends
Stay on top of hair trends to keep your messy bun modern:
- Boho Chic: Add braids and flowers for a bohemian look.
- Sleek and Polished: Smooth down baby hairs with gel.
- Color Accents: Use temporary hair chalk for fun highlights.
By incorporating current trends, your messy bun will always look fresh and stylish.
| Customization | Details |
|---|---|
| Accessories | Headbands, scarves, decorative pins |
| Products | Texturizing spray, hair gel |
| Techniques | Teasing, backcombing, pulling strands |
Experiment with these ideas to find what suits you best. Your messy bun should reflect your personal style while being trendy and effortless.
Maintaining Your Messy Bun
Once you have achieved the perfect messy bun, you will want to keep it looking great. Proper maintenance ensures your bun stays stylish and effortless throughout the day. Follow these tips to maintain your messy bun and keep it fresh.
Daily Care Tips
Keep your messy bun looking fabulous with these daily care tips:
- Use a silk scarf: Wrap a silk scarf around your hair at night. This reduces frizz and keeps your bun intact.
- Avoid over-touching: Too much handling can make your bun lose its shape. Touch it sparingly.
- Apply dry shampoo: Dry shampoo absorbs excess oil and adds volume. Spray it lightly at the roots.
- Use bobby pins: Secure any loose strands with bobby pins. This keeps your bun neat.
Refreshing Your Look
Sometimes your messy bun needs a quick refresh. Here’s how to revive it:
- Loosen and retwist: Gently loosen your bun and retwist it. This restores volume and shape.
- Tease the roots: Use a comb to tease the roots of your hair. This adds lift and texture.
- Spritz with water: Lightly mist your bun with water. This helps reshape and smooth flyaways.
- Add a styling product: Use a small amount of mousse or texturizing spray. This enhances the messy look.
By following these tips, your messy bun will stay looking fresh and stylish, no matter the occasion.
Frequently Asked Questions
What Is The Easiest Way To Do A Messy Bun?
The easiest way to do a messy bun is by using a hair tie and bobby pins. Gather your hair into a high ponytail, twist it, wrap it around the base, and secure it.
Can You Do A Messy Bun With Short Hair?
Yes, you can do a messy bun with short hair. Use texturizing spray for grip, gather hair into a ponytail, twist, and secure with pins.
How Do You Make A Messy Bun Stay All Day?
To make a messy bun stay all day, use strong-hold hairspray and secure with bobby pins. For extra grip, add texturizing spray.
What Hair Products Are Best For A Messy Bun?
Texturizing spray, dry shampoo, and strong-hold hairspray are best for a messy bun. They add volume and hold, ensuring your bun stays in place.
Conclusion
Achieving the perfect messy bun is easier than you think. Follow these 8 simple steps for a stylish, effortless look.
Practice makes perfect, so don’t worry if it takes a few tries. Experiment with different techniques to find what suits you best.
Remember, the key is to keep it loose and natural. Now, you’re ready to rock that chic messy bun anytime. Enjoy your new, easy hairstyle!