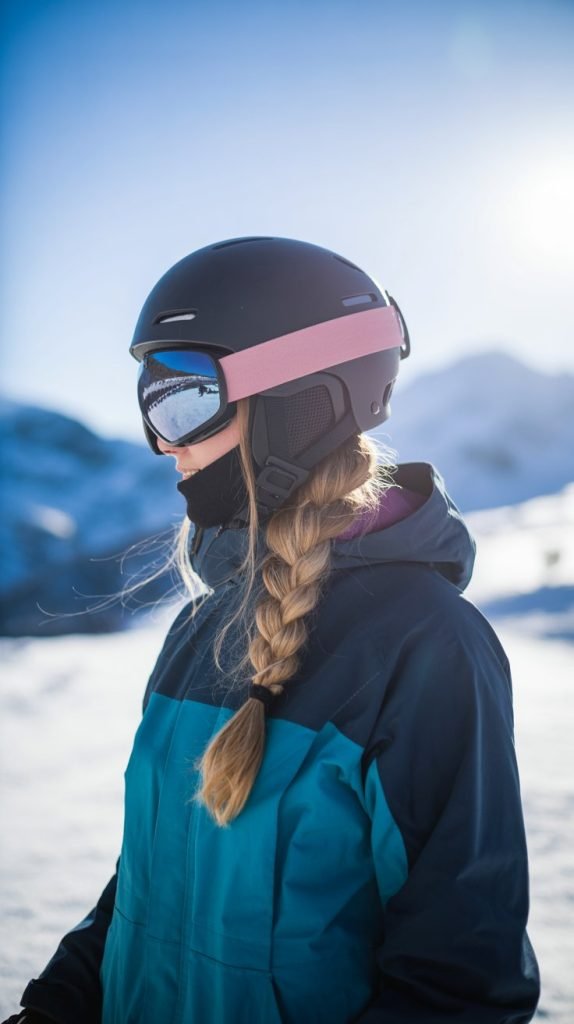
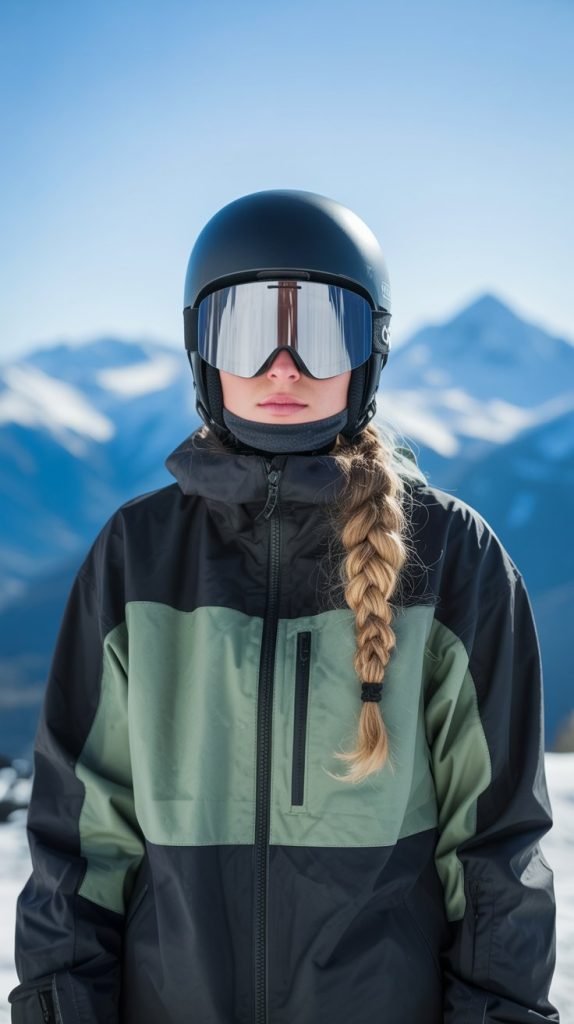
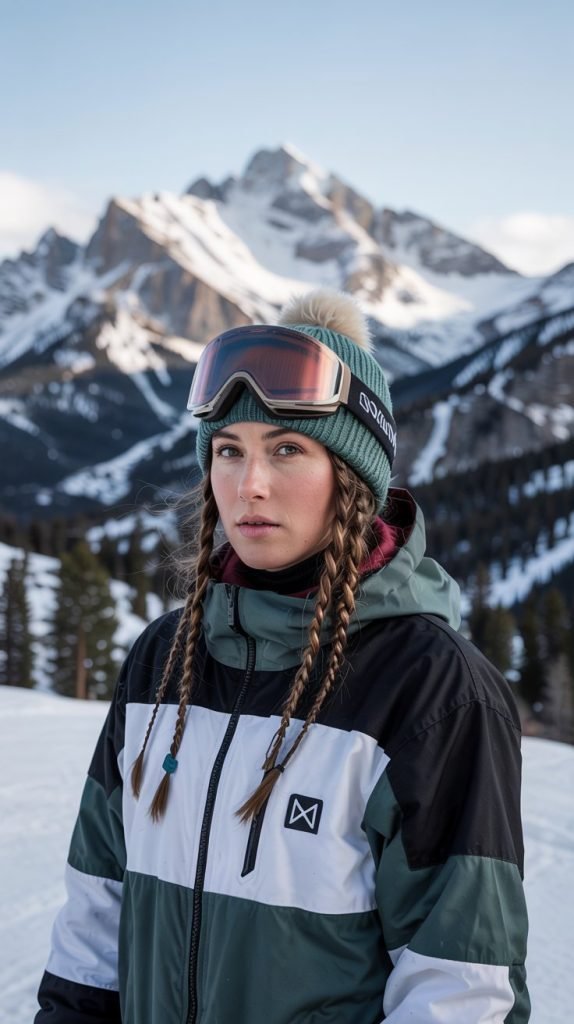
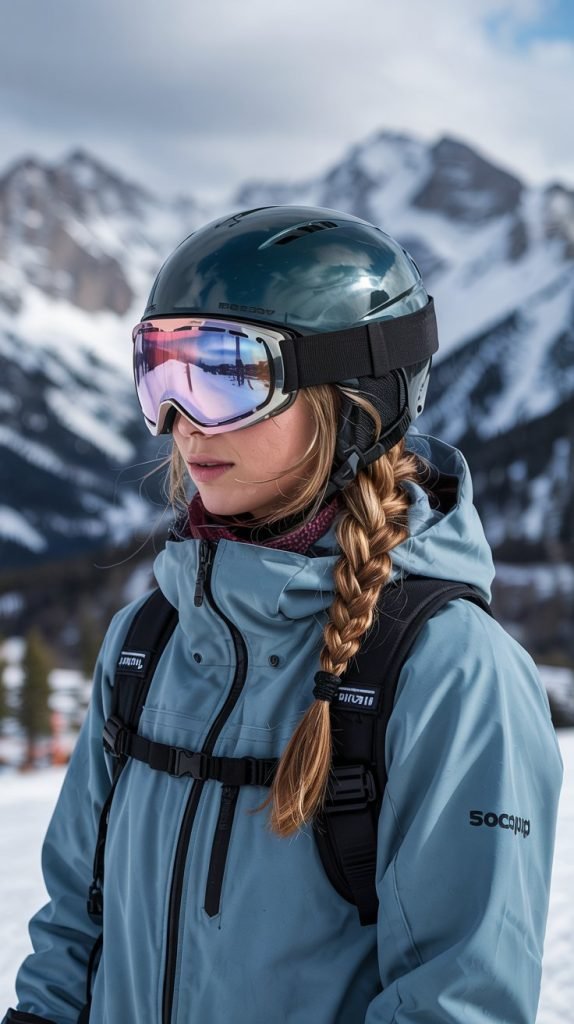
When you’re carving down pristine slopes with the winter wind rushing past your face, the last thing you want is to end up with a bird’s nest of tangled hair by lunchtime.
Finding the perfect hairstyle that combines functionality with style can transform your entire snowboarding experience, keeping you confident and comfortable from first tracks to last run.
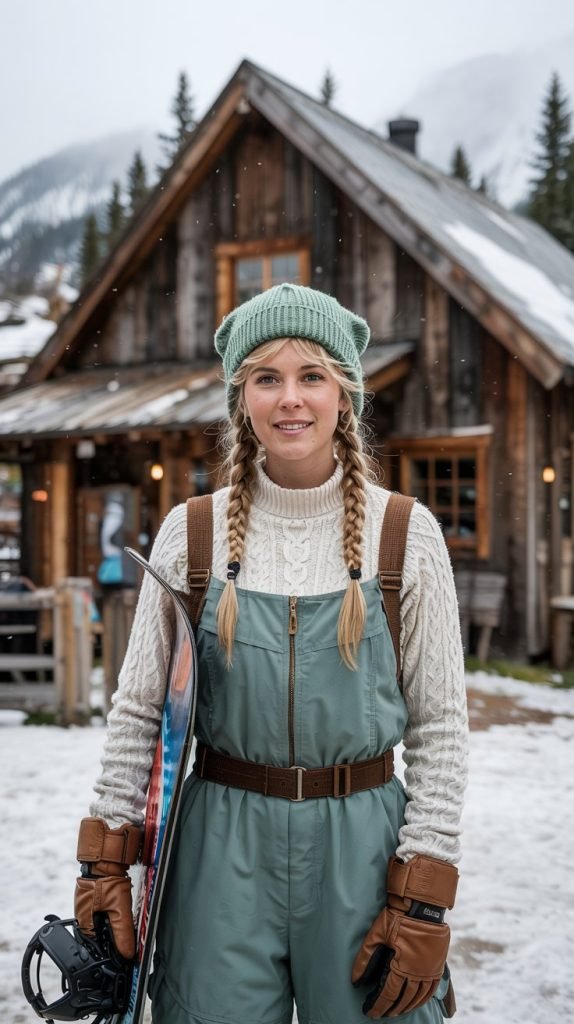
Whether you’re a seasoned rider or just starting out, mastering the art of wind-resistant hairstyles means you can focus on perfecting your technique rather than wrestling with knots after every run.
This comprehensive guide to 30 Stylish Snowboarding Hairstyles for Long Hair That Won’t Tangle in the Wind will walk you through classic braided styles, sophisticated buns and twists, protective updos, helmet-friendly options, and quick fixes that work for every skill level and hair type, ensuring you look as good as you ride while keeping tangles at bay.
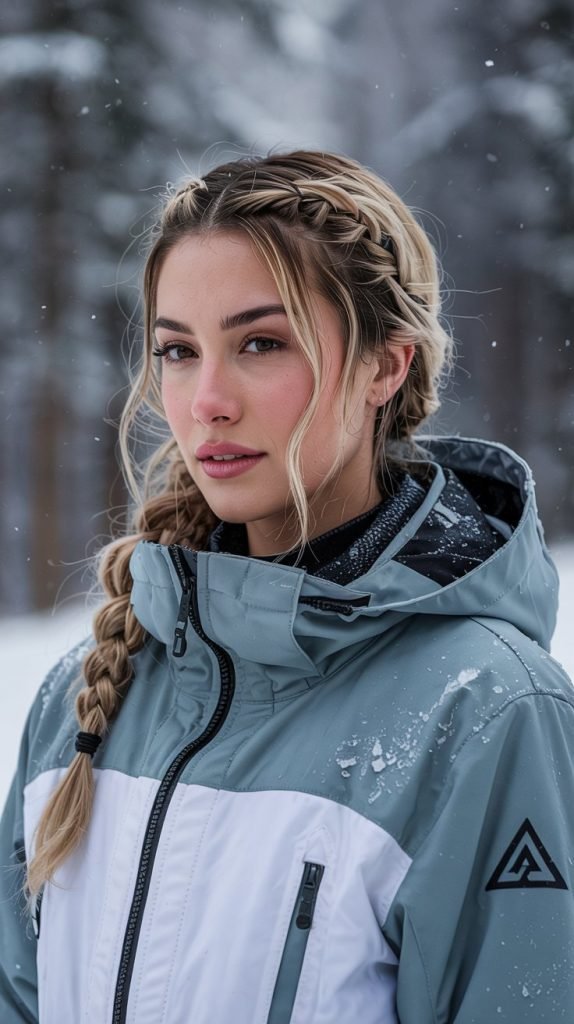
1. The Classic Dutch Braid
The Dutch braid stands as one of the most reliable and elegant solutions for snowboarders with long hair.
This inside-out braiding technique creates a raised, three-dimensional effect that sits securely against your scalp and holds up remarkably well under helmets and beanies.
- The Dutch braid works by crossing hair strands under each other rather than over, creating a braid that appears to sit on top of your head.
- This technique distributes tension evenly across your scalp, preventing the pulling sensation that can occur during long riding sessions.
- Start at your hairline and work backward, incorporating small sections of hair as you progress down to the nape of your neck.
- The tight weave prevents individual strands from escaping and tangling in the wind, even during high-speed runs.
- Secure the end with a strong elastic band and tuck it into your jacket or wrap it around itself for extra protection.
- For added security, spray with a light-hold hairspray before heading out to keep flyaways in check.
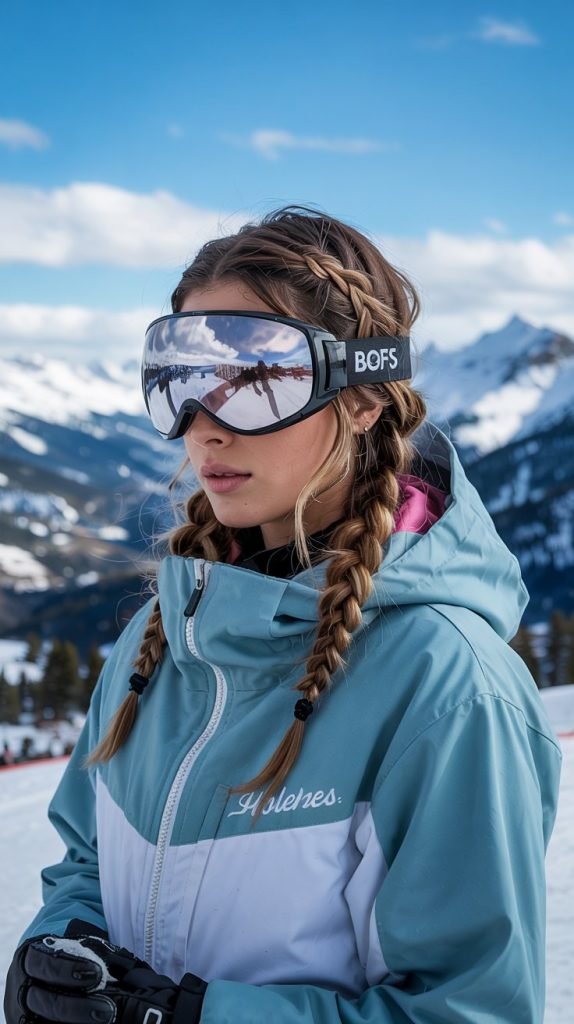
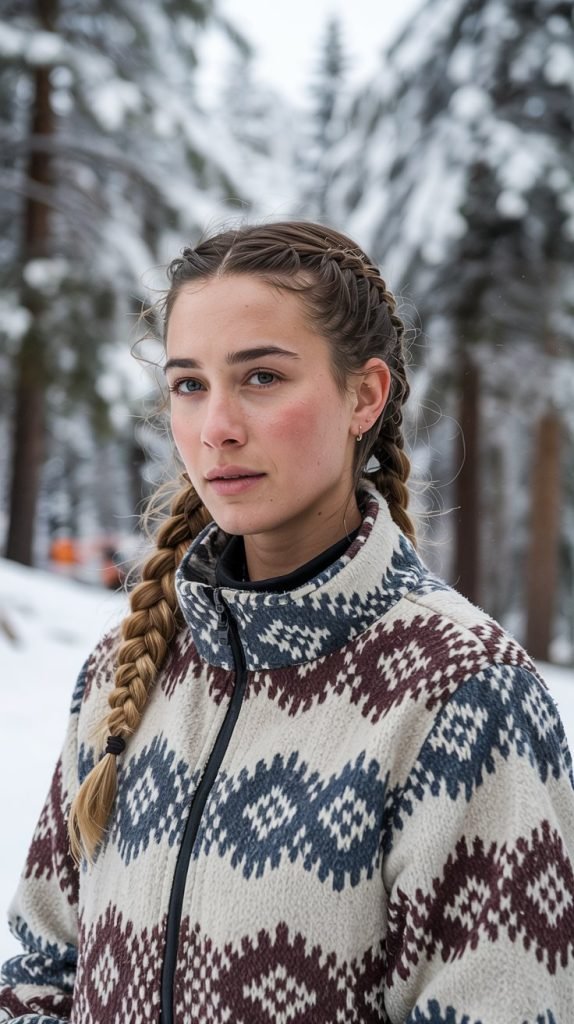
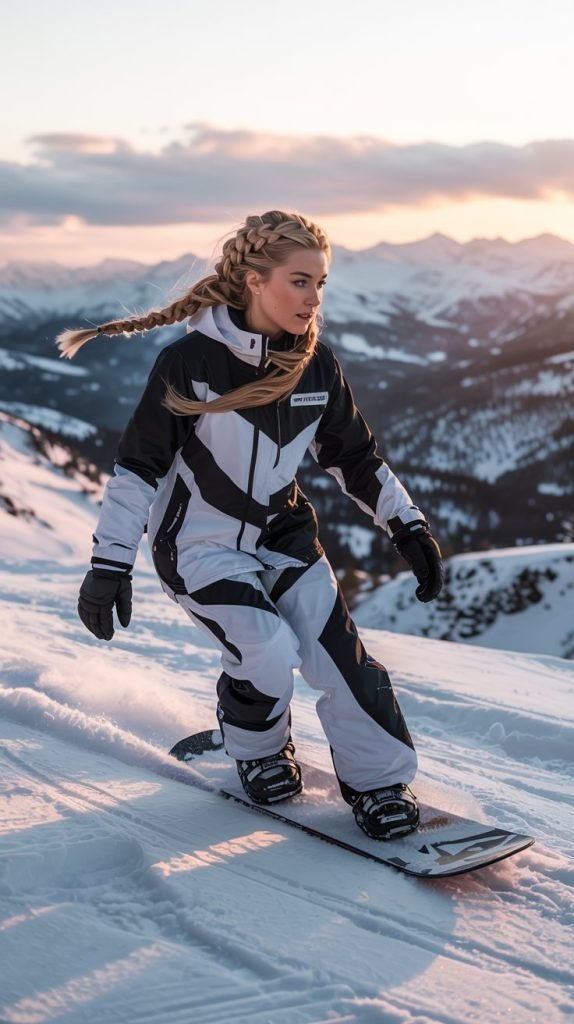
2. Double French Braids
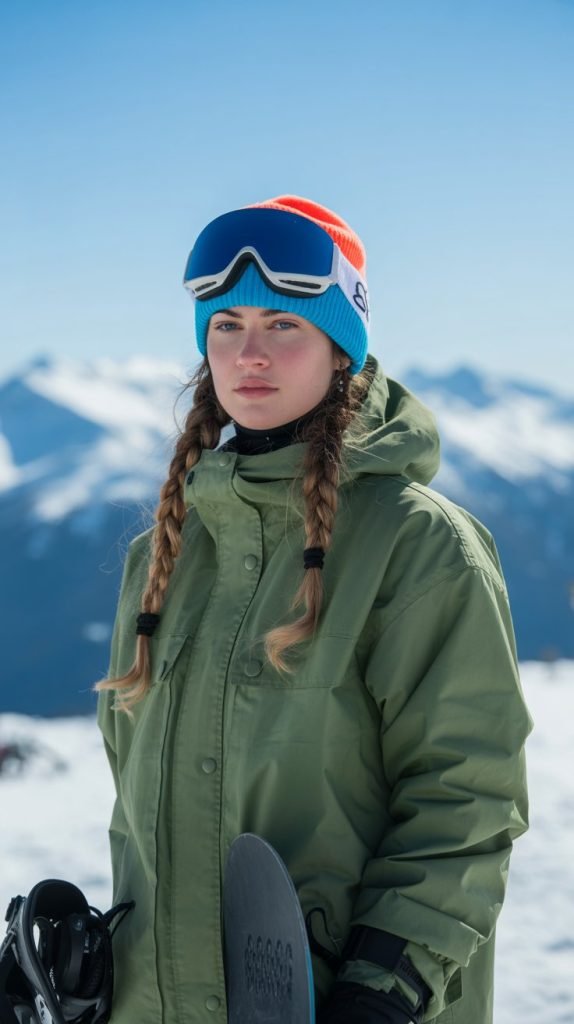
Double French braids offer maximum coverage and security by dividing your hair into two manageable sections that stay firmly in place throughout the day.
This symmetrical style works exceptionally well under helmets and provides balanced weight distribution.
- Part your hair straight down the middle from forehead to nape, creating two equal sections.
- Begin each French braid at the top of your head, gradually incorporating hair from the sides as you work downward.
- The dual-braid system prevents the bulk that a single braid can create under a helmet.
- This style keeps hair close to your head, minimizing the surface area exposed to wind and reducing friction.
- Cross the braids at the nape and pin them up, or let them hang down your back inside your jacket.
- Double French braids can last multiple days, making them perfect for extended snowboarding trips.
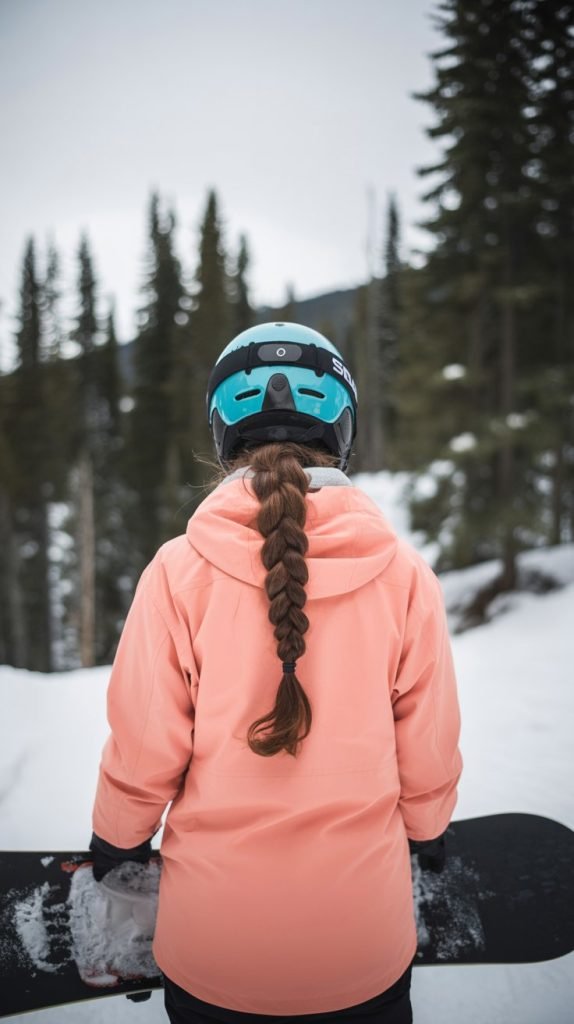
3. The Low Braided Bun
The low braided bun combines the security of braiding with the compactness of a bun, creating a sleek profile that fits comfortably under any helmet.
This sophisticated style prevents tangling while maintaining an elegant appearance.
- Start by creating a standard three-strand braid beginning at the crown of your head.
- Continue braiding all the way to the ends, then coil the braid into a tight bun at the nape of your neck.
- Secure with multiple bobby pins inserted in an X-pattern for maximum hold.
- The low placement ensures your helmet sits properly without pushing the bun uncomfortably.
- This style keeps all hair contained and protected from wind, preventing tangles completely.
- Add a hair net over the bun for extra security during particularly aggressive riding.
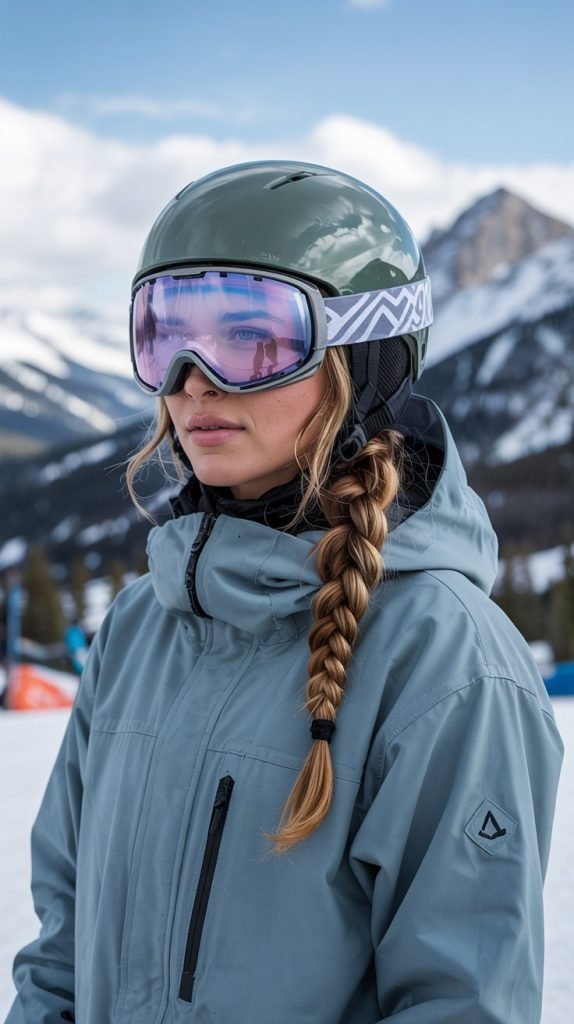
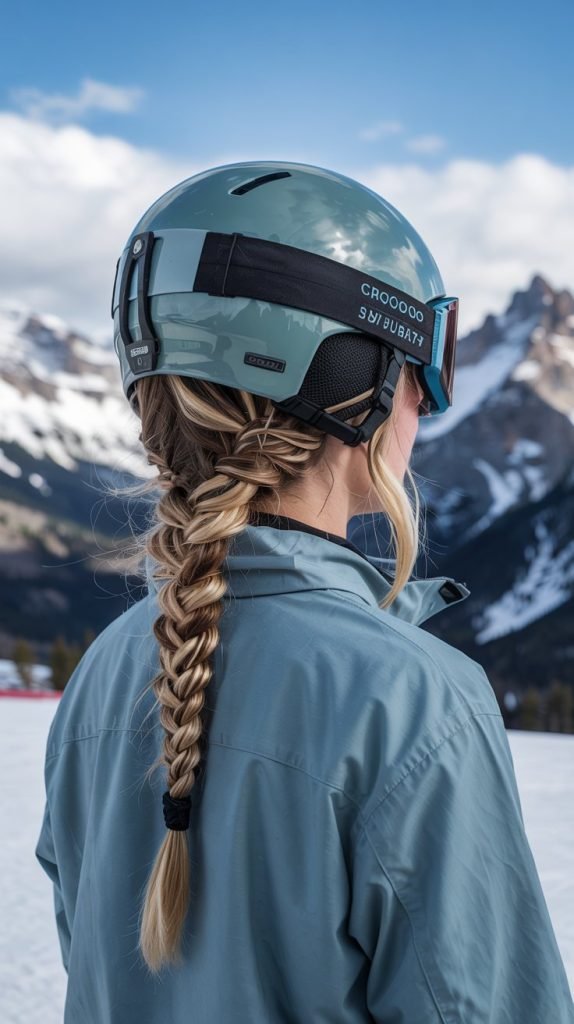
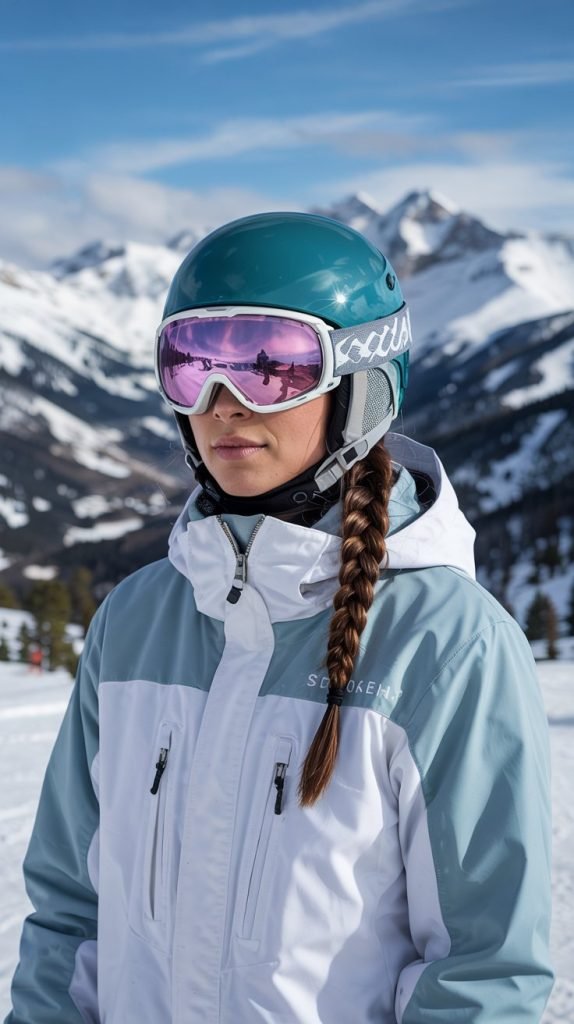
4. Fishtail Braid
The fishtail braid delivers an intricate, eye-catching appearance while providing excellent tangle prevention through its unique weaving pattern.
This four-strand technique creates a tighter weave than traditional braids.
- Divide your hair into two large sections instead of three.
- Take a small piece from the outer edge of the left section and cross it over to join the right section.
- Repeat on the opposite side, taking a small piece from the outer right and crossing to the left.
- Continue this alternating pattern all the way down, creating a distinctive herringbone texture.
- The numerous crossovers in a fishtail braid mean fewer loose strands that can escape and tangle.
- Though it takes slightly longer to create than a standard braid, the results last significantly longer.
- Secure tightly at the bottom and consider tucking it into your jacket for maximum protection.
5. The Rope Braid
The rope braid offers a quick and simple two-strand solution that provides excellent hold and a polished appearance.
This twist-based style creates natural tension that keeps hair secure throughout active movement.
- Gather your hair into a high or low ponytail and secure with a strong elastic.
- Divide the ponytail into two equal sections.
- Twist each section clockwise (or counterclockwise) several times until they begin to coil on themselves.
- Wrap the two twisted sections around each other in the opposite direction to create the rope effect.
- The opposing twists create tension that locks the braid in place.
- This style works particularly well for slippery or fine hair that tends to slip out of traditional braids.
- Secure the end with another elastic and spray lightly if needed.
6. Crown Braid Halo
The crown braid creates a beautiful halo effect around your head while keeping every strand secured close to your scalp.
This regal style works wonderfully under beanies and provides complete tangle protection.
- Part your hair down the middle and begin a Dutch or French braid on one side, working along your hairline.
- Continue the braid around the back of your head, following your natural hairline like a crown.
- Meet the braid at the opposite side where you started and tuck the ends under the braid.
- Secure with bobby pins placed discreetly under the braid.
- This style eliminates any hanging hair that could catch wind or tangle.
- The crown braid distributes weight evenly around your head, making it comfortable for all-day wear.
- It creates a flat profile that won’t interfere with helmet fit or comfort.
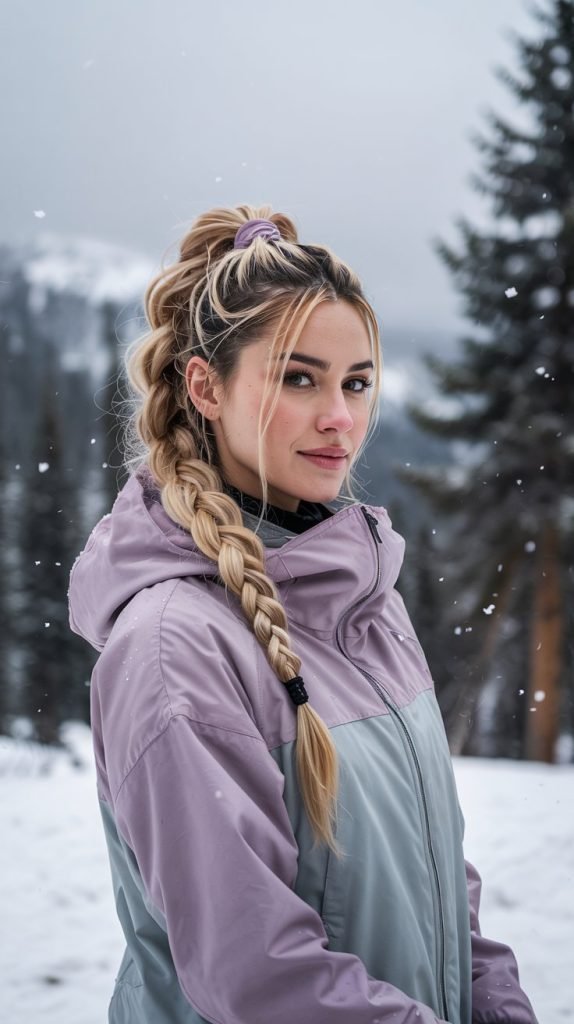
7. French Braid into Ponytail
Combining a French braid with a ponytail provides security at the crown while allowing some movement and style at the back.
This hybrid approach offers the best of both worlds for riders who don’t want everything completely pinned down.
- Begin with a French braid starting at your forehead.
- Continue braiding down to approximately ear level or slightly below.
- Gather the braid along with any remaining loose hair into a high, tight ponytail.
- The braided crown section prevents the most problematic tangles that occur at the roots and temples.
- The ponytail can be left as is or braided further for additional security.
- This style allows for easier temperature regulation than completely enclosed styles.
- Secure the ponytail with a thick, fabric-covered elastic to prevent breakage.
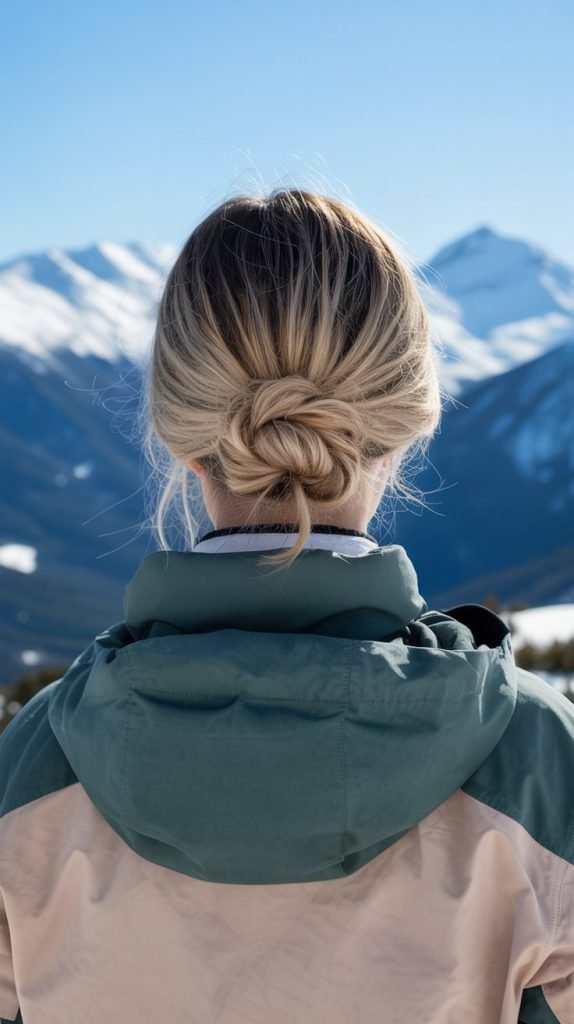
8. Twisted Low Bun
The twisted low bun provides an elegant, simple solution that requires minimal braiding skill while delivering maximum tangle protection.
This sophisticated style works for any hair texture and holds up remarkably well under helmets.
- Gather your hair into a low ponytail at the nape of your neck.
- Twist the ponytail tightly in one direction until it begins to coil on itself.
- Wrap the twisted hair around the base of the ponytail, creating a compact bun.
- Secure with bobby pins and finish with a small elastic wrapped around the bun for extra hold.
- The twisting motion aligns hair cuticles, reducing friction and preventing tangles.
- This low-profile style sits below the helmet line, eliminating pressure points.
- Add a small amount of hair gel or mousse before twisting for enhanced hold.
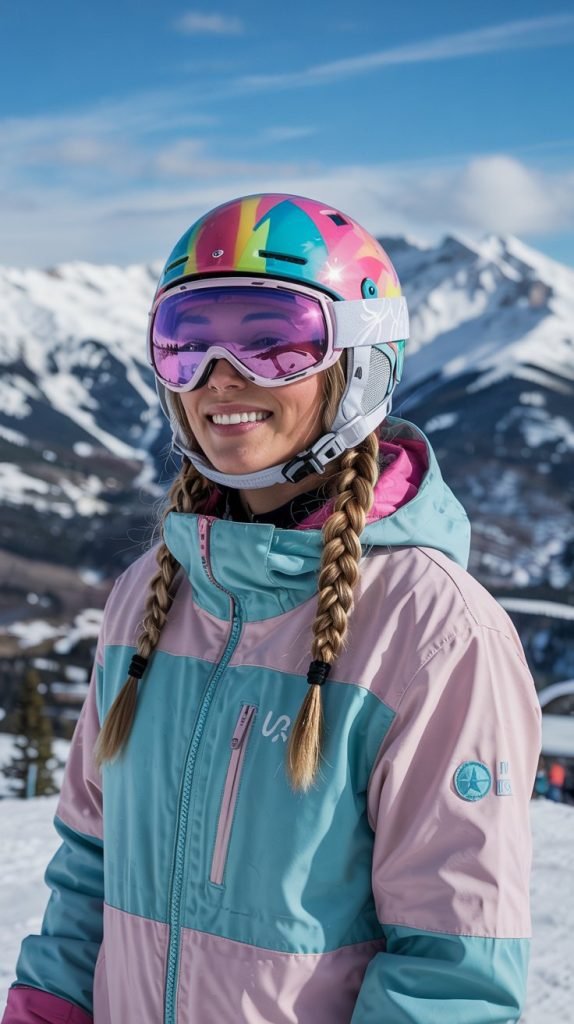
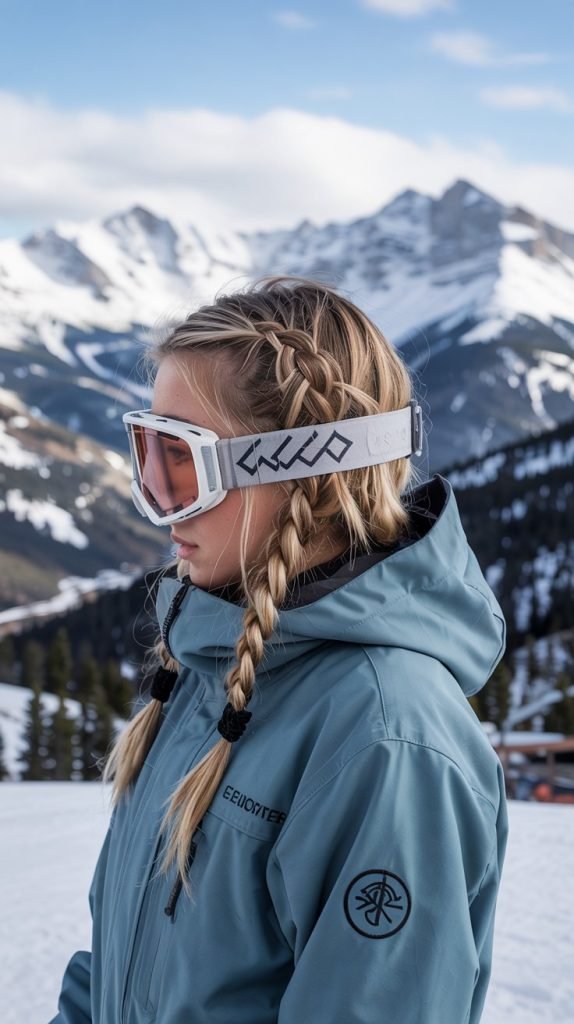
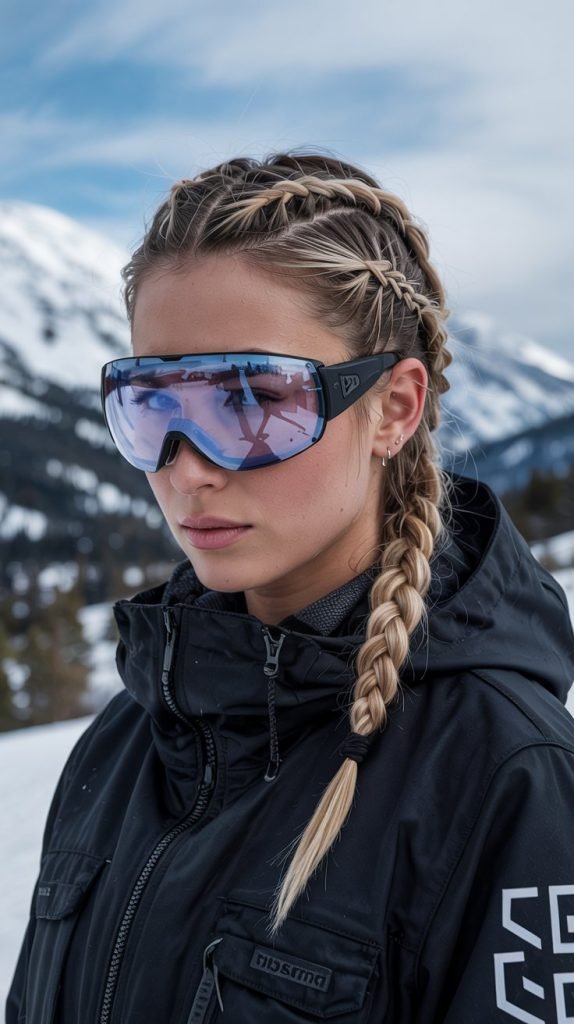
9. Boxer Braids (Dutch Double Braids)
Boxer braids have become increasingly popular among athletes for good reason—they provide unparalleled security and style.
These tight Dutch braids close to the scalp offer maximum protection against wind and tangles.
- Part hair down the center and clip one side away while working on the other.
- Create a Dutch braid starting at the front hairline, braiding tightly and close to the scalp.
- Continue each braid straight back, keeping them parallel and even.
- The raised texture of Dutch braids prevents them from flattening uncomfortably under helmets.
- Boxer braids eliminate virtually all loose hair, making them ideal for extended riding sessions.
- This style can last several days with proper nighttime care, perfect for multi-day trips.
- Seal the ends by wrapping small elastics and tucking them up into themselves.
10. The Milkmaid Braid
The milkmaid braid wraps braids around your head like a crown, creating a vintage-inspired look that keeps hair completely contained.
This style works beautifully for riders who want elegant functionality.
- Create two standard braids, one on each side of your head.
- Lift one braid over the top of your head and pin it in place along the opposite side.
- Repeat with the second braid, crossing it over and pinning it to cover any visible hair or gaps.
- This creates a complete halo that leaves no hair exposed to wind.
- The milkmaid style provides excellent helmet compatibility due to its flat profile.
- Secure each braid with multiple bobby pins spaced every few inches.
- This style offers a unique, feminine aesthetic while remaining completely functional.
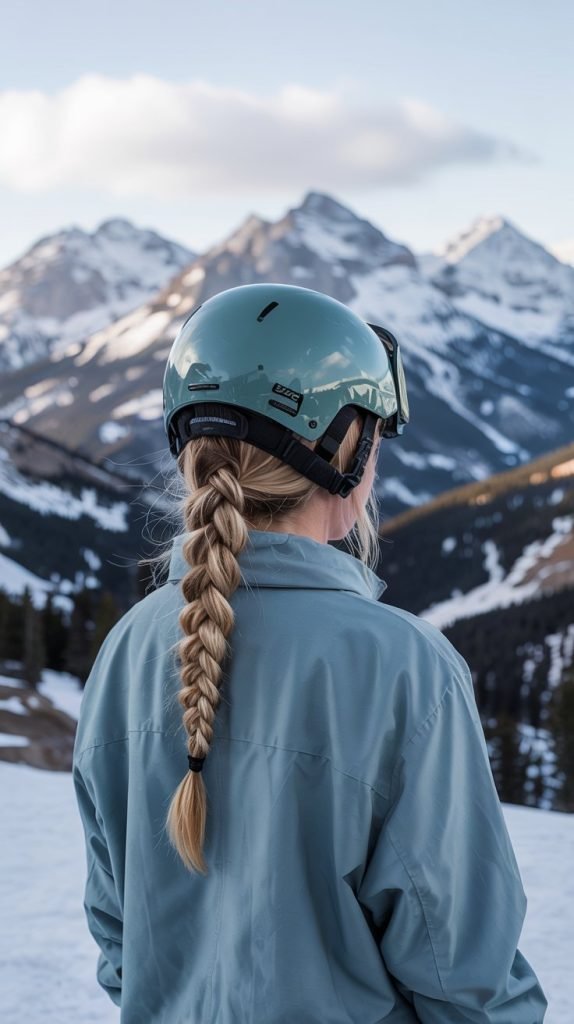
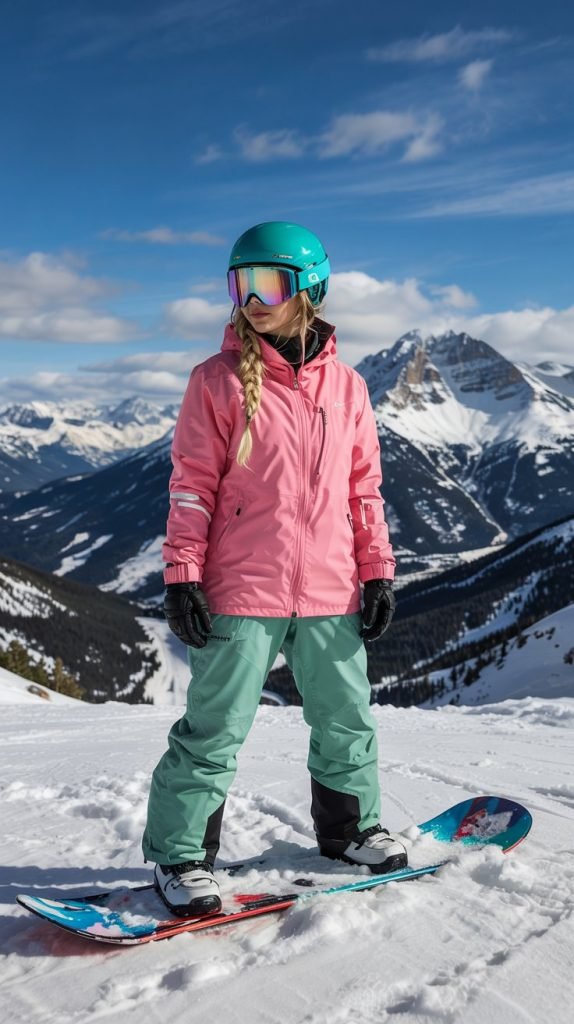
11. High Braided Ponytail
The high braided ponytail combines elevation with security, keeping hair up and away from your neck while preventing tangles through tight braiding.
This energetic style suits aggressive riders who want hair completely out of the way.
- Gather all hair into a high ponytail at the crown of your head.
- Secure tightly with a strong elastic band.
- Braid the entire length of the ponytail using your preferred braiding technique.
- The elevated position prevents hair from getting trapped between your back and jacket.
- This style allows for better air circulation around your neck, helping with temperature regulation.
- The single braid minimizes bulk while keeping every strand secured.
- Consider using a second elastic band midway down the braid for extra security during tricks or jumps.
12. Bubble Ponytail Braid
The bubble ponytail creates an eye-catching segmented look while preventing tangles through multiple securing points.
This modern style adds personality to your snowboarding look without sacrificing functionality.
- Start with a high or mid-height ponytail secured with a strong elastic.
- Place additional elastics down the length of the ponytail at regular intervals (every 2-3 inches).
- Gently pull and loosen the hair between each elastic to create “bubbles.”
- Each segment is secured independently, preventing tangles within each section.
- If one elastic loosens, the others maintain the style’s integrity.
- The multiple securing points distribute tension evenly, reducing stress on any single area.
- This style works particularly well for very long or thick hair that can be heavy in a single braid.
13. Side Dutch Braid
The side Dutch braid offers an asymmetrical, fashion-forward alternative to center braids while providing the same tangle-free benefits.
This style adds visual interest while remaining highly functional.
- Create a deep side part, bringing most of your hair to one side.
- Begin a Dutch braid at the part line on the heavier side.
- Work the braid along the side of your head, gradually bringing it toward the back.
- Continue braiding down the length and secure at the end.
- The side placement reduces bulk directly under the center of your helmet.
- This style allows for easier helmet removal without disrupting the braid.
- Sweep the finished braid over your shoulder or tuck it into your jacket.
14. Braided Space Buns
Braided space buns combine playful style with serious functionality, keeping hair secured in two compact buns that won’t interfere with your helmet.
This youthful style has become increasingly popular on the slopes.
- Part hair down the middle and create two high ponytails.
- Braid each ponytail completely down to the ends.
- Wrap each braid around itself to form a bun, securing with pins.
- The dual-bun design distributes weight and keeps hair very close to your head.
- Space buns sit high enough to avoid interference with jacket collars.
- This style prevents all tangling by keeping hair completely contained and elevated.
- The symmetrical design helps maintain balance and doesn’t pull to one side.
15. The Braided Headband
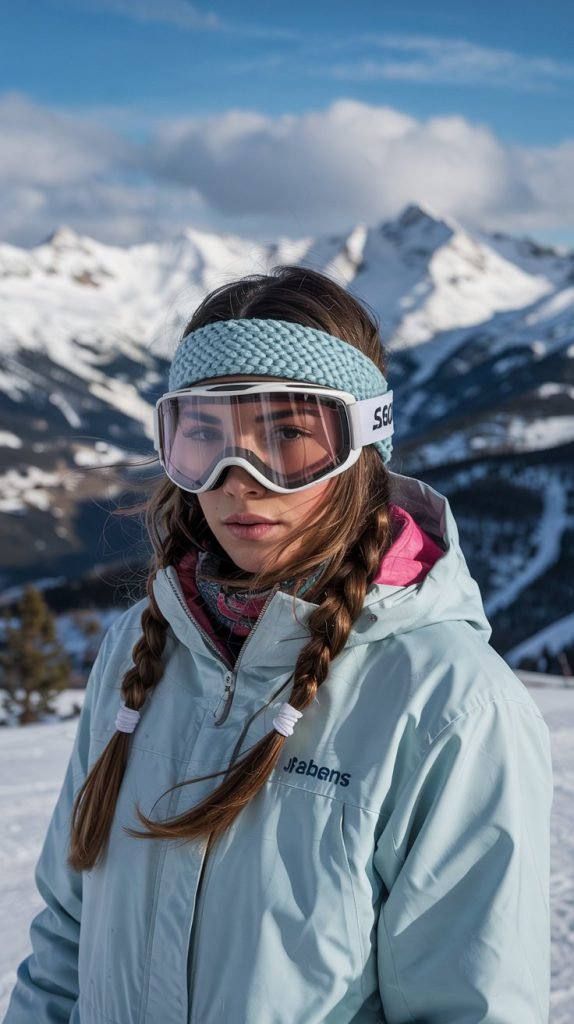
The braided headband keeps front sections secured while allowing flexibility for the rest of your hair.
This partial-braiding technique focuses on the areas most prone to tangling around your face.
- Take a small section of hair from behind one ear.
- Create a tight three-strand braid with this section.
- Bring the braid across your forehead like a headband and secure behind the opposite ear.
- The remaining hair can be worn down, in a ponytail, or braided separately.
- This technique keeps face-framing hair secured without committing to a full updo.
- It prevents the annoying flyaways that can get caught in goggles or irritate your face.
- Combine with other styles like low ponytails for additional versatility.
16. Low Triple Braid
The low triple braid divides hair into three sections for a unique, intricate appearance while maximizing tangle prevention.
This less common style offers both beauty and functionality.
- Divide your hair into three equal sections at the nape of your neck.
- Braid each section individually down to the ends.
- Either leave the three braids hanging separately or combine them into one larger braid.
- The triple-section approach works exceptionally well for very thick or dense hair.
- Dividing hair reduces the bulk that can make single large braids uncomfortable.
- Each braid can be secured independently, providing multiple layers of tangle protection.
- This style distributes weight across three points instead of one, reducing strain.
17. French Braid to Low Bun
Combining a French braid with a low bun creates ultimate security from crown to ends.
This comprehensive style ensures not a single strand escapes during even the most intense riding sessions.
- Begin a French braid at your crown, incorporating hair from the sides.
- Continue the braid down to the nape of your neck.
- Coil the remaining braided length into a tight, low bun.
- Secure the bun with bobby pins and an elastic for double protection.
- The French braid section controls flyaways at the crown where helmets create the most friction.
- The low bun placement ensures comfort and prevents pressure points.
- This style can be created quickly with practice, making it practical for early morning starts.
18. Pull-Through Braid
The pull-through braid creates a voluminous, intricate appearance without requiring traditional braiding skills.
This technique uses ponytails to create a faux-braid effect that holds remarkably well.
- Create a ponytail at the crown of your head and secure with an elastic.
- Make a second ponytail directly below the first with the remaining hair.
- Split the first ponytail in half and bring those sections around the second ponytail.
- Create a third ponytail with these split sections plus new hair from below.
- Continue this pattern down the length of your hair.
- Each section is independently secured, preventing any tangling.
- The multiple securing points make this style extremely durable for active sports.
- Gently pull apart each section to create volume and a fuller appearance.
19. Twisted Crown with Low Ponytail
The twisted crown with low ponytail secures the top sections while leaving the length in a manageable ponytail.
This elegant style provides targeted protection where tangles most commonly form.
- Take small sections from each side of your head near your temples.
- Twist these sections backward toward the center back of your head.
- Secure the twisted sections together, then gather all remaining hair into a low ponytail.
- The twists keep face-framing hair controlled without full braiding.
- This style works well for medium to long hair of any texture.
- The low ponytail can be further braided for additional security if desired.
- This approach provides a polished look that transitions well from slopes to après-ski.
20. Dutch Braid Mohawk
The Dutch braid mohawk creates a bold central braid with a striking appearance while keeping hair completely controlled.
This edgy style makes a statement on the mountain while remaining highly practical.
- Create a wide center section running from forehead to nape.
- Begin a Dutch braid in this center section, making it as thick as possible.
- Keep the sides smooth and tight, possibly with small amounts of gel.
- The central raised braid sits comfortably under helmets in the natural valley they create.
- This style eliminates the bulk on the sides that can be uncomfortable.
- The mohawk braid keeps the most problematic hair—at the crown—completely secured.
- Secure the end of the braid and tuck it under if desired for a cleaner line.
21. Waterfall Braid to Ponytail
The waterfall braid adds an elegant, cascading element while transitioning into a secure ponytail.
This romantic style offers beauty without compromising on tangle prevention.
- Begin a French braid on one side of your head.
- Instead of carrying all three strands through, drop the bottom strand with each crossing and pick up new hair.
- This creates a “waterfall” effect of strands cascading down.
- Continue the braid to the back of your head, then gather everything into a ponytail.
- While the waterfall section is decorative, the ponytail secures all loose strands.
- This style works best for the beginning or end of riding sessions when you want style and security.
- Consider braiding the ponytail portion for additional tangle prevention.
22. Stacked Braided Buns
Stacked braided buns create a unique vertical arrangement that distributes weight efficiently while looking distinctly stylish.
This innovative approach works well for very long hair.
- Divide your hair horizontally into top and bottom sections.
- Braid each section separately and coil into individual buns.
- Stack one bun above the other vertically along the back of your head.
- This arrangement prevents the single heavy bun that can create pressure points.
- The stacked design sits comfortably within the natural curve of your head.
- Each bun can be secured independently for maximum hold.
- This style works particularly well under helmets as it creates less bulk than a single large bun.
23. Infinity Braid
The infinity braid creates a figure-eight pattern that looks complex but provides exceptional hold.
This intricate style interlocks hair in a way that prevents loosening even during active movement.
- Divide hair into two sections.
- Take a small piece from the outer edge of one section and weave it through the other in a figure-eight pattern.
- Continue alternating sides, creating interlocking figure-eights down the length.
- The weaving pattern creates natural tension that holds without excessive tightness.
- This braid style is less common, making it a conversation starter in the lodge.
- The complexity of the weave means fewer opportunities for strands to escape.
- Secure at the end and consider tucking into your jacket for maximum protection.
24. Braided Faux Hawk
The braided faux hawk creates height and edge while keeping sides sleek and tangle-free.
This contemporary style works for riders who want to make a bold statement.
- Create a wide center section and divide it into 3-5 smaller sections.
- Braid each center section individually, keeping them raised.
- Slick the sides back tightly with gel or pomade.
- Gather everything at the back into a ponytail or bun.
- The multiple braids create texture and height in the center while sides remain flat.
- This style provides excellent helmet compatibility due to controlled side bulk.
- The raised center braids sit in the natural helmet valley, preventing flattening.
25. Knotted Ponytail
The knotted ponytail uses actual knots instead of braids to secure hair, creating an interesting texture while preventing tangles through its twisted structure.
- Gather hair into a ponytail at your desired height.
- Divide the ponytail into two sections.
- Tie these sections together in a series of overhand knots down the length.
- Secure the end with an elastic.
- The knots create natural tension that prevents loosening.
- This technique works exceptionally well for slippery hair that slides out of traditional braids.
- Each knot acts as a securing point, preventing tangles in individual sections.
- The textured appearance adds visual interest without requiring complex braiding skills.
26. Five-Strand Braid
The five-strand braid creates an intricate, wide braid that looks impressive while providing superior hold.
This advanced technique distributes hair across more crossings for better security.
- Divide hair into five equal sections.
- Follow the pattern of crossing outer strands toward the center in an alternating sequence.
- The increased number of strands creates a wider, flatter braid.
- More crossovers mean more security and fewer opportunities for tangles.
- This braid makes a statement while being incredibly functional.
- The wider profile distributes weight better than traditional three-strand braids.
- Though it requires practice, the holding power makes it worth learning.
27. Messy Braided Top Knot

The messy braided top knot combines casual style with practical functionality, keeping hair up and secured while maintaining a relaxed aesthetic.
- Gather hair into a very high ponytail at the crown.
- Loosely braid the ponytail, not worrying about perfect sections.
- Wrap the braid around itself to form a top knot.
- Secure with pins, intentionally leaving some texture and looseness.
- The “messy” appearance still provides tangle protection through the braiding.
- This style balances fashion and function for a more casual look.
- The high placement keeps all hair away from your neck and jacket collar.
28. Wrapped Ponytail Braid
The wrapped ponytail braid conceals the elastic with a section of hair while securing the length in a braid.
This polished style looks refined while remaining completely functional.
- Create a ponytail at your desired height.
- Take a small section of hair from the ponytail and wrap it around the elastic.
- Secure the wrapped section with a bobby pin hidden underneath.
- Braid the remaining length of the ponytail.
- The wrapped section adds a refined finishing touch.
- This detail elevates the style from basic to polished.
- The braid prevents tangling while the wrap adds sophistication.
29. Double Twist into Low Bun

The double twist into low bun creates texture through twisting before forming a secure bun.
This simple technique provides excellent hold without requiring braiding skills.
- Divide hair into two sections down the center.
- Twist each section tightly in the same direction.
- Bring both twists together and wrap them around each other.
- Coil the combined twist into a low bun and secure with pins.
- The double twisting creates natural tension that resists loosening.
- This style works well for hair that’s too slippery for traditional braids.
- The low placement ensures complete helmet compatibility.
30. Ladder Braid
The ladder braid creates a distinctive woven appearance with side strands forming “rungs” across a central braid.
This show-stopping style provides security while looking incredibly intricate.
- Create a center braid down the back of your head.
- Leave two thin strands hanging free on each side.
- Weave these side strands across the center braid at regular intervals like ladder rungs.
- Continue the pattern down the entire length.
- The woven “rungs” lock the central braid in place with additional security.
- This advanced technique creates an impressive visual effect.
- Despite its complexity, it provides excellent tangle prevention through multiple securing points.
- The intricate weaving means hair is held firmly throughout active movement.
Conclusion
Mastering these 30 Stylish Snowboarding Hairstyles for Long Hair That Won’t Tangle in the Wind transforms your mountain experience from frustrating hair management to confident, carefree riding.
From classic braids that have stood the test of time to innovative twisted styles and contemporary updos, each option provides the perfect combination of functionality and fashion for your next powder day.
Whether you prefer the simplicity of a rope braid for quick morning prep, the security of boxer braids for aggressive all-mountain riding, or the elegance of a crown braid for those perfect slope-side photos, you now have a complete arsenal of tangle-free solutions.
Remember that the best hairstyle is one that makes you feel confident and comfortable, allowing you to focus on what really matters—enjoying every exhilarating moment on the mountain while looking absolutely fantastic from first chair to last call.