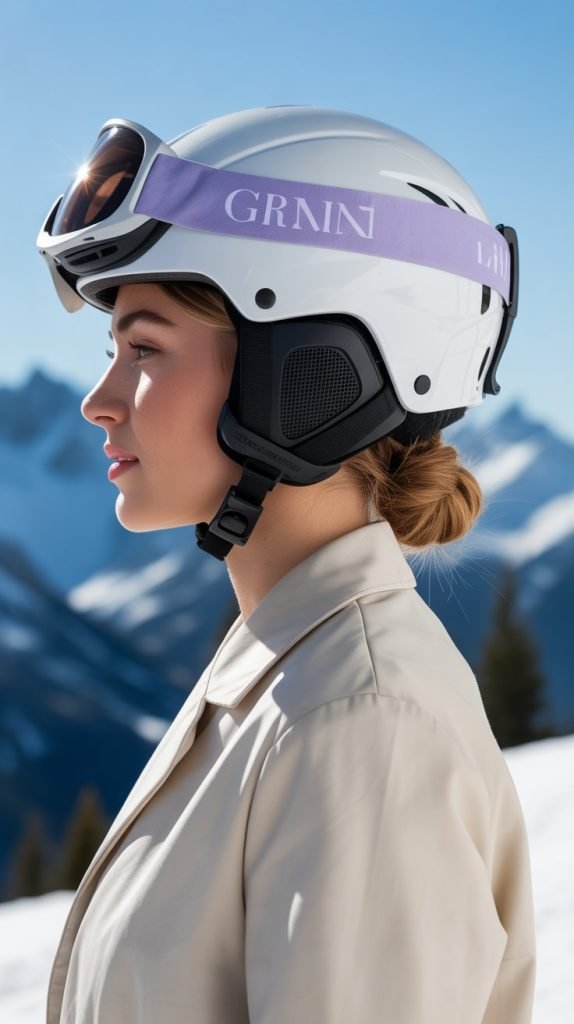
Picture yourself gliding down pristine slopes with confidence, knowing your hair looks amazing beneath your helmet and will stay perfectly intact from first lift to après-ski.
Finding the right hairstyle that works with a ski helmet while keeping your long locks secure, comfortable, and tangle-free can transform your entire mountain experience.
This comprehensive guide to 30 Beautiful Skiing Hairstyles for Long Hair with a Helmet That Stay Secure All Day reveals expert-approved techniques that professional skiers and winter sports enthusiasts rely on to maintain both style and functionality on the slopes.
Whether you’re dealing with thick, fine, curly, or straight hair, you’ll discover practical braiding methods, strategic bun placements, innovative twisting techniques, and protective styling solutions that prevent the dreaded helmet hair while keeping every strand securely in place through hours of action-packed skiing.
Each hairstyle has been carefully selected to eliminate pressure points, reduce moisture buildup, prevent tangles, and ensure your helmet fits safely and comfortably without compromising your gorgeous long hair.
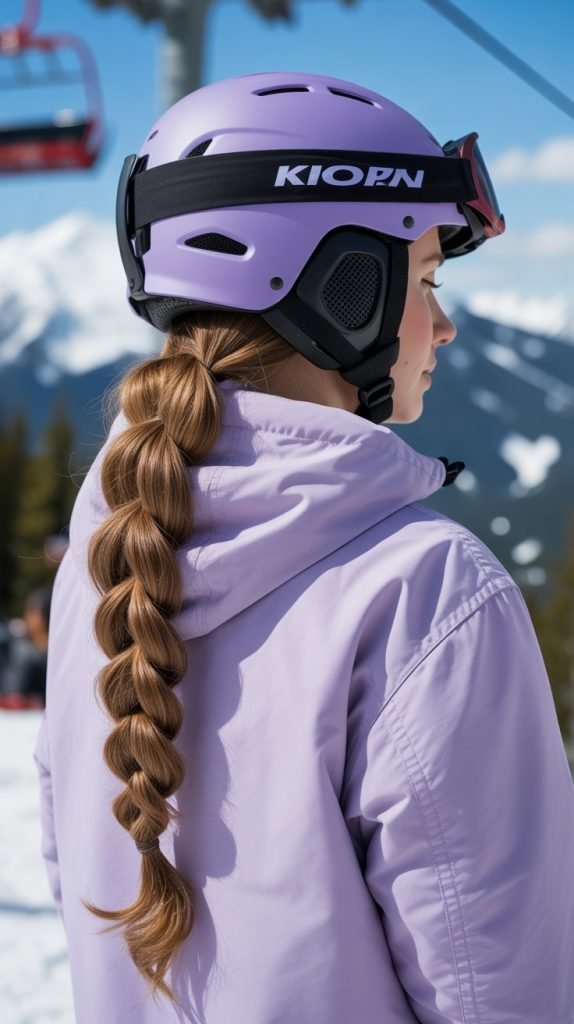
1. Classic Low Dutch Braid
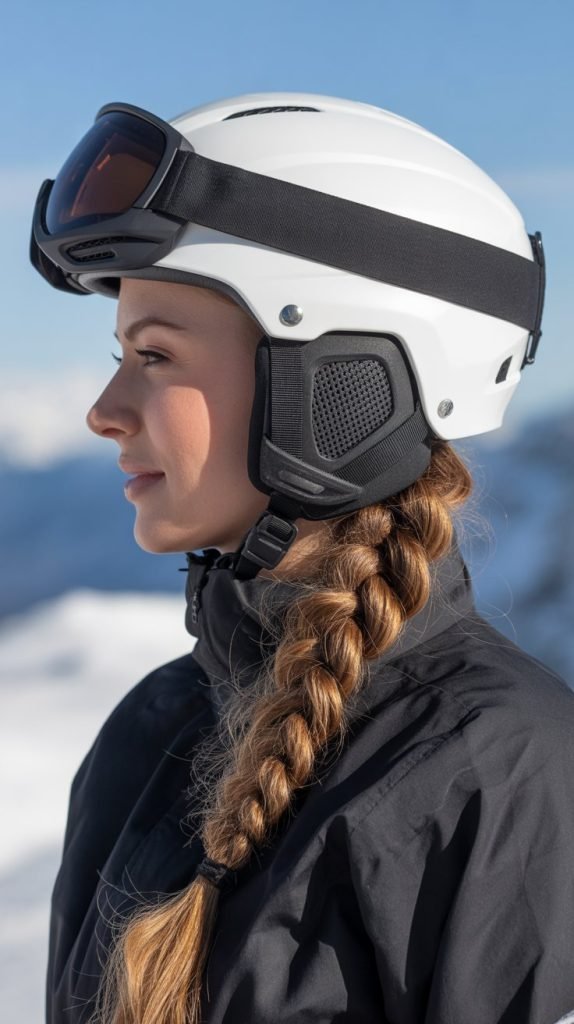
The low Dutch braid sits perfectly at the nape of your neck, creating a secure foundation that works seamlessly with any ski helmet design.
This inverted braiding technique keeps hair flat against your head while distributing volume evenly to prevent uncomfortable bumps or pressure points during long ski sessions.
How to Create:
- Start by brushing all hair back and dividing a section at the crown into three equal strands
- Cross the outer strands under the middle strand instead of over, adding small sections of hair as you braid downward
- Continue the Dutch braid technique down to the nape of your neck, keeping the braid tight and close to your scalp
- Secure the end with a small, flat elastic band that won’t create bulk under your helmet
- Tuck the tail of the braid into your jacket collar or wrap it into a small bun for extra security
Why It Works for Skiing:
- The low placement ensures zero interference with helmet positioning and strap adjustment
- Dutch braiding creates a raised texture that stays secure even during aggressive mogul runs
- Eliminates loose hair that could fall into your face or goggles during high-speed descents
- Reduces hair breakage and tangling that typically occurs with loose hair under helmets
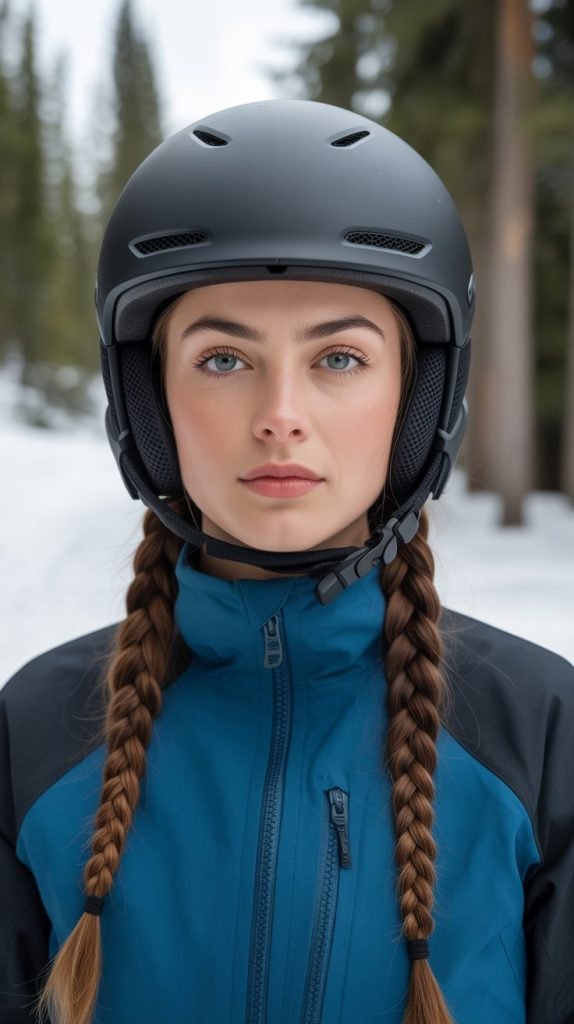
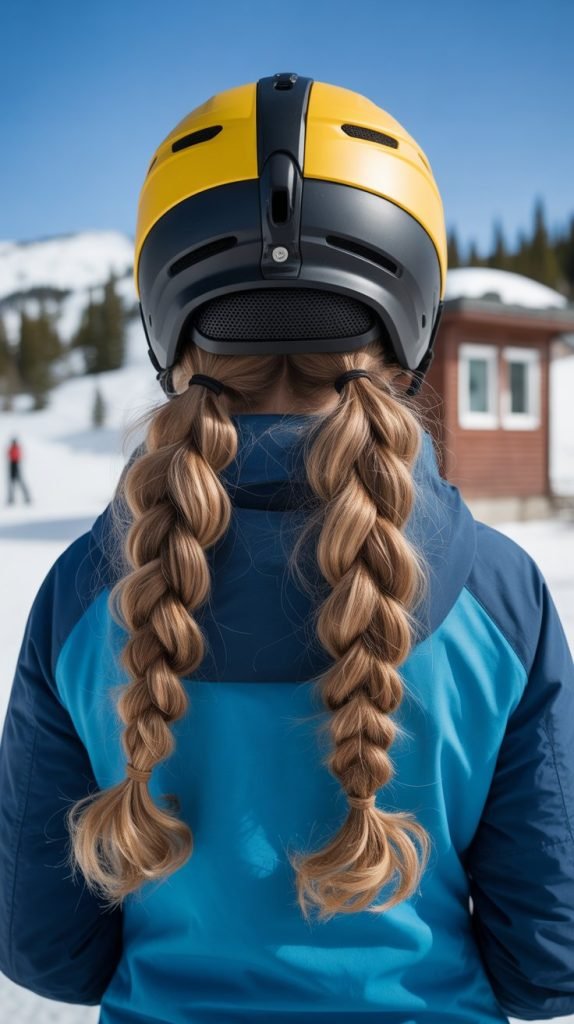
2. Double French Braids
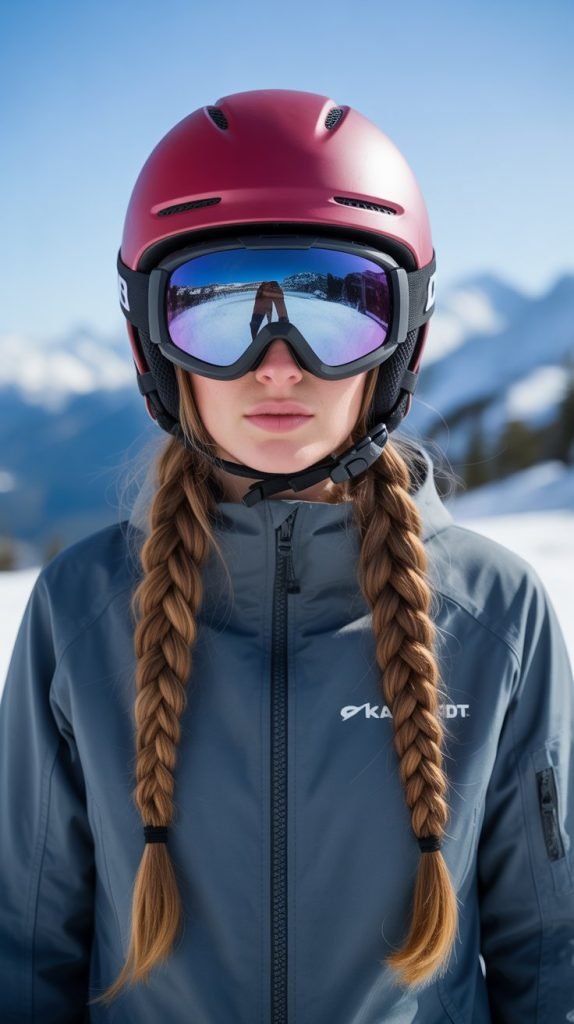
Double French braids divide your hair into two manageable sections that distribute weight evenly across your scalp, preventing the single-braid headache many skiers experience.
This symmetrical style keeps your helmet balanced and comfortable while maintaining complete security throughout the most demanding ski conditions.
Styling Steps:
- Part your hair down the middle from forehead to nape, creating two equal sections
- Begin French braiding on one side by taking a section at the hairline and dividing it into three strands
- Incorporate new hair into each stitch as you braid backward toward the neckline
- Keep consistent tension throughout to prevent loose sections that could shift under your helmet
- Repeat the exact process on the opposite side, ensuring both braids sit at the same height
- Secure both ends and cross them at the nape, tucking them into your jacket or pinning them flat
Performance Benefits:
- Symmetrical weight distribution prevents neck strain during full-day skiing adventures
- Creates a smooth surface under the helmet without any central bulk or pressure points
- Allows for better temperature regulation as air can circulate between the two braids
- Easy to adjust or tighten during breaks without removing your entire helmet
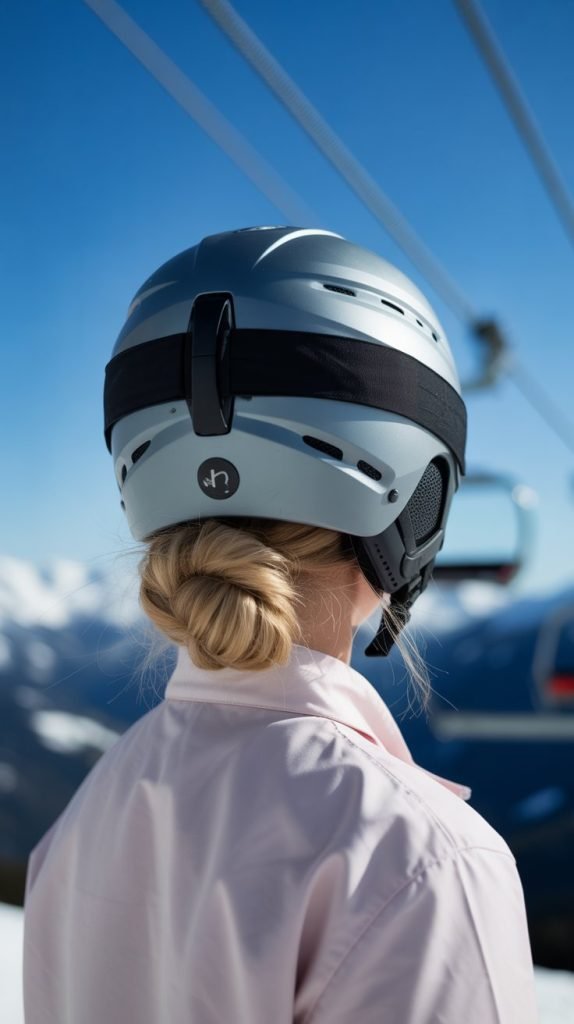
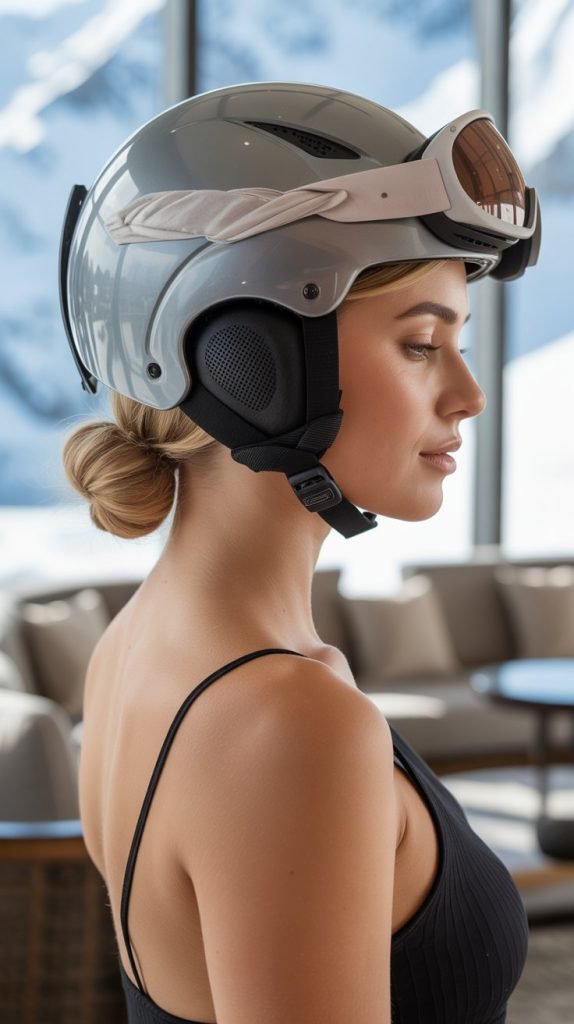
3. Low Twisted Bun
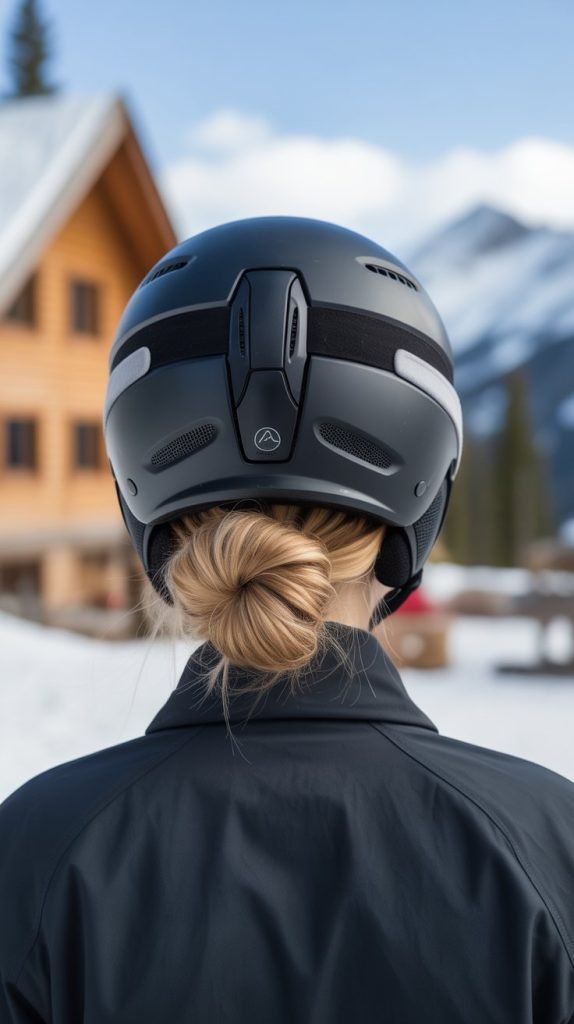
The low twisted bun combines elegance with practicality, sitting below the helmet’s base to avoid any interference with fit or safety.
This sophisticated style works particularly well for skiers with extremely long or thick hair who need maximum compression without sacrificing security.
Creation Process:
- Gather all hair into a low ponytail at the nape of your neck using a snag-free elastic band
- Divide the ponytail into two equal sections and twist each section tightly in the same direction
- Wrap the twisted sections around each other in opposite directions to create a rope-like texture
- Coil the twisted rope around the base of the ponytail to form a compact, flat bun
- Secure with bobby pins inserted horizontally to prevent them from poking your scalp under helmet pressure
- Spray with a flexible-hold hairspray to tame flyaways without creating stiff, uncomfortable texture
Skiing Advantages:
- Extremely low profile design eliminates all helmet interference and pressure points
- Compact shape prevents the bun from shifting or loosening during chairlift rides
- Works perfectly for all helmet types including those with adjustment dials at the back
- Quick to create in the morning and maintains its shape for multiple consecutive ski days
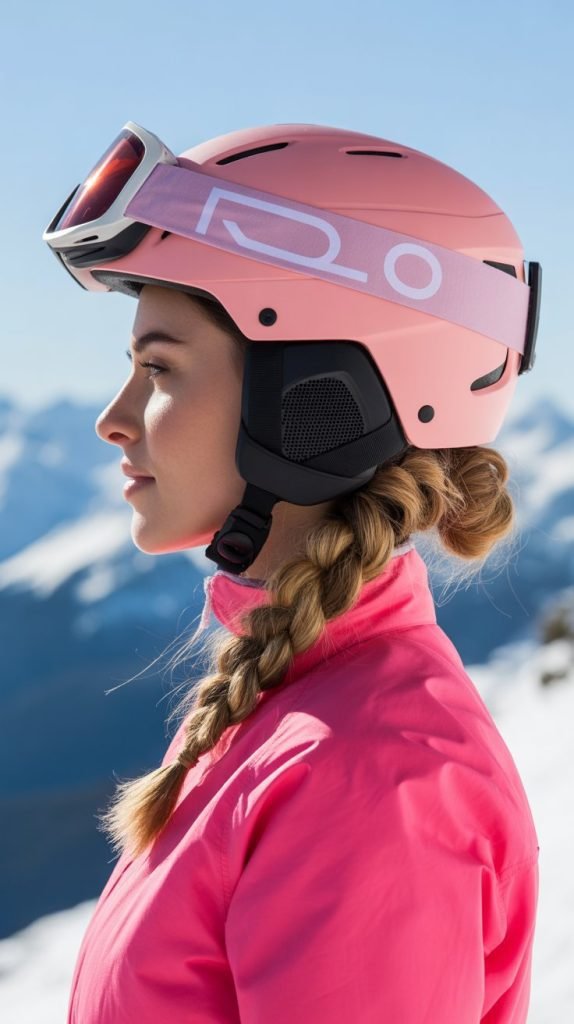
4. Braided Crown with Low Ponytail
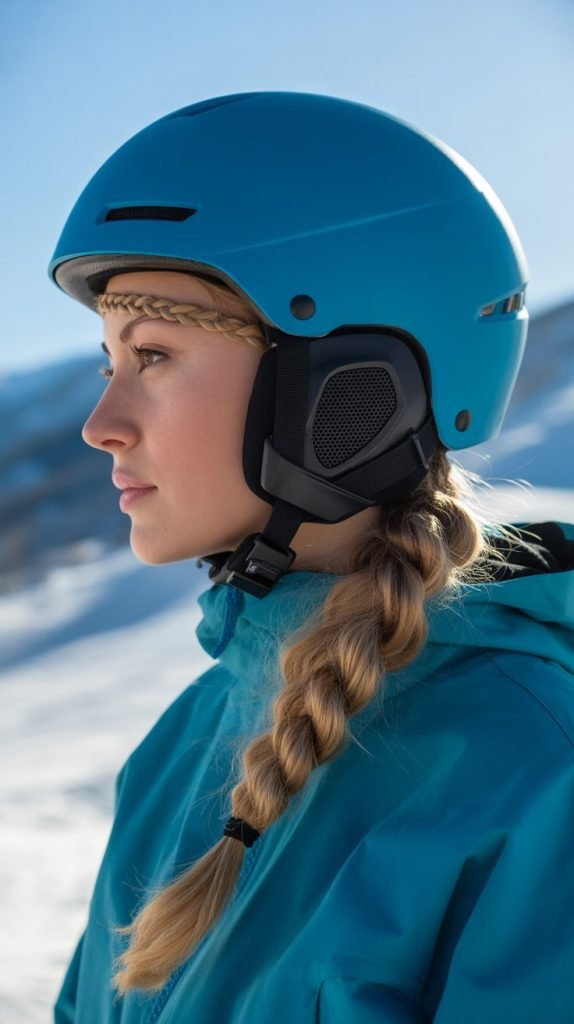
This hybrid style features a braided crown that keeps front sections secure while a low ponytail manages length without creating helmet bulk.
The combination provides both aesthetic appeal and functional performance for active skiing.
Step-by-Step Guide:
- Create a deep side part and begin a French or Dutch braid along your hairline on the heavier side
- Continue braiding around your head like a crown, incorporating hair as you move toward the opposite ear
- Once you reach behind the ear, gather all remaining hair including the braid into a low ponytail
- Position the ponytail at the nape where it won’t interfere with helmet placement
- Secure with a flat elastic and wrap a small section of hair around the band for a polished finish
- Apply a light styling cream to smooth any shorter layers around the hairline
Functional Features:
- Keeps face-framing pieces completely secured away from goggles and face
- The crown braid acts as a headband, preventing helmet shifting during turns
- Low ponytail placement allows for comfortable helmet fit without pressure
- Particularly effective for skiers with layered cuts or bangs that typically escape other styles
5. Triple Strand Twist
The triple strand twist offers a more intricate alternative to traditional braiding while maintaining the same security and helmet compatibility.
This technique creates a beautiful rope-like pattern that stays tight and controlled throughout your skiing day.
Twisting Technique:
- Divide all hair into three equal vertical sections from crown to ends
- Twist each section individually in a clockwise direction until tight and rope-like
- Begin wrapping all three twisted sections around each other in a counterclockwise direction
- Keep consistent tension throughout to prevent sections from loosening or unraveling
- Secure the end with a strong elastic band and wrap the tail around itself if extra length remains
- Pin the finished twist flat against your neck if needed for ultra-compact styling
Why Skiers Love It:
- Creates a unique textured look that stands out in ski lodge photos after helmet removal
- Requires no complex braiding skills, making it perfect for early morning starts
- Extremely secure hold that withstands wind, snow, and active movement without slipping
- Easy to feel if it’s loosening and can be tightened quickly without mirror access
6. Sleek High Ponytail
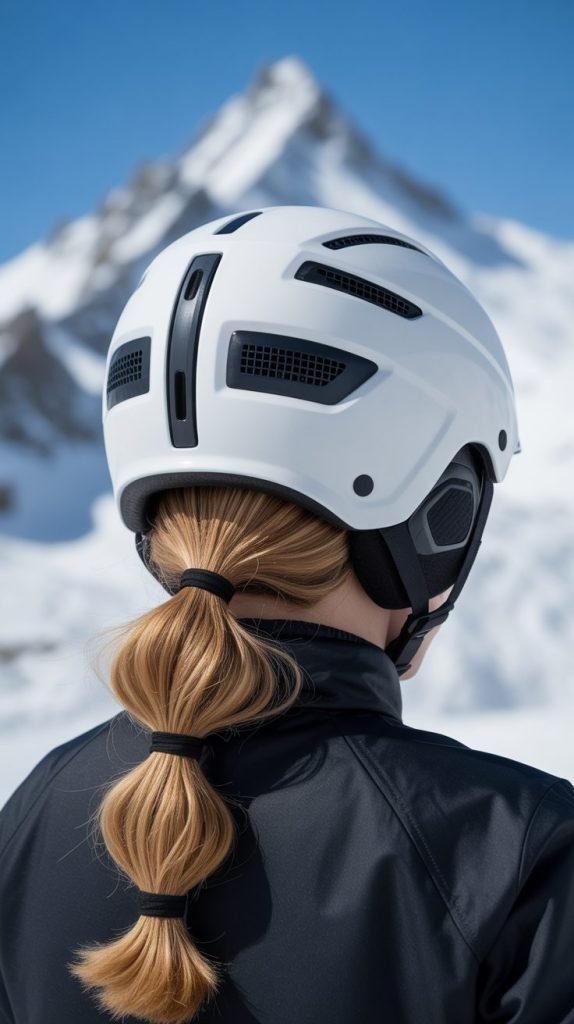
The sleek high ponytail might seem counterintuitive for helmet wear, but when positioned correctly at the crown, it can work beautifully with helmets featuring high ponytail compatibility.
This style works best with helmets specifically designed with ponytail ports or openings.
Positioning Guidelines:
- Identify if your helmet has a ponytail-compatible design with an opening or adjustable back
- Brush hair into a high ponytail at the crown, right where your head begins to curve downward
- Use a flat elastic band that won’t create bulk or pressure points under the helmet shell
- Thread the ponytail through the helmet’s designated opening if available
- Ensure the ponytail sits comfortably without pulling at the roots or creating tension headaches
- Smooth any bumps with a boar bristle brush and light gel for a polished, aerodynamic finish
Compatibility Considerations:
- Only works with helmets specifically designed for high ponytails or with adjustable rear systems
- Provides excellent ventilation as hair isn’t pressed flat against your neck and back
- Keeps all hair off your neck, reducing moisture and heat buildup during intense skiing
- May not be suitable for extremely thick or heavy hair that could affect helmet balance
7. Boxer Braids
Boxer braids, also known as tight cornrow-style Dutch braids, lie completely flat against your scalp for the ultimate helmet-friendly hairstyle.
These athletic braids originated in combat sports where secure hair and headgear compatibility are essential.
Professional Technique:
- Part hair down the center with precise straightness using a tail comb for clean sections
- Begin Dutch braiding very close to the scalp, taking extremely small sections for tightness
- Keep your braiding angle straight back rather than angled downward for optimal helmet fit
- Maintain consistent tension throughout each braid to ensure they lie uniformly flat
- Braid all the way to the ends and secure with small, flat elastics that won’t create bumps
- Apply edge control gel along the hairline and part for sleek, finished appearance
Athletic Performance:
- Provides the absolute flattest profile possible for helmet wear without any raised sections
- Eliminates all hair movement, preventing distraction during technical skiing or racing
- Can last multiple days, making them ideal for multi-day ski trips or competitions
- Creates minimal friction between hair and helmet, reducing breakage and damage
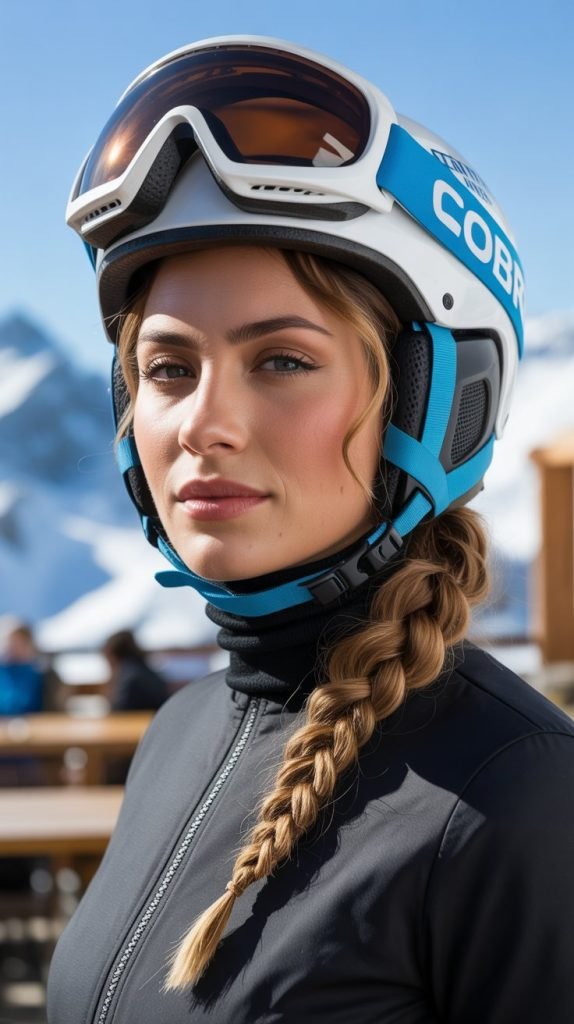
8. Low Side Braid
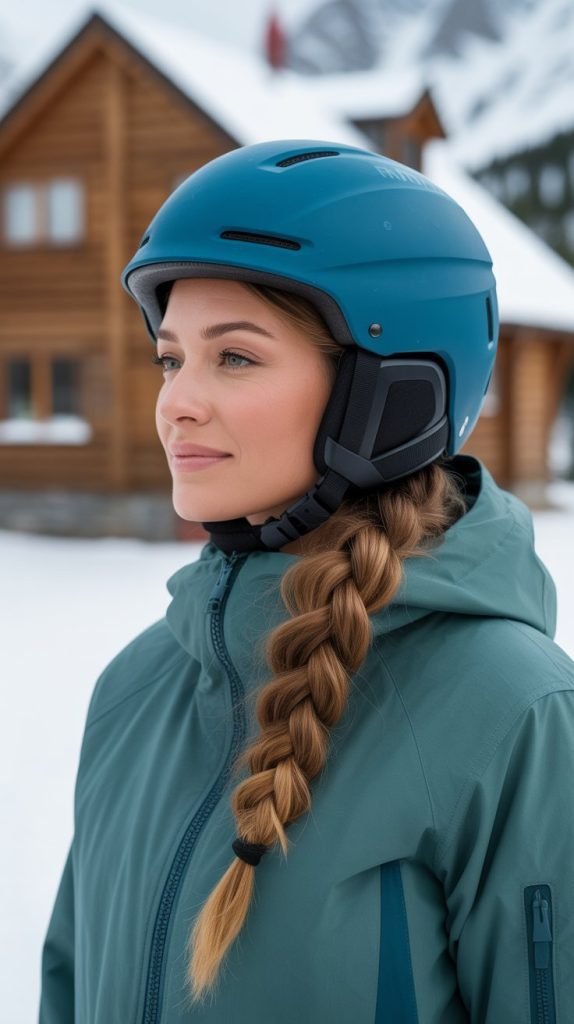
The low side braid offers an asymmetrical styling option that keeps hair secure while creating visual interest that shows even after helmet removal.
This casual yet functional style works for skiers who want something different from center braids.
Braiding Instructions:
- Sweep all hair over one shoulder, choosing your preferred side for the braid placement
- Begin a French or Dutch braid starting behind the ear on the chosen side
- Angle the braid forward slightly so it naturally falls over your shoulder rather than down your back
- Keep the braid moderately tight to prevent loosening but not so tight it causes discomfort
- Secure the end and ensure the braid length tucks easily into your jacket while skiing
- Use a small amount of texturizing spray to add grip and prevent slippery strands from escaping
Practical Applications:
- Side placement distributes weight off-center, which some skiers find more comfortable for full-day wear
- Easier to check braid security and tighten if needed without removing helmet completely
- Creates less bulk directly under the helmet’s center back, improving fit for some head shapes
- Shows nicely in photos taken from the side or three-quarter angles on the slopes
9. Figure-Eight Bun
The figure-eight bun creates a uniquely secure shape that resists loosening better than traditional circular buns while maintaining a low profile for perfect helmet compatibility.
This mathematical approach to bun styling provides superior hold for active skiing.
Formation Method:
- Create a low ponytail and divide it into two equal sections
- Twist one section and wrap it in a circular loop on one side of the ponytail base
- Secure that loop with crossed bobby pins to anchor it firmly
- Twist the second section and wrap it in a circular loop on the opposite side, creating the figure-eight shape
- Pin the second loop securely, ensuring both sides are balanced and equally tight
- Tuck any remaining ends into the center where the two loops meet
Engineering Benefits:
- The dual-loop structure distributes tension in multiple directions, preventing loosening
- Creates a wider, flatter bun shape rather than a protruding circular shape
- Stays secure during falls, jumps, or any high-impact skiing activities
- Provides interesting visual texture that looks intentional rather than messy after helmet removal
10. Rope Braid into Low Bun
This combined technique starts with a rope braid that transitions into a compact low bun, offering the security of braiding with the convenience of bun styling.
The progression from braid to bun ensures hair stays managed from root to tip.
Complete Process:
- Gather hair into a low ponytail and secure with a strong elastic band
- Divide the ponytail into two equal sections and twist each tightly in the same direction
- Wrap the two twisted sections around each other in the opposite direction to create a rope braid
- Continue the rope braid to about two-thirds down the length of your hair
- Coil the remaining rope braid around the ponytail base to form a bun
- Secure the bun with bobby pins and tuck the very ends under for a clean finish
Dual-Action Security:
- The rope braid prevents mid-length and end sections from tangling or matting under the helmet
- The bun keeps length compressed and out of the way during skiing activities
- Combination styling reduces the number of elastics needed, minimizing pressure points
- Creates an elegant look that transitions well from slopes to lodge without restyling
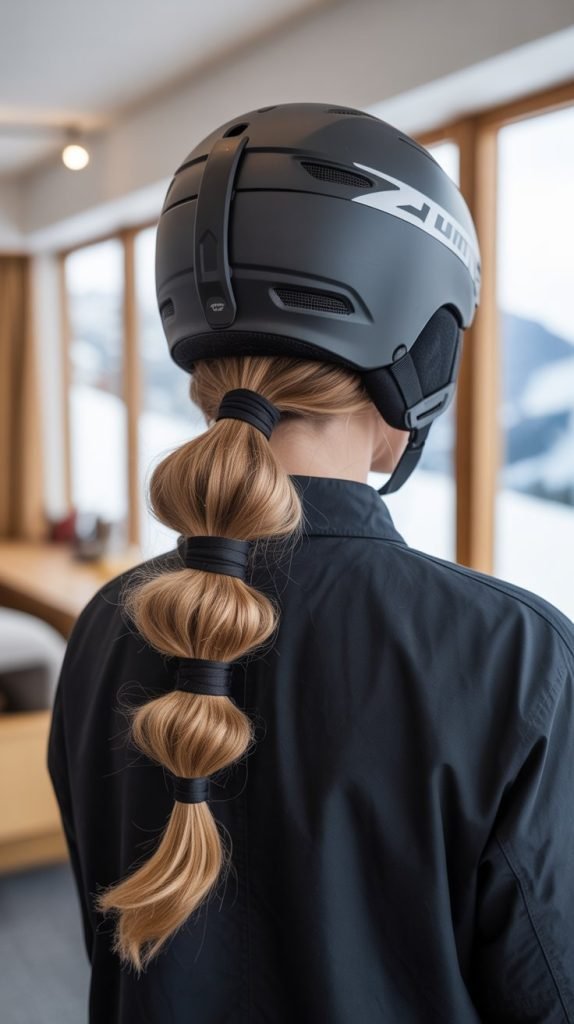
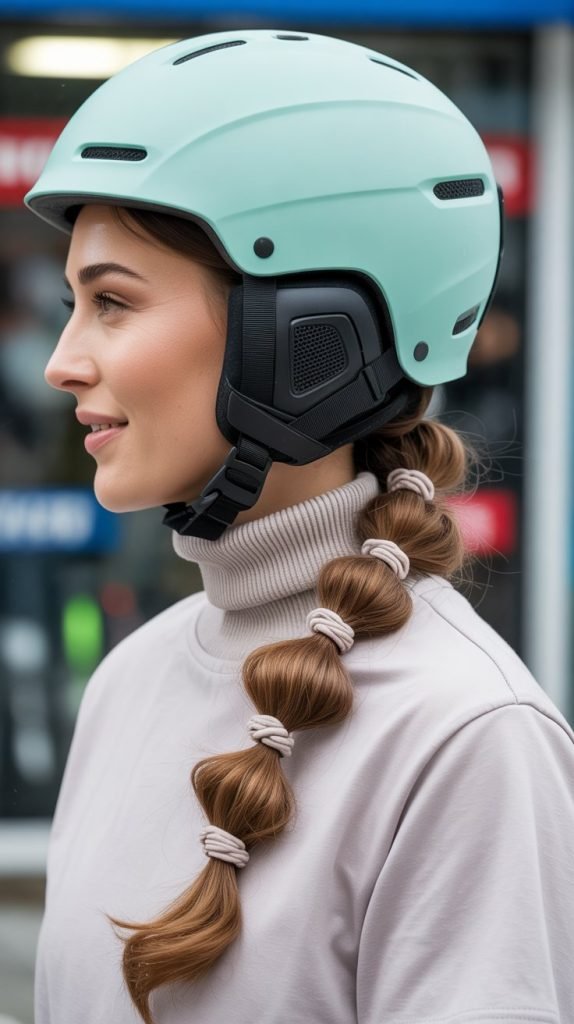
11. Bubble Ponytail
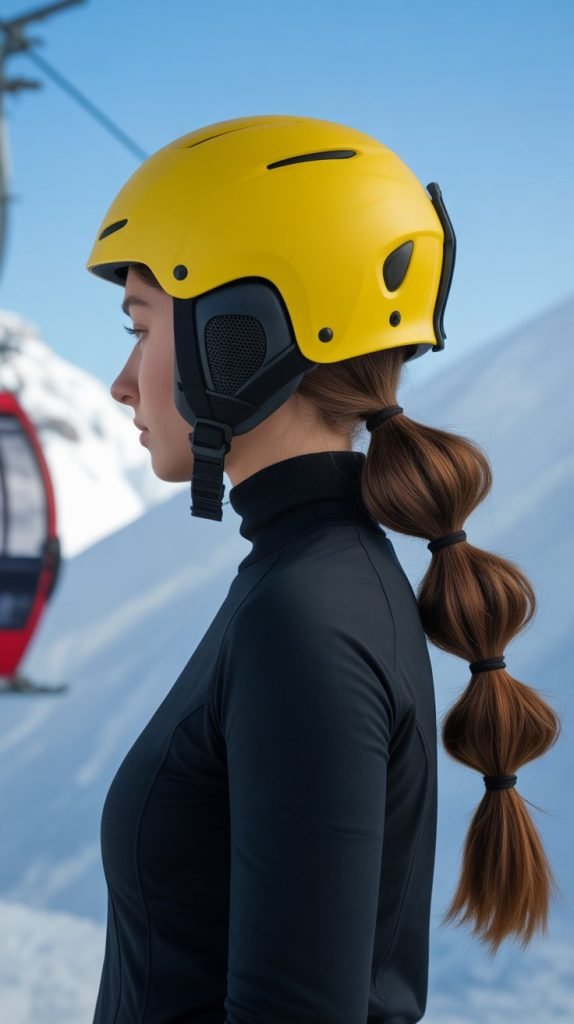
The bubble ponytail uses multiple elastics spaced down the length of a low ponytail to create segmented sections that prevent tangling while adding playful dimension.
This trendy style is surprisingly practical for helmet wear when positioned low.
Segmentation Technique:
- Start with a secure low ponytail at the nape using a strong foundation elastic
- Add another elastic approximately three inches down from the first one
- Gently pull and fluff the section between elastics to create a rounded bubble effect
- Continue adding elastics every three inches down the length of your ponytail
- Create equal-sized bubbles by adjusting how much you pull and fluff each section
- Ensure all elastics are tight enough to maintain shape but not so tight they cause breakage
Functional Styling:
- Segmented sections prevent hair from becoming one large tangle during active movement
- Each bubble acts as a checkpoint, containing tangles to individual sections rather than entire length
- Easy to adjust or fix individual sections without redoing the entire hairstyle
- The low placement keeps all bubbles below helmet level for zero interference
12. Braided Headband with Low Twist

This elegant combination uses a braided headband to control the hairline while a low twist manages length, creating a polished look that functions flawlessly under ski helmets.
The dual-technique approach addresses both face-framing hair and length simultaneously.
Dual-Section Styling:
- Take a small section of hair from behind one ear and create a tight three-strand braid
- Braid across the front of your hairline like a headband, keeping it close to your forehead
- Secure the braid end behind the opposite ear with a small bobby pin
- Gather all remaining hair into a low ponytail and divide into two sections
- Twist each section and wrap them around each other, forming a low twisted ponytail or bun
- Secure the twist and ensure everything sits flat and comfortable under your helmet
Multi-Functional Design:
- The braided headband prevents any face-framing pieces from escaping during skiing
- Acts as a natural barrier between your forehead and helmet, improving comfort
- The low twist keeps length secure without creating bulk at the helmet’s pressure points
- Creates a sophisticated, put-together appearance that looks intentional in après-ski settings
13. Dutch Braid into Messy Bun
This relaxed yet secure style combines the control of Dutch braiding with the casual convenience of a messy bun, perfect for skiers who want a laid-back aesthetic that still performs under a helmet.
The “messy” element is controlled chaos rather than actual looseness.
Controlled Chaos Method:
- Begin a Dutch braid at the crown, braiding backward and keeping it moderately tight
- Continue the Dutch braid down to approximately the nape of your neck
- Secure the braid end with an elastic, leaving the remaining length loose
- Twist the loose ends loosely and wrap them around the braid base to form a bun
- Pull and loosen small sections of the bun to create intentional texture and volume
- Pin strategically in just a few places to maintain the messy appearance while keeping it secure
Aesthetic Function:
- Provides a relaxed, effortless look that doesn’t appear overly styled or rigid
- The messy texture disguises any slight loosening that occurs during skiing activities
- Combines serious security at the roots with casual styling at the ends
- Looks fashionable in ski lodge environments while maintaining practical helmet functionality
14. Criss-Cross Braids

Criss-cross braids create an intricate pattern where two braids intersect and weave around each other, resulting in a secure, decorative style that lies beautifully flat for helmet compatibility.
This technique takes slightly more time but delivers exceptional security.
Weaving Pattern:
- Part hair down the middle and begin a French braid on each side, starting at the temples
- After a few stitches, cross the right braid over to the left side and continue braiding
- Take the left braid and cross it over to the right side, creating an X pattern
- Continue braiding each section on its opposite side, incorporating hair as you go
- Cross the braids back and forth several times as you work down toward the nape
- Secure both braids together at the bottom with a single elastic for a unified finish
Security Engineering:
- The crossing pattern creates natural tension that prevents both braids from loosening
- Interlocking design distributes weight and pull evenly across the entire scalp
- Extremely secure for aggressive skiing, moguls, or terrain park activities
- Creates beautiful visual interest that remains visible even with lighter-colored hair
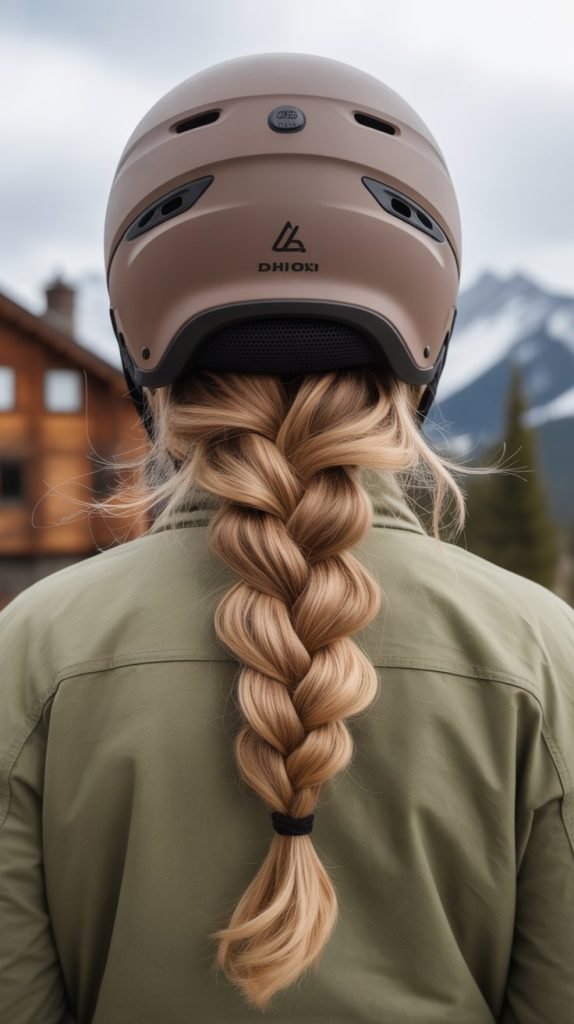
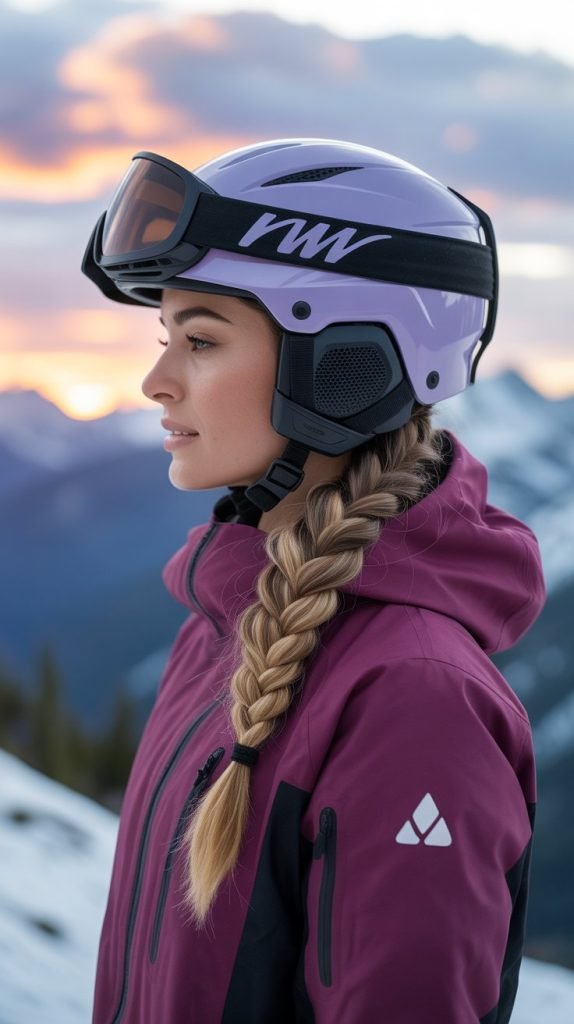
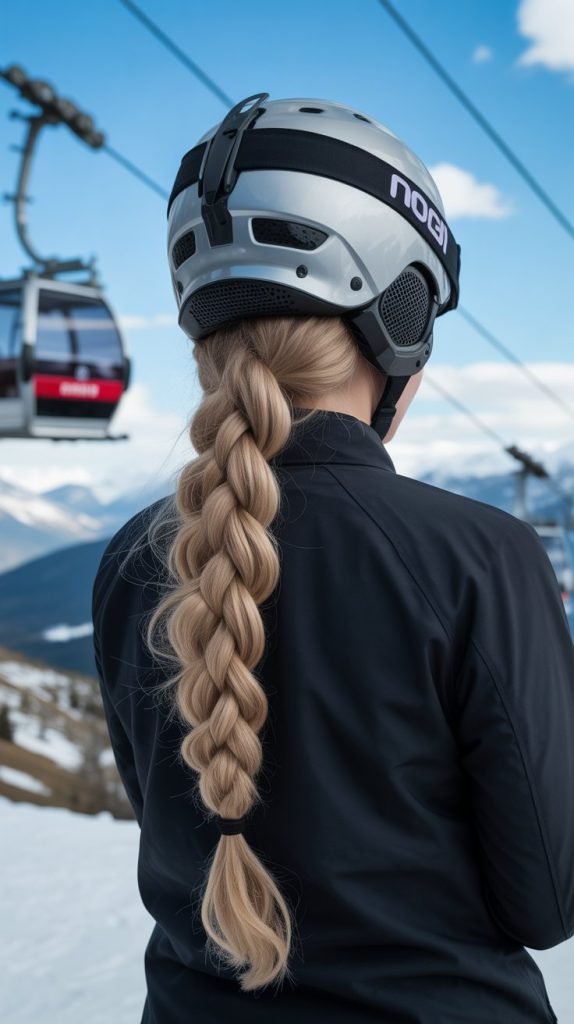
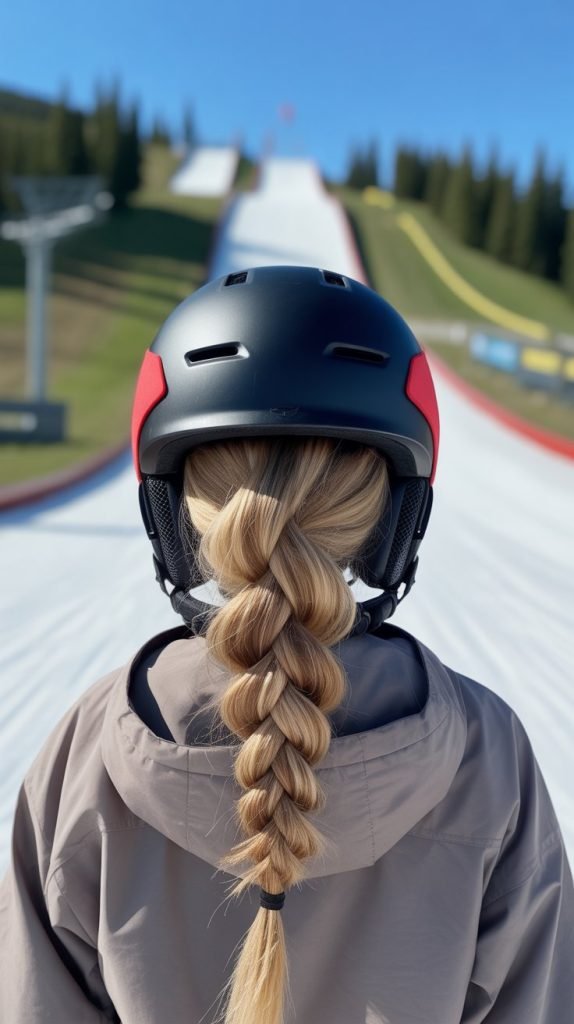
15. Low Braided Ponytail

A low braided ponytail keeps the convenience of a ponytail while adding the security and anti-tangle benefits of braiding, making it ideal for skiers with very long hair who need maximum length management.
The braiding prevents the ponytail from becoming a tangled mess.
Complete Braiding:
- Create a low ponytail at the nape and secure it with a flat, snag-free elastic
- Divide the ponytail into three equal sections and begin a standard three-strand braid
- Keep consistent tension as you braid the entire length of the ponytail to the very ends
- Secure the braid end with another elastic, ensuring it’s tight enough to hold through activity
- Tuck the braided ponytail into your jacket or let it hang down your back, depending on preference
- Apply a small amount of anti-frizz serum to smooth any flyaways along the braid
Length Management:
- Prevents extremely long hair from tangling, knotting, or matting during all-day skiing
- The braid structure keeps hair organized and easy to manage during bathroom or food breaks
- Significantly reduces the risk of hair getting caught in jacket zippers or equipment
- Makes hair easier to handle with cold hands or while wearing gloves between runs
16. French Twist
The classic French twist adapts beautifully for skiing when positioned low and secured properly, offering an elegant solution that keeps every strand contained while creating a sophisticated look.
This updo works particularly well for formal ski events or destination resort skiing.
Elegant Execution:
- Brush all hair back smoothly and gather it at the nape as if creating a low ponytail
- Instead of securing with an elastic, hold the hair and begin twisting it vertically upward
- As you twist, the hair will naturally form a rolled column along the back of your head
- Tuck the ends into the twist and secure the entire column with bobby pins inserted horizontally
- Ensure pins are placed firmly but not so tight they’ll cause discomfort under helmet pressure
- Spray with strong-hold hairspray and smooth any bumps with your palms
Refined Functionality:
- Creates an extremely polished appearance suitable for high-end ski resorts or events
- Completely eliminates loose hair, providing zero distraction during skiing
- The vertical twist distributes hair evenly without creating a protruding bun shape
- Works exceptionally well for fine or medium-textured hair that might slip out of braids
17. Double Low Buns
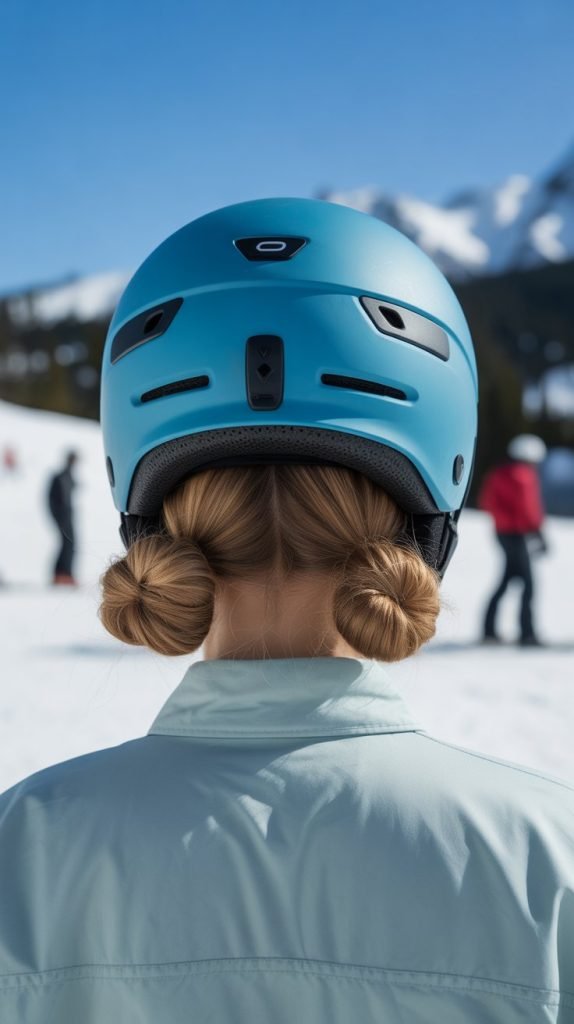
Double low buns positioned below the helmet line offer a cute, youthful aesthetic while providing practical functionality for helmet wear.
This style works well for skiers with very thick or long hair who need to divide volume for comfort.
Symmetrical Styling:
- Part hair down the center from crown to nape, creating two equal sections
- Gather each section into a very low ponytail positioned below where the helmet sits
- Twist each ponytail tightly and coil it around its own base to form compact buns
- Secure each bun with bobby pins, ensuring they’re flat against the neck rather than protruding
- Check that both buns are positioned at the exact same height for balanced helmet fit
- Use minimal hairspray to control flyaways without creating stiffness
Volume Distribution:
- Divides thick or heavy hair into two manageable sections, reducing weight strain
- Creates a lower profile than a single large bun would for the same hair volume
- Allows for better air circulation around the neck area, improving comfort
- The symmetrical placement maintains balanced helmet fit and weight distribution
18. Waterfall Braid with Low Ponytail
The waterfall braid creates a romantic, flowing appearance while keeping the crown secure, transitioning into a low ponytail for length management.
This style offers the perfect balance between aesthetic appeal and practical functionality for skiing.
Flowing Technique:
- Begin a French braid at the temple area on one side of your head
- Instead of adding all hair into the braid, drop the bottom strand after each stitch, creating the waterfall effect
- Pick up a new section to replace the dropped strand and continue braiding across
- Continue the waterfall pattern across the back of your head to the opposite side
- Once you reach the other side, gather all hair including the braid into a low ponytail
- Secure the ponytail at the nape where it won’t interfere with helmet placement
Visual Appeal:
- Creates beautiful movement and texture across the crown while maintaining security
- The dropped strands integrate naturally into the ponytail, avoiding disconnected sections
- Provides an Instagram-worthy look that photographs beautifully in ski resort settings
- Functions as well as traditional braids while offering more visual interest and femininity
19. Sleek Low Ponytail with Wrapped Hair
This minimalist style features a perfectly smooth low ponytail with a section of hair wrapped around the elastic for a polished, finished appearance.
The simplicity makes it quick to create while the smoothness prevents friction under helmets.
Polished Creation:
- Apply smoothing serum or cream to damp or dry hair and brush thoroughly to remove all tangles
- Use a boar bristle brush to gather hair into a low ponytail with complete smoothness
- Secure with a flat elastic that won’t create visible bumps under the hair wrap
- Take a small section from the ponytail and wrap it around the elastic to conceal it completely
- Secure the wrapped section with a small bobby pin tucked underneath where it won’t be visible
- Apply additional smoothing product or light hairspray to maintain the sleek finish throughout the day
Minimalist Efficiency:
- Takes less than five minutes to create, perfect for quick morning routines before hitting slopes
- The ultra-smooth surface creates minimal friction between hair and helmet lining
- Wrapped hair detail adds sophistication without compromising functionality or helmet safety
- Works for all hair types when proper smoothing products are applied during styling
20. Diagonal Dutch Braid
A diagonal Dutch braid travels from one temple across to the opposite nape, creating an asymmetrical design that offers unique visual interest while keeping hair completely secure.
The diagonal angle provides natural tension that prevents loosening.
Angular Braiding:
- Start the Dutch braid at one temple, creating a diagonal parting line across your head
- Braid backward and downward at approximately a 45-degree angle toward the opposite side’s nape
- Incorporate hair as you braid, maintaining the diagonal direction consistently
- Keep the braid tight and close to the scalp for maximum security and helmet compatibility
- Finish the braid at the opposite nape and secure with an elastic
- Tuck the braid end into your jacket or pin it flat against your neck
Geometric Advantages:
- The diagonal angle creates natural tension that helps the braid stay tighter longer
- Offers a fresh alternative to straight-back braiding while maintaining the same functionality
- Distributes weight along a different angle, which some skiers find more comfortable
- Creates an eye-catching asymmetrical look that stands out in group ski photos
21. Pretzel Bun
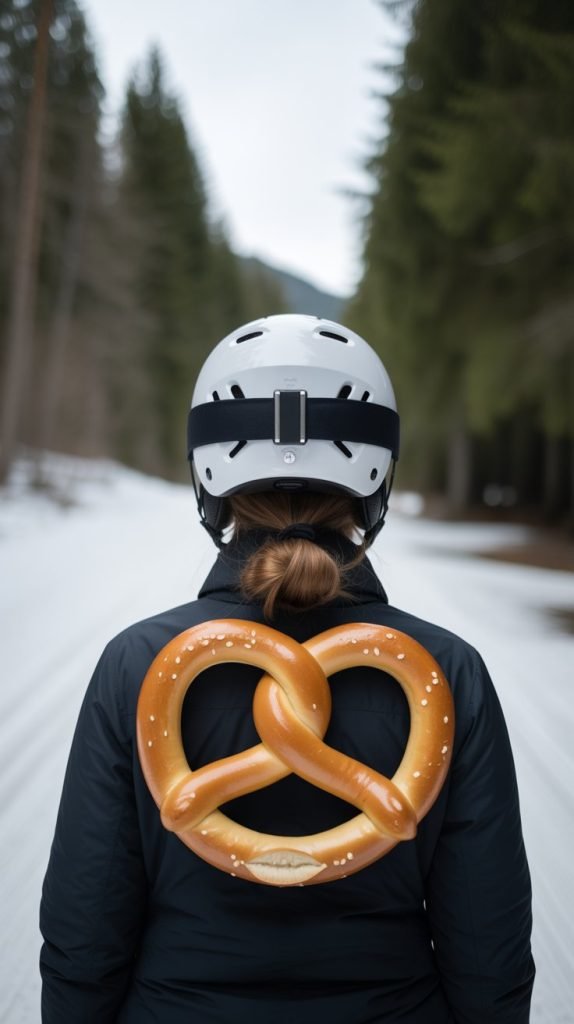
The pretzel bun creates a unique twisted shape that lies flat while providing exceptional security through its interlocking structure. This complex-looking style is actually simple to create and incredibly secure for active skiing.
Pretzel Formation:
- Create a low ponytail and divide it into two equal sections
- Tie the two sections together in a simple overhand knot, pulling it tight
- Split the remaining length below the knot into two sections again
- Tie another overhand knot with these sections, creating the pretzel pattern
- Continue knotting if length allows, then tuck the ends under and pin the entire structure flat
- Adjust the knots to create even, symmetrical loops that resemble a pretzel shape
Structural Integrity:
- The knotted structure creates exceptional security that resists loosening during activity
- Lies completely flat against the neck, making it ideal for all helmet types
- The interlocking nature prevents the bun from rotating or shifting during skiing
- Creates visual interest without requiring complex braiding skills or techniques
22. Side Swept Low Braid
This asymmetrical style sweeps all hair to one side before braiding, creating a romantic look that keeps hair secure while offering easy accessibility for adjustments.
The side positioning works well for skiers who prefer off-center styling.
Sweeping Method:
- Brush all hair over to your preferred side, sweeping it around from the back to front
- Gather hair into a low side ponytail positioned just below and behind your ear
- Begin braiding (French, Dutch, or three-strand depending on preference) from the ponytail base
- Keep the braid angled forward over your shoulder for comfort and visibility
- Secure the braid end and ensure the entire length can tuck into your jacket opening
- Use bobby pins along the side of your head if needed to secure any shorter layers
Accessibility Benefits:
- Easy to see and access the braid without removing your helmet or jacket
- Can be brought forward over your shoulder during breaks for quick checks or adjustments
- The side position puts less pressure on the back of your neck during long skiing days
- Creates a softer, more romantic aesthetic compared to center-back styling
23. Infinity Braid
The infinity braid uses a figure-eight crossing pattern that creates both beauty and exceptional security, making it perfect for skiers who want their hairstyle to last through multiple days without restyling.
This intricate-looking braid is surprisingly durable.
Figure-Eight Technique:
- Divide hair into two sections and begin by crossing them in a figure-eight pattern
- Take a small piece from the outside of the left section, cross it over and add it to the right section
- Take a small piece from the outside of the right section, cross it under and add it to the left section
- Continue this over-under figure-eight pattern down the length of your hair
- Maintain even tension and consistent section sizes for a uniform infinity pattern
- Secure at the ends and pin the finished braid flat if additional security is needed
Advanced Security:
- The over-under pattern creates exceptional grip that prevents loosening even during falls
- More secure than traditional braiding due to the interlocking figure-eight structure
- Can last 2-3 days without needing to be redone, perfect for multi-day ski trips
- Creates stunning visual texture that looks complex and impressive in photos
24. Low Knotted Ponytail
This trendy style uses actual knots instead of elastics to secure hair, creating a unique look while eliminating the pressure points that elastics can cause under helmets.
The knotting technique provides surprising security for active sports.
Knotting Process:
- Divide hair into two equal sections at the nape of your neck
- Tie these sections together in a simple overhand knot, pulling it tight against your head
- The knot itself serves as the “elastic” holding the ponytail in place
- Take two small sections from the ponytail and tie another small knot around the base for extra security
- Tie additional decorative knots down the length of the ponytail if desired
- Tuck the final ends under the last knot and pin in place
Elastic-Free Benefits:
- Eliminates pressure points that elastics can create under helmet compression
- Reduces hair breakage and damage that tight elastics typically cause
- Creates a unique, fashion-forward look that stands out from traditional ponytails
- The knots actually become tighter and more secure as you move, rather than loosening
25. Dutch Braid Mohawk
The Dutch braid mohawk creates a bold center braid with sleek sides, offering an edgy athletic aesthetic that’s incredibly practical for helmet wear. This style works exceptionally well for thick hair that needs maximum control.
Mohawk Styling:
- Create a center section approximately 2-3 inches wide from forehead to nape
- Slick the side sections down with gel or pomade and pin them flat against the head
- Begin a Dutch braid with the center section, braiding from the forehead backward
- Add hair only from the center section as you braid, keeping the braid prominent and raised
- Continue to the nape and secure with an elastic, letting the remaining length hang free or braiding it
- Apply strong-hold gel to the sides for sleek, smooth control under the helmet
Athletic Aesthetic:
- Creates a bold, sporty look perfect for adventurous skiers or snowboarders
- Extremely secure with hair completely controlled from all angles
- The raised center braid creates minimal contact with the helmet, reducing pressure
- Works beautifully for competitive skiing or terrain park activities where style matters
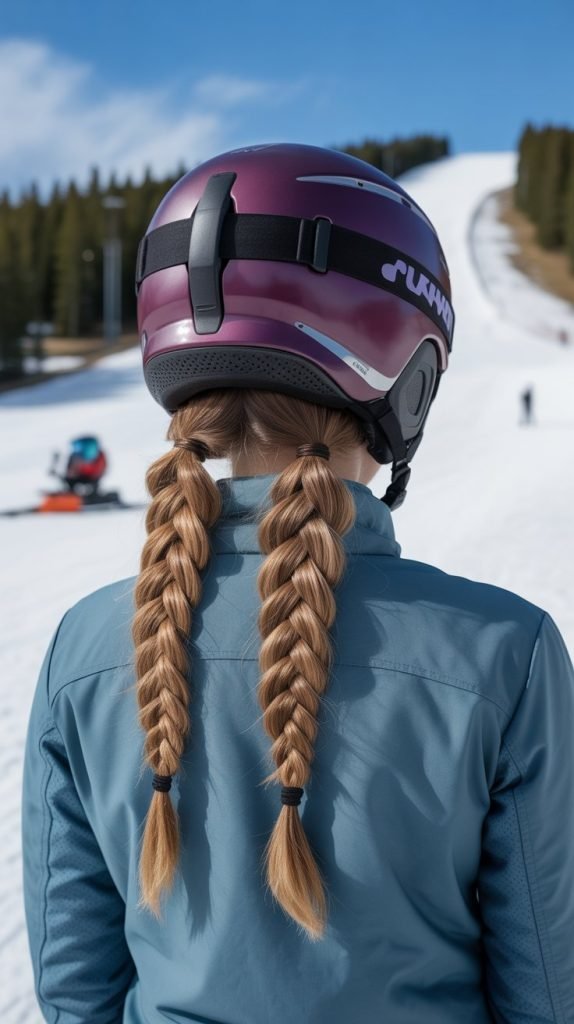
26. Braided Low Pigtails
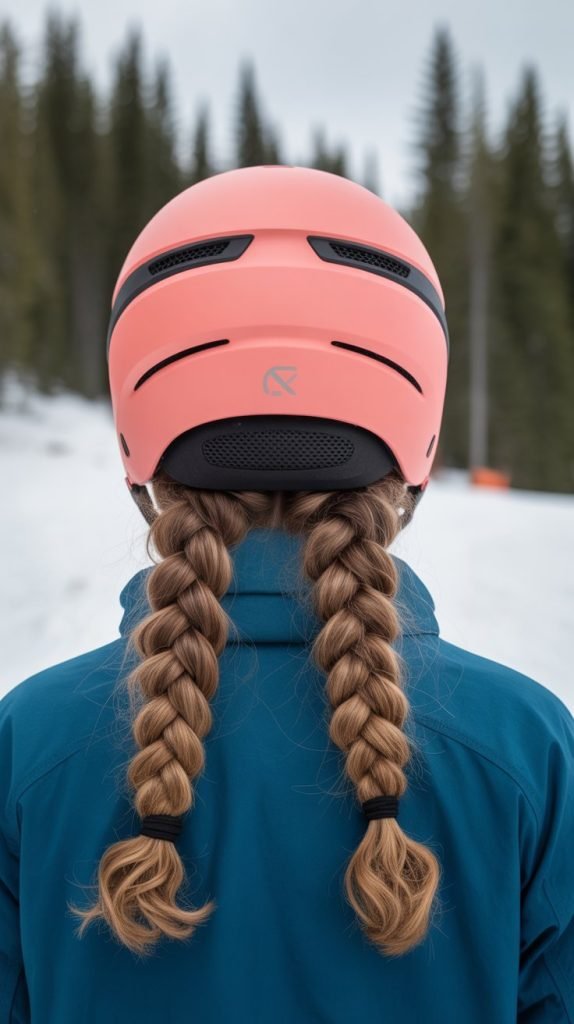
Braided low pigtails offer a youthful, playful styleRetry
that divides hair into two manageable sections while keeping everything secure and tangle-free throughout your skiing adventures.
This classic style works exceptionally well for very long or thick hair that becomes too heavy in a single braid.
Pigtail Placement:
- Part hair down the center from crown to nape, creating two perfectly equal sections
- Position each section into a very low ponytail just behind and below each ear
- Secure each ponytail with a flat elastic that won’t create uncomfortable pressure under the helmet
- Braid each pigtail completely from base to ends using three-strand, Dutch, or rope braid technique
- Ensure both braids are the same tightness and length for balanced weight distribution
- Tuck both braids into your jacket or let them hang freely depending on your skiing style and preferences
Practical Advantages:
- Distributes the weight of long hair into two lighter sections, reducing neck strain significantly
- Each braid can be checked and adjusted independently without affecting the other side
- Creates less bulk than a single braid, improving comfort for skiers with extremely thick hair
- The low placement ensures zero interference with any helmet style or adjustment mechanism
- Perfect for younger skiers or anyone who loves a classic, nostalgic aesthetic on the slopes
27. Twisted Crown with Low Chignon
This sophisticated combination uses twisted sections around the crown that meet in a low chignon, creating an elegant updo that works beautifully under ski helmets while looking polished enough for upscale resort environments.
Crown and Chignon Creation:
- Take a section of hair from one temple and twist it backward toward the center back
- Secure this twist temporarily with a clip while you repeat on the opposite side
- Gather all remaining hair at the nape into a low ponytail position
- Release the twisted sections and incorporate them with the gathered hair at the nape
- Twist all the hair together and coil it into a classic chignon shape at the base of the neck
- Secure the chignon with bobby pins inserted in an X pattern for maximum hold
- Smooth any flyaways with a small amount of pomade or light hairspray
Elegant Functionality:
- Provides a refined, sophisticated appearance suitable for high-end ski resorts or romantic getaways
- The twisted crown keeps face-framing sections beautifully controlled without tight braiding
- Low chignon placement sits completely below the helmet’s base for perfect compatibility
- Creates a timeless look that photographs beautifully for special occasions or destination ski trips
- Works exceptionally well for weddings, anniversaries, or other celebrations that include skiing activities
28. Rope Braid Pigtails
Rope braid pigtails use the two-strand twisting technique instead of traditional three-strand braiding, creating a unique texture that’s both secure and visually interesting.
This style offers excellent durability for multi-day skiing without restyling.
Rope Twist Method:
- Divide hair down the center and create two low ponytails positioned at the nape
- Take one ponytail and divide it into two equal sections
- Twist each section tightly in a clockwise direction until the entire section is rope-like
- Wrap the two twisted sections around each other in a counterclockwise direction to create the rope braid
- Secure the end with an elastic and repeat the entire process on the opposite side
- Ensure both rope braids have the same number of twists for symmetrical appearance
Rope Braid Benefits:
- Creates exceptional hold that actually gets tighter as you move rather than loosening
- Requires no complex braiding skills, making it accessible for all skill levels
- The two-strand technique is faster to create than traditional three-strand braiding
- Provides unique visual texture that looks different from standard braids in photos
- Extremely durable and can last 2-3 days without significant loosening or frizzing
29. Braided Bun with Face-Framing Twists
This comprehensive style addresses every hair section with face-framing twists that lead into a braided low bun, ensuring no strand escapes while creating a polished, complete look.
The multi-technique approach provides total hair control.
Complete Styling Process:
- Begin by taking small sections at the temples and twisting them backward toward the crown
- Pin these twists temporarily while you gather the remaining hair into a low ponytail
- Braid the entire ponytail using your preferred braiding technique (three-strand, Dutch, or rope)
- Coil the finished braid around the ponytail base to create a bun shape
- Release the face-framing twists and wrap them around the bun, incorporating them into the style
- Secure everything with bobby pins and ensure all sections are tucked in and smooth
Comprehensive Control:
- Addresses every hair length and layer, from shortest face-framing pieces to longest strands
- The multiple techniques ensure security at every level of the hairstyle
- Creates a polished, finished appearance with no loose ends or escaped sections
- Perfect for skiers with heavily layered cuts who struggle with pieces falling out of simpler styles
- Provides a sophisticated look suitable for both skiing and après-ski social activities
30. Low Triple Braid
The low triple braid combines three separate braids into one unified style, creating exceptional thickness and visual impact while distributing hair weight across three sections.
This style works beautifully for extremely long or thick hair that becomes overwhelming in a single braid.
Triple Section Technique:
- Divide all hair into three vertical sections from crown to nape (left, center, right)
- Braid each section independently, starting from the crown and working downward
- Keep consistent tension and braid tightness across all three sections for uniformity
- Secure each braid temporarily with small elastics as you complete them
- Once all three braids are finished, gather them together at the nape
- Secure all three braids together with one larger elastic or braid them together into one final braid
- Tuck the combined end into your jacket or let it hang as one thick braided rope
Triple Security:
- Provides three times the security of a single braid with triple the holding power
- Distributes very thick or heavy hair into manageable sections that don’t strain the neck
- Creates impressive visual thickness and texture that looks stunning in photos
- Each individual braid can be adjusted independently if one section loosens during skiing
- The three-section approach prevents the overwhelming bulk that single braids create with very long hair
Conclusion
Mastering the art of skiing with long hair no longer means choosing between style, comfort, and safety on the slopes.
These 30 Beautiful Skiing Hairstyles for Long Hair with a Helmet That Stay Secure All Day provide comprehensive solutions for every hair type, length, and skiing style, ensuring you can focus on enjoying the mountain rather than worrying about your hair.
From the athletic security of boxer braids and Dutch braid mohawks to the elegant sophistication of French twists and twisted crowns, each hairstyle has been specifically designed to work seamlessly with ski helmets while maintaining its integrity through hours of active movement.
The key to success lies in choosing styles that position hair below or flat against the helmet’s base, using proper products for hold and protection, and ensuring your helmet fit is never compromised by your hairstyle choice.
Whether you’re a casual weekend skier seeking simple, quick solutions or a competitive athlete requiring maximum security during aggressive runs, these tested techniques offer reliable performance that lasts from first chair to last run.
By implementing proper hair preparation, selecting the right style for your specific hair characteristics, and following the safety guidelines for helmet fit, you’ll discover that beautiful, secure hair and serious skiing performance can coexist perfectly.
Take these techniques to the slopes with confidence, knowing your hair will stay exactly where you want it while you create unforgettable memories carving through fresh powder and conquering challenging terrain.
