Attending a wedding with medium-length hair opens up a world of styling possibilities that balance elegance with practicality.
Whether you’re heading to a formal evening celebration or a casual garden ceremony, knowing how to style wedding guest hairstyles for medium hair can transform your entire look and boost your confidence for the special day.
Medium hair offers the perfect canvas—long enough to create sophisticated updos yet manageable enough for quick, stunning styles that last through dancing and celebrations.
This comprehensive guide will walk you through everything from romantic half-up styles and sleek low buns to textured waves and braided elegance, complete with preparation tips, accessory recommendations, and tricks to ensure your hairstyle stays picture-perfect from ceremony to reception.
You’ll discover step-by-step instructions for various looks, learn which styles suit different face shapes and wedding themes, and master the techniques professional stylists use to create red-carpet-worthy hair that photographs beautifully and withstands hours of celebration.
In This Post......
- 1. Understanding Your Medium Hair Type and Texture
- 2. Essential Tools and Products for Wedding Hairstyling
- 3. Classic Half-Up Half-Down Styles
- 4. Elegant Low Bun Variations
- 5. Romantic Braided Hairstyles
- 6. Textured Waves and Beach-Inspired Looks
- 7. Sleek and Polished Straight Styles
- 8. Accessorizing Your Wedding Guest Hairstyle
- 9. Face Shape Considerations for Flattering Styles
- 10. Long-Lasting Hold: Making Your Style Last All Night
- 11. Quick 15-Minute Hairstyles for Last-Minute Styling
- 12. Weather-Proofing Your Hairstyle
- Conclusion
1. Understanding Your Medium Hair Type and Texture
Before diving into specific hairstyles, identifying your hair type and texture is essential for choosing styles that work with your natural hair rather than against it.
- Medium hair typically falls between the shoulders and collarbone, offering versatility that shorter or longer lengths may not provide.
- Fine hair benefits from styles that create volume and texture, such as teased crowns or curled sections that add body.
- Thick hair holds styles well but may require more bobby pins and stronger hold products to maintain structured looks throughout the event.
- Wavy hair naturally lends itself to romantic, textured styles and can be enhanced or smoothed depending on your desired aesthetic.
- Straight hair creates sleek, polished looks effortlessly but may need texturizing products to hold curls or add grip for updo styles.
- Curly hair offers built-in volume and texture, making it ideal for loose, bohemian styles or elegant updos that showcase natural curl patterns.
- Understanding your hair’s porosity helps you select products that absorb properly—high porosity hair needs heavier oils while low porosity requires lighter formulations.
- Your hair’s natural growth pattern and cowlicks should inform style choices, as working with these features rather than fighting them creates longer-lasting results.
2. Essential Tools and Products for Wedding Hairstyling

Gathering the right tools and products before styling ensures professional-looking results and eliminates last-minute frustrations.
- A quality curling iron or wand in 1-1.5 inch barrel size creates perfect waves and curls that suit medium hair length without overwhelming it.
- Bobby pins in colors matching your hair (blonde, brown, or black) should be purchased in bulk since securing styles often requires 15-30 pins.
- A fine-tooth comb helps with precise parting and teasing, while a wide-tooth comb detangles without causing breakage or frizz.
- Texturizing spray or dry shampoo adds grip and volume, making hair easier to style and helping updos stay secure throughout the event.
- Strong-hold hairspray is non-negotiable for wedding hairstyles, as it maintains your look through dancing, humidity, and hours of celebration.
- A paddle brush smooths hair for sleek styles, while a round brush adds volume at the roots during blow-drying.
- Heat protectant spray prevents damage when using hot tools and should be applied to damp hair before any heat styling begins.
- Small, clear elastic bands secure sections without creating visible bumps or lines in finished hairstyles.
- Hair clips or sectioning clamps keep hair organized while styling different portions, making complex looks more manageable.
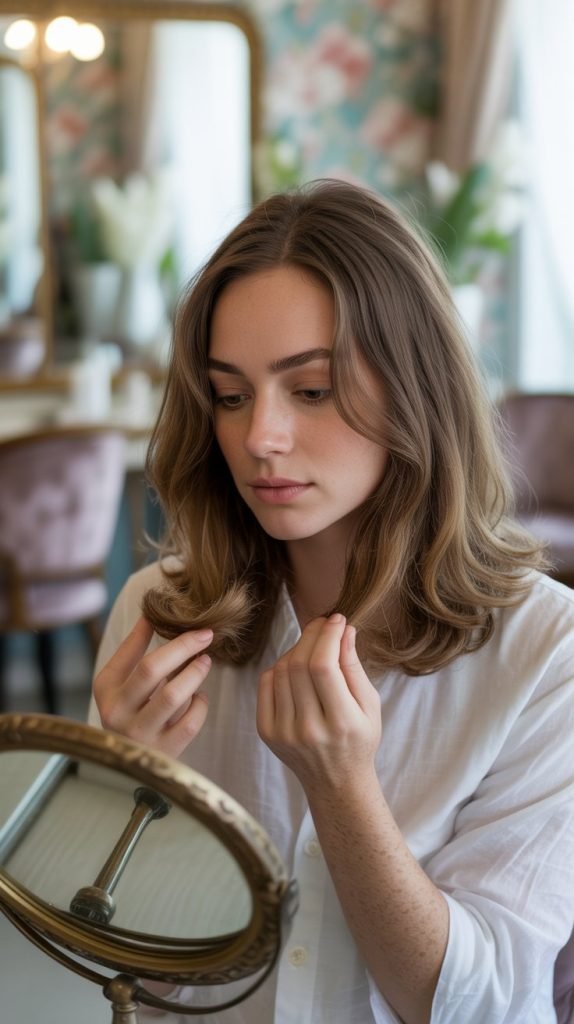
- A handheld mirror allows you to check the back and sides of your hairstyle, ensuring every angle looks polished and intentional.
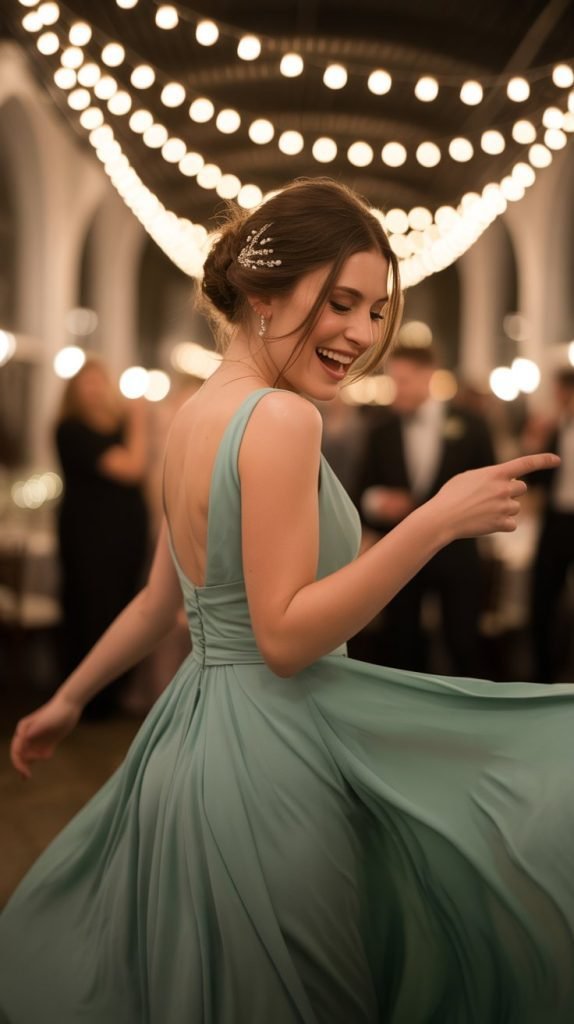
3. Classic Half-Up Half-Down Styles

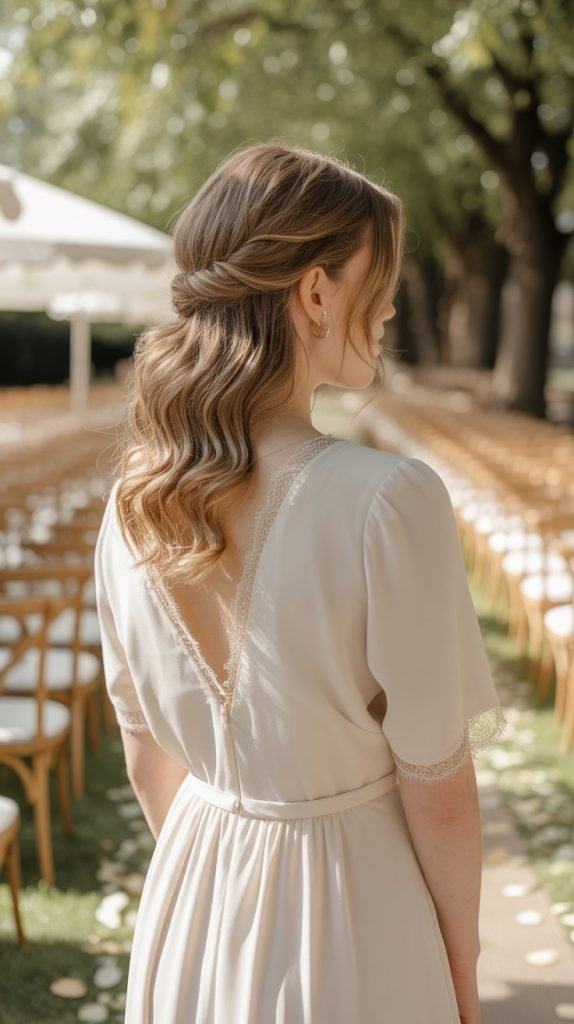
The half-up half-down style strikes the perfect balance between sophistication and effortless beauty, making it a timeless choice for wedding guests.
- Begin by curling all your hair in 1-2 inch sections, alternating the direction of curls to create natural-looking texture and movement.
- Section off the top portion of hair from temple to temple, about 2-3 inches back from your hairline, keeping the section smooth and even.
- Gently backcomb the crown area before securing to create subtle volume that photographs beautifully and adds elegance to the style.
- Twist the sectioned hair loosely toward the back and secure with bobby pins in an X-pattern for maximum hold that remains invisible.
- Pull out a few face-framing pieces around your ears and temples to soften the look and create a romantic, relaxed appearance.
- The half-down portion should be styled with loose waves or curls that cascade over shoulders, adding dimension and movement.
- For added interest, wrap a small section of hair around the elastic or pin area to conceal hardware and create a polished finish.
- This style works exceptionally well for outdoor or daytime weddings where you want hair off your face but still want to showcase length.
- Variations include braiding the top section, creating a twisted crown, or adding small braids within the pulled-back portion for bohemian flair.
- Secure the style with medium-hold hairspray, focusing on the pinned area while keeping the lower curls soft and touchable.
4. Elegant Low Bun Variations
Low buns exude sophistication and work perfectly for formal evening weddings while keeping hair secure and comfortable throughout the celebration.
- Start with second-day hair or apply dry shampoo to add texture and grip, making the bun easier to construct and more secure.
- Create a deep side part or middle part depending on your face shape and the overall vibe of your outfit and makeup.
- Gather hair at the nape of your neck, leaving out strategic face-framing pieces that you’ll curl after securing the bun.
- For a classic ballerina bun, twist hair into a tight rope and coil it around the base, securing every inch with bobby pins pushed in opposite directions.
- A messy low bun involves loosely gathering hair, creating a ponytail, then wrapping sections around the base without worrying about perfection.
- Pull apart the bun gently after securing to create intentional looseness and volume, giving the style a modern, effortless appearance.
- Sleek low buns require smoothing serum and a fine-tooth comb to eliminate flyaways, creating a polished look ideal for black-tie weddings.
- Incorporate small braids along the sides before gathering into a bun for added texture and visual interest that photographs beautifully.
- A low chignon sits at the nape and features hair folded under rather than twisted, creating an elegant, vintage-inspired silhouette.
- Finish with strong-hold hairspray and smooth any stray hairs with a small amount of gel or pomade on a clean toothbrush.
5. Romantic Braided Hairstyles

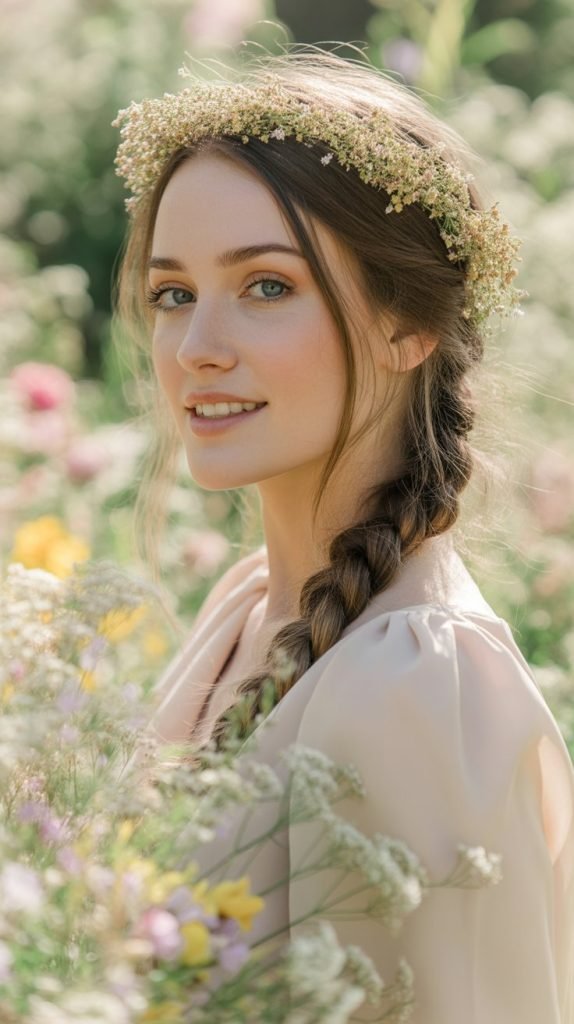
Braids add intricate detail and romantic charm to wedding guest hair, offering countless variations that suit various wedding themes and personal styles.
- Dutch braids (reverse French braids) create dimension by braiding sections over rather than under, making the braid appear to sit on top of the hair.
- A side braid swept over one shoulder creates an asymmetrical, romantic look that pairs beautifully with strapless or one-shoulder dresses.
- Begin braiding with slightly textured hair rather than freshly washed hair, as texture helps sections stay separated and defined throughout the style.
- Fishtail braids offer an intricate appearance with a simple two-section technique, pulling small pieces from each side and crossing them over.
- Crown braids wrap around the head like a halo, keeping hair off your face while maintaining an ethereal, bohemian aesthetic perfect for outdoor weddings.
- After completing any braid, gently pull apart sections (a technique called pancaking) to create width, volume, and a softer, more romantic appearance.
- Combine braids with other elements like loose curls or a low bun—for example, braid the sides and gather remaining hair into a textured bun.
- Waterfall braids create the illusion of hair cascading through the braid by dropping sections as you work, ideal for half-up styles.
- Secure braids with small, clear elastics and hide them by wrapping a small section of hair around the band.
- Set completed braids with a light mist of flexible-hold hairspray to maintain definition without creating stiffness or crunchiness.
6. Textured Waves and Beach-Inspired Looks
Soft, textured waves offer effortless elegance and work particularly well for casual, destination, or beach weddings where relaxed sophistication is key.
- Create waves with a 1.25-inch curling wand by wrapping 1-2 inch sections around the barrel, holding for 8-10 seconds before releasing.
- Alternate the direction you wrap hair around the wand (some sections toward your face, others away) to achieve natural-looking, multidimensional waves.
- Allow curls to cool completely in your hand before releasing them, as this sets the curl pattern and extends the longevity of your style.
- Once all sections are curled, flip your head upside down and gently shake hair to break up the curls into soft, flowing waves.
- Apply a small amount of texturizing spray or sea salt spray, scrunching it into hair to enhance separation and create that coveted beachy texture.
- For a more polished wave, brush through curls with a paddle brush or wide-tooth comb to soften them while maintaining body and movement.
- Add depth by taking random sections and wrapping them around the curling iron again briefly, creating varied curl patterns that look more natural.
- This style works beautifully with a deep side part, which adds sophistication and prevents the look from appearing too casual for a wedding setting.
- Face-framing highlights or balayage enhance textured waves by adding dimension that catches light and creates visual interest in photos.
- Finish with a flexible-hold hairspray rather than strong-hold to keep waves touchable and allow natural movement throughout the event.
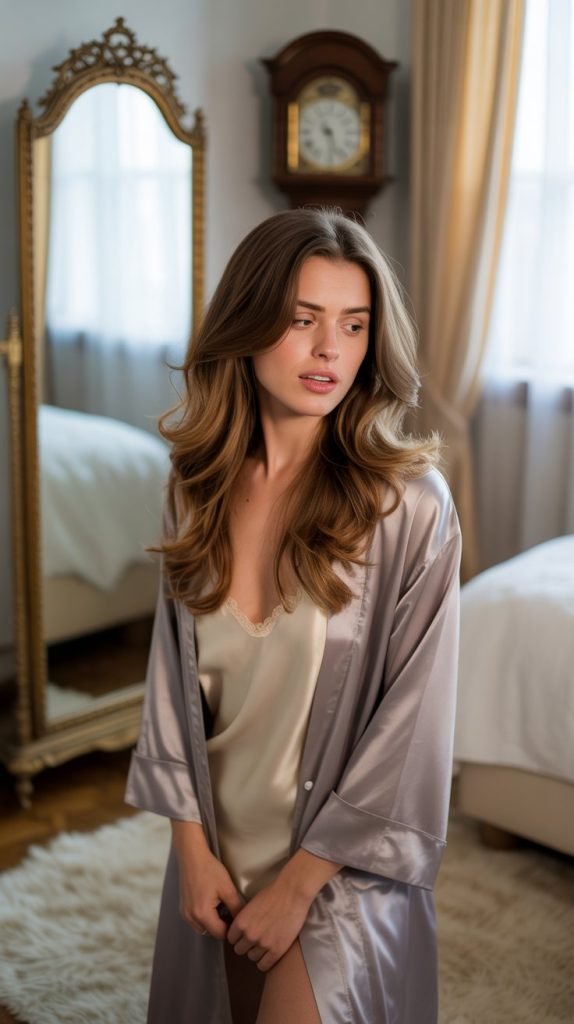
7. Sleek and Polished Straight Styles
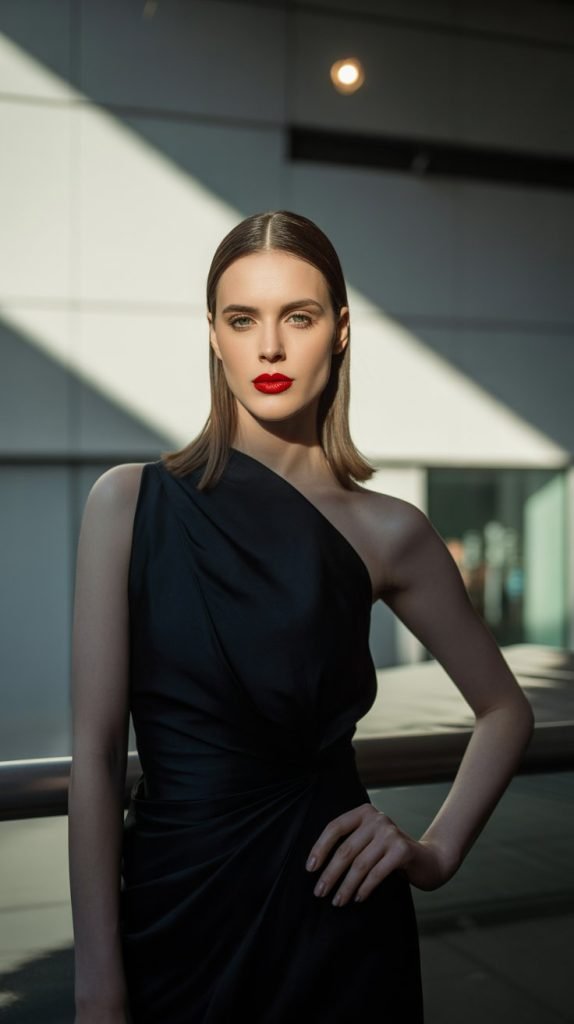
Ultra-straight, glossy hair makes a bold, modern statement and serves as the perfect canvas for statement earrings and elegant necklines.
- Begin with freshly washed hair treated with a smoothing conditioner to create the foundation for a sleek, frizz-free finish.
- Apply heat protectant and smoothing serum to damp hair, distributing products evenly from roots to ends before blow-drying.
- Blow-dry hair in sections using a paddle brush, directing the nozzle downward along the hair shaft to close the cuticle and enhance shine.
- Once completely dry, use a flat iron set to the appropriate temperature for your hair type (350-400°F for most hair) to straighten small sections.
- Pass the flat iron through each section only once or twice to minimize heat damage while achieving perfectly straight results.
- For extra sleekness, run the flat iron over hair one final time with a very light touch of smoothing serum applied beforehand.
- A center part creates a sophisticated, symmetrical look, while a deep side part adds drama and asymmetry that flatters most face shapes.
- Tuck one side behind your ear and secure with a decorative bobby pin or small hair clip for an elegant, asymmetrical variation.
- This style particularly suits formal evening weddings and pairs exceptionally well with structured, minimalist outfits that let the hair shine.
- Finish with a shine spray or lightweight oil mist to enhance gloss without weighing hair down or making it appear greasy.
8. Accessorizing Your Wedding Guest Hairstyle
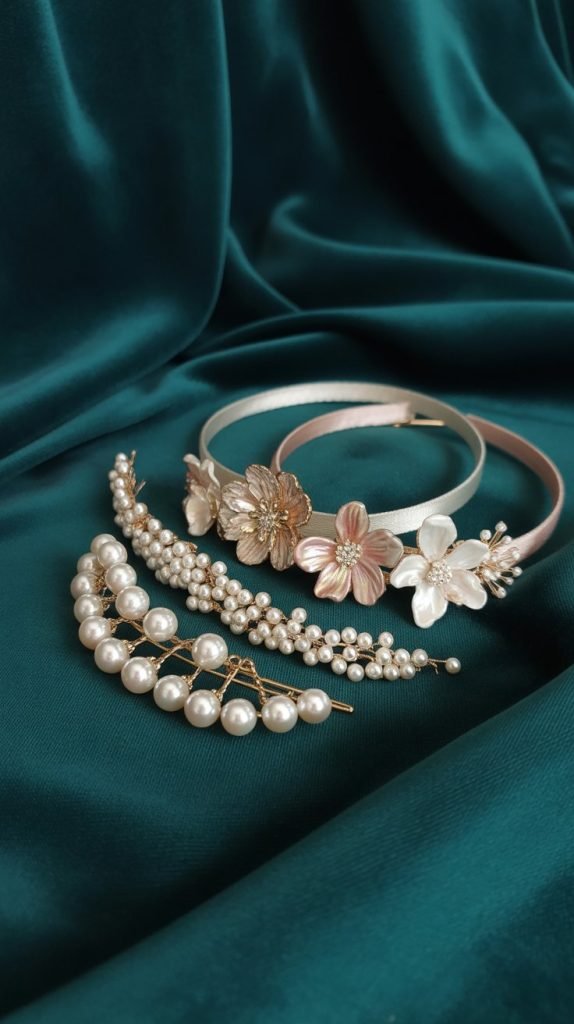
The right accessories elevate any hairstyle from pretty to spectacular while allowing you to express personal style and complement your outfit.
- Choose accessories that complement rather than compete with your outfit—if your dress features heavy embellishment, opt for minimal hair jewelry.
- Pearl accessories offer timeless elegance and suit virtually any wedding style, from classic ballroom affairs to garden celebrations.
- Fresh or silk flowers can be incorporated into braids, buns, or behind the ear for romantic, natural beauty that photographs gorgeously.
- Headbands work particularly well for medium hair as they add structure and can help control flyaways while adding a fashionable element.
- Metallic accessories in gold, silver, or rose gold should match other jewelry you’re wearing to create a cohesive, intentional appearance.
- Statement barrettes placed at the nape or side of a low bun serve as focal points and eliminate the need for additional jewelry.
- Ribbon tied around low buns or woven through braids adds a soft, feminine touch perfect for daytime or outdoor weddings.
- Avoid over-accessorizing—one statement piece or 3-5 small coordinated pieces creates visual interest without overwhelming your look.
- Secure accessories properly with additional bobby pins if needed, ensuring they won’t slip or fall during dancing and celebration.
- Consider the wedding’s formality level when selecting accessories—sparkling crystals suit evening events while simpler pieces work for daytime affairs.
9. Face Shape Considerations for Flattering Styles
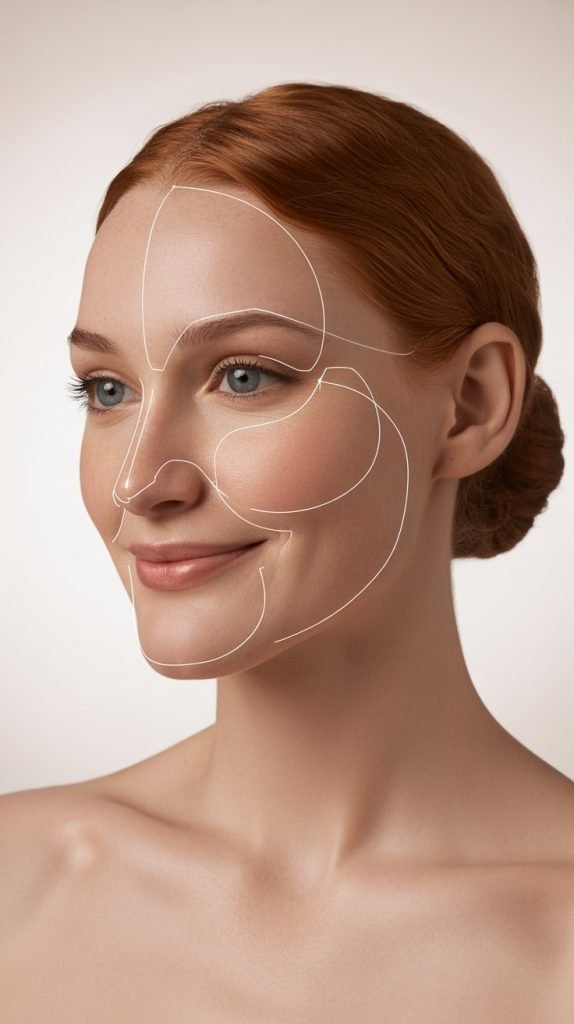
Selecting hairstyles that complement your face shape enhances your natural features and ensures you look your absolute best in wedding photos.
- Oval faces are considered the most versatile shape and can carry virtually any hairstyle, from sleek updos to loose, romantic waves.
- Round faces benefit from styles with height at the crown and minimal volume at the sides, such as half-up styles with teased crowns or high buns.
- Square faces are softened by side-swept bangs, gentle waves around the jawline, and asymmetrical styles that create curves and movement.
- Heart-shaped faces look stunning with volume at the jawline rather than the crown, making low buns, side braids, and chin-length waves ideal choices.
- Long faces are balanced by width-adding styles like voluminous waves, side parts, and horizontal elements such as braided crowns or headbands.
- Diamond-shaped faces are complemented by styles that add width at the forehead and chin, such as side-swept bangs or face-framing pieces.
- Deep side parts create asymmetry that flatters most face shapes by adding dimension and drawing attention to your best features.
- If you have a prominent forehead, opt for styles with soft bangs or face-framing pieces that create balance without hiding your face.
- Strong jawlines are softened by loose curls, wispy pieces, and styles that create movement around the lower face rather than pulling hair tightly back.
- Test your chosen hairstyle several days before the wedding to ensure it flatters your face shape in photos from multiple angles.
10. Long-Lasting Hold: Making Your Style Last All Night
A beautiful hairstyle that falls apart before dinner is a wedding guest’s nightmare—these professional techniques ensure all-night perfection.
- Start with hair that’s not freshly washed—day-old or two-day-old hair has natural oils and texture that help styles hold better.
- Apply volumizing mousse to roots before blow-drying if you’re creating an updo, as this provides a grippy base that holds pins securely.
- Use the proper bobby pin technique: slide pins in with the wavy side down (against your scalp) and straight side up for maximum hold.
- Cross two bobby pins in an X-shape at crucial holding points rather than using single pins, which can slide out during movement.
- For curls and waves, allow hair to cool completely in the curled shape before touching or brushing, setting the curl pattern effectively.
- Spray each section with hairspray immediately after curling or styling rather than waiting until the entire style is complete.
- Build your hairstyle in layers, securing and spraying as you go, which creates a stable foundation that resists falling throughout the event.
- Bring a small emergency kit containing extra bobby pins, a travel hairspray, and a small comb for quick touch-ups between ceremony and reception.
- Avoid touching or playing with your hair throughout the event, as this breaks down products and loosens carefully placed pins and sections.
- For humid climates or outdoor weddings, use anti-humidity products and stronger-hold formulas to combat environmental factors that cause styles to fall.
11. Quick 15-Minute Hairstyles for Last-Minute Styling
Sometimes time is limited—these elegant, simple styles prove you don’t need hours to achieve wedding-appropriate hair.
- The twisted low bun takes 10 minutes: part hair to the side, create a low ponytail, twist it into a rope, wrap around the base, and secure with pins.
- Simple barrel curls created with a curling iron on medium-high heat take 15 minutes for medium hair when you work in 1.5-inch sections.
- A sleek low ponytail elevated with a wrapped section of hair concealing the elastic creates sophistication in under 10 minutes.
- The messy side braid involves braiding a loose three-strand braid over one shoulder, pancaking it for volume, and securing with a clear elastic.
- Loose waves achieved by braiding damp hair before bed take zero morning time and create beautiful, natural-looking texture when undone.
- A half-up top knot combines the ease of a ponytail with the elegance of an updo—simply twist the top section into a small bun and secure.
- Slicked-back hair tucked behind ears with a statement barrette takes 5 minutes and works beautifully for very formal or modern weddings.
- Use hot rollers instead of a curling iron if you’re multitasking—set them while doing makeup and remove for instant curls before leaving.
- Headband hacks create instant style: place a decorative headband on, tuck hair behind it in sections, and you’ve created a faux-updo in minutes.
- Dry shampoo and texturizing spray become your best friends for quick styles, adding volume and grip that make hair easier to manipulate quickly.
12. Weather-Proofing Your Hairstyle

Environmental factors can make or break a wedding hairstyle—prepare for whatever Mother Nature brings to ensure picture-perfect hair all day.
- For humid conditions, use anti-frizz serum before styling and finish with humidity-resistant hairspray that creates a protective barrier against moisture.
- In dry climates, incorporate hydrating products and avoid overly matte texturizers that can make hair appear dull or straw-like in photos.
- Wind-proof updos by ensuring every strand is securely pinned—loose, flowing styles look romantic but won’t survive outdoor, breezy ceremonies.
- Rain preparation involves waterproof styling products and styles that incorporate your hair’s natural texture rather than fighting against moisture-induced changes.
- Hot weather calls for styles that keep hair off your neck and face, such as high buns, braided updos, or slicked-back looks that prevent sweating.
- Cold weather static is combated with leave-in conditioner, avoiding plastic combs, and lightly misting hair with water before touching up throughout the day.
- For beach weddings, embrace textured, tousled styles rather than fighting natural wave patterns that ocean air will inevitably create.
- Set your style with multiple layers of hairspray, allowing each layer to dry before applying the next for weather-resistant hold.
- Bring a small bottle of your hairspray to reapply during outdoor cocktail hours or whenever you notice your style beginning to falter.
- Consider the venue’s specific conditions—air-conditioned ballrooms dry hair out while outdoor tented receptions may be humid despite weather forecasts.
Conclusion
Mastering how to style wedding guest hairstyles for medium hair empowers you to look and feel confident at any celebration.
From understanding your unique hair texture and selecting the right tools to creating everything from romantic braids to sleek modern styles, you now have a complete toolkit for wedding hair success.
Remember that the best hairstyle is one that makes you feel beautiful while staying secure through hours of festivities, complements your face shape and outfit, and allows you to celebrate without worry.
Whether you choose an elegant updo, flowing waves, or an intricate braid, proper preparation with quality products, strategic pinning techniques, and weather-appropriate finishing sprays ensures your hair looks stunning from the first photos through the last dance.
Practice your chosen style at least once before the event, bring emergency touch-up supplies, and most importantly, select a look that reflects your personal style while honoring the formality of the occasion—because when your hair looks great, you’ll radiate confidence that makes every moment of the celebration even more memorable.