Cutting your own curly hair at home might seem intimidating, but with the right knowledge and approach, you can achieve professional-looking results from the comfort of your bathroom.
Many curl enthusiasts have discovered the freedom and cost savings that come with mastering DIY hair cutting techniques specifically designed for textured hair.
“How to Cut Curly Hair at Home: 10 Expert Tips” will guide you through every step of the process, from gathering the essential tools to executing advanced cutting techniques that work harmoniously with your natural curl pattern.
This comprehensive guide addresses common fears and mistakes while providing practical solutions that ensure beautiful, even results.
You’ll learn how to assess your curl type, prepare your workspace, and execute cuts that enhance your natural texture rather than fighting against it.
These expert-approved methods will help you maintain healthy curls, save money on frequent salon visits, and gain the confidence to keep your curls looking their best between professional appointments.
1. Gather the Right Tools and Setup Your Space
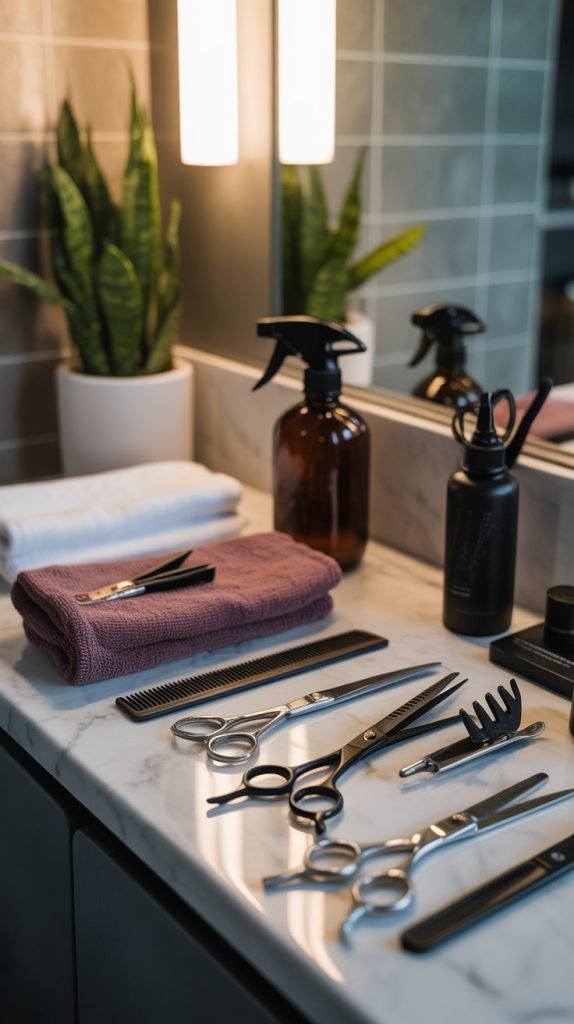
Success in cutting curly hair at home begins with having the proper equipment and creating an ideal workspace.
Professional-quality tools make a significant difference in achieving clean, precise cuts that promote healthy hair growth.
Setting up your space correctly ensures you have adequate lighting, mirrors, and organization to work efficiently and safely.
- Invest in sharp hairdressing scissors designed specifically for cutting hair
- Use a wide-tooth comb or detangling brush to section and manage curls
- Set up multiple mirrors to see all angles of your head during cutting
- Ensure adequate lighting from multiple sources to avoid shadows
- Keep a spray bottle filled with water nearby to maintain hair dampness
- Have sectioning clips ready to separate hair during the cutting process
- Place towels around your workspace to catch falling hair and maintain cleanliness
2. Choose the Right Time and Hair Condition
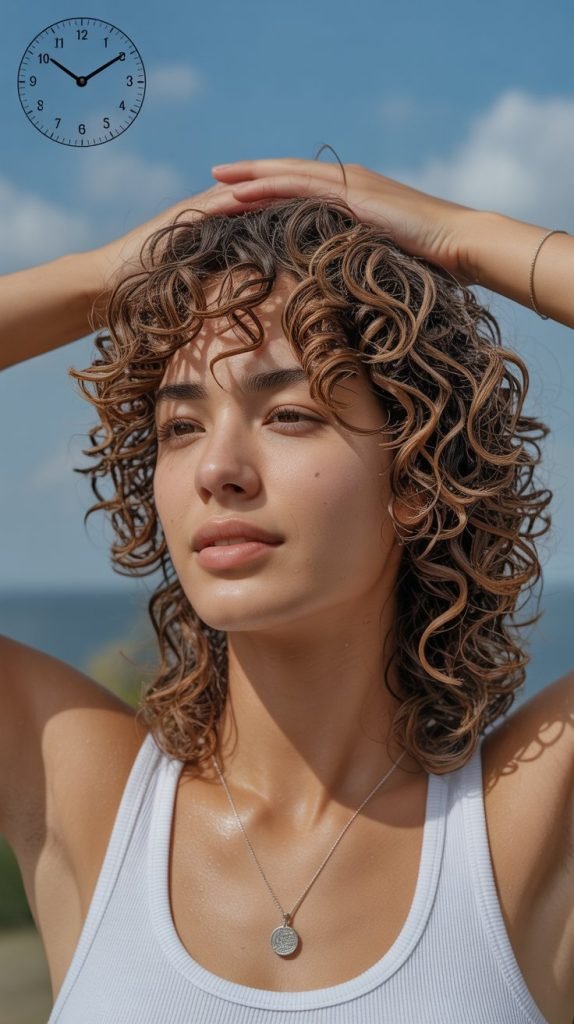
Timing and hair preparation are crucial factors that determine the success of your at-home curly hair cutting session.
The condition of your hair when you cut it affects how accurately you can assess length and curl pattern.
Planning your cutting session strategically ensures optimal results and reduces the likelihood of making mistakes.
- Schedule your cutting session when you have plenty of time and won’t be rushed
- Choose a day when you don’t need to go anywhere important afterward
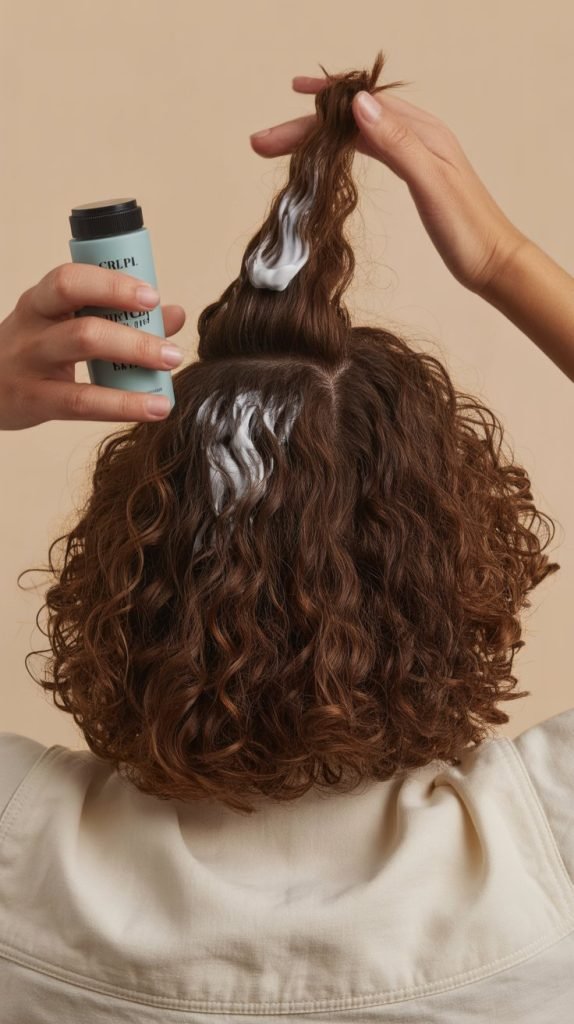
- Wash your hair with a clarifying shampoo to remove all product buildup
- Apply a lightweight conditioner and detangle thoroughly before cutting
- Cut hair when it’s damp but not soaking wet to see natural curl formation
- Avoid cutting during hormonal fluctuations that might affect hair texture
- Plan the session during daylight hours for the most accurate color and length assessment
3. Start with Small, Conservative Cuts
The golden rule of cutting curly hair at home is to always cut less than you think you need.
Curly hair springs up significantly when it dries, making it appear much shorter than when wet.
Conservative cutting allows you to gradually achieve your desired length while avoiding the disaster of cutting too much too quickly.
- Begin by trimming only quarter-inch sections at a time
- Remember that curly hair can shrink up to 50% when it dries completely
- Take frequent breaks to assess your progress and let curls spring back
- Focus on removing damaged ends rather than creating dramatic length changes
- Use the “less is more” approach especially if this is your first time cutting
- Keep track of how much you’ve cut from each section to maintain evenness
- Save major length changes for professional salon visits
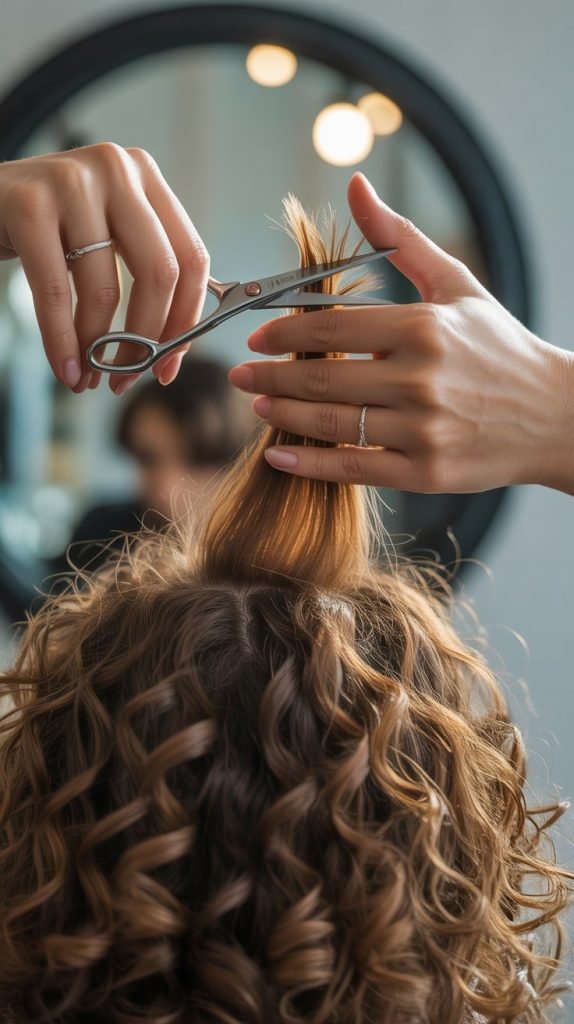
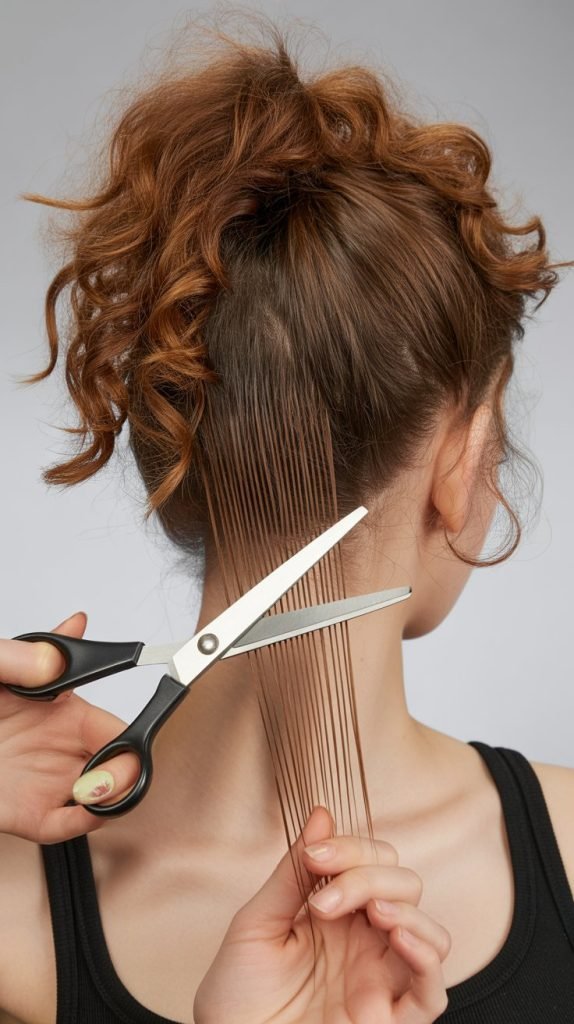
4. Master the Curl-by-Curl Cutting Technique
Individual curl cutting is the most effective method for achieving natural-looking results at home.
This technique respects each curl’s unique pattern and length, creating a customized cut that enhances your hair’s natural movement.
Cutting curl by curl prevents the choppy, uneven appearance that often results from traditional sectioning methods.
- Isolate each curl or small curl group before making any cuts
- Follow the natural spiral pattern of each individual curl
- Cut each curl at different points to create natural layering
- Allow each curl to spring back before moving to the next one
- Work systematically around your head to maintain balance
- Use this technique primarily on the bottom layers of hair
- Practice on less visible sections first to build confidence and skill
5. Use the Ponytail Method for Basic Layering
The ponytail cutting method is an excellent technique for beginners who want to create basic layers at home.
This method helps ensure evenness and prevents major mistakes while creating a foundation of layers that can be refined with other techniques.
It’s particularly effective for removing bulk and creating movement in thick, curly hair.
- Brush or comb all hair straight up into a high ponytail at the crown
- Secure the ponytail tightly with a strong elastic band
- Slide the elastic down to the desired cutting point
- Cut straight across above the elastic for basic layering
- Remove the elastic and let curls fall naturally to assess results
- Use this method only for creating subtle layers, not major length changes
- Follow up with curl-by-curl refinement for more precise shaping
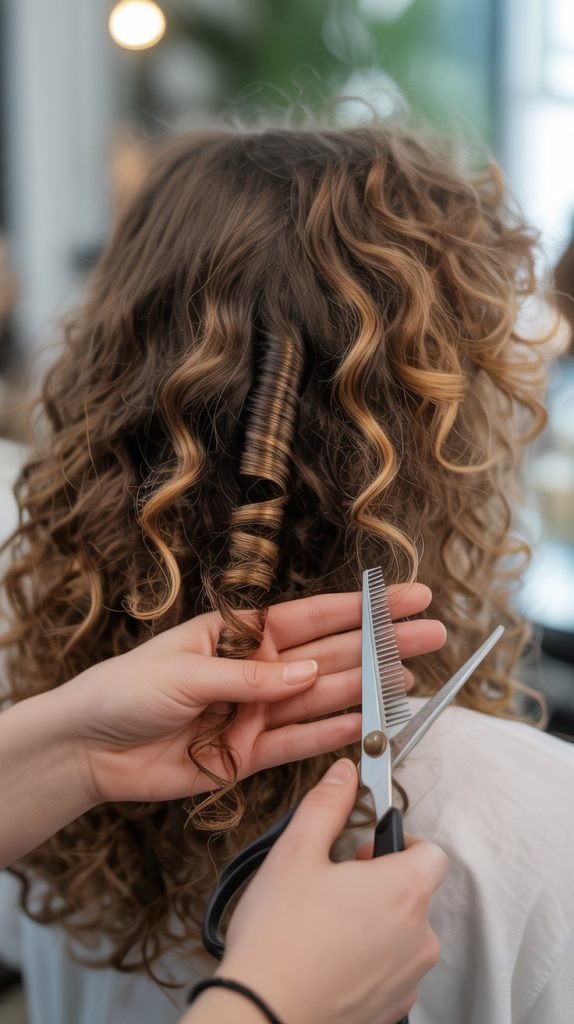
6. Perfect the Twist-and-Snip Technique
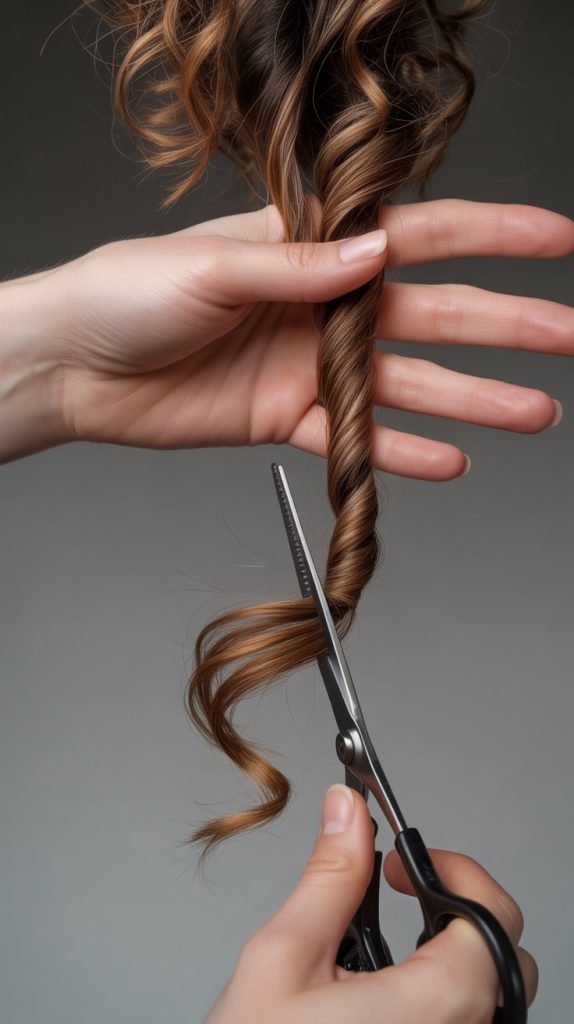
The twist-and-snip method is particularly effective for creating natural-looking layers while reducing bulk in curly hair.
This technique works with your hair’s natural curl pattern to create movement and prevent the hair from forming unflattering triangular shapes.
It’s an advanced method that requires practice but delivers professional-quality results.
- Take small sections of hair and twist them in the direction of natural curl pattern
- Make small cuts at different points along the twisted section
- Vary the angle and depth of cuts to create organic-looking layers
- Focus on areas where you want to reduce bulk or add movement
- Use this technique sparingly to avoid over-thinning your hair
- Practice the motion without cutting first to build muscle memory
- Work on damp hair for better control and visibility of the curl pattern
7. Address Problem Areas with Strategic Cutting
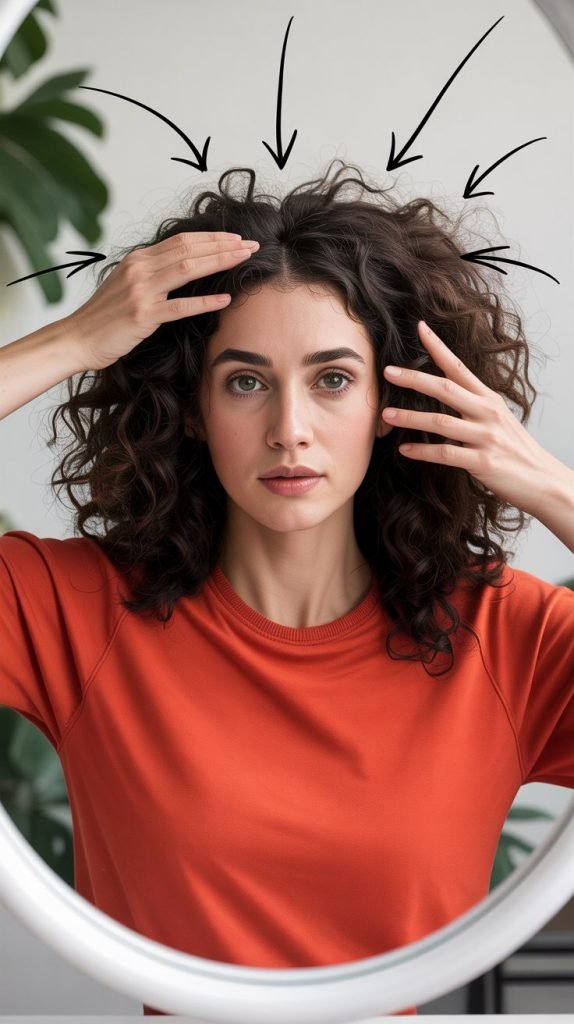
Every curly-haired person has specific areas that tend to be problematic, such as pieces that stick out, areas with different curl patterns, or sections that appear heavier than others.
Learning to identify and address these problem areas strategically can dramatically improve your overall hair shape and manageability.
- Identify sections that consistently misbehave or stick out awkwardly
- Look for areas where the curl pattern changes and adjust cutting technique accordingly
- Address weight lines that create unflattering shapes or bulk
- Cut face-framing pieces slightly shorter to enhance facial features
- Remove individual curls that disrupt the overall silhouette
- Pay special attention to the crown area where hair often appears thicker
- Use different cutting techniques for different problem areas rather than one-size-fits-all approach
8. Know When to Stop and Seek Professional Help
Recognizing your limitations is crucial for successful at-home curly hair cutting.
Some situations require professional expertise, and attempting complex cuts at home can result in costly mistakes.
Understanding when to stop and consult a professional can save you from hair disasters and help maintain your hair’s health and appearance.
- Stop immediately if you notice major unevenness developing
- Seek professional help for dramatic length changes or style transformations
- Don’t attempt to fix major mistakes yourself without professional guidance
- Consider professional consultation for complex curl patterns or damaged hair
- Book a salon appointment if you’re feeling overwhelmed or unsure
- Use home cutting only for maintenance trims and minor adjustments
- Remember that professional stylists have years of training and experience
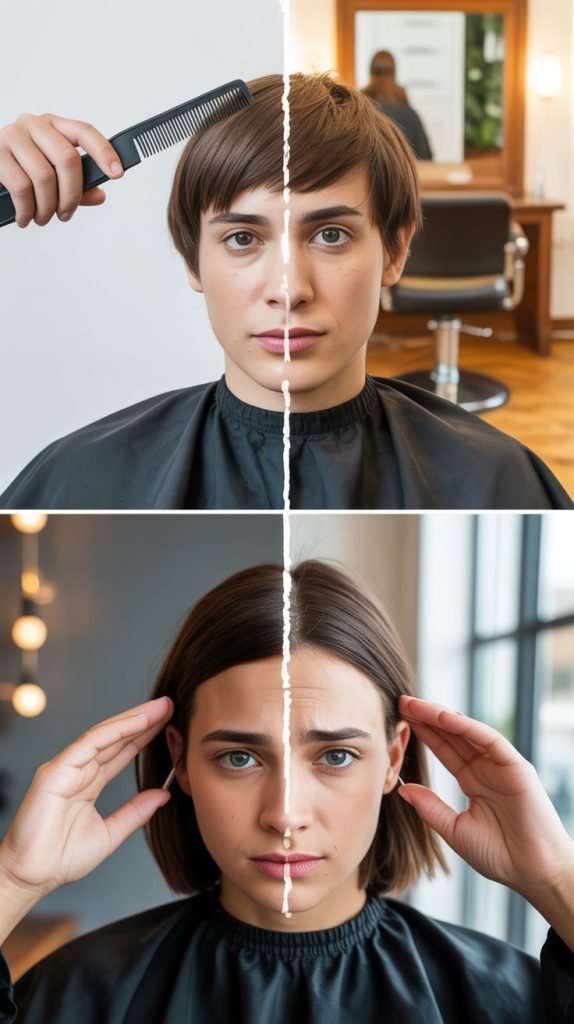
9. Style and Assess Your Results Properly
How you style your hair immediately after cutting significantly impacts your ability to assess the results accurately.
Proper styling techniques help you see the true outcome of your cutting session and identify any areas that need adjustment.
This step is crucial for determining whether additional cuts are needed.
- Apply your usual styling products using your preferred techniques
- Allow hair to air dry completely in its natural curl pattern
- Avoid touching or manipulating curls while they dry
- Assess the results only after hair is completely dry and styled
- Take photos from multiple angles to evaluate evenness and shape
- Live with the cut for a few days before making additional adjustments
- Document what works and what doesn’t for future cutting sessions
10. Maintain Your Cut with Regular Touch-Ups
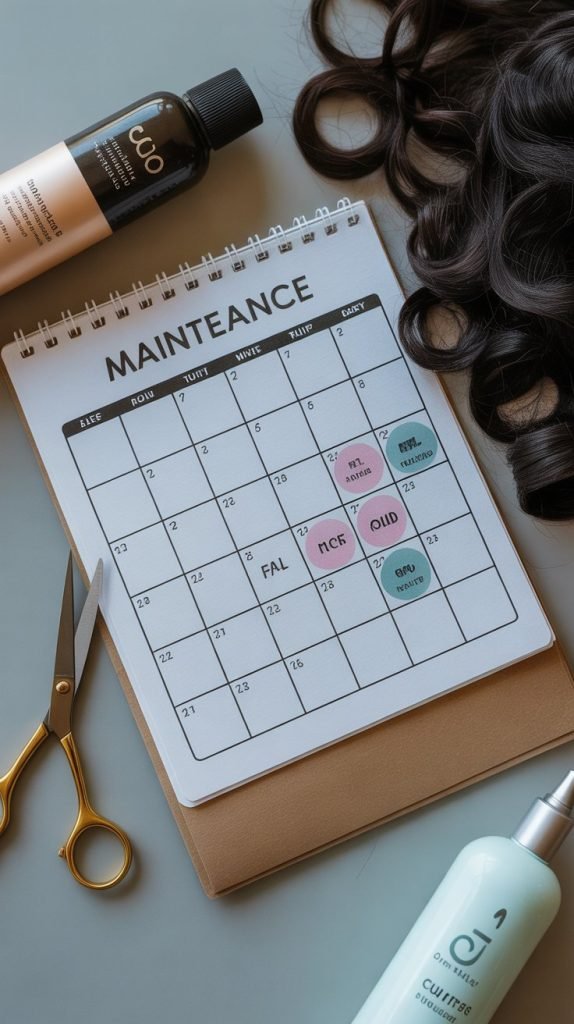
Regular maintenance is essential for keeping your home-cut curly hair looking its best between major cutting sessions.
Learning to do minor touch-ups helps extend the life of your cut and keeps your curls healthy and manageable.
Establishing a maintenance routine prevents small problems from becoming major issues.
- Schedule light trims every 6-8 weeks to maintain shape and remove split ends
- Focus maintenance cuts on removing damaged ends and addressing new problem areas
- Keep detailed notes about what techniques work best for your specific curl pattern
- Take progress photos to track improvements in your cutting skills over time
- Adjust your cutting routine based on seasonal changes in your hair’s behavior
- Develop a relationship with a professional stylist for periodic major cuts
- Continue learning new techniques through practice and research
Mastering “How to Cut Curly Hair at Home: 10 Expert Tips” opens up a world of hair independence and creative freedom that many curly-haired individuals find liberating.
These expert-approved techniques provide a solid foundation for achieving beautiful results while avoiding common pitfalls that can damage your curls or create unflattering shapes.
Remember that becoming proficient at cutting your own curly hair takes time, practice, and patience with yourself as you learn.
Start conservatively, focus on maintaining healthy hair rather than dramatic transformations, and don’t hesitate to seek professional help when needed.
The confidence that comes from successfully maintaining your own curls at home is incredibly rewarding and can save you significant time and money over the years.
With consistent practice and adherence to these professional techniques, you’ll develop the skills needed to keep your curls looking salon-fresh between professional appointments while gaining a deeper understanding of your unique curl pattern and styling needs.
