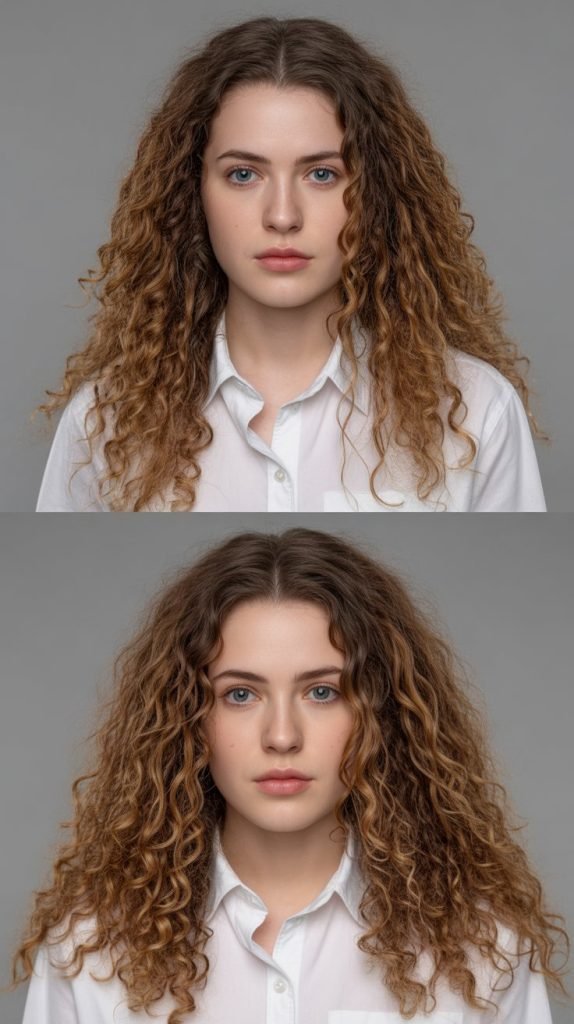
Creating beautiful, bouncy curls at the ends of your hair doesn’t require expensive curling irons or complicated styling tools that clutter your vanity.
Learning how to curl the ends of your hair with a straightener opens up a world of effortless styling possibilities that can transform your everyday look into something polished and sophisticated in just minutes.
This versatile technique allows you to add movement, volume, and personality to your hair while maintaining sleek, straight lengths through the mid-section and roots.
Whether you want subtle flipped ends for a classic look, dramatic curls for special occasions, or trendy inward curls for a modern bob style, mastering this skill will revolutionize your hair routine.
This comprehensive guide will walk you through every step of the process, from selecting the right straightener and preparing your hair properly to advanced techniques that create salon-quality results at home, ensuring you achieve gorgeous curled ends that last all day.
In This Post......
- 1. Choosing the Perfect Straightener for End Curling
- 2. Preparing Your Hair for End Curling Success
- 3. Basic End Curling Technique Step-by-Step
- 4. Creating Different End Curl Styles
- 5. Temperature Settings for Optimal Results
- 6. Troubleshooting Common End Curling Problems
- 7. Advanced Techniques for Professional Results
- 8. Finishing and Setting Your Curled Ends
- 9. Maintaining Your Curled Ends Throughout the Day
- 10. Styling Variations for Different Hair Lengths
1. Choosing the Perfect Straightener for End Curling
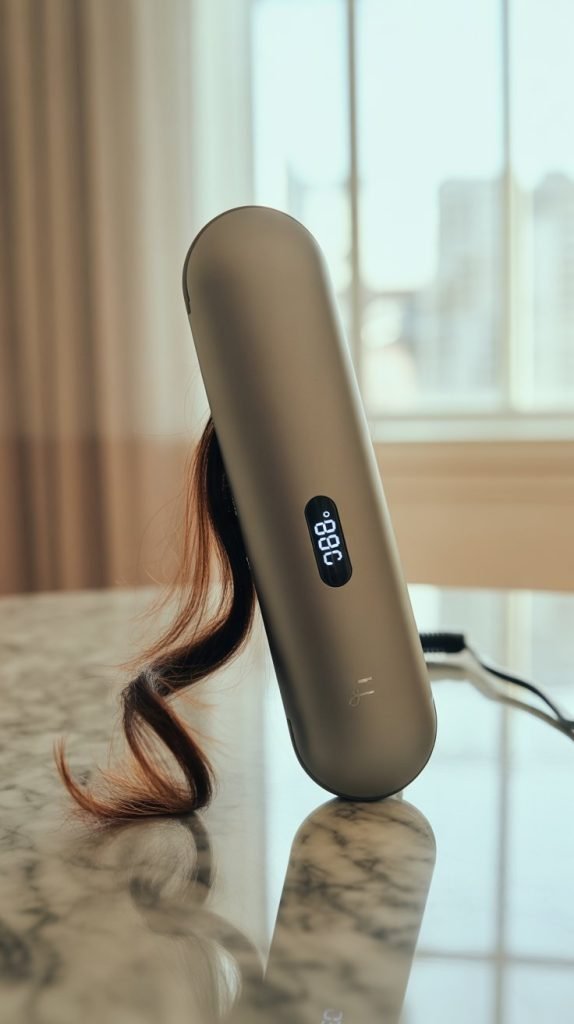
Selecting the right flat iron is crucial for achieving beautiful curled ends, as certain features make the curling process easier and more effective.
The width, plate material, and design elements of your straightener directly impact your success with this technique.
- Look for straighteners with plates between 1 to 1.5 inches wide, which provide the optimal balance of control and curl formation for most hair lengths
- Choose models with rounded edges rather than sharp corners, as rounded plates glide smoothly through hair and create seamless curls without unwanted creases
- Select ceramic or tourmaline plates that distribute heat evenly and reduce frizz, creating smoother, shinier curled ends
- Opt for straighteners with floating plates that adjust automatically to your hair thickness, ensuring consistent pressure throughout the curling process
- Consider models with beveled edges that make the rotation motion smoother and more natural when creating curls
- Ensure your straightener has precise temperature controls, allowing you to customize heat settings based on your hair type and desired curl intensity
- Look for straighteners with smooth, snag-free plates that won’t catch or pull hair during the curling motion
2. Preparing Your Hair for End Curling Success
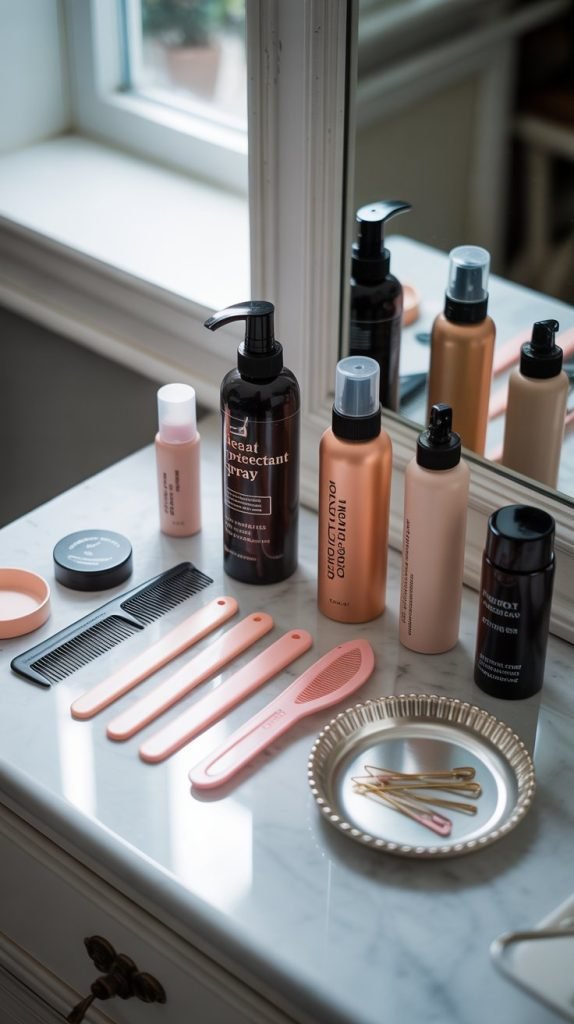
Proper preparation sets the foundation for beautiful, long-lasting curled ends and protects your hair from heat damage.
The right prep work ensures your curls hold their shape and look polished throughout the day.
- Start with clean, completely dry hair to ensure optimal heat distribution and prevent steam damage that can occur with damp hair
- Apply a high-quality heat protectant spray from mid-length to ends, concentrating on the areas you plan to curl for maximum protection
- Use a lightweight volumizing mousse or texturizing spray to add grip and hold, making it easier for curls to form and last longer
- Brush through your hair with a wide-tooth comb or paddle brush to eliminate tangles that could interfere with smooth curling motions
- Section your hair horizontally if you have thick hair, working with the bottom layer first and keeping upper sections clipped away
- Allow any styling products to dry completely before beginning the curling process to prevent product buildup or uneven application
- Consider applying a small amount of lightweight hair oil to very dry or damaged ends for added protection and shine
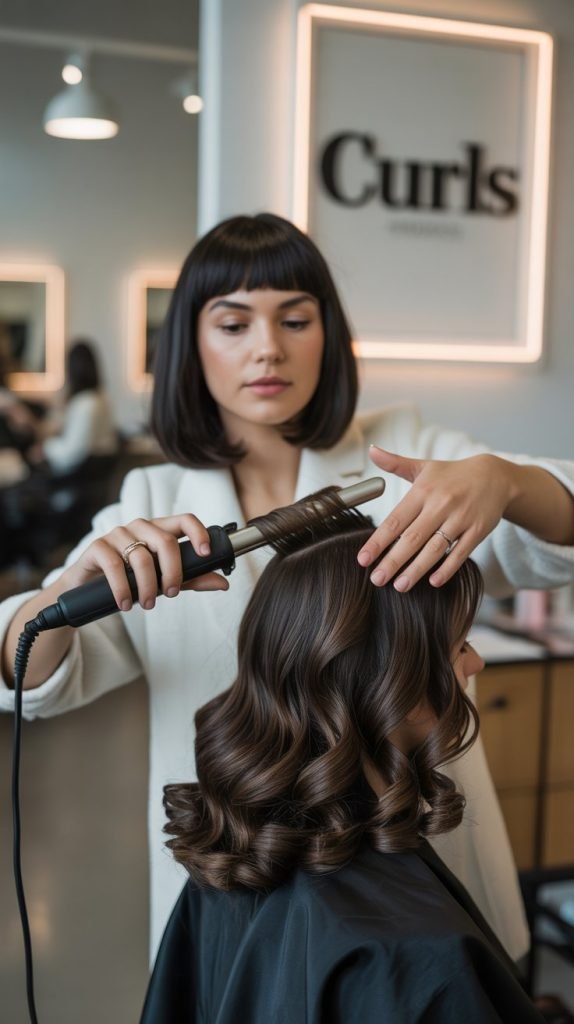
3. Basic End Curling Technique Step-by-Step
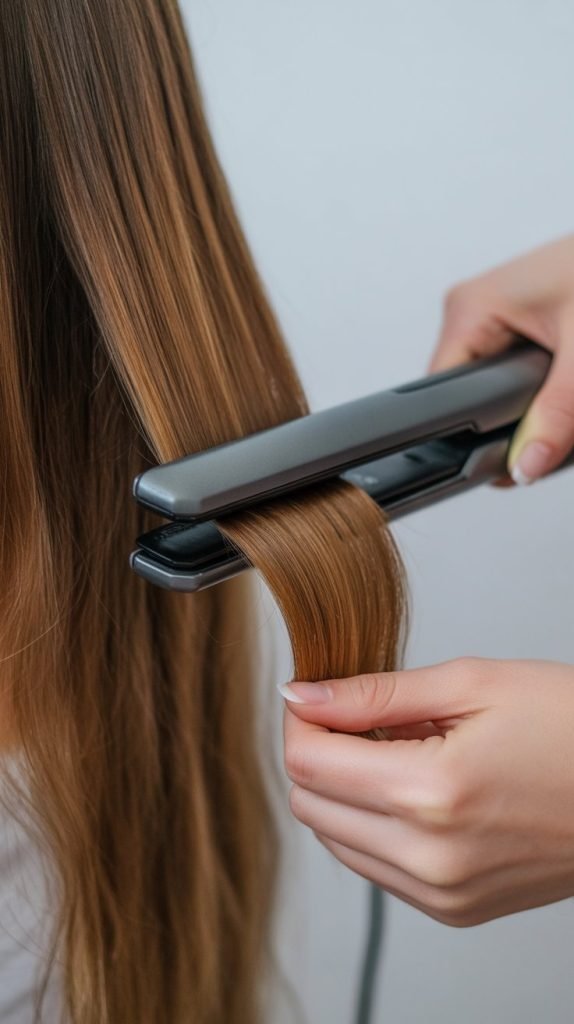
Mastering the fundamental technique for curling hair ends with a straightener requires understanding the proper hand positioning, timing, and movement patterns.
This foundational skill forms the basis for all other end curling variations.
- Take a section of hair about 1-2 inches wide, starting with smaller sections until you master the technique and build confidence
- Position the straightener about 2-3 inches from the ends of your hair, leaving enough length to create a visible curl
- Clamp the hair gently but firmly between the plates, ensuring the hair is centered and not bunched to one side
- Rotate the straightener 180 degrees in the direction you want the curl to face, typically away from your face for most flattering results
- Slowly glide the straightener down toward the ends while maintaining the rotated position throughout the entire motion
- Release the hair and allow the curl to cool in your palm for a few seconds to help set the shape before letting it fall naturally
- Continue this process section by section, working systematically around your head for even, consistent results
4. Creating Different End Curl Styles
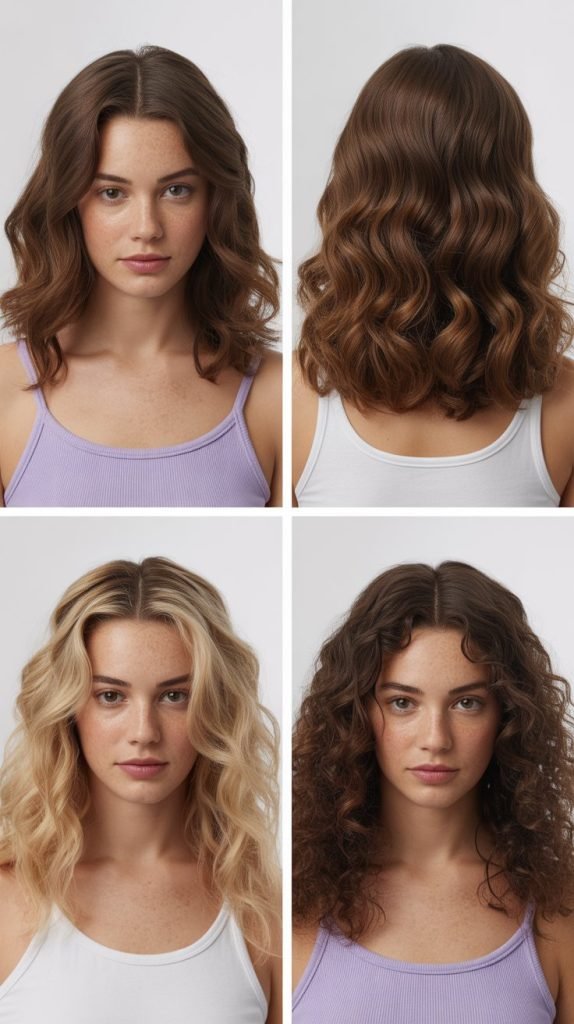
Various end curl styles can be achieved by modifying your technique, creating looks that range from subtle and professional to dramatic and glamorous.
Understanding these variations allows you to customize your style for different occasions and personal preferences.
- For classic flipped ends, rotate the straightener outward (away from your face) to create bouncy, voluminous curls that open up your face
- Create inward curls by rotating the straightener toward your face, producing a sleek, sophisticated look that frames your features beautifully
- Achieve loose, beachy waves by using larger hair sections and rotating the straightener only 90 degrees instead of the full 180
- Form tight, defined curls by using smaller sections and rotating the straightener 360 degrees for maximum curl formation
- Alternate curl directions throughout your head by switching between inward and outward rotations for natural-looking movement
- Create asymmetrical styles by curling one side more dramatically than the other for modern, edgy appeal
- Blend different curl intensities by varying your rotation angle and section sizes throughout your hair for dimensional texture
5. Temperature Settings for Optimal Results

Understanding the correct temperature settings for your hair type prevents damage while ensuring your curls form properly and last throughout the day.
Different hair textures require specific heat levels for optimal curl formation and retention.
- Fine or color-treated hair should use temperatures between 250-300°F to prevent heat damage while still achieving visible curl formation
- Normal to medium-textured hair performs best at temperatures between 300-350°F for good curl hold without excessive heat exposure
- Thick, coarse, or resistant hair may require temperatures up to 400°F to penetrate the hair shaft and create lasting curls
- Damaged or over-processed hair should stay at the lower end of recommended ranges, typically not exceeding 280°F
- Start with lower temperatures and gradually increase if your curls aren’t holding, as it’s easier to add heat than repair damage
- Consider your environment’s humidity level, as higher moisture in the air may require slightly higher temperatures for curl retention
- Test temperature settings on a small, hidden section before styling your entire head to ensure optimal results without damage
6. Troubleshooting Common End Curling Problems
Even experienced stylists encounter challenges when curling hair ends, but understanding common issues and their solutions ensures consistently beautiful results.
Recognizing these problems early prevents frustration and helps you achieve your desired look.
- Fix curls that won’t hold by increasing your straightener temperature by 25-50 degrees and holding each curl in your palm longer to set
- Eliminate kinks or creases by ensuring your straightener plates are clean and smooth, and maintaining steady pressure throughout the motion
- Correct uneven curl patterns by using consistent section sizes and maintaining the same rotation angle for each piece
- Address curls that flip in the wrong direction by paying careful attention to which way you rotate the straightener for each section
- Prevent frizzy or rough-looking curls by moving the straightener more slowly through each section and using adequate heat protection
- Solve the problem of curls that are too tight by using larger hair sections or reducing your rotation angle to 90 degrees instead of 180
- Fix curls that fall out immediately by allowing each section to cool completely before releasing and using appropriate styling products
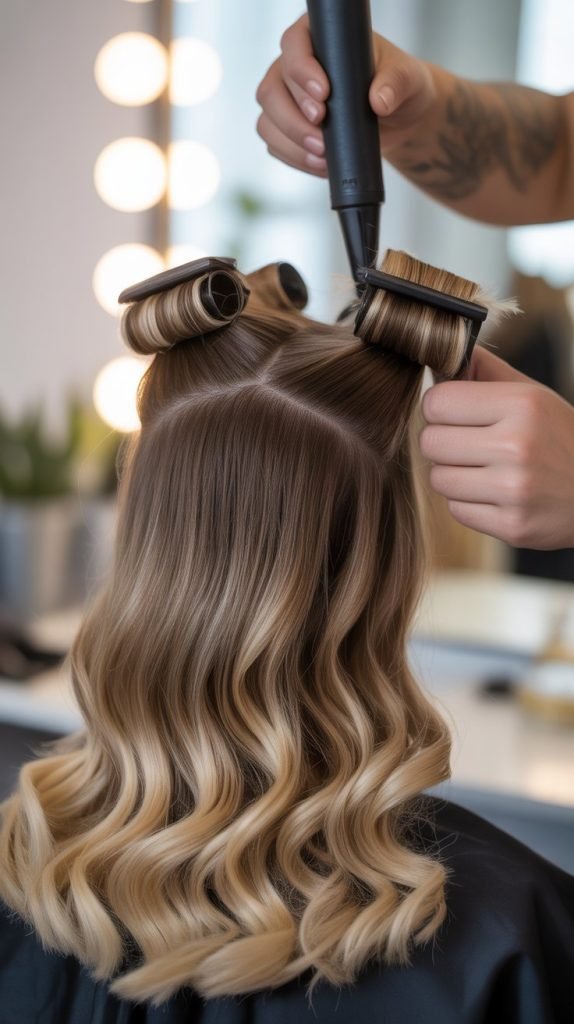
7. Advanced Techniques for Professional Results
Sophisticated end curling methods elevate your styling from basic to professional quality, creating more natural-looking results that appear effortlessly styled.
These advanced techniques require practice but produce stunning, salon-worthy outcomes.
- Master the “ribbon curl” technique by feeding hair through the straightener like a ribbon, creating smooth, consistent curl patterns
- Try the “twist and turn” method, adding a slight twist to your hair section before curling for enhanced texture and dimension
- Learn the “layered curling” approach, curling different layers at slightly different angles to create natural-looking depth and movement
- Practice the “speed variation” technique, moving the straightener at different speeds through various sections for varied curl intensity
- Develop the “tension control” method, adjusting pressure on the straightener plates to create different curl tightness levels
- Perfect the “cooling technique,” using your fingers to shape curls while they’re still warm for customized curl patterns
- Master the “blending method,” seamlessly connecting curled ends with straight lengths for professional, polished transitions
8. Finishing and Setting Your Curled Ends
The final steps in your curling routine determine how long your style lasts and how polished it appears throughout the day.
Proper finishing techniques lock in your curls and add professional polish to your look.
- Allow all curls to cool completely before touching or styling them further, as warm hair is still malleable and easily disrupted
- Gently run your fingers through the curled sections to separate and soften any harsh lines for a more natural appearance
- Apply a light mist of flexible-hold hairspray from 8-10 inches away to set curls without weighing them down or creating stiffness
- Use a wide-tooth comb or your fingers to gently blend the transition between straight lengths and curled ends for seamless flow
- Add a tiny amount of lightweight shine serum to your palms and lightly smooth over curls for added gloss and frizz control
- Consider using a diffuser attachment on cool setting to lock in curl patterns if you need to speed up the cooling process
- Finish with a gentle shake of your head to allow curls to fall naturally and settle into their final position
9. Maintaining Your Curled Ends Throughout the Day
Keeping your curled ends looking fresh and defined from morning until night requires strategic maintenance techniques and touch-up methods.
Understanding how to preserve your style extends its lifespan significantly.
- Sleep with hair in a loose top knot or silk scrunchie to prevent flattening while maintaining curl integrity overnight
- Carry a small travel-size straightener for quick touch-ups of sections that may have fallen flat during the day
- Use your fingers to gently scrunch and reshape curls that have lost definition, reactivating styling products and curl memory
- Apply dry texturizing spray to refresh curls and add grip when they start to look limp or lose their bounce
- Avoid touching or playing with your curls excessively, as oils from your hands can weigh them down and cause frizz
- Refresh curls in humid weather by misting lightly with water and rescrunching to reactivate curl-enhancing products
- Pin sections temporarily if they’re falling flat, allowing them to reset in the curled position for a few minutes
10. Styling Variations for Different Hair Lengths
Different hair lengths require adapted techniques and create unique opportunities for end curling styles.
Understanding how to work with various lengths maximizes your styling potential and ensures flattering results.
- For shoulder-length hair, focus on creating gentle curves that complement your neckline and add movement without overwhelming your frame
- Medium-length hair offers the most versatility, allowing for dramatic curls, subtle waves, or alternating curl patterns for dimensional texture
- Long hair requires sectioning into multiple layers, curling each level separately to ensure even heat distribution and consistent results
- Bob cuts benefit from inward curls that enhance the geometric shape while adding softness and femininity to sharp lines
- Layered hair should follow the natural layer pattern, curling each layer to enhance the cut’s movement and prevent competing textures
- Asymmetrical cuts require strategic curl placement to complement rather than fight against the hair’s natural fall and design
- Very long hair may need multiple passes or higher heat settings for the ends, as they’re often older and more resistant to styling
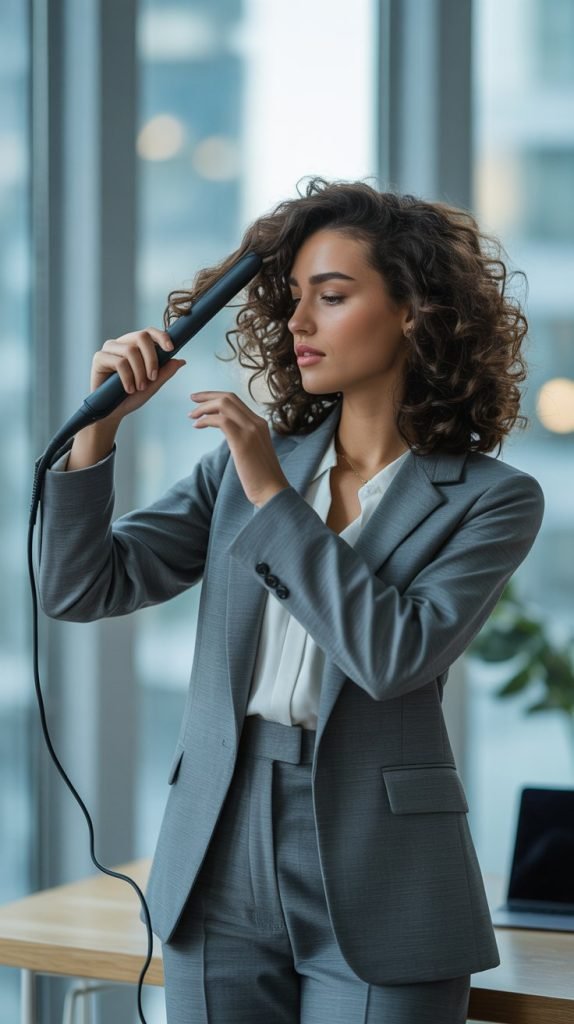
Perfect curls at your hair ends become an achievable daily reality when you master how to curl the ends of your hair with a straightener using these professional techniques and insider secrets.
With the comprehensive knowledge of proper preparation, temperature control, technique variations, and maintenance methods outlined in this guide, you now have everything needed to create gorgeous, salon-quality curled ends that enhance your natural beauty and complement any hairstyle.
Remember that like any skill, perfecting this technique takes practice and patience, but the versatility and convenience of using your straightener for multiple styling purposes makes it well worth the effort.
Whether you’re preparing for work, a special occasion, or simply want to add some flair to your everyday look, these proven methods will help you achieve stunning curled ends that turn heads and make you feel absolutely confident and beautiful.