If your hair is feeling unruly, shapeless, or simply overdue for a refresh, you’re not alone—and you don’t have to wait for your next salon appointment to feel good again.
Whether you’re dealing with split ends, overgrown layers, or a heavy fringe, the solution could be as close as your bathroom mirror.
With a little patience and the right guidance, anyone can give themselves a neat and stylish haircut from home.
In this guide, Hair Needs Help? Learn to Cut It at Home!, you’ll learn how to assess your hair needs, gather the right tools, choose a suitable style, and follow beginner-friendly steps to transform your look safely and confidently.
Whether you’re trimming for maintenance or reshaping for style, this article gives you everything you need to take charge of your hair—right now.
In This Post......
- 1. Know When Your Hair Really Needs a Cut
- 2. Choose the Right DIY Cut for Your Hair Type
- 3. Gather Your Haircutting Essentials
- 4. Prep Your Hair for the Best Results
- 5. Follow a Step-by-Step Cutting Method
- 6. Add Finishing Touches for a Professional Look
- 7. Know When to Stop and When to Try Again Later
- Conclusion
1. Know When Your Hair Really Needs a Cut

Before you grab the scissors, it’s important to understand what signs indicate your hair needs a trim.
- You’re noticing split ends, frizz, or hair that tangles easily.
- Your hairstyle has lost its shape or looks flat and lifeless.
- Your bangs or layers are growing into your eyes or flipping outward.
- You’ve been wearing hats or ponytails more often to hide it.
- You feel less confident or polished because of your hair’s condition.
Even small trims can restore freshness and bounce—don’t wait until your hair feels unmanageable.
2. Choose the Right DIY Cut for Your Hair Type

Not all haircuts suit every texture or thickness—so match your cut to your natural hair type.
- Straight hair can handle clean, blunt lines or soft layers.
- Curly hair needs shaping while dry or damp to avoid shrinkage.
- Fine hair benefits from lightweight layers to add volume.
- Thick hair may need thinning or texturizing techniques.
- Consider your lifestyle: low-maintenance styles work best for busy routines.
| Hair Type | Best DIY Styles | Tools to Use |
|---|---|---|
| Straight | Blunt cut, curtain bangs | Shears, comb |
| Curly | Dry curl shaping, layered ends | Curl shears, clips |
| Fine | Long layers, feathered ends | Thinning scissors |
| Thick | Textured bob, soft layers | Razor or thinning shears |
3. Gather Your Haircutting Essentials
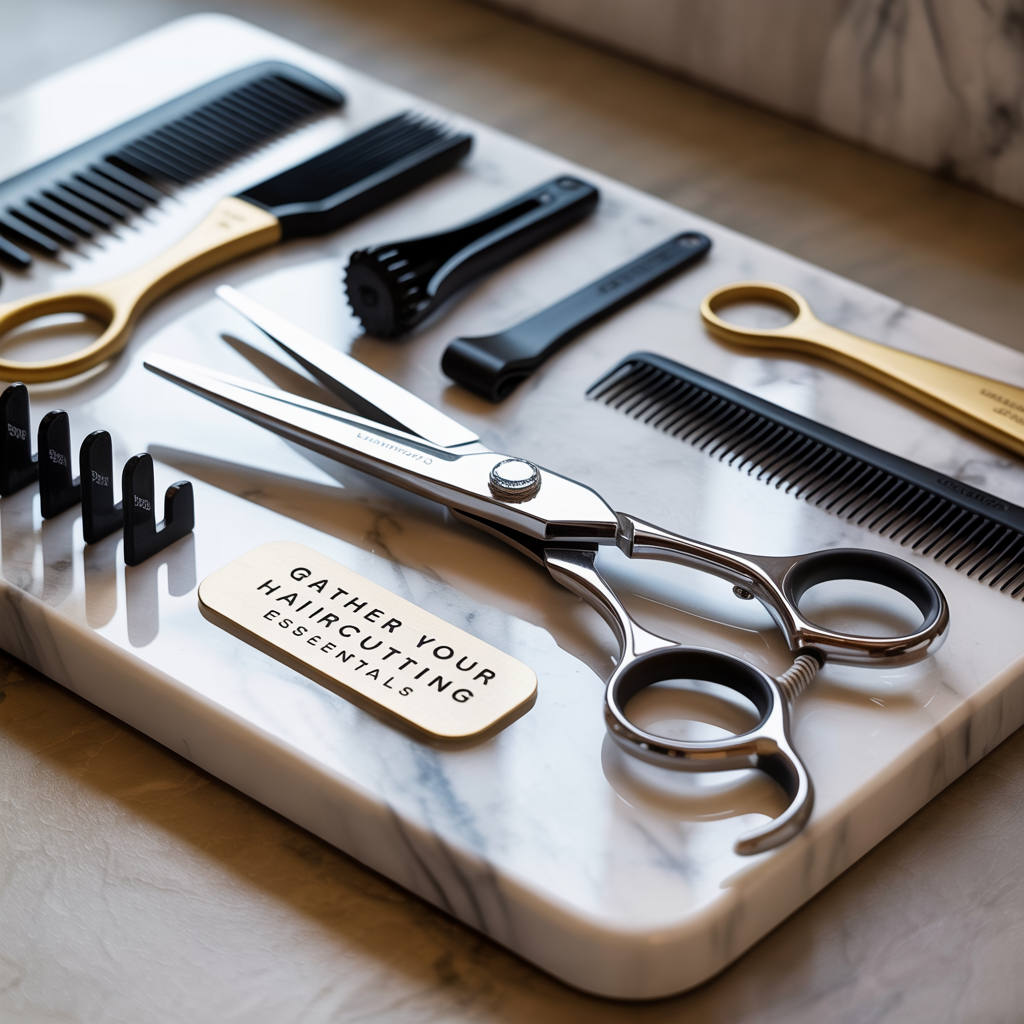
You don’t need a salon setup, but a few tools will make a big difference.
- Hair-cutting scissors are sharper and cleaner than household scissors.
- Sectioning clips help you work in parts and stay organized.
- A spray bottle is great for lightly misting straight or wavy hair.
- Two mirrors help check your work from the back.
- A wide-tooth and fine-tooth comb will guide accurate sectioning and length.
Preparation makes the process less stressful and more precise.
4. Prep Your Hair for the Best Results

Getting your hair ready before cutting ensures smoother lines and less guesswork.
- Start with clean, detangled hair that’s slightly damp (for straight or wavy hair).
- If your hair is curly, work with it dry and in its natural pattern.
- Use your comb to create your normal part—center, side, or zigzag.
- Divide your hair into at least four sections: top left, top right, back left, and back right.
- Clip the sections you’re not working on out of the way.
This methodical approach helps avoid uneven or rushed cuts.
5. Follow a Step-by-Step Cutting Method
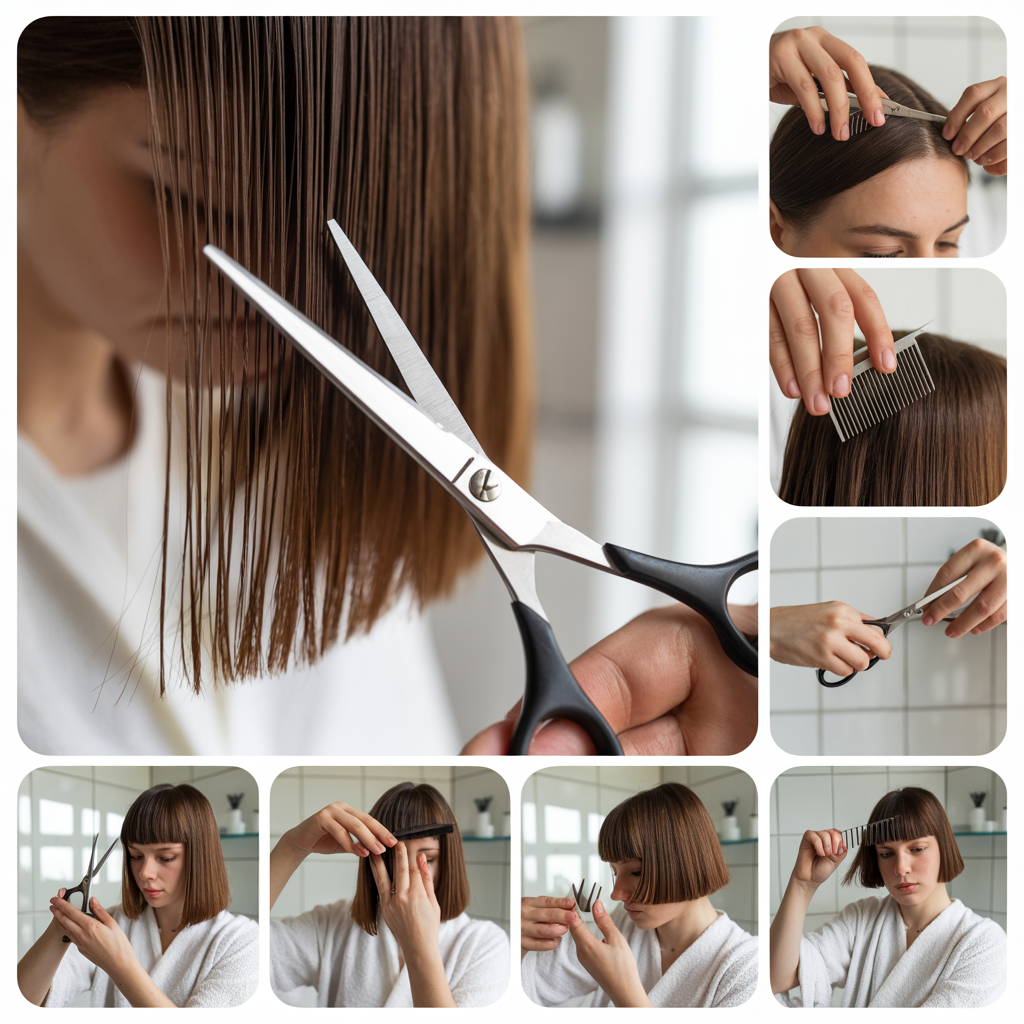
Now that you’re ready, follow this simple system for a basic trim or tidy-up.
- Start with the back sections, using your fingers or a comb as a guide.
- Cut small amounts—no more than half an inch at a time.
- Move to the sides and trim to match the back’s length and angle.
- Add layers by taking vertical sections and cutting upward slightly.
- For bangs, comb forward and trim slowly from the center outwards.
Work slowly, step back often, and adjust as needed—don’t rush the process.
6. Add Finishing Touches for a Professional Look

The details you add after cutting can make all the difference.
- Use a blow dryer or flat iron to style the cut and see the results clearly.
- Trim any stray hairs or long pieces that show after styling.
- Add a smoothing serum or leave-in spray to enhance shine and texture.
- Use a round brush for volume or a comb for a sleek finish.
- Clean your tools and store them in a safe place for next time.
Polishing your look helps the DIY cut feel intentional and salon-worthy.
7. Know When to Stop and When to Try Again Later

One of the best skills in home haircutting is knowing your limits.
- If the cut is mostly even but needs styling, stop there—you can always touch it up later.
- Avoid overcorrecting or cutting too much trying to fix small mistakes.
- For major style changes like pixie cuts or drastic bobs, consider watching multiple tutorials first.
- If you’re unsure, ask a friend to help with the back or use mirrors more often.
- Confidence comes with practice—start simple and build up your skills.
Less is more when you’re learning—and mistakes are easy to fix over time.
Conclusion
Learning to cut your own hair at home might seem intimidating, but with the right mindset, tools, and guidance, it’s absolutely possible—and empowering.
You can freshen your style, trim away damage, or even reshape your look with just a little care and preparation.
So if you’ve been looking in the mirror thinking, Hair Needs Help? Learn to Cut It at Home!, now is the perfect time to try it.
Trust your instincts, follow the steps, and take pride in your results. Your next great haircut might just be one snip away.
