Thinking about a bob cut but dreading the salon cost or the long wait time?
You’re not alone. The classic bob is one of the most timeless and flattering hairstyles for every face shape—and the best part?
You can achieve it yourself, right at home, without professional tools or training.
In this article, Want a Bob Cut? DIY It at Home Today!, you’ll find everything you need to cut a clean, chic bob by yourself.
From selecting the right bob style to step-by-step instructions, helpful tools, and finishing tips, this guide is designed to make you feel confident and in control of your new look.
Whether you’re trimming a grown-out cut or doing a bold makeover, we’ve got you covered.
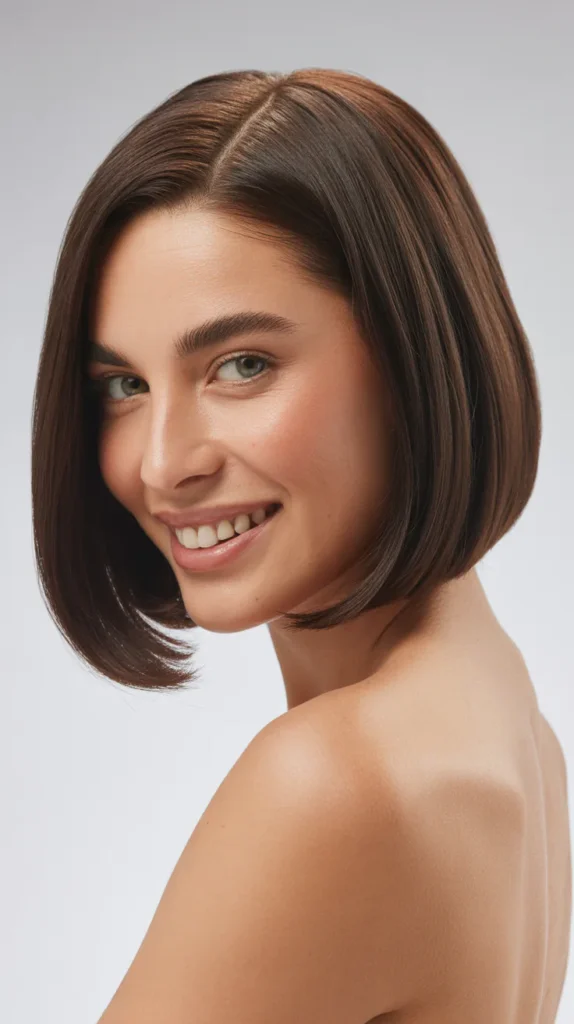
1. Choose the Right Bob Style for You

Let’s start by selecting the type of bob cut that suits your face shape and lifestyle.
- There are various bob styles to choose from: blunt bob, angled bob, layered bob, or inverted bob.
- Think about your face shape—round, oval, square, or heart—to determine the most flattering length.
- Consider how much maintenance you’re comfortable with; blunt bobs require more precision, while layered bobs are more forgiving.
- Look at recent photos of yourself or celebrities with similar features to gather inspiration.
- Decide whether you want bangs or face-framing layers with your bob.
| Bob Style | Best For | Maintenance Level |
|---|---|---|
| Blunt Bob | Oval or heart-shaped faces | High |
| Angled Bob | Round or square faces | Medium |
| Layered Bob | All face shapes | Low |
| Inverted Bob | Fine hair, wanting volume | Medium |
2. Gather the Tools You’ll Need

A successful DIY bob starts with the right tools on hand.
- Use sharp hair-cutting shears—do not use kitchen or office scissors.
- Sectioning clips help you divide your hair for better control.
- A fine-tooth comb helps measure even lengths.
- A handheld mirror or three-way mirror setup lets you see the back of your head.
- Keep a spray bottle handy to dampen your hair for precision.
Having everything laid out beforehand saves time and ensures a smooth process.
3. Prep Your Hair for Cutting

Proper preparation helps you achieve clean, even results.
- Wash and lightly condition your hair beforehand so it’s manageable.
- Towel-dry until damp—hair that is soaking wet can stretch and cause uneven cuts.
- Comb out tangles and part your hair the way you usually style it.
- Divide hair into four sections: two in the front, two in the back.
- Use clips to keep sections separated while you work.
Don’t skip prep—it’s the foundation of a good haircut.
4. Start Cutting the Back First

The back sets the structure for the rest of your bob, so it’s the best place to begin.
- Release one of the back sections and comb it straight down.
- Decide your desired length—just below the chin, jawline, or neck.
- Cut in small, straight horizontal sections using your comb as a guide.
- Always start longer than you think; you can trim more later.
- Match the opposite side to ensure symmetry.
Take your time—this is where the shape of your bob begins to take form.
5. Move to the Sides and Blend with the Back

Once the back is even, it’s time to bring everything together.
- Unclip the front sections and comb them straight down.
- Use the cut back section as a length guide for the sides.
- Cut downward at a slight angle if you want a more modern, angled bob.
- Keep the tension even with your comb to avoid an uneven cut.
- Cross-check both sides in a mirror to ensure balance.
This is also a great time to adjust face-framing lengths or add gentle curves at the ends.
6. Add Layers or Texture (Optional)

If you prefer volume or movement, soft layering can elevate your DIY bob.
- Pull up small vertical sections and snip the ends slightly for soft layers.
- Use the point-cutting method (snipping into the hair ends vertically) for texture.
- Focus on the crown area for volume or the front for softness.
- Don’t overdo it—less is more when layering at home.
- If you’re unsure, leave it blunt and revisit layering in your next trim.
This step adds a professional touch but is completely optional based on your style.
7. Clean and Style for a Polished Finish
You’re almost done! Now let’s finish the look with care and confidence.
- Blow-dry with a round brush to shape the bob and add volume.
- Use a flat iron to seal in the shape and smooth out the cut edges.
- Apply a light serum or styling cream for shine and hold.
- Clean up any uneven ends or missed strands once the hair is dry.
- Sanitize your scissors and tools for your next cut.
A styled bob helps you see the final result—and enjoy the rewards of your DIY effort.
Conclusion
A bob cut can instantly refresh your entire look—and you don’t have to wait for a salon appointment to make it happen.
With just a little preparation, the right tools, and guidance, you can confidently give yourself a sleek, stylish haircut at home.
So if you’ve been asking yourself, Want a Bob Cut? DIY It at Home Today!, this article gives you the tools, steps, and courage to make it happen.
Trust yourself and take that empowering step—your new favorite haircut might be one snip away.
