Ready to give your short hair a stunning, voluminous upgrade that’s all the rage?
If you’ve been captivated by the effortlessly chic butterfly haircut and are eager to achieve it on your shorter locks, then you’re in the right place!
This guide, How to Do a Short Butterfly Haircut, is your go-to resource for understanding and executing this beautiful, layered style.
We’ll break down the techniques step-by-step, making it accessible for you to either guide your stylist precisely or, if you’re feeling brave, even attempt a confident DIY transformation.
Prepare to unlock the secret to bouncy, face-framing layers that will make your short hair truly soar!
Here’s an overview of what we’ll delve into in this article: We’ll begin by explaining the core concept of a butterfly haircut adapted for shorter lengths.
Then, we’ll equip you with a list of essential tools and the crucial preparation steps before any cutting begins.
The main section will provide detailed, actionable steps for sectioning and cutting the hair to create those signature “wings” and voluminous layers.
Finally, we’ll cover important tips for checking your work, refining the cut, and maintaining your gorgeous new style.
1. Understanding the Short Butterfly Haircut Concept

Before attempting this cut, it’s vital to grasp the fundamental idea behind a butterfly haircut when applied to short hair.
This style isn’t about extreme length changes but rather about creating strategic layers that enhance movement and frame the face beautifully.
- The butterfly cut on short hair focuses on creating shorter, face-framing layers that curve away from the face.
- These layers are designed to add significant volume and bounce around the crown and sides.
- The overall goal is to give the illusion of more body and flow, mimicking the delicate movement of a butterfly’s wings.
- It works by layering hair in a way that allows the top, shorter layers to rest over the longer, underneath layers, creating a disconnected yet voluminous look.
2. Essential Tools for Success
Having the right tools is paramount for achieving a clean, precise, and satisfying short butterfly haircut. Using proper hair-cutting tools makes a significant difference in the final outcome and the health of your hair.
- Sharp Hair Shears: This is the most critical item. Invest in good quality hair shears; do not use kitchen or craft scissors, as they can damage hair and lead to split ends.
- Texturizing Shears (Thinning Shears): Recommended for removing bulk and creating softer, more blended ends, especially for thicker hair.
- Fine-Tooth Comb and Wide-Tooth Comb: A fine-tooth comb is crucial for precise sectioning, while a wide-tooth comb is for detangling.
- Hair Clips or Sectioning Clips: Use these to neatly separate and hold sections of hair while you work.
- Spray Bottle with Water: Essential for keeping your hair consistently damp throughout the cutting process.
- Large Mirror and Hand Mirror: Absolutely necessary for seeing all angles of your head, especially if you’re doing it yourself.
- Neck Cape or Towel: To protect your clothing and keep stray hairs off.
3. Preparing Your Hair for the Cut

Proper hair preparation is the foundational step for any successful haircut. Starting with hair in the optimal state ensures clean sections and allows for more accurate cutting.
- Wash and Condition Your Hair: Begin with freshly shampooed and conditioned hair. This removes any product buildup and ensures a clean canvas.
- Towel Dry Until Damp: Your hair should be damp, but not dripping wet. If it’s too wet, it will appear longer than it is, leading to over-cutting. If it’s too dry, it’s harder to get precise, clean lines.
- Thoroughly Detangle: Use your wide-tooth comb to gently remove all knots and tangles. Ensure the comb glides smoothly through your hair without resistance.
- Comb Hair into its Natural Part: Style your hair in your typical part (middle, side) as this will influence how the face-framing layers fall once cut.
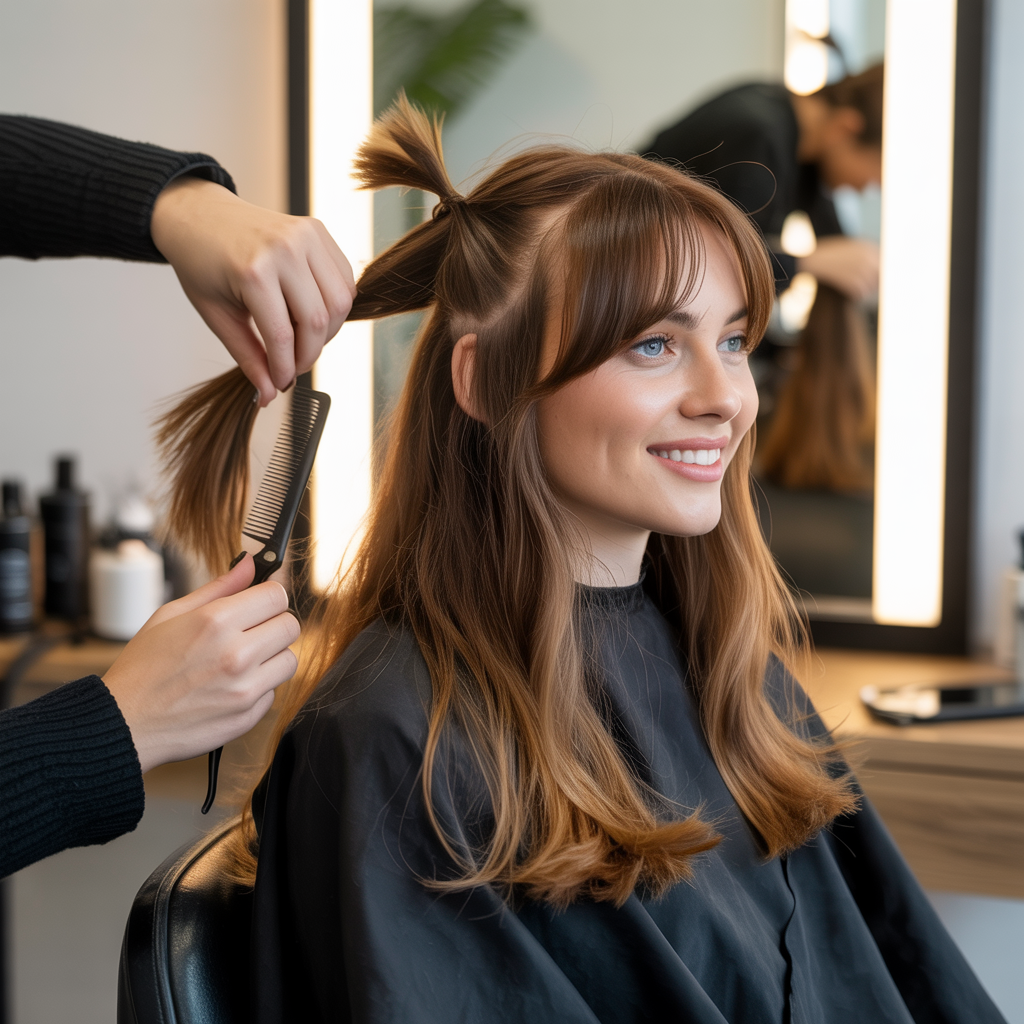
4. Creating the Two Key Ponytails for Layering
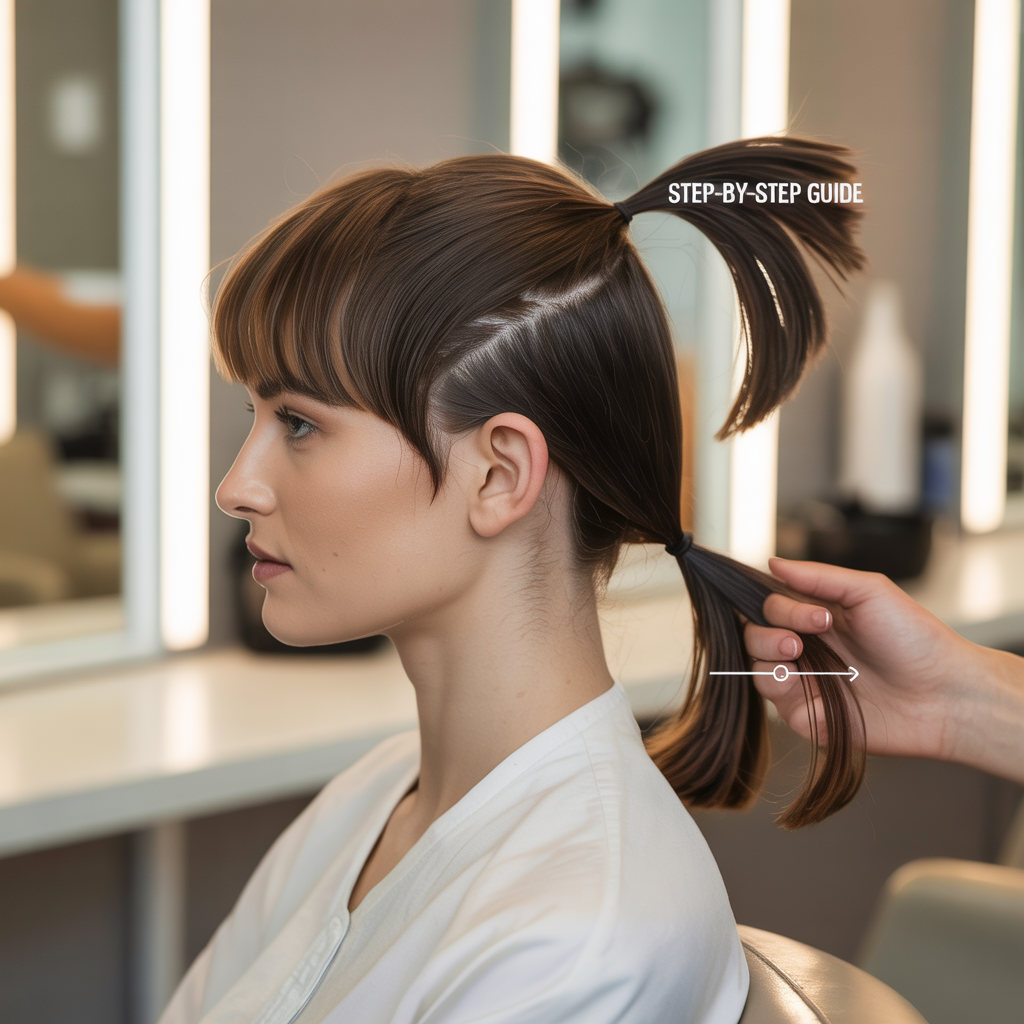
The “ponytail method” is a popular and effective technique for creating butterfly layers at home. It simplifies the process by grouping hair into sections that, when cut, automatically create the desired layers.
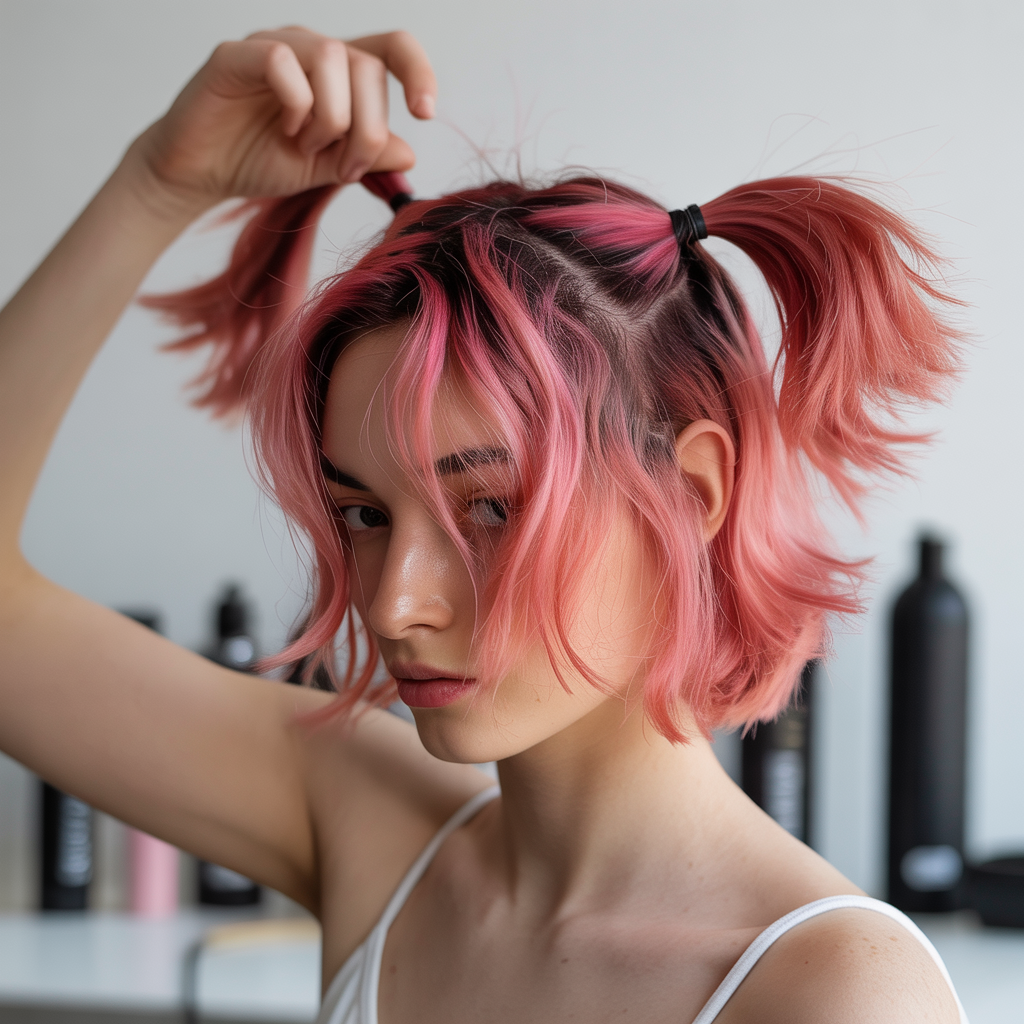
- First Ponytail (Front Layers): Comb all the hair from the very top of your head forward. This includes hair from the crown, temples, and hairline. Gather it into a smooth, tight ponytail placed directly on your forehead, centered between your eyebrows.
- Second Ponytail (Back Layers): For shorter hair, gather the remaining hair from the back of your head (below the first ponytail’s origin) into a second, lower ponytail. This ponytail will typically sit at the very top of your head, just behind the first, or slightly lower on the crown, depending on your hair length.
- Smoothness is Key: Ensure both ponytails are very smooth and free of bumps or loose strands. The cleaner the ponytail, the more even your layers will be.
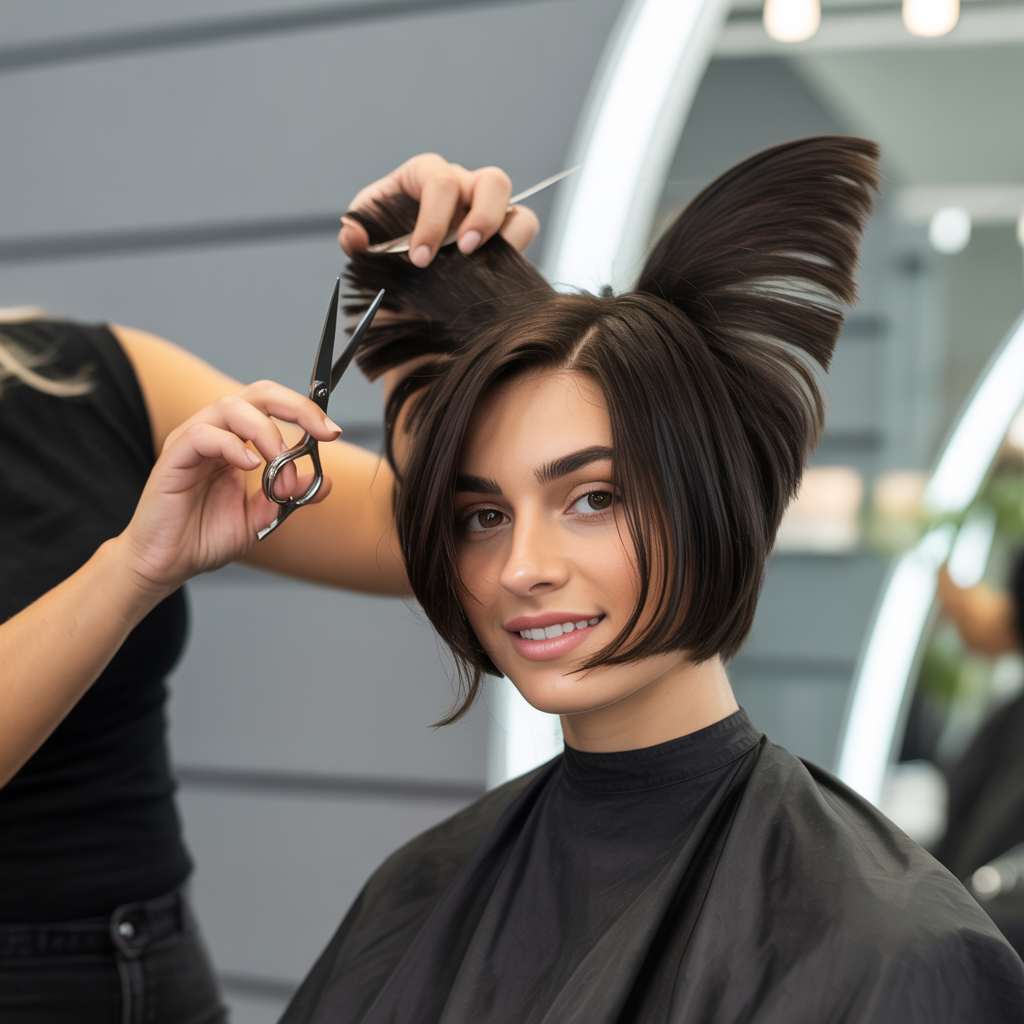
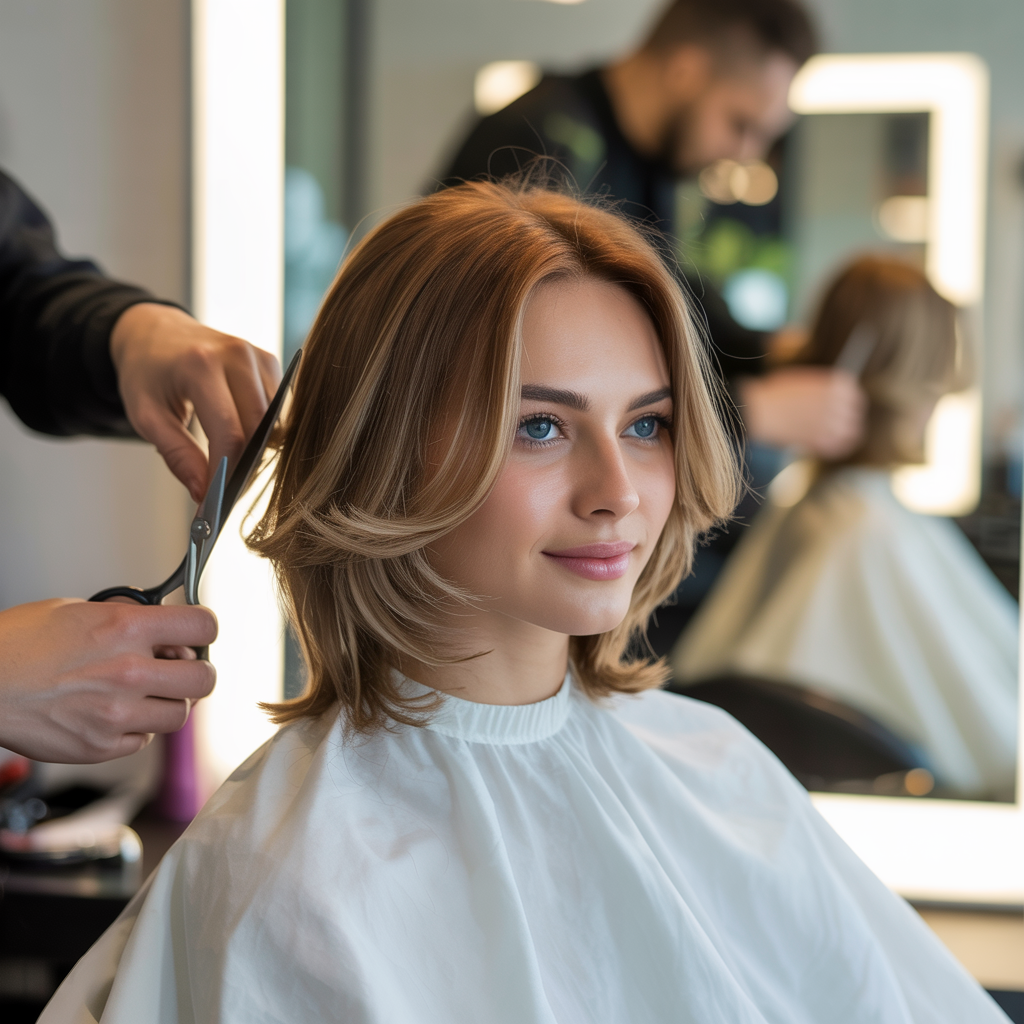
5. Cutting the Front Ponytail (The “Wings”)
This is the most crucial step for creating the defining face-framing “wings” of the butterfly haircut. Precision here will determine the look of your shortest layers.
- Determine Desired Length: Decide where you want your shortest face-framing layers to fall. For short hair, this is typically chin-length to collarbone-length. Remember, hair will spring up a bit when dry.
- Hold the Ponytail: Hold the first ponytail (on your forehead) straight out from your head, away from your face.
- Point Cutting Technique: Using your sharp hair shears, begin to point cut into the ends of the ponytail. This means holding the scissors vertically and snipping small notches into the hair.
- Avoid Blunt Cuts: Do not cut straight across! Blunt cuts will create a harsh line, whereas point cutting creates softness and feathering.
- Cut Gradually: Start by cutting off a small amount. You can always go shorter if needed.
- Release and Observe: Release the ponytail and comb your hair down. Your shortest face-framing layers should now be apparent.
6. Cutting the Second Ponytail (Connecting Layers)
The second ponytail is vital for creating the internal layers that connect the front “wings” to the rest of your hair, adding volume and ensuring a seamless blend.
- Hold the Second Ponytail: Take the second ponytail (from the crown/back) and hold it straight out, similar to the first, but pointing slightly backward.
- Use Front Layers as Guide: The goal here is to connect these new layers to the longest parts of your previously cut face-framing layers. You’ll be taking off less hair from this ponytail.
- Point Cut the Ends: Again, use the point cutting technique into the ends of this ponytail. You’re aiming for a soft, blended transition, not a blunt line.
- Consider Hair Thickness: If your hair is very thick, you can slightly angle your cut to remove a bit more weight from the ends of this ponytail.
- Release and Comb: Release the ponytail and comb through your hair, allowing the layers to fall naturally. You should notice increased movement and volume.
7. Refining and Blending the Sides and Back
Even with shorter hair, the sides and back need attention to ensure the butterfly layers flow cohesively with the rest of your cut. This is where the overall shape is perfected.
- Side Sections: Take small, vertical subsections of hair from the sides. Hold them out from your head and point cut into the ends, blending them with the existing layers.
- Back Section (Carefully!): For the back, this is where the two mirrors become essential. Take vertical subsections, elevate them slightly, and use point cutting to remove any weight or create additional subtle layers that connect the crown to the nape.
- Use Texturizing Shears (Optional): If your hair feels too heavy or dense, use your texturizing shears on the very ends of various layers to remove bulk and create a softer, diffused look. Use these sparingly to avoid making hair look thin.
- Cross-Check: Always cross-check your work by taking horizontal sections after cutting vertical ones (and vice-versa) to ensure evenness.
8. Checking for Symmetry and Balance
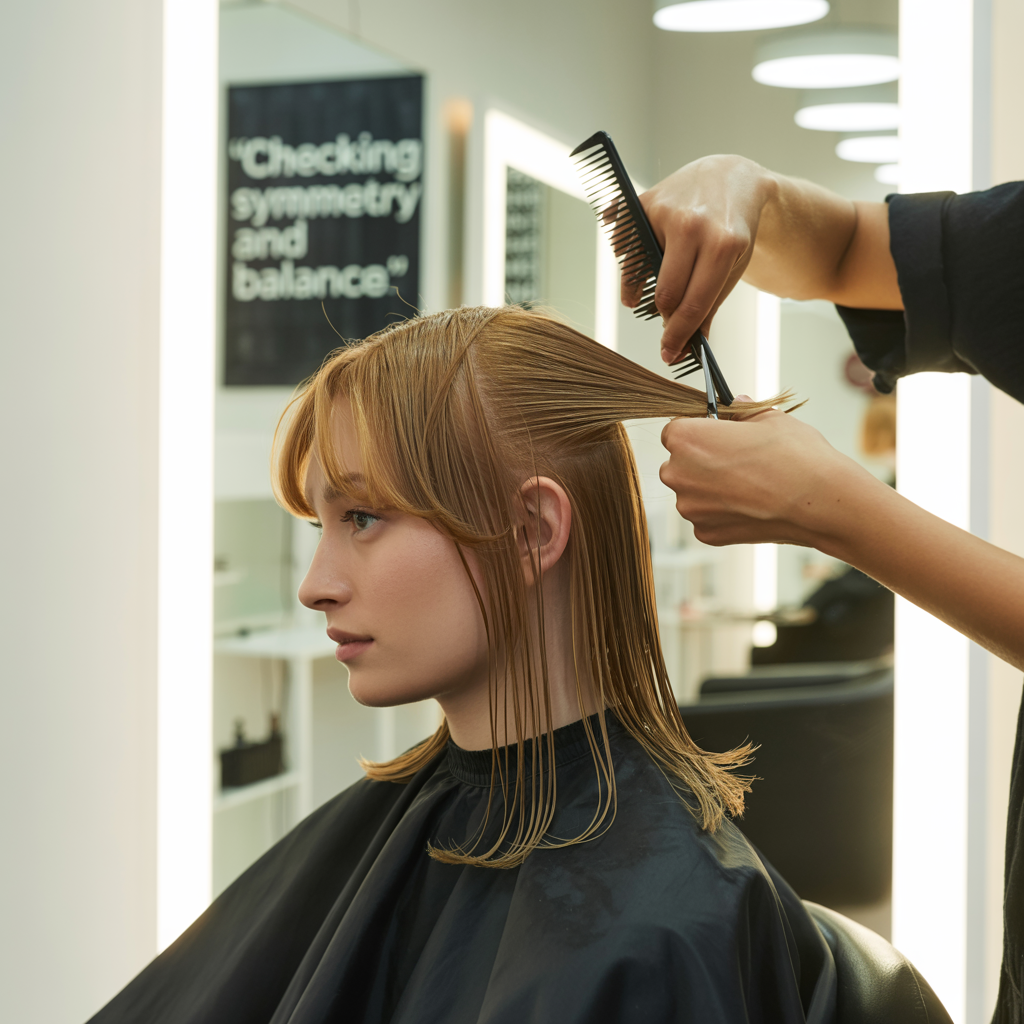
After the initial cutting, it is absolutely essential to check your work thoroughly. This is your chance to make small, corrective adjustments for a balanced and symmetrical look.
- Dry Your Hair Completely: Blow-dry your hair using a round brush, styling it as you typically would. Hair shrinks and behaves differently when dry, so unevenness will become more apparent.
- Visual Inspection: Stand in front of a large mirror and use your hand mirror to check all angles.
- Do the face-framing layers appear even on both sides?
- Is the overall shape balanced and harmonious?
- Are there any awkward, disconnected pieces?
- Pinch and Compare: Take small sections of hair on opposite sides of your head, pinch them between your fingers at the same point, and compare their lengths.
- Trim Slowly: If you find unevenness, trim in very small increments. Remember, you can always cut more, but you cannot add hair back. Take your time!
9. Styling and Maintaining Your New Look
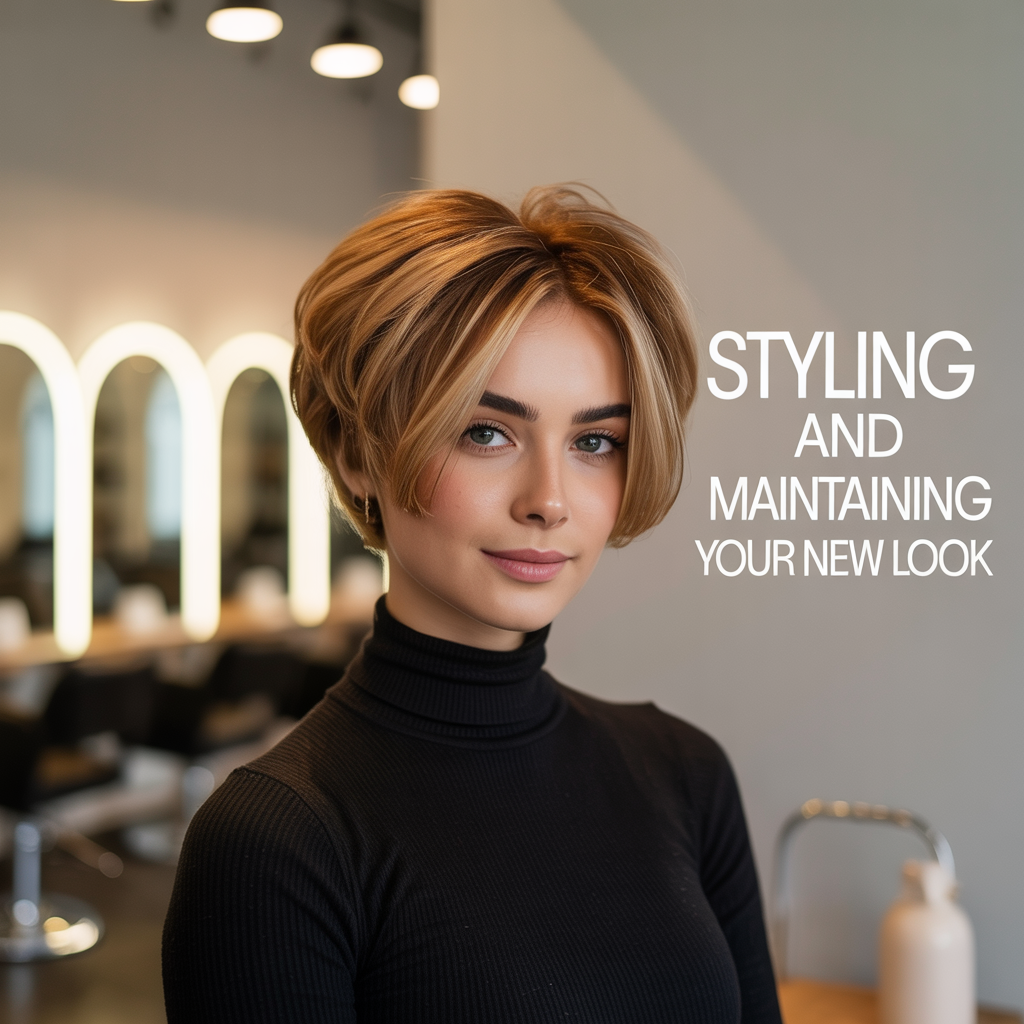
Once you’ve achieved your short butterfly haircut, proper styling and consistent maintenance will keep it looking fresh and fabulous.
- Heat Protectant: Always apply a good heat protectant before using a blow dryer or any heat styling tools.
- Volumizing Products: Use a volumizing mousse or root lifter on damp hair before blow-drying to maximize the natural lift of the layers.
- Round Brush Blowout: Use a medium-sized round brush to blow dry your face-framing layers upwards and outwards (away from your face) to enhance the “wing” effect and create bounce.
- Texturizing Spray: Finish with a light texturizing spray to add definition, hold, and a touch of effortless texture to your layers.
- Regular Trims: Plan for professional trims every 6-8 weeks to maintain the shape and health of your butterfly cut.
- Embrace Natural Texture: Don’t be afraid to air-dry or diffuse if you have natural waves or curls; the layers will enhance them beautifully.
| Step | Key Action | Purpose |
|---|---|---|
| Preparation | Wash, Dampen, Detangle | Clean base, easy cutting |
| Sectioning | Create two Ponytails | Isolate hair for structured layering |
| Front Ponytail Cut | Point Cut, Angle Out | Create face-framing “wings,” softness |
| Second Ponytail Cut | Point Cut, Connect Layers | Build volume, blend front to back |
| Refine Sides/Back | Point Cut, Blend, Texturize | Ensure seamless flow, remove bulk |
| Check & Dry | Blow Dry, Inspect, Adjust | Reveal true shape, correct unevenness |
| Style & Maintain | Products, Blow Dry, Trim | Enhance layers, ensure longevity of the cut |
Successfully learning How to Do a Short Butterfly Haircut at home can be an incredibly empowering and creative endeavor.
By meticulously following these steps—from proper preparation and precise sectioning to careful cutting and diligent checking—you can achieve a stunning, salon-worthy result without leaving your doorstep.
Embrace the process, be patient with yourself, and get ready to enjoy the beautiful movement and voluminous elegance of your new, custom-crafted short butterfly haircut!