Creating a mohawk that stands tall and lasts all day is an art form that blends the right products, techniques, and a bit of patience.
Whether you’re aiming for a punk-inspired look or a sleek, modern style, understanding how to make a mohawk with gel that lasts is essential.
This comprehensive guide will walk you through the steps to achieve a durable mohawk, from selecting the appropriate gel to mastering the styling process.
By the end, you’ll have all the knowledge needed to rock a mohawk that defies gravity and turns heads.
1. Understanding the Mohawk Style
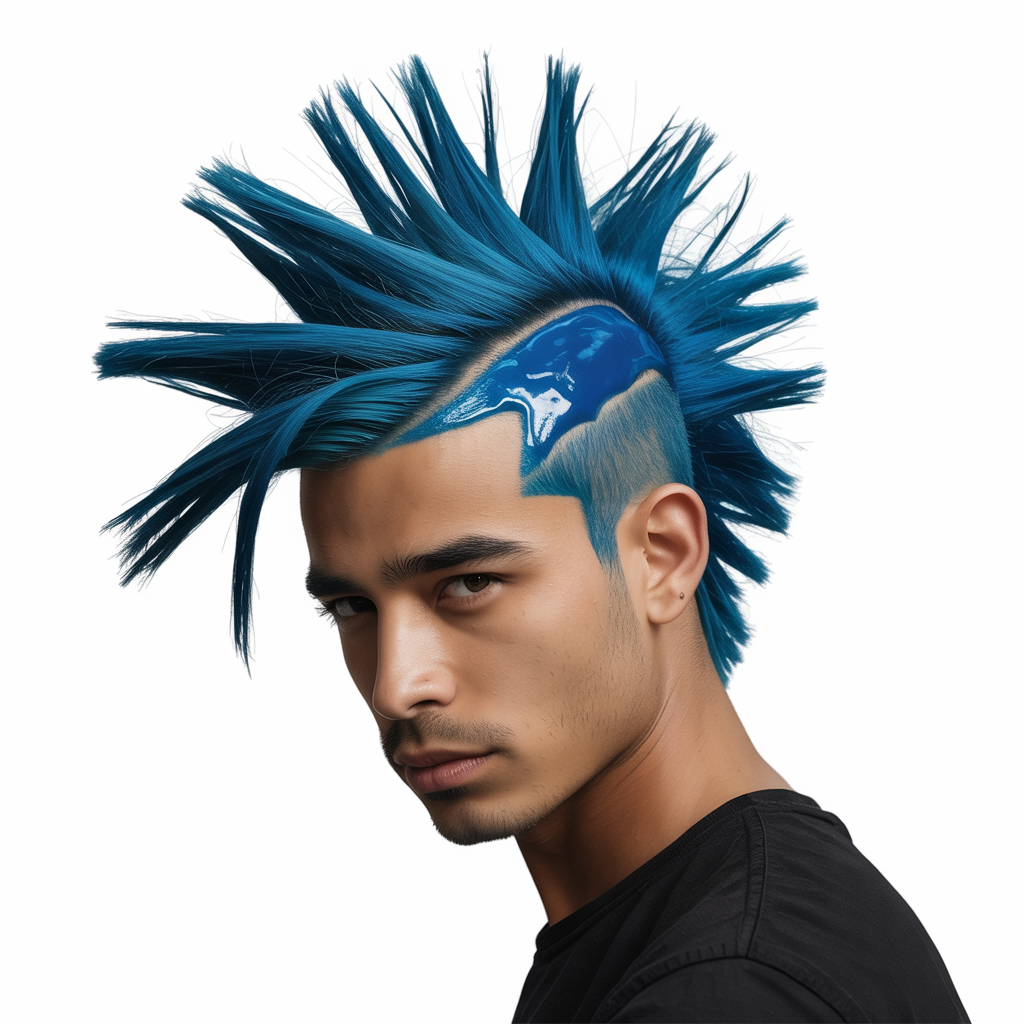
Before diving into the styling process, it’s crucial to grasp what defines a mohawk. Traditionally, a mohawk features a strip of hair running from the forehead to the nape, with the sides shaved or cut short.
However, modern variations include fauxhawks and undercut mohawks, offering versatility for different preferences. The key to a lasting mohawk lies in the structure and the products used to maintain its shape throughout the day.
2. Choosing the Right Hair Gel
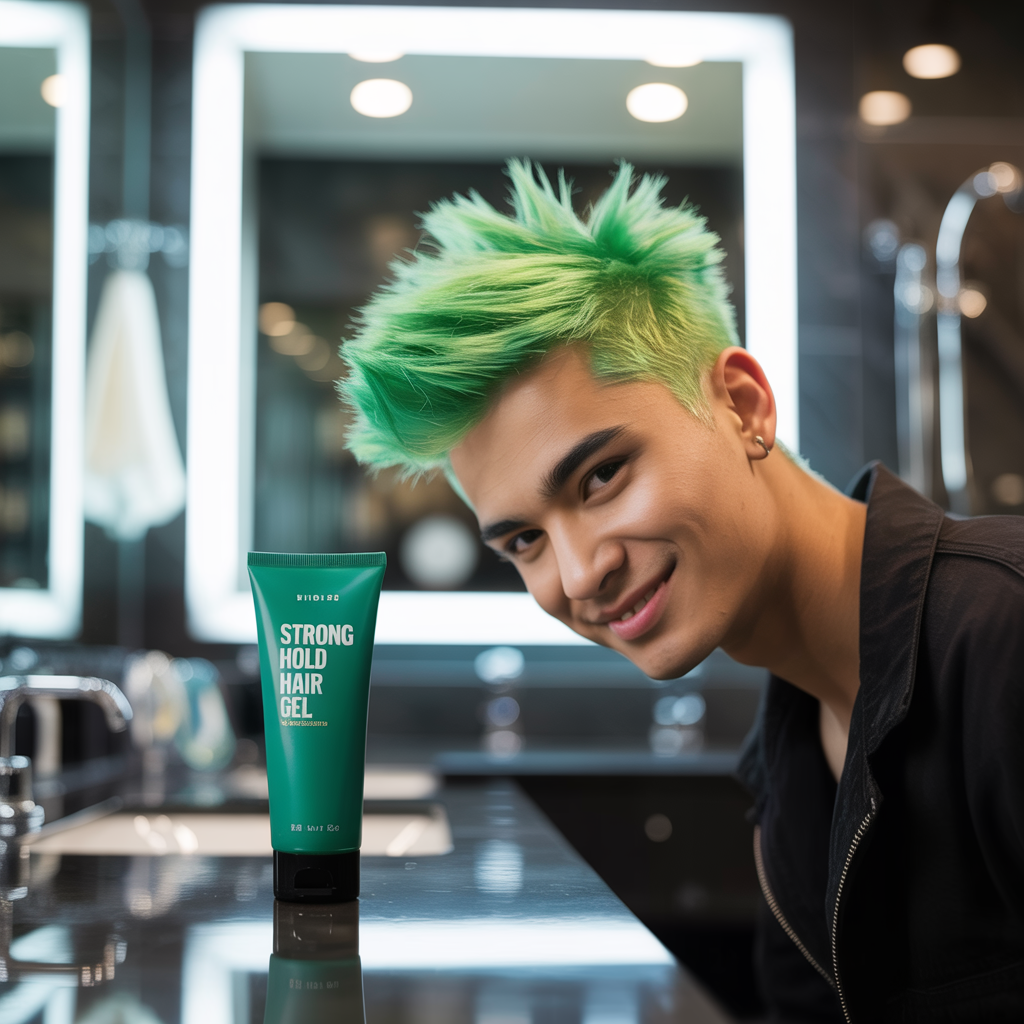
Selecting the appropriate hair gel is paramount for a mohawk that endures. Look for gels labeled as “strong hold” or “maximum hold” to ensure your style stays intact.
Products like Got2b Glued Spiking Glue and Moco de Gorila (Gorilla Snot) are renowned for their superior holding power, making them popular choices among mohawk enthusiasts.
These gels provide the stiffness required to keep hair upright without flaking or losing shape over time.
3. Preparing Your Hair

Proper preparation sets the foundation for a successful mohawk.
- Cleanse Your Hair: Start with freshly washed hair to remove any oils or residues that could hinder the gel’s effectiveness.
- Towel Dry: Gently towel dry your hair until it’s damp but not dripping wet.
- Comb Through: Use a comb to detangle and straighten your hair, ensuring it’s ready for styling.
4. Applying the Gel
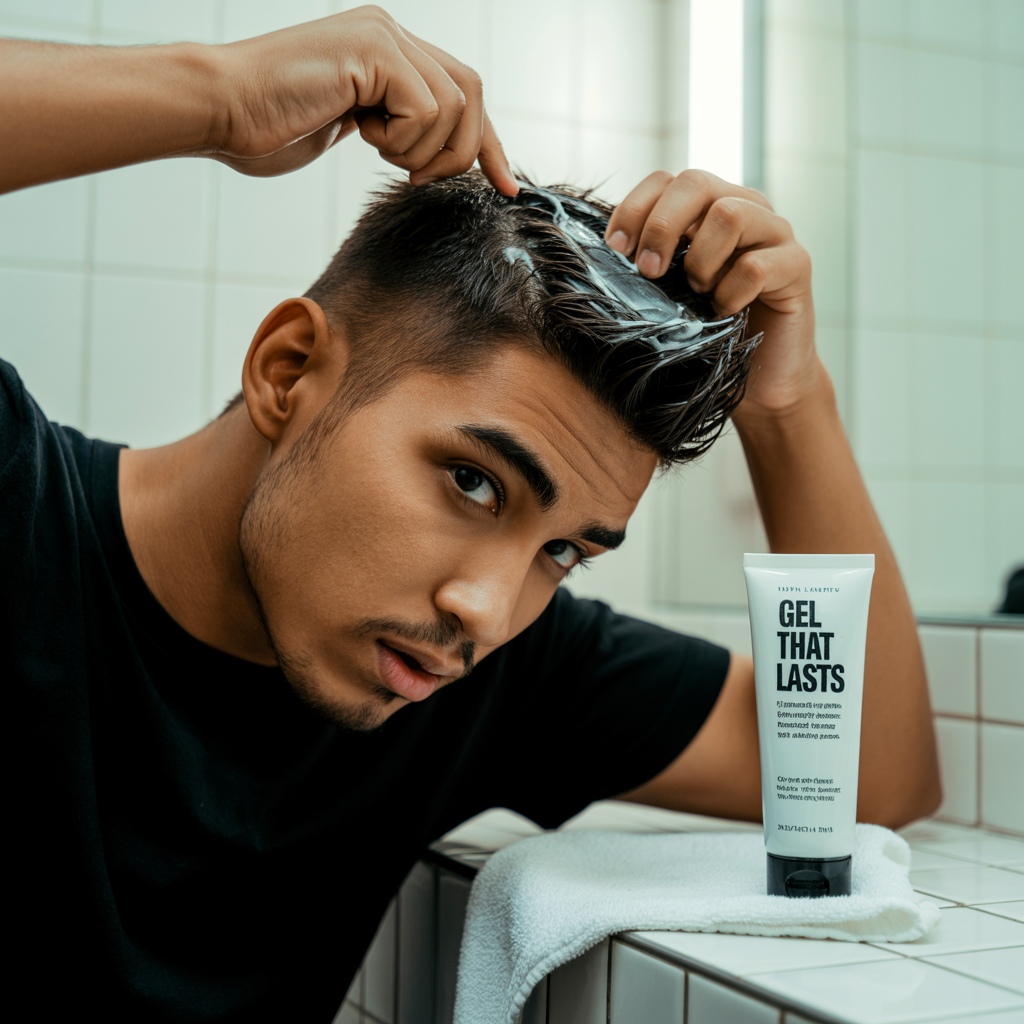
The application process is critical to achieving a mohawk that lasts.
- Section Your Hair: Divide your hair into sections, depending on the number of spikes or the width of the mohawk you desire.gothpunk.com
- Apply Gel Generously: Starting from the roots, apply a generous amount of gel to each section, working your way to the tips.
- Shape the Hair: Use your fingers or a fine-tooth comb to mold each section into a spike or the desired shape.
- Repeat: Continue this process for each section until the entire mohawk is styled.
5. Drying and Setting the Style

Drying your mohawk properly ensures it maintains its shape throughout the day.
- Use a Hair Dryer: Set your hair dryer to a cool or medium setting and blow-dry each section while holding it in place.
- Freeze the Style: Once the gel has dried, apply a strong-hold hairspray to lock in the style.
- Final Touches: Inspect your mohawk for any uneven areas and make adjustments as needed.
6. Maintaining Your Mohawk

To keep your mohawk looking sharp, regular maintenance is essential.
- Avoid Touching: Refrain from touching or adjusting your mohawk throughout the day to prevent weakening the hold.
- Weather Considerations: In humid or rainy conditions, consider using weather-resistant products to maintain the style.
- Night Care: If you plan to keep your mohawk overnight, wrap it gently with a scarf or use a soft pillowcase to minimize disruption.
7. Removing the Gel

At the end of the day, it’s important to remove the gel properly to maintain hair health.
- Soak Your Hair: Wet your hair thoroughly with warm water to soften the gel.
- Shampoo: Apply a clarifying shampoo to break down the gel and cleanse your scalp.
- Condition: Follow up with a conditioner to restore moisture and keep your hair healthy.
Mastering how to make a mohawk with gel that lasts is a blend of choosing the right products, meticulous application, and proper maintenance.
By following these steps, you can achieve a striking mohawk that stands the test of time and turns heads wherever you go.
Embrace the process, experiment with different styles, and enjoy the bold statement a well-crafted mohawk makes.