Creating a mohawk for a child can be a fun and expressive way to showcase their personality.
Whether it’s for a special occasion or just a new look, a mohawk can be both stylish and manageable.
This guide will walk you through the steps to achieve a cool mohawk on a kid, ensuring the process is safe, enjoyable, and results in a hairstyle they’ll love.youtube.
1. Understanding the Mohawk
Before diving into the haircut, it’s essential to understand what a mohawk entails.
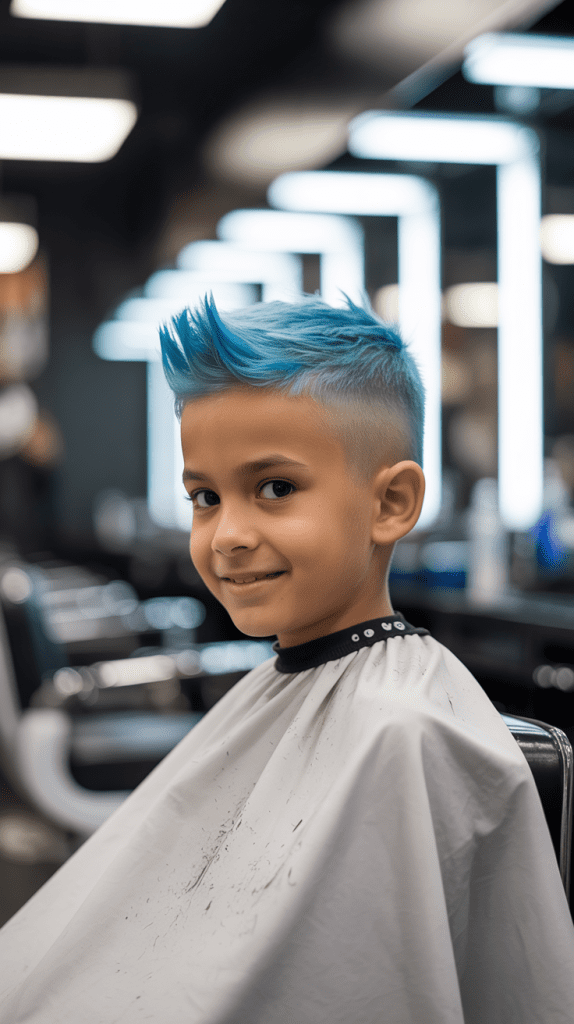
Traditionally, a mohawk features a strip of hair running from the forehead to the nape, with the sides shaved or cut short.
However, variations like the fauxhawk or euro-hawk offer less drastic alternatives, maintaining longer hair on the sides.
These styles have evolved over time and are now popular among various age groups, including children.
2. Preparing for the Haircut
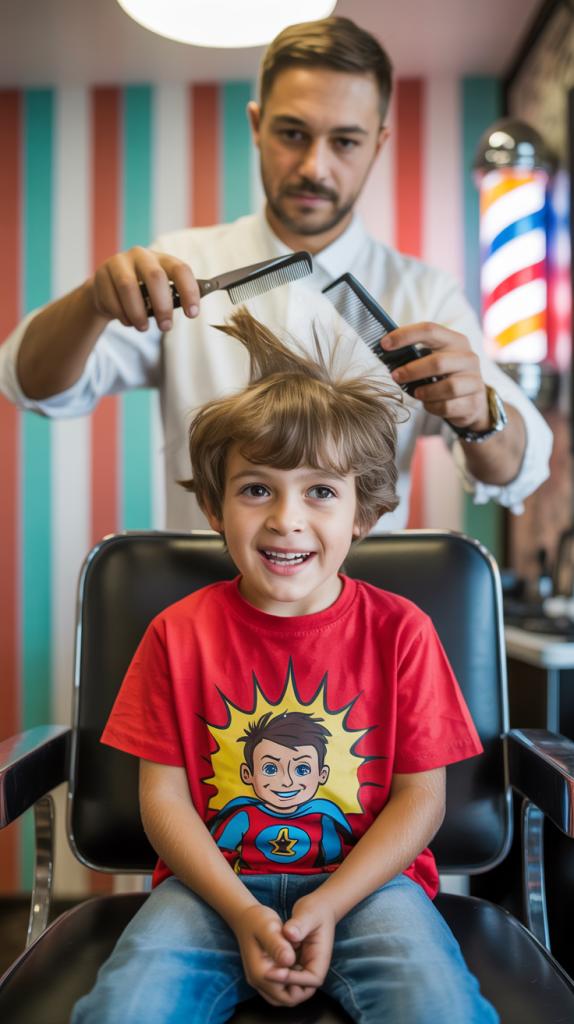
Preparation is key to a successful mohawk haircut.
- Gather Necessary Tools: You’ll need clippers with guards, scissors, a comb, hair clips, and a cape or towel to protect clothing.
- Choose the Right Environment: Select a well-lit area with a mirror. Ensure the child is seated comfortably and can remain still during the process.youtube.com
- Discuss the Style: Talk to the child about the desired mohawk style. Showing pictures can help them visualize the outcome and feel involved in the decision.
3. Sectioning the Hair
Proper sectioning ensures symmetry and precision.
- Determine the Width: Decide how wide the central strip should be. Typically, 1 to 2 inches is standard for children.
- Use Clips or Tape: Mark the boundaries of the mohawk using hair clips or masking tape. This method helps maintain straight lines and prevents accidental cutting.instructables.com
- Comb the Hair: Ensure the hair is detangled and lies flat. This step makes sectioning and cutting more manageable.
4. Cutting the Sides
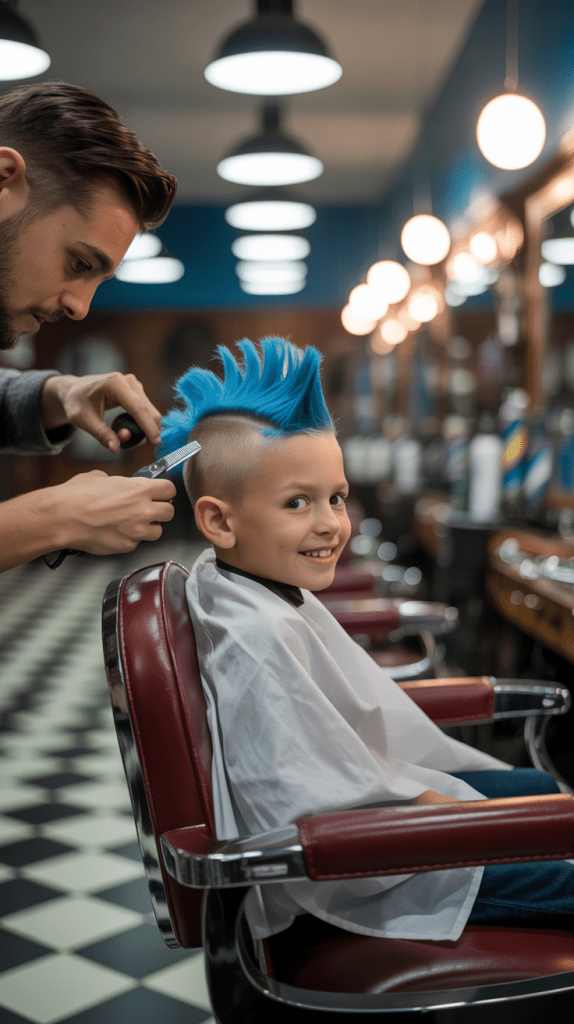
With the central strip secured, focus on trimming the sides.
- Start with Clippers: Using the appropriate guard, begin cutting the hair on one side, moving from the bottom upward.
- Maintain Consistency: Repeat the process on the other side, ensuring both sides are even in length.
- Blend if Necessary: For a more gradual transition, use scissors or a blending guard to soften the line between the mohawk and the shorter sides.
5. Trimming the Mohawk
Now, shape the central strip to the desired length and style.
- Determine the Length: Decide how long the mohawk should be. Some prefer a uniform length, while others opt for a tapered look.
- Use Scissors for Precision: Trim the hair carefully, checking for evenness as you go.
- Consider Hair Texture: Curly or wavy hair may require different techniques to achieve the desired shape.
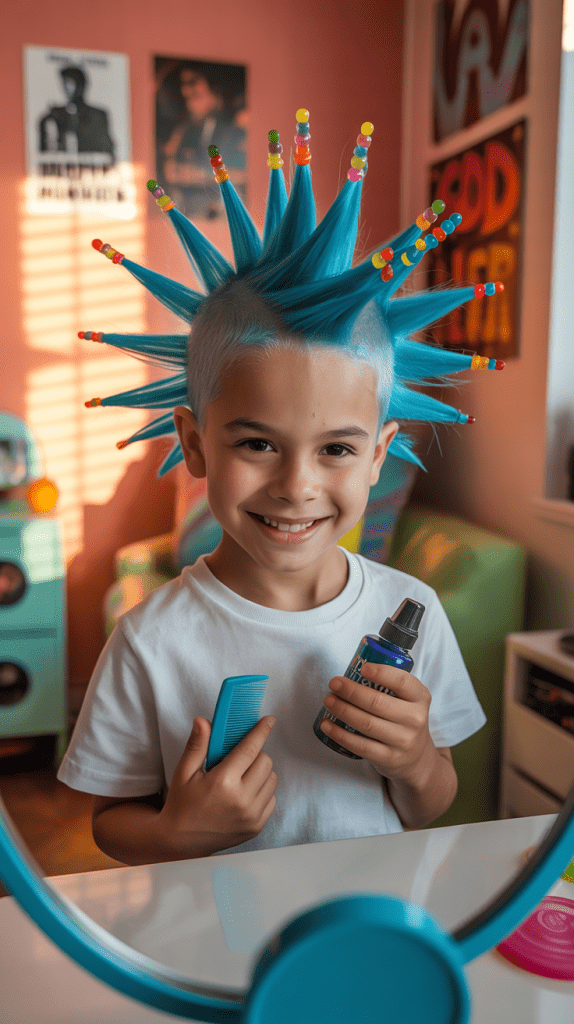
6. Styling the Mohawk

Styling brings the mohawk to life and allows for personal expression.
- Choose the Right Product: Depending on the hair type and desired hold, select a suitable styling product like gel, mousse, or pomade.
- Apply Evenly: Work the product through the mohawk, ensuring coverage from roots to tips.
- Shape the Hair: Use your fingers or a comb to mold the mohawk into spikes, a smooth wave, or another preferred style.
- Set the Style: For added hold, use a hairdryer on a low setting to set the style in place.
7. Maintenance and Care
Maintaining a mohawk requires regular upkeep.
- Regular Trims: To keep the sides neat and the mohawk sharp, schedule trims every few weeks.
- Daily Styling: Depending on the child’s activities, daily styling may be necessary to maintain the desired look.
- Hair Health: Use gentle shampoos and conditioners to keep the hair healthy, especially if using styling products regularly.
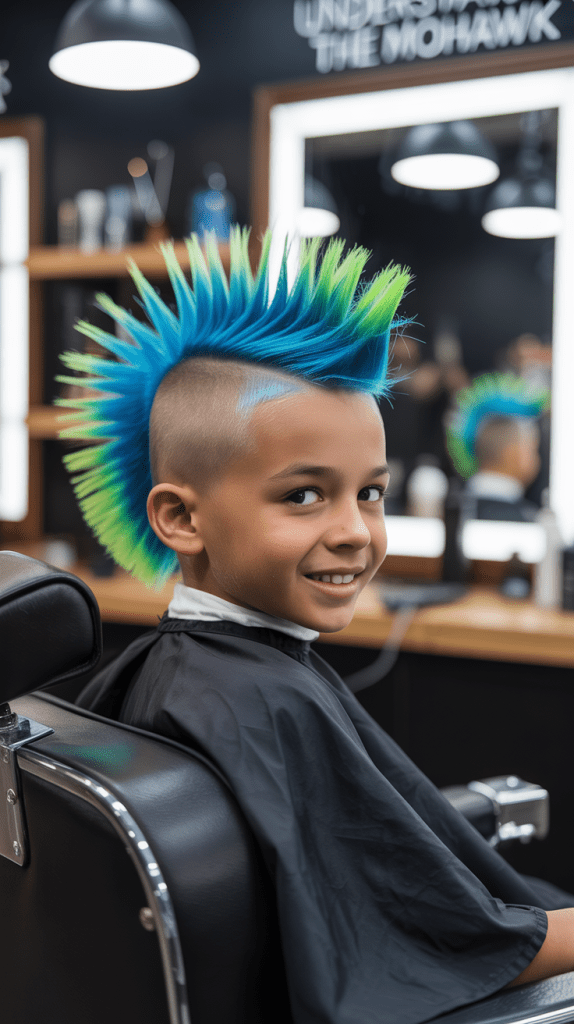
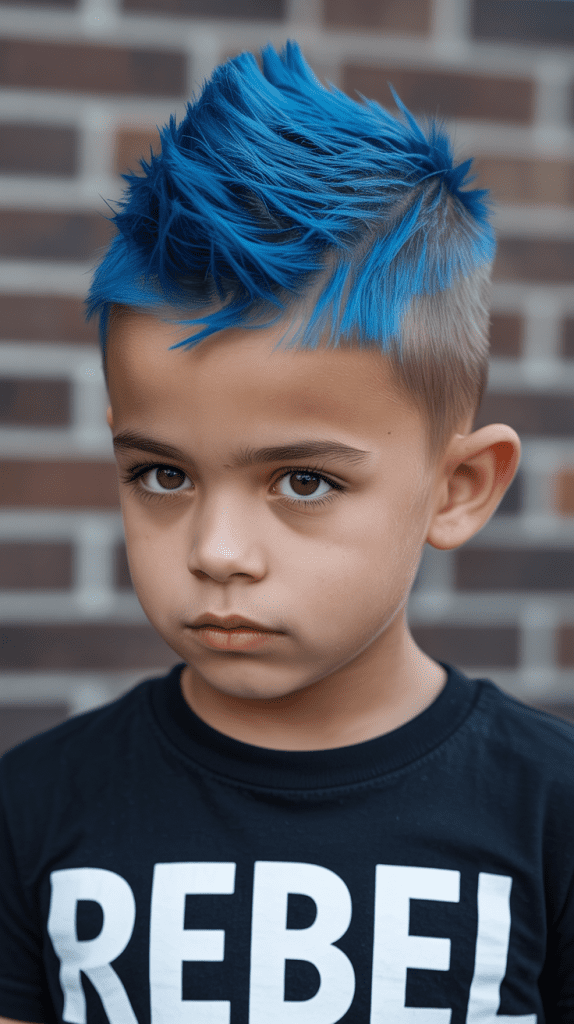
8. Embracing Creativity
A mohawk offers a canvas for creativity.
- Color Options: Temporary hair colors can add fun and individuality to the mohawk.
- Accessories: Consider adding hair accessories like clips or designs shaved into the sides for added flair.
- Involve the Child: Encourage the child to participate in styling decisions, fostering a sense of ownership and confidence.
Creating a mohawk for a child can be a rewarding experience, blending style with personal expression.
By following these steps, you can ensure the process is enjoyable and the result is a cool mohawk that the child will be proud to show off.
Note: For visual guidance, consider watching tutorials such as HOW TO CUT A BOYS MOHAWK! or Kids Mohawk Cut Tutorial to complement the steps outlined above.