Wood burning, or pyrography, is a timeless art form that transforms simple wooden surfaces into intricate masterpieces.
However, without proper sealing, these creations are vulnerable to damage from moisture, UV rays, and everyday wear and tear.
In this article, How to Seal Wood Burning Projects, we’ll delve into the importance of sealing, explore various sealant options, and provide step-by-step instructions to ensure your artwork remains vibrant and protected for years to come.
1. Understanding the Importance of Sealing
Sealing your wood-burning projects is crucial for preservation and longevity.
- Protection Against Moisture: Unsealed wood can absorb moisture, leading to warping, cracking, or mold growth.
- UV Resistance: Exposure to sunlight can fade the burn marks over time. A good sealant offers UV protection.
- Enhanced Appearance: Sealants can enrich the wood’s natural color and the contrast of the burn marks, adding depth and vibrancy.Reddit+7YouTube+7forum.woodcarvingillustrated.com+7
- Ease of Cleaning: Sealed surfaces are easier to clean and less prone to staining.
By sealing your projects, you ensure their beauty and integrity are maintained.
2. Choosing the Right Sealant
Selecting an appropriate sealant depends on the intended use of your project and desired finish.
- Polyurethane: Offers a durable, water-resistant finish. Available in oil-based (adds a warm tone) and water-based (clear finish) variants. Ideal for items exposed to moisture or heavy use.Pyrography Made Easy
- Polycrylic: A water-based alternative to polyurethane. Dries clear and is less likely to yellow over time. Suitable for indoor projects.
- Shellac: Provides a natural finish and is food-safe once cured. Best for decorative items not exposed to moisture.
- Tung Oil: Penetrates deeply into the wood, enhancing grain patterns. Offers moderate protection and a matte finish.
- Spar Urethane: Designed for outdoor use, offering excellent UV and moisture resistance.
Consider the project’s environment and usage when selecting a sealant.
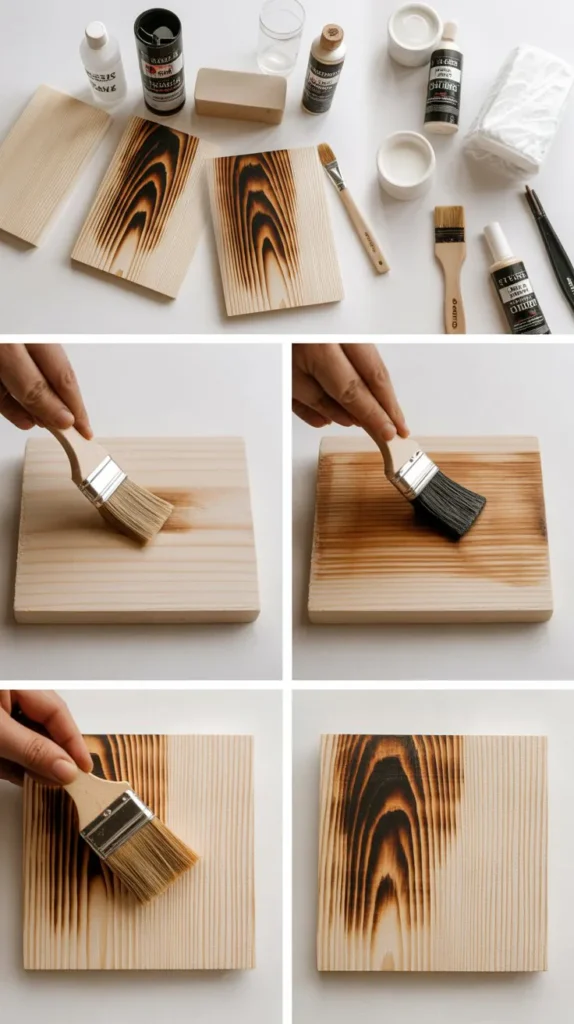
3. Preparing the Surface
Proper preparation ensures optimal adhesion and a smooth finish.
- Cleaning: Remove any dust or debris using a soft brush or tack cloth.
- Sanding: Lightly sand the surface with fine-grit sandpaper (220-grit) to smooth out any rough areas.
- Dust Removal: After sanding, clean the surface again to eliminate any residual dust.
A clean, smooth surface is essential for an even application of the sealant.
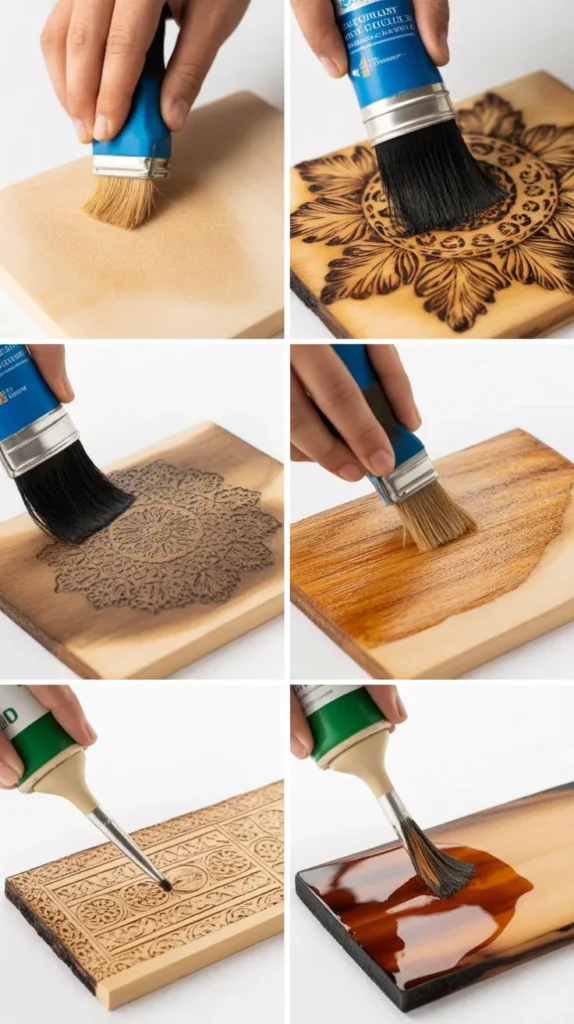
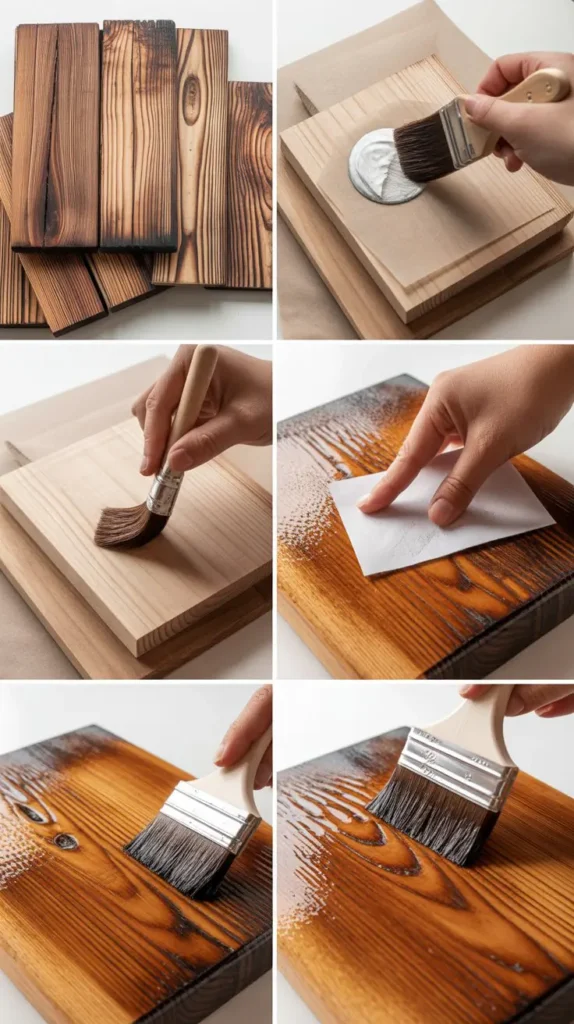
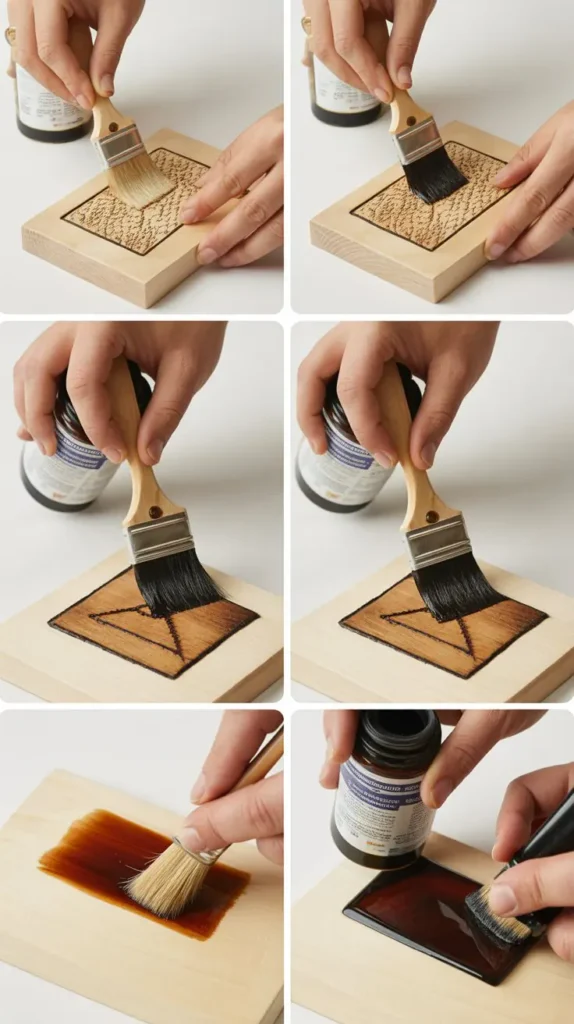
4. Applying the Sealant
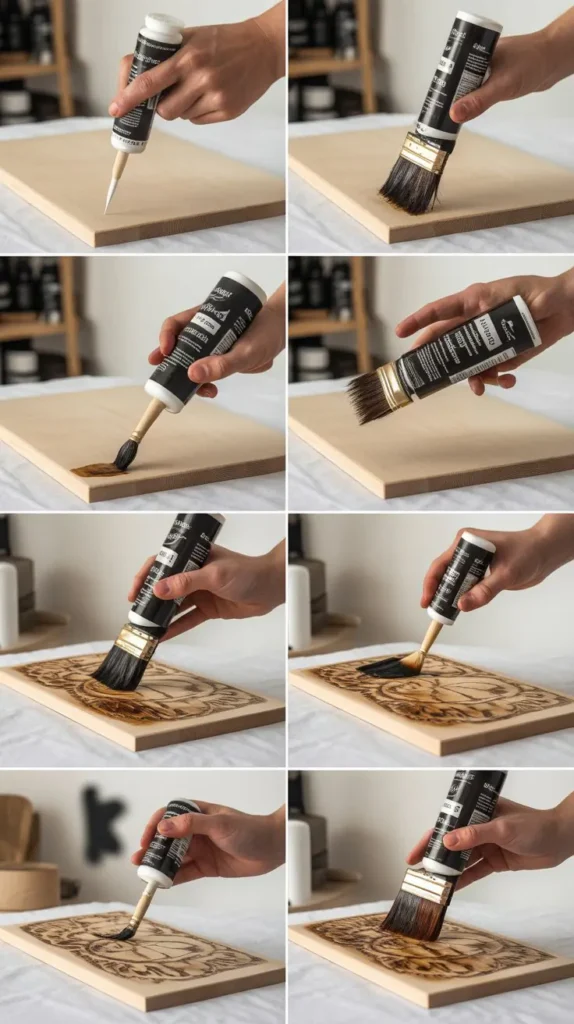
Follow these steps for a successful sealing process:
- Test Application: Before applying to the entire piece, test the sealant on a small, inconspicuous area to ensure desired results.
- Application Tools: Use a high-quality brush or foam applicator for even coverage.
- First Coat: Apply a thin, even coat, following the wood grain.
- Drying Time: Allow the first coat to dry as per the manufacturer’s instructions.
- Sanding Between Coats: Lightly sand the surface with fine-grit sandpaper to remove any imperfections.
- Additional Coats: Apply subsequent coats (typically 2-3), repeating the drying and sanding process between each.
Proper application ensures a durable and attractive finish.
5. Special Considerations for Food-Safe Projects
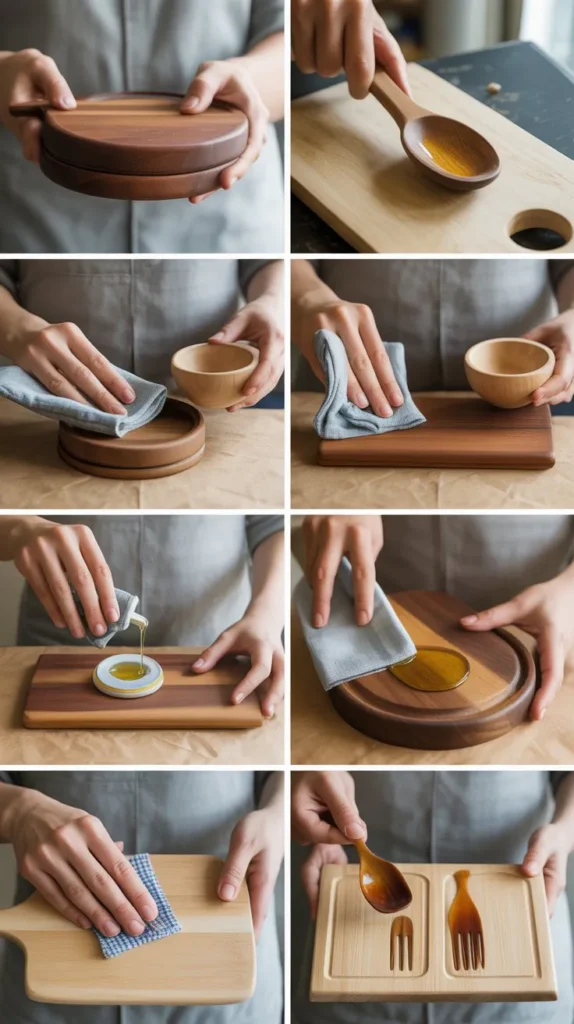
When sealing items like cutting boards or utensils, food safety is paramount.
- Food-Safe Sealants: Use sealants labeled as food-safe, such as pure tung oil or food-grade mineral oil.
- Avoid Toxic Finishes: Steer clear of sealants containing harmful chemicals that could leach into food.
- Regular Maintenance: Reapply the sealant periodically to maintain protection, especially after washing.
Ensuring food safety preserves both health and the integrity of your project.
6. Maintenance and Care
Proper care extends the life of your sealed wood-burning projects.
- Cleaning: Wipe surfaces with a damp cloth. Avoid harsh chemicals that could damage the sealant.
- Avoid Excess Moisture: Do not soak the item in water. Dry immediately if it becomes wet.
- Reapplication: Over time, the sealant may wear down. Reapply as needed to maintain protection.
Regular maintenance keeps your artwork looking its best.
Conclusion
Sealing your wood-burning projects is a vital step in preserving their beauty and ensuring their longevity.
By following the guidelines outlined in How to Seal Wood Burning Projects, you can protect your creations from environmental damage and enhance their visual appeal.
Embrace the sealing process as the final touch that brings your artwork to life and safeguards it for years to come.