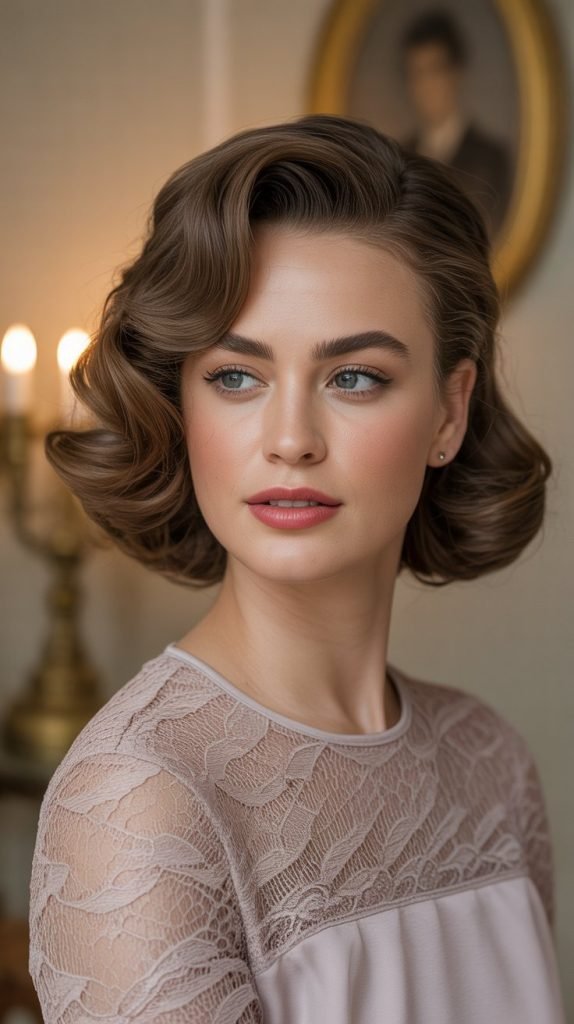
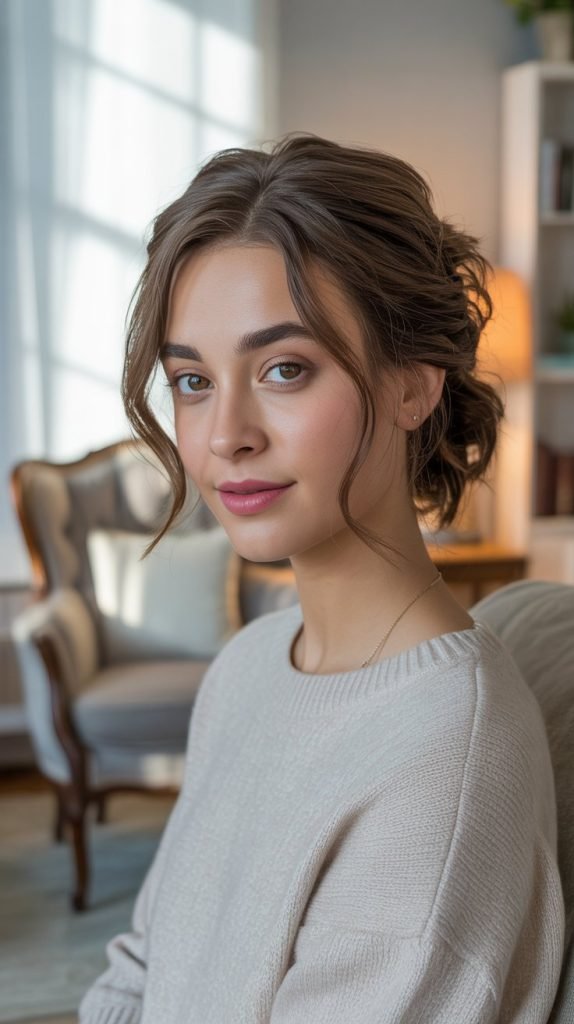
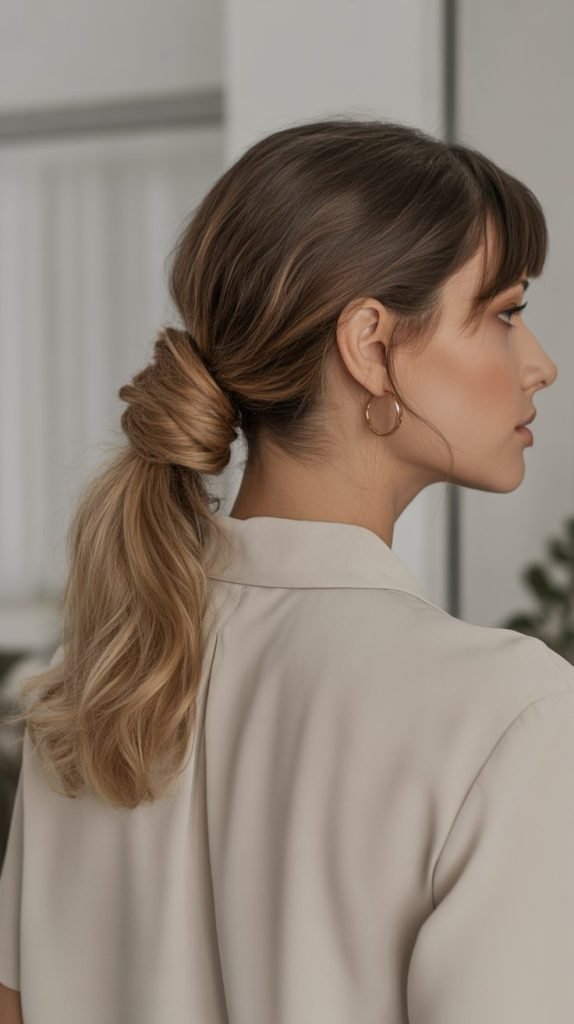
Medium-length hair offers the perfect canvas for creating stunning updos that strike the ideal balance between elegance and simplicity.
If you’ve ever felt intimidated by complex hairstyling tutorials or worried that your hair isn’t long enough for sophisticated updos, this comprehensive guide will change your perspective entirely.
These 37 Easy Updos for Medium Hair for Beginners You Can Master have been carefully selected and simplified to ensure that anyone can achieve salon-worthy results at home with minimal tools and experience
From quick five-minute styles perfect for busy mornings to more elaborate looks suitable for special occasions, each updo tutorial breaks down seemingly complex techniques into manageable steps that build your confidence and skills progressively.
Whether you’re preparing for a job interview, date night, wedding, or simply want to elevate your everyday look, these versatile styles work beautifully with shoulder-length to collarbone-length hair while requiring only basic tools like bobby pins, hair ties, and perhaps a curling iron.
Discover foolproof methods that accommodate different hair textures, learn professional tricks that ensure long-lasting hold, and master the art of creating effortlessly chic updos that will become your go-to styling repertoire for any occasion.
1. Classic Low Bun with Twist Detail
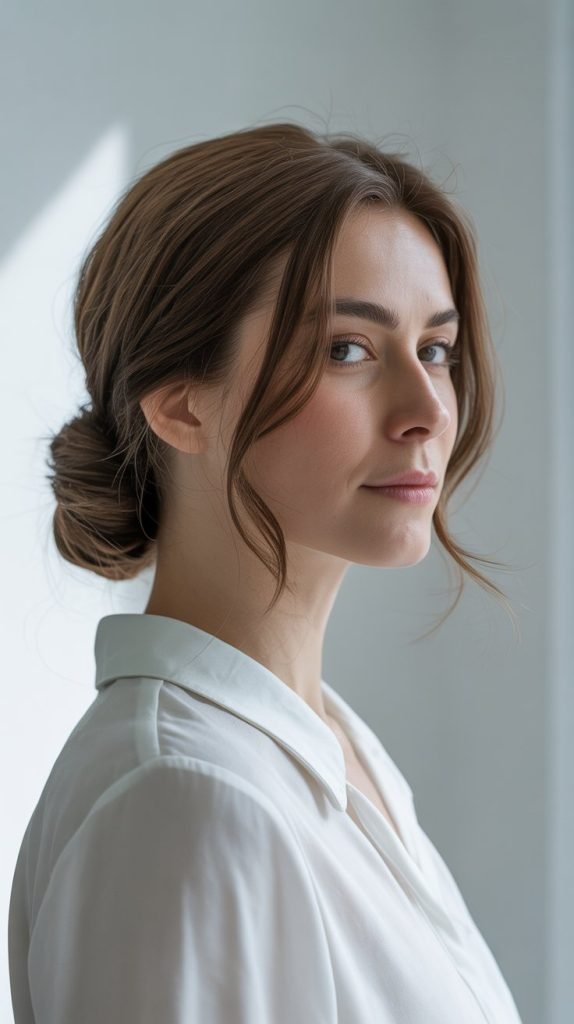
The classic low bun enhanced with a simple twist detail provides an elegant foundation for mastering updo basics.
This timeless style teaches fundamental techniques while creating a polished look that works for both professional settings and casual outings, making it the perfect starting point for beginners.
- Start with day-old hair or apply texturizing spray for better grip and hold
- Create a side part and section off a small piece from the front of the heavier side
- Twist this front section loosely back toward the ear while gathering remaining hair
- Combine the twisted section with the rest of your hair at the nape of the neck
- Secure everything into a low ponytail using a hair elastic that matches your hair color
- Twist the ponytail and wrap it around the base to form a bun
- Secure the bun with bobby pins inserted at different angles for maximum hold
- Gently tug at the twist and bun to create subtle volume and a relaxed finish
2. Simple Half-Up Bun

The simple half-up bun offers the perfect introduction to partial updos while maintaining the beauty of flowing hair.
This versatile style requires minimal skill but delivers maximum impact, making it ideal for beginners who want to practice basic bun-making techniques without committing to a full updo.
- Section the top half of your hair from temple to temple, creating a horizontal part
- Gather this top section at the crown of your head where you want the bun positioned
- Secure the section with a clear or matching elastic band
- Twist the ponytail and begin wrapping it around the base
- Continue wrapping until all hair is incorporated into a small bun
- Secure with bobby pins, inserting them into the bun at various angles
- Leave the bottom half of your hair natural or add loose waves for extra texture
- Gently pull at the bun edges to create a fuller, more relaxed appearance
3. Easy Side-Swept Updo
The easy side-swept updo creates asymmetrical elegance through simple gathering and pinning techniques.
This beginner-friendly style teaches the fundamentals of creating height and volume while working with medium-length hair’s natural limitations to achieve sophisticated results.
- Create a deep side part and apply volumizing mousse to add body and texture
- Sweep all hair to the opposite side of the part, creating dramatic asymmetry
- Begin loosely gathering hair at the nape on the side opposite your part
- Twist the gathered hair gently upward and begin pinning it in place
- Continue adding sections of hair while maintaining the side-swept direction
- Pin each section individually, creating a cascading updo effect
- Allow some pieces to frame the face naturally for a soft, romantic finish
- Finish with hairspray to ensure the style holds throughout the day
4. Messy Top Knot

The messy top knot embraces imperfection to create effortlessly chic style that’s perfect for casual occasions.
This relaxed updo teaches beginners that not every hairstyle needs to be perfectly polished, while providing essential practice with high positioning and texture creation.
- Flip your head upside down and gather all hair at the very top of your head
- Secure with an elastic band, but don’t pull the hair completely through on the last wrap
- This creates a loop of hair that forms the base of your top knot
- Wrap the remaining tail around the base of the loop
- Pin the wrapped tail in place with bobby pins
- Gently tug at the loop and wrapped sections to create desired messiness
- Pull out a few face-framing pieces if desired for a softer look
- Use texturizing spray to enhance the deliberately tousled appearance
5. French Twist for Beginners

The beginner-friendly French twist simplifies this classic technique into manageable steps that create timeless sophistication.
This fundamental updo style builds confidence while teaching essential skills that form the foundation for more advanced techniques.
- Brush hair to one side and gather it loosely at the nape of your neck
- Hold the gathered hair with one hand while creating a vertical line of bobby pins up the back
- Begin rolling the hair over these pins, working from bottom to top
- Continue rolling until all hair is incorporated into the twist
- Secure the top of the twist with additional bobby pins
- Tuck any loose ends under and pin them invisibly
- Smooth the surface with a brush and apply light-hold hairspray
- Gently adjust the twist to ensure it sits evenly against the head
6. Braided Low Bun

The braided low bun combines two essential techniques to create textured elegance that’s surprisingly simple to achieve.
This style introduces beginners to the art of incorporating braids into updos while maintaining an approachable skill level that builds confidence progressively.
- Create a low ponytail at the nape and secure with an elastic band
- Divide the ponytail into three sections and begin a basic three-strand braid
- Braid the entire length and secure the end with a small clear elastic
- Gently tug at the braid edges to create fuller, more relaxed texture
- Begin wrapping the loosened braid around the base of the ponytail
- Pin the braid in place as you wrap, securing each section individually
- Tuck the braid end under and pin it invisibly
- Adjust the bun shape and add hairspray for lasting hold
7. Twisted Side Bun

The twisted side bun creates asymmetrical beauty through simple twisting techniques that work perfectly with medium-length hair.
This elegant style teaches beginners how to create visual interest through directional styling while maintaining an easy-to-master approach that delivers professional results.
- Begin gathering hair toward one side, starting from the opposite side of your part
- Twist the hair as you gather it, maintaining tension for a smooth appearance
- Continue twisting until you reach the desired position behind one ear
- Begin wrapping the twisted hair around itself to form a bun
- Secure with bobby pins placed at various points throughout the bun
- Create a deep side part and apply light-hold styling cream for manageability
- Allow some pieces around the face to remain loose for softness
- Finish with flexible-hold hairspray that maintains natural movement
8. Simple Chignon
The simple chignon introduces beginners to this classic French technique through an approachable method that creates timeless elegance.
This fundamental updo builds essential skills while producing sophisticated results that work beautifully for both casual and formal occasions.
- Brush hair smooth and gather into a low ponytail at the nape
- Secure with an elastic band and smooth any bumps or irregularities
- Create a small gap above the elastic by gently separating the hair
- Flip the ponytail up and through this gap from underneath
- Pull the ponytail through completely and smooth the resulting loop
- Tuck the remaining tail up and under, hiding it within the chignon
- Secure with bobby pins placed strategically throughout the style
- Apply light hairspray to maintain the polished finish
9. Sock Bun Method
The sock bun method provides a foolproof technique for creating perfectly round, voluminous buns using a simple sock donut.
This beginner-friendly approach takes the guesswork out of bun shaping while teaching proper distribution techniques that work especially well with medium-length hair.
- Cut the toe off a clean sock and roll it into a donut shape
- Create a high ponytail and slide the sock donut down to the base
- Spread your hair evenly around the donut, covering it completely
- Secure the hair over the donut with another elastic band
- Take the remaining hair ends and wrap them around the base of the bun
- Pin the wrapped ends in place with bobby pins
- Adjust the bun shape and smooth any uneven areas
- Apply hairspray for hold and to tame any flyaways
10. Pinned Curls Updo

The pinned curls updo transforms curled hair into elegant sophistication through strategic pinning techniques.
This romantic style teaches beginners how to work with texture while creating formal beauty that’s perfect for special occasions and celebrations.
- Curl hair in medium sections using a curling iron or hot rollers
- Allow curls to cool completely while you prepare bobby pins
- Begin pinning curls individually, starting from one side of the head
- Pin each curl by inserting bobby pins through the center of the curl
- Work systematically around the head, creating a pattern of pinned curls
- Vary the height and position of pinned curls for dimensional interest
- Leave a few curls loose around the face for romantic framing
- Finish with strong-hold hairspray to maintain curl definition
11. Easy Gibson Tuck
The easy Gibson tuck offers a vintage-inspired technique that creates sophisticated elegance through simple tucking and pinning methods.
This classic style teaches beginners foundational skills while producing results that look far more complex than the actual technique required.
- Create a low ponytail and secure with an elastic band at the nape
- Make a small gap in the hair just above the elastic
- Flip the ponytail up and through this gap from underneath
- Continue tucking the remaining length up and under itself
- Pin the tucked hair in place, working from both sides toward the center
- Adjust the tuck to ensure even distribution and smooth appearance
- Gently tug at the sides to create subtle volume
- Secure with additional pins and finish with hairspray
12. Double Twisted Bun

The double twisted bun combines two twists for added texture and visual interest while remaining accessible for beginners.
This style teaches multiple technique combination while creating elegant results that work beautifully for both professional and social occasions.
- Part hair down the center from forehead to nape
- Create two low ponytails on either side of the nape
- Twist each ponytail individually in the same direction
- Begin wrapping the first twisted ponytail around its own base
- Secure the first bun with bobby pins
- Repeat the wrapping process with the second twisted ponytail
- Position the second bun close to the first, creating a connected appearance
- Pin both buns securely and adjust their shape as needed
13. Rope Braid Updo

The rope braid updo introduces beginners to this simple two-strand braiding technique while creating textured elegance.
This style builds braiding confidence through an easier alternative to traditional three-strand braids while producing sophisticated results.
- Create a low ponytail and divide it into two equal sections
- Twist both sections tightly in the same direction
- Begin wrapping the twisted sections around each other in the opposite direction
- Continue this rope braiding technique down the entire length
- Secure the end with a clear elastic band
- Wrap the rope braid around the base of the ponytail
- Pin the braid in place as you wrap it around
- Tuck the end under and secure with final bobby pins
14. Side Part Low Chignon

The side part low chignon creates asymmetrical sophistication through classic technique with modern appeal.
This elegant style teaches beginners how parting placement can dramatically change the overall look while maintaining simple execution methods.
- Create a deep side part using a fine-tooth comb
- Apply smoothing serum to control flyaways and add shine
- Gather all hair to one side at the base of the neck
- Twist the gathered hair and begin forming a low chignon
- Pin the chignon securely, maintaining its position on the chosen side
- Smooth the hair on the heavier side of the part
- Allow some softness around the face on the lighter side
- Finish with light hairspray for lasting hold
15. Textured Updo with Bobby Pins

The textured updo with bobby pins teaches beginners how to create elegant dishevelment through strategic pinning techniques.
This modern approach to formal styling embraces natural texture while building confidence in pin placement and style manipulation.
- Apply texturizing mousse to damp hair and scrunch while air-drying
- Once hair is completely dry, begin gathering sections randomly
- Pin each section at different heights and angles around the head
- Allow pieces to overlap and create organic, textured layers
- Continue pinning sections until all hair is incorporated
- Leave some pieces intentionally loose for natural movement
- Adjust pinned sections to create desired fullness and shape
- Use minimal hairspray to maintain the natural, touchable texture
16. Braided Crown Updo

The braided crown updo combines crown braiding with low bun techniques for regal elegance. This style introduces beginners to crown braiding basics while creating sophisticated results perfect for special occasions and formal events.
- Part hair down the center and section off hair around the hairline
- Begin a Dutch braid starting behind one ear
- Continue braiding around the head like a crown, incorporating hair from the top only
- Stop braiding when you reach the opposite ear
- Gather the remaining loose hair with the braid end
- Create a low bun incorporating both the braid and loose hair
- Pin the bun securely and adjust the crown braid positioning
- Add small decorative pins along the crown braid if desired
17. Twisted Updo with Volume

The twisted updo with volume teaches beginners how to create height and fullness in updos. This technique builds confidence in teasing and volumizing while creating elegant results that work beautifully for formal occasions.
- Lightly tease the crown section of hair for added volume
- Smooth the top layer while maintaining the underlying volume
- Begin twisting hair sections back from the face
- Pin each twisted section temporarily while working on others
- Gather all twisted sections together at the back of the head
- Create a loose bun or chignon incorporating all the twists
- Adjust the volume at the crown and throughout the style
- Secure with bobby pins and finish with volumizing hairspray
18. Simple Knotted Updo

The simple knotted updo introduces beginners to hair knotting techniques for effortless elegance. This relaxed style teaches fundamental knotting skills while creating modern sophistication that’s perfect for casual and semi-formal occasions.
- Divide hair into two sections at the nape of the neck
- Tie these sections together in a simple overhand knot
- Continue knotting the remaining length if hair permits
- Begin tucking and pinning the knotted sections upward
- Create an organic, textured updo shape through strategic pinning
- Allow some pieces to escape naturally for relaxed appeal
- Adjust knots to create desired fullness and texture
- Secure with bobby pins and apply light-hold styling product
19. Low Twisted Bun with Side Sweep

The low twisted bun with side sweep combines asymmetrical styling with classic bun techniques.
This elegant approach teaches beginners how to create sophisticated looks through simple directional changes and twisting methods.
- Create a deep side part and sweep hair dramatically to one side
- Begin twisting the swept hair as you gather it toward the nape
- Continue twisting until you reach the desired bun position
- Wrap the twisted hair around itself to form a bun
- Pin the bun securely with bobby pins inserted at various angles
- Smooth any bumps on the swept side using a brush
- Allow some face-framing pieces to remain soft around the lighter side
- Finish with flexible-hold hairspray for natural movement
20. Pinned Back Waves

Pinned back waves create vintage glamour through simple pinning techniques that showcase natural wave patterns.
This style teaches beginners how to work with their hair’s natural texture while creating formal elegance perfect for special occasions.
- Create loose waves throughout hair using a large barrel curling iron
- Allow waves to cool completely before beginning to pin
- Begin pinning wave sections back on one side of the head
- Pin each wave individually, maintaining their natural shape
- Work systematically from front to back, creating a swept-back appearance
- Leave waves on the opposite side flowing naturally
- Use bobby pins that match your hair color for invisible hold
- Finish with hairspray that maintains wave definition
21. Fishtail Braid Bun

The fishtail braid bun combines trendy braiding with classic bun techniques for textured sophistication.
This style introduces beginners to fishtail braiding basics while creating elegant results that work beautifully for both casual and formal occasions.
- Create a low ponytail and secure with an elastic band
- Divide the ponytail into two sections for fishtail braiding
- Take a small piece from the outside of the left section
- Cross it over to the right section
- Repeat on the right side, taking a piece from the outside edge
- Continue this alternating pattern down the ponytail
- Secure the braid with a clear elastic
- Wrap the fishtail braid around the base and pin in place
22. Rolled Updo Technique

The rolled updo technique teaches beginners classic Hollywood styling methods for sophisticated glamour.
This vintage-inspired approach creates elegant height while building essential rolling skills that form the foundation for advanced styling techniques.
- Set hair in large rollers or create loose curls with a curling iron
- Allow curls to cool completely before beginning the rolling process
- Begin rolling sections of curled hair toward the head
- Pin each rolled section as you work around the head
- Create height and volume through strategic roll placement
- Continue until all hair is rolled and pinned into an updo
- Smooth any uneven areas and adjust roll positioning
- Apply strong-hold hairspray for lasting vintage elegance
23. Asymmetrical Twisted Updo

The asymmetrical twisted updo creates modern sophistication through off-center styling and twisted elements.
This contemporary approach teaches beginners how to embrace asymmetry while building confidence in advanced pinning techniques.
- Create an off-center part extending from forehead to crown
- Begin twisting hair sections from the heavier side back toward the ear
- Continue creating twists at different heights and angles
- Keep the lighter side of the part smoother and closer to the head
- Pin twisted sections to create an asymmetrical updo shape
- Allow some texture variation between the two sides
- Adjust twists to create desired volume and asymmetrical balance
- Secure with bobby pins and apply modern-finish hairspray
24. Simple Braided Updo

The simple braided updo introduces beginners to incorporating basic braids into elegant styling.
This approachable technique builds braiding confidence while creating sophisticated results that work beautifully for various occasions and skill levels.
- Create three sections of hair: two at the temples and one at the back
- Braid each temple section using basic three-strand technique
- Gather the back section into a low ponytail
- Incorporate the two braids into the ponytail
- Braid the entire ponytail and secure with an elastic
- Wrap the braided ponytail around its base to form a bun
- Pin the braided bun securely in place
- Adjust braids and bun for desired shape and fullness
25. Loose Romantic Updo
The loose romantic updo embraces imperfection to create effortless elegance perfect for romantic occasions.
This relaxed styling approach teaches beginners that sophisticated updos don’t require perfect precision while building confidence in organic styling techniques.
- Apply texturizing product to enhance natural hair texture
- Loosely gather hair sections without creating perfectly smooth surfaces
- Twist and pin sections at different heights around the head
- Allow pieces to escape naturally for romantic, soft appeal
- Create organic shape through varied section sizes and pin placement
- Leave face-framing pieces loose for feminine softness
- Adjust pinned sections to achieve desired romantic fullness
- Use minimal product to maintain natural, touchable texture
26. Side Braid into Bun

The side braid into bun combination creates flowing elegance through directional braiding that transitions into classic bun styling.
This technique teaches beginners how to combine multiple skills while creating sophisticated results perfect for formal occasions.
- Create a deep side part and begin braiding from the heavier side
- Start the braid at the hairline and work diagonally toward the opposite ear
- Continue braiding, incorporating hair as you work across the head
- When you reach the nape area, secure the braid temporarily
- Gather any remaining loose hair with the braid
- Create a low bun incorporating both the braid and loose hair
- Pin the bun securely and adjust the braid positioning
- Smooth any bumps and finish with light hairspray
27. Textured Low Ponytail Updo

The textured low ponytail updo transforms a simple ponytail into sophisticated elegance through strategic texturing and pinning.
This beginner-friendly approach teaches fundamental updo conversion while creating polished results suitable for professional settings.
- Create texture throughout hair using mousse or texturizing spray
- Gather hair into a low ponytail at the nape
- Secure with an elastic and gently tug at the ponytail base for volume
- Begin loosely pinning sections of the ponytail upward
- Create an organic, textured updo shape through varied pin placement
- Allow some pieces to maintain natural movement and texture
- Continue pinning until desired updo shape is achieved
- Finish with flexible-hold product that maintains natural texture
28. Crown Twist with Low Bun

The crown twist with low bun creates regal elegance through simplified crown styling combined with classic bun techniques.
This sophisticated approach teaches beginners essential crown styling while maintaining approachable execution methods.
- Section hair around the crown area from temple to temple
- Begin twisting this section back from the forehead
- Continue the twist around the crown like a natural headband
- Secure the crown twist with bobby pins
- Gather the remaining hair into a low ponytail
- Create a classic bun with the ponytail
- Ensure the crown twist and bun connect seamlessly
- Adjust both elements for balanced, elegant appearance
29. Wrapped Ponytail Updo
The wrapped ponytail updo teaches beginners how to elevate simple ponytails through strategic wrapping and pinning techniques.
This versatile approach creates polished sophistication while building essential updo conversion skills that work with various hair lengths.
- Create a ponytail at your desired height
- Take a section from the ponytail and wrap it around the elastic
- Pin the wrapped section in place to hide the elastic
- Begin wrapping additional sections of the ponytail around the base
- Pin each wrapped section individually as you work
- Continue until the desired updo shape is achieved
- Adjust wrapped sections for fullness and texture
- Secure final elements and apply finishing hairspray
30. Vintage Pin Curl Updo

The vintage pin curl updo introduces beginners to classic Hollywood styling through simplified pin curl techniques.
This glamorous approach creates sophisticated elegance while teaching fundamental skills that form the basis for advanced vintage styling.
- Create loose curls throughout hair using a large curling iron
- Allow curls to cool completely in your palm before releasing
- Begin pinning curls individually around the head
- Vary the direction and placement of pinned curls for dimensional interest
- Create a pattern that builds from the sides toward the back
- Pin each curl securely through its center
- Leave a few curls loose around the face for softness
- Finish with strong-hold hairspray for lasting vintage appeal
31. Bohemian Twisted Crown

The bohemian twisted crown creates relaxed elegance through organic twisting techniques that embrace natural texture.
This free-spirited approach teaches beginners how to create sophisticated looks without perfect precision while building confidence in textural styling.
- Apply texturizing product to enhance natural hair movement
- Begin loosely twisting sections from around the hairline
- Work twists back toward the crown area
- Pin twists organically, allowing for natural variation
- Continue around the head, creating a relaxed crown effect
- Allow pieces to escape naturally for bohemian appeal
- Leave the remaining hair flowing or loosely gathered
- Use minimal product to maintain natural, touchable texture
32. Elegant Chignon Variation

The elegant chignon variation builds upon basic chignon techniques with sophisticated refinements.
This advanced beginner style teaches precision styling while creating formal elegance suitable for the most special occasions and celebrations.
- Create a low ponytail with perfectly smooth surface
- Divide the ponytail into two sections
- Twist one section and wrap it around the ponytail base
- Pin the first twisted section securely
- Twist the second section and wrap it in the opposite direction
- Pin the second section, ensuring both twists create a balanced chignon
- Smooth any irregularities and adjust the chignon shape
- Apply strong-hold hairspray for lasting formal elegance
33. Layered Pinned Updo

The layered pinned updo creates dimensional beauty through strategic layer placement and varied pinning heights.
This technique teaches beginners how to work with hair’s natural layers while creating sophisticated results that showcase texture and movement.
- Apply volumizing product to enhance natural layer separation
- Begin pinning the shortest layers first, working systematically
- Pin each layer at slightly different heights for dimensional effect
- Allow longer layers to drape over shorter pinned sections
- Continue pinning layers, creating organic overlap and texture
- Adjust pinned sections to achieve desired fullness and shape
- Leave some layer ends loose for natural movement
- Finish with flexible-hold product that maintains layer definition
34. Simple French Pleat

The simple French pleat offers an approachable version of this classic technique perfect for beginners.
This streamlined approach creates timeless sophistication while teaching fundamental pleating skills that build confidence for more advanced styling techniques.
- Brush hair to one side and gather loosely
- Begin rolling the hair inward from the gathered side
- Continue rolling until hair forms a vertical pleat up the back
- Pin the pleat in place working from bottom to top
- Ensure the pleat sits evenly against the head
- Tuck the top end under and pin invisibly
- Smooth any irregularities and check the pleat alignment
- Apply firm-hold hairspray for lasting classic elegance
35. Twisted Side Chignon

The twisted side chignon combines asymmetrical placement with classic chignon techniques for modern sophistication.
This elegant style teaches beginners how directional styling can transform basic techniques while creating polished results perfect for contemporary formal occasions.
- Create a deep side part and sweep hair dramatically to one side
- Begin twisting the hair as you gather it toward the chosen side
- Continue twisting until you reach the ear area on the heavier side
- Start forming a chignon with the twisted hair at this side position
- Pin the chignon securely, maintaining its off-center placement
- Smooth the hair on the opposite side for sleek contrast
- Allow subtle face-framing on the lighter side for balance
- Apply hairspray focusing on hold without stiffness
36. Casual Knotted Half-Up

The casual knotted half-up style creates effortless elegance through simple knotting techniques that work perfectly for everyday sophistication.
This relaxed approach teaches beginners that elegant styling doesn’t require complex methods while building confidence in organic hair manipulation.
- Section the top half of hair from temple to temple
- Divide this section into two equal parts
- Tie these sections together in a simple overhand knot
- Gently tug at the knot to create subtle volume and texture
- Leave the remaining hair flowing naturally or add loose waves
- Allow some pieces around the face to remain soft and natural
- Pin the knot if additional security is needed for longer wear
- Apply light texturizing spray to enhance the relaxed finish
37. Elegant Gathered Updo

The elegant gathered updo represents the culmination of beginner updo skills, combining multiple techniques for sophisticated mastery.
This comprehensive style incorporates twisting, gathering, and pinning methods while creating formal elegance that showcases newly developed skills and confidence.
- Apply volumizing mousse and blow-dry hair with a round brush for body
- Create subtle height at the crown through gentle backcombing
- Begin gathering hair sections from around the head
- Twist each section slightly as you bring it toward the back
- Pin sections at varying heights to create dimensional gathered effect
- Continue until all hair is incorporated into the elegant updo
- Adjust pinned sections for balanced shape and desired fullness
- Finish with professional-quality hairspray for lasting formal elegance
These comprehensive 37 Easy Updos for Medium Hair for Beginners You Can Master provide the perfect foundation for developing your personal updo repertoire while building confidence in formal hairstyling.
Each technique has been carefully selected and simplified to ensure success at every skill level, from absolute beginners taking their first steps into updo styling to those ready to tackle more complex combinations and variations.
With practice, patience, and the right tools, these versatile styles will become your go-to solutions for any occasion that calls for elegant, sophisticated hair that looks professionally styled but remains comfortably achievable at home.
Remember that mastering updos is a journey of skill-building where each technique learned makes the next one easier, ultimately giving you the confidence to create beautiful, lasting styles that enhance your natural beauty for every special moment in life.