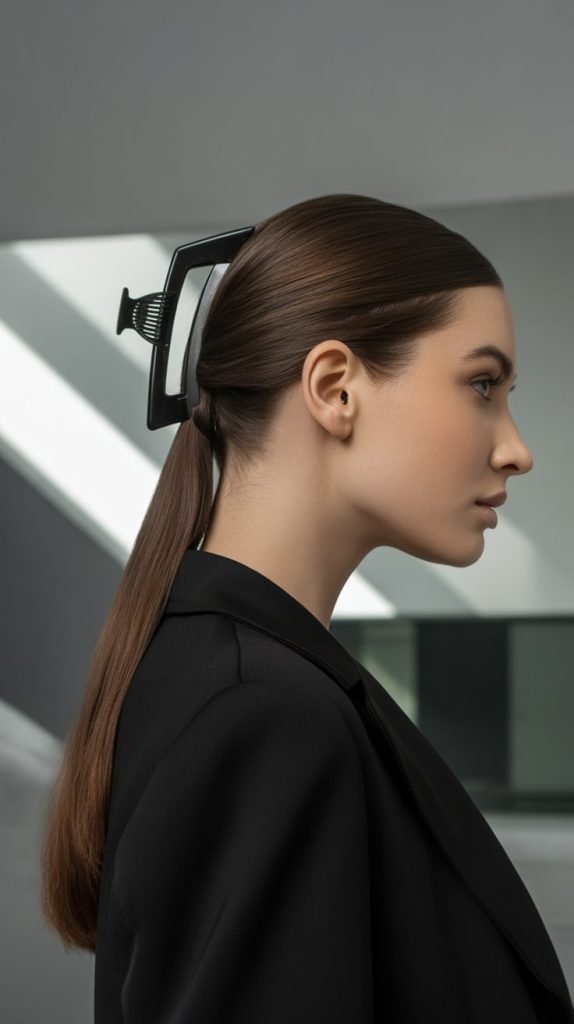
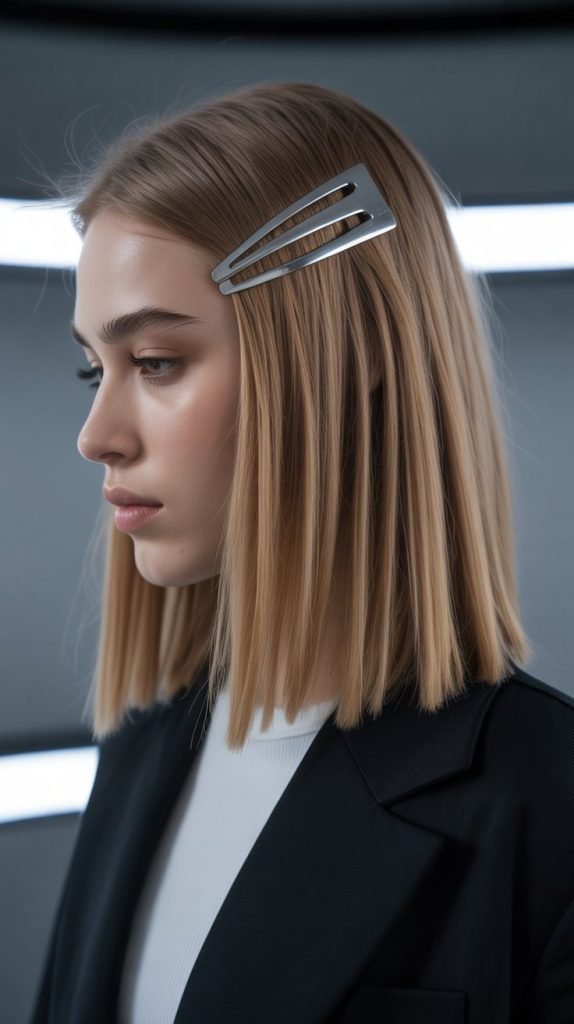
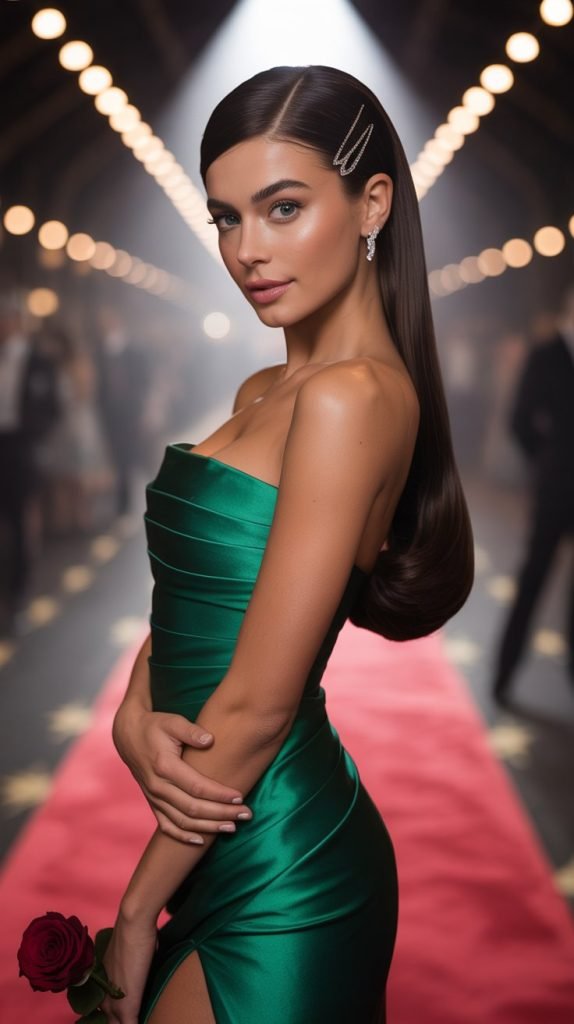
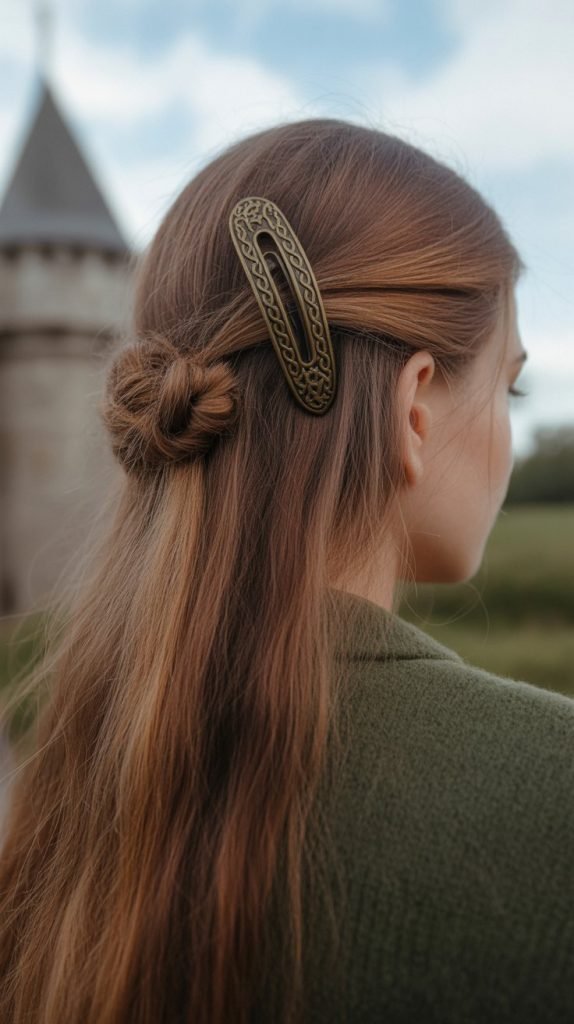
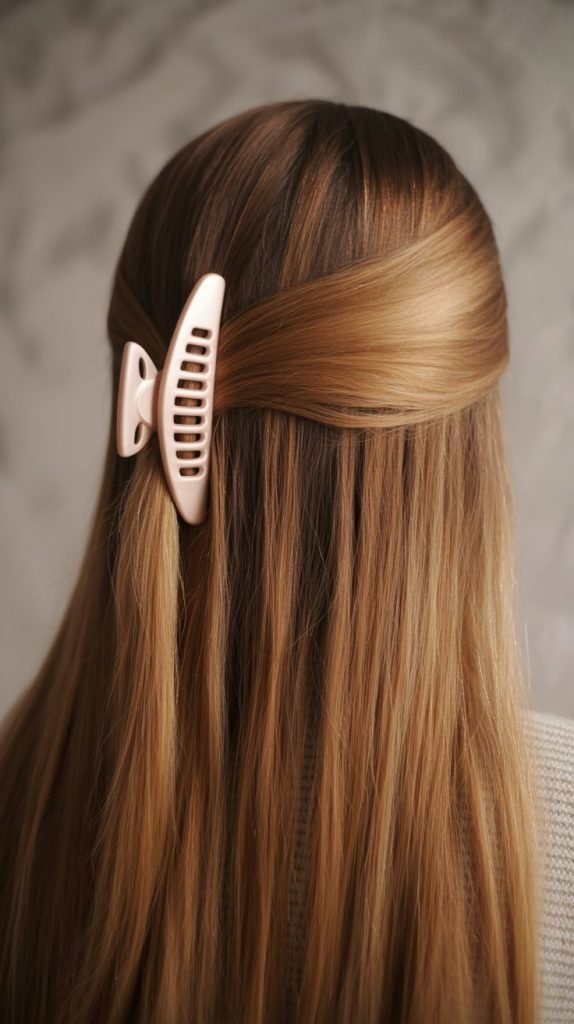
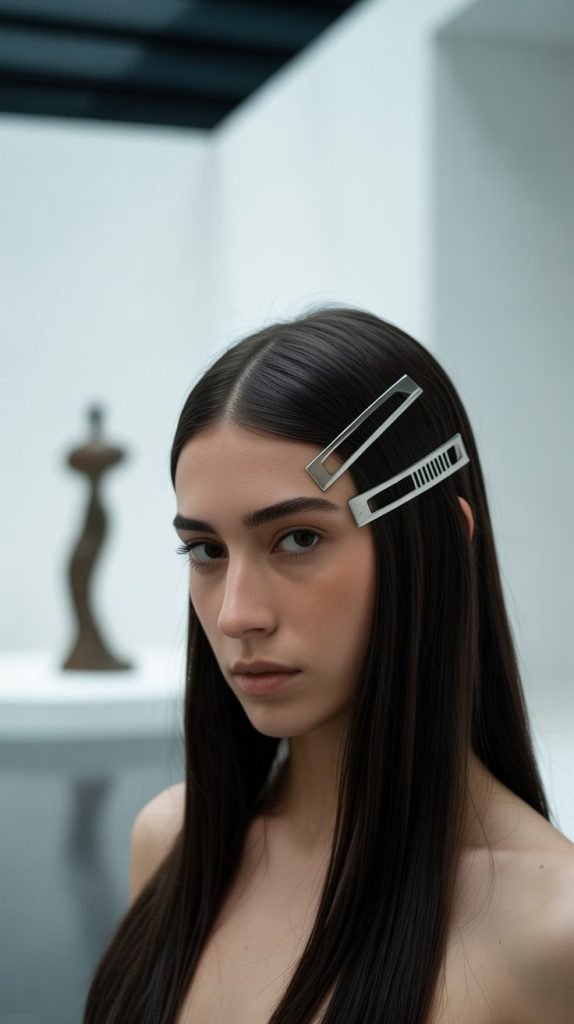
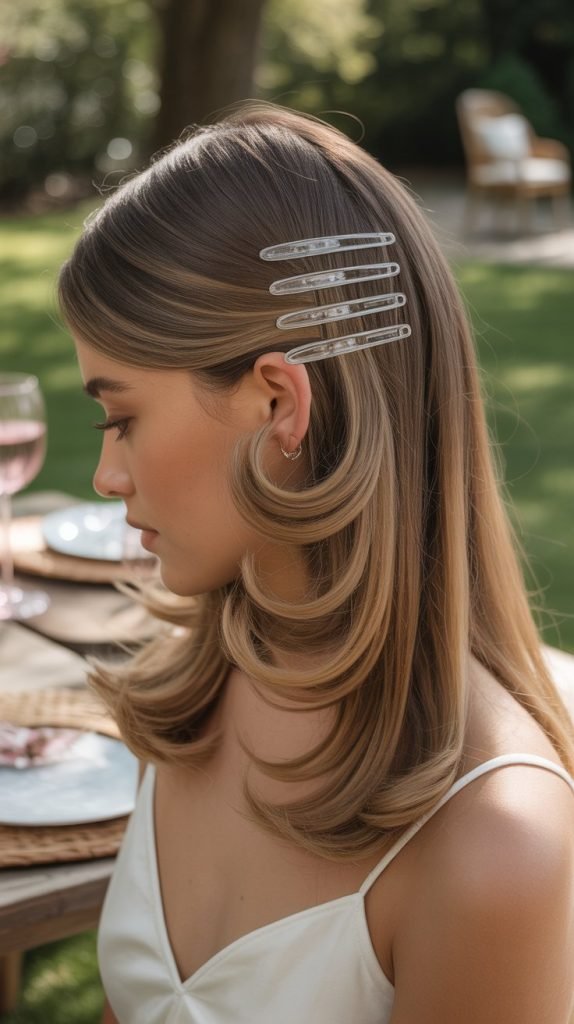
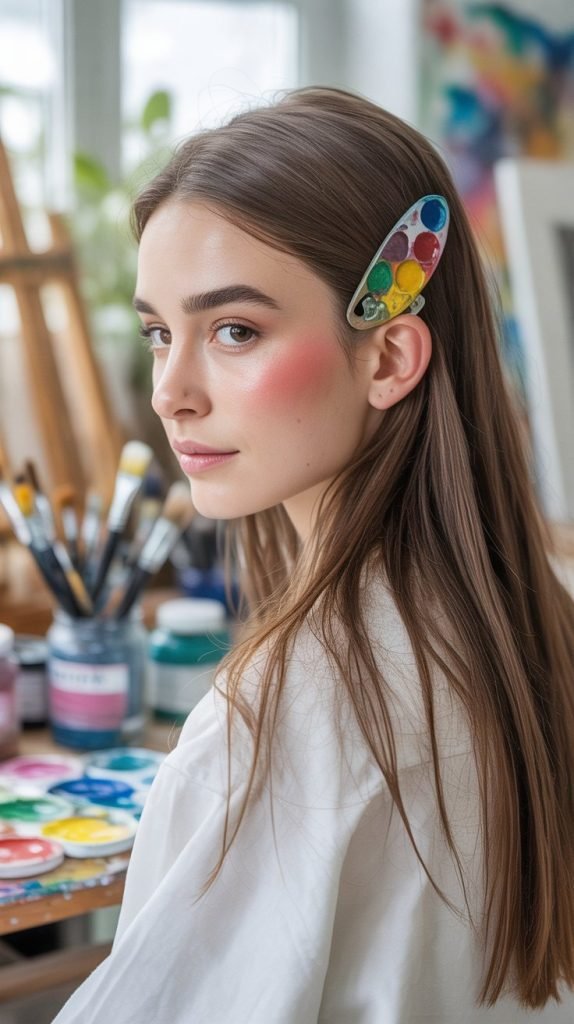
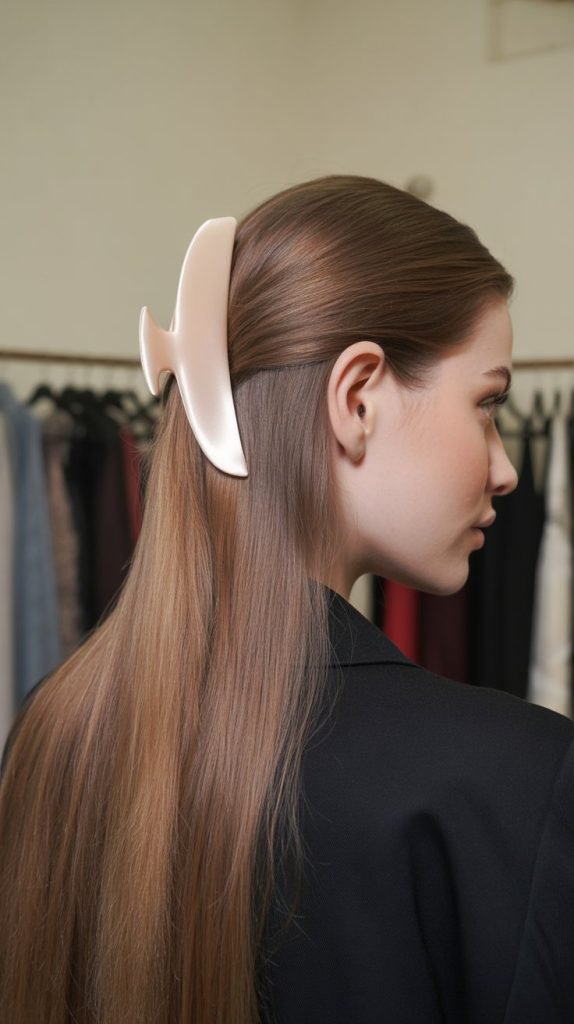
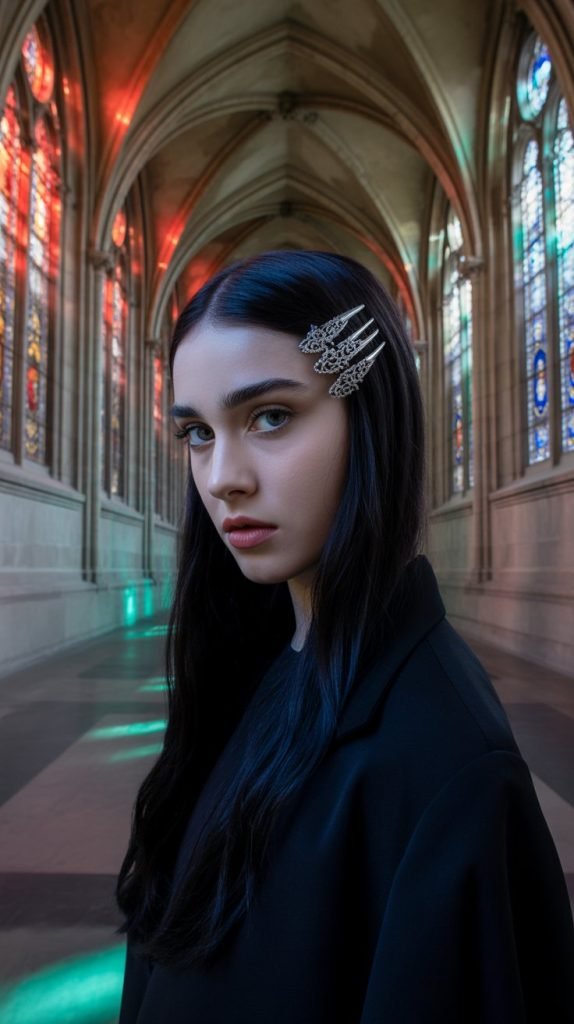
Straightened hair offers the perfect canvas for showcasing the versatility and elegance of claw clip styling, creating endless possibilities for both everyday and special occasion looks.
These 33 creative claw clip hairstyles for straightened hair will transform your styling routine, offering innovative approaches that go beyond basic ponytails and simple updos.
From avant-garde geometric arrangements to romantically twisted creations, each style harnesses the smooth texture and sleek finish of straightened hair to create stunning visual impact.
Whether you’re seeking professional polish for the workplace, romantic elegance for date nights, or bold statements for special events, this comprehensive collection provides detailed techniques for every occasion and skill level.
You’ll discover unique placement strategies, creative layering methods, and artistic approaches that elevate the humble claw clip into a sophisticated styling tool.
Get ready to revolutionize your hair game with techniques that combine practicality with pure artistry, ensuring your straightened hair always looks intentionally styled and effortlessly chic.
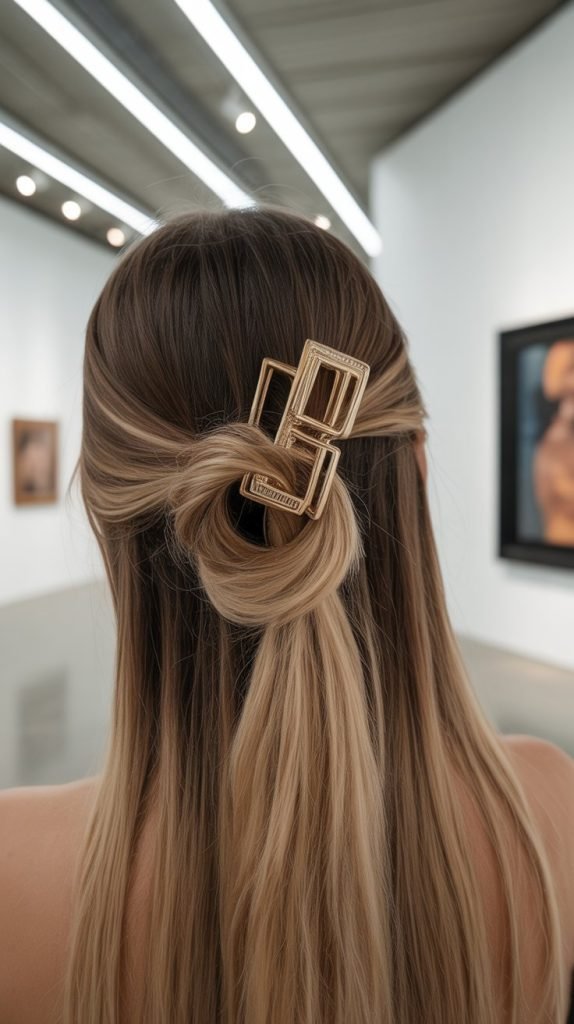
1. Geometric Triangle Updo
This avant-garde geometric triangle updo transforms straightened hair into a striking architectural statement perfect for fashion-forward occasions.
The angular silhouette creates visual drama while maintaining sophisticated elegance that works beautifully with the sleek texture of straight hair.
- Start with completely straightened hair that has been smoothed with anti-frizz serum for maximum sleekness
- Create three distinct sections by parting hair into triangular segments from the crown to each ear
- Gather the top triangular section first, twisting it tightly and positioning it at the highest point of your head
- Secure this first section temporarily with bobby pins while you work on the other sections
- Take the left triangular section and twist it diagonally toward the right side of your head
- Repeat with the right section, twisting it toward the left to create intersecting angles
- Position a large geometric claw clip at the intersection point where all three sections meet
- Ensure the clip catches all three twisted sections securely while maintaining the angular shape
- Tuck any loose ends under the claw clip and smooth flyaways with a fine-tooth comb
2. Cascading Waterfall Twist
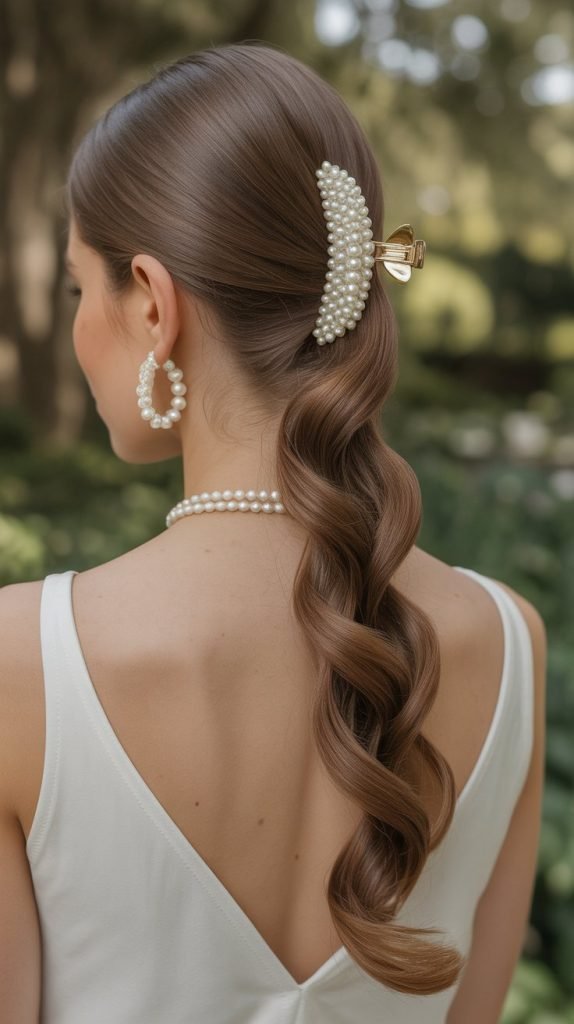
The cascading waterfall twist creates flowing movement that mimics falling water, utilizing the smooth texture of straightened hair to achieve seamless, liquid-like motion.
This romantic style is perfect for special occasions when you want to showcase length while maintaining elegance.
- Begin with freshly straightened hair that flows smoothly without any kinks or waves
- Create a deep side part and section off a two-inch wide piece from the front hairline
- Begin a loose French braid along the hairline, but instead of pulling hair under, let sections cascade down
- Continue the waterfall pattern by picking up new sections while allowing others to flow freely
- Work the waterfall braid from one temple across the crown to the opposite ear
- Gather the braid tail with some of the cascading pieces at the back of your head
- Twist all gathered sections together loosely to maintain the flowing effect
- Secure with a decorative claw clip positioned horizontally to catch all the twisted elements
- Gently pull at the cascading sections to create more volume and enhance the waterfall effect
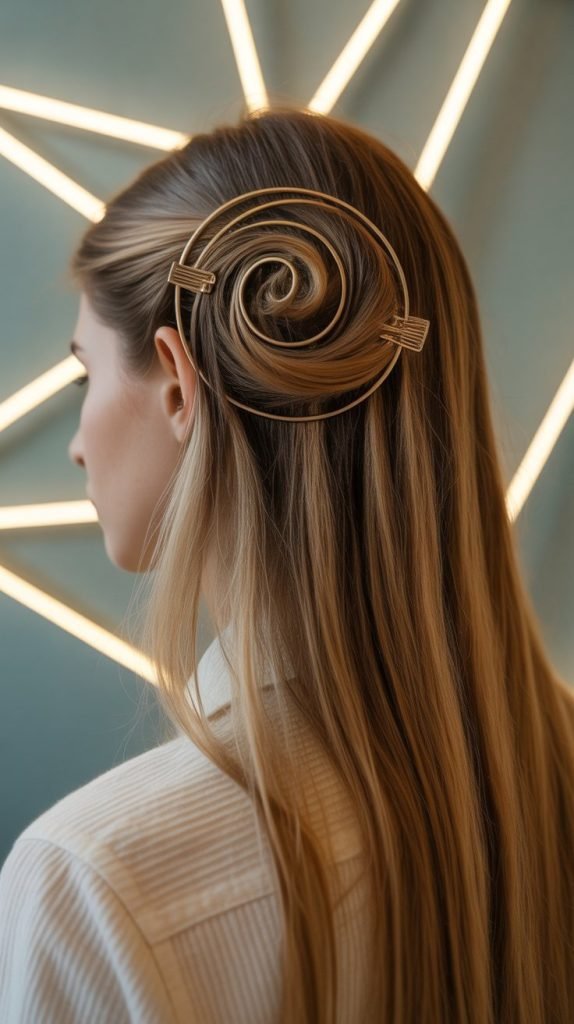
3. Double Spiral Chignon
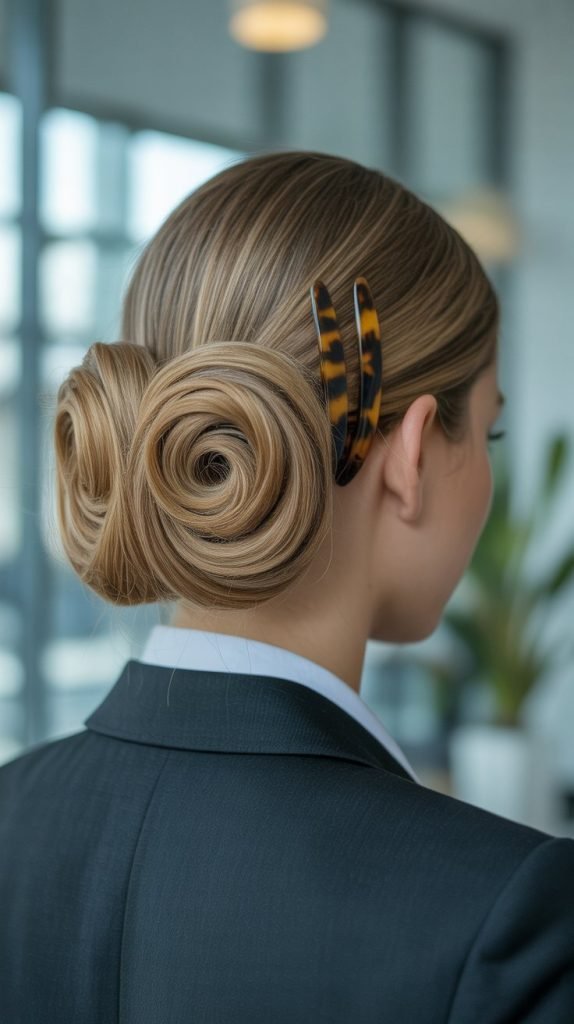
This sophisticated double spiral chignon combines two twisted elements to create a complex-looking updo that’s surprisingly achievable with straightened hair. The dual spirals add dimension and visual interest while maintaining professional polish.
- Divide your straightened hair into two equal sections with a center part extending to the nape
- Create tight twists with each section, twisting in opposite directions for contrast
- Begin wrapping the first twist into a spiral shape at the base of your neck
- Wrap the second twist around the first spiral, creating a layered chignon effect
- Ensure both spirals are visible and create an interesting interplay of shapes
- Position a large claw clip to secure both spirals at their intersection point
- Check that the clip grips both twisted sections firmly without disrupting their shape
- Use bobby pins to secure any loose ends that don’t fit under the claw clip
- Apply strong-hold hairspray to maintain the spiral definition throughout wear
4. Braided Crown with Floating Ends
Create an ethereal braided crown effect that allows the ends of your straightened hair to float freely, combining structured braiding with flowing movement. This style perfectly balances control with natural grace.
- Start with smooth, straightened hair and create a horizontal part from ear to ear
- Begin a Dutch braid on one side, starting from the temple and working along the hairline
- Continue braiding around the head like a crown, leaving the ends unbraided
- When you reach the starting point, secure the braid temporarily with a small elastic
- Allow the unbraided ends to flow naturally, creating floating tendrils around your face
- Position a decorative claw clip where the braid ends meet the starting point
- Ensure the clip secures the braid while allowing the floating ends to move freely
- Gently pull at the braid edges to create a fuller, more voluminous crown effect
- Use texturizing spray lightly on the floating ends to add subtle movement
5. Twisted Infinity Loop
The twisted infinity loop creates a mathematical elegance that showcases the precision possible with straightened hair. This unique style forms a figure-eight pattern that’s both artistic and surprisingly wearable.
- Gather your straightened hair into a low ponytail at the nape of your neck
- Divide the ponytail into two equal sections for creating the infinity shape
- Cross the right section over the left, then loop it under and through to begin the figure-eight
- Continue the looping motion with the left section, crossing over and under the right
- Keep the loops loose enough to maintain the infinity shape but tight enough to hold
- Position the completed infinity loop vertically against the back of your head
- Secure the crossing point with a statement claw clip that becomes part of the design
- Tuck the tail ends under the claw clip or weave them through the loops
- Use shine spray to enhance the mathematical precision of the loops
6. Layered Origami Fold
Transform your straightened hair into an origami-inspired masterpiece with multiple folds that create dimension and architectural interest. This avant-garde style is perfect for fashion events and creative occasions.
- Start with pin-straight hair that’s been treated with smoothing serum for maximum control
- Create three horizontal sections: top, middle, and bottom layers
- Fold the top section down and back up, creating a sharp crease like paper folding
- Repeat the folding technique with the middle section, offsetting it from the first fold
- Fold the bottom section in the opposite direction to create visual contrast
- Hold all folded sections in place while positioning a large architectural claw clip
- Ensure the clip secures all folds while maintaining their sharp, origami-like edges
- Use bobby pins to reinforce any folds that might lose their shape
- Apply strong-hold gel to the folded edges to maintain crisp lines throughout wear
7. Serpentine Side Sweep
The serpentine side sweep creates flowing S-curves that undulate gracefully along one side of your head, using the sleek texture of straightened hair to achieve smooth, snake-like movement.
- Create a dramatic side part that positions most of your hair on one side
- Beginning at the part, create loose S-shaped waves by curling small sections alternately
- Use your fingers to gently brush through the curls, creating soft serpentine curves
- Continue the wave pattern down the side of your head toward your shoulder
- Gather the waved section at the nape of your neck, maintaining the S-curve pattern
- Position a sleek claw clip vertically to secure the gathered waves
- Allow some face-framing pieces to maintain their serpentine shape around your face
- Use lightweight mousse to enhance the wave definition without weighing down the hair
- Finish with flexible hold hairspray to maintain movement while keeping the pattern intact
8. Architectural Fan Display
Create a dramatic fan-shaped display that spreads your straightened hair like an architectural element, perfect for special occasions where you want to make a bold statement.
- Gather all your straightened hair at the crown of your head in a high ponytail
- Divide the ponytail into five to seven equal sections depending on hair thickness
- Fan out each section in different directions, creating spoke-like arrangements
- Use a flat iron to ensure each fanned section is perfectly straight and smooth
- Secure each section temporarily with small clips while you arrange the fan shape
- Position a large decorative claw clip at the base where all sections meet
- Ensure the clip is strong enough to hold the weight and tension of all fanned sections
- Adjust the fan spread to create perfect symmetry and visual balance
- Use strong-hold hairspray to maintain the architectural precision of the fan shape
9. Celtic Knot Inspiration
Draw inspiration from Celtic knotwork to create an intricate interwoven pattern that showcases the precision possible with straightened hair. This cultural-inspired style combines artistry with wearability.
- Divide your straightened hair into four equal sections from a center part
- Begin creating loose knots by crossing sections over and under each other
- Follow a Celtic knot pattern, ensuring each section weaves through others systematically
- Keep the knots loose enough to see the interwoven pattern but tight enough to hold
- Continue the knotting pattern until you’ve incorporated most of your hair length
- Gather the knotted sections at the back of your head in a low position
- Secure the entire Celtic knot arrangement with a vintage-inspired claw clip
- Gently pull at the knots to create more volume and definition in the pattern
- Use texturizing spray to enhance the intricate details of the knotwork
10. Ribbon Weave Effect
Create the illusion of ribbon weaving through your hair by using strategic sectioning and placement techniques that work beautifully with the smooth texture of straightened hair.
- Start with perfectly straight hair and create vertical sections about one inch wide
- Leave every other section down while clipping the alternating sections up temporarily
- Create loose waves in the down sections using a large barrel curling iron
- Release the clipped sections and leave them straight for contrast
- Weave the straight sections over and under the waved sections like ribbon
- Continue the weaving pattern from one side of your head to the other
- Gather all woven sections at the nape of your neck in a low position
- Secure with a ribbon-like claw clip that complements the weaving theme
- Gently arrange the woven sections to enhance the ribbon-like appearance
11. Asymmetrical Sculpture
Create a modern art-inspired asymmetrical sculpture that uses your straightened hair as the medium, resulting in a bold, fashion-forward style perfect for creative events.
- Part your hair dramatically to create a 70/30 ratio between the two sides
- On the larger side, create multiple small sections of varying heights
- Twist each section and position them at different angles and elevations
- Build up the sections to create an asymmetrical sculptural form
- Leave the smaller side sleek and straight for contrast
- Use multiple small claw clips to secure different parts of the sculpture
- Position one large statement claw clip as the focal point of the asymmetrical design
- Ensure all clips work together to maintain the sculptural integrity
- Apply strong-hold gel to maintain the precise angles and shapes
12. Layered Cascade Waterfall
Build upon the traditional waterfall braid concept by creating multiple layers that cascade at different levels, using the sleek nature of straightened hair to achieve clean, defined layers.
- Create three horizontal sections across your head from temple to temple
- Begin a waterfall braid with the top section, letting pieces fall at regular intervals
- Start a second waterfall braid with the middle section, offsetting the drops from the first
- Create a third waterfall pattern with the bottom section for maximum cascading effect
- Allow each layer to cascade at slightly different lengths for dimensional effect
- Gather all the braid tails and some cascading pieces at the back of your head
- Secure the gathered sections with a multi-level claw clip that accommodates the layers
- Gently separate the cascading pieces to enhance the waterfall effect
- Use lightweight serum to maintain the sleek appearance of each cascading strand
13. Twisted Rope Helix

Create a DNA helix-inspired style by twisting two sections of straightened hair around each other in a precise helical pattern that showcases geometric beauty.
- Divide your hair into two equal sections with a center part
- Begin twisting each section tightly in opposite directions
- Start wrapping the twisted sections around each other to form a helix pattern
- Maintain consistent spacing between the wraps for a perfect spiral effect
- Continue the helical pattern down to the ends of your hair
- Coil the completed helix into a low bun at the nape of your neck
- Position a cylindrical or spiral-shaped claw clip to echo the helix theme
- Ensure the clip secures the helix while maintaining its structural integrity
- Use strong-hold mousse throughout the process to maintain the twist definition
14. Feathered Wing Formation
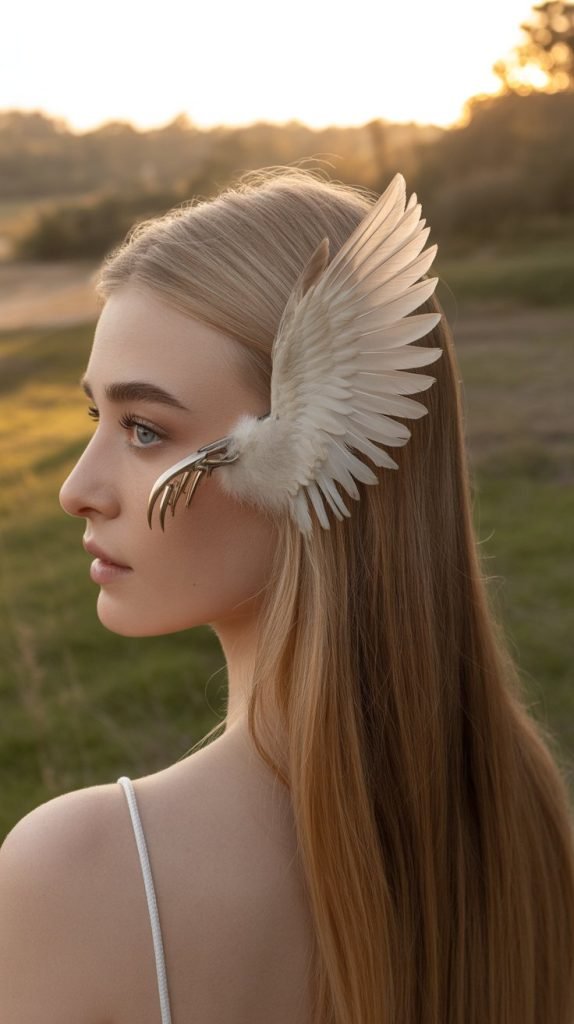
Mimic the graceful spread of bird wings by arranging your straightened hair in a feathered wing formation that creates dramatic silhouette and movement.
- Gather your hair at the back of your head at ear level
- Divide the gathered hair into multiple thin sections
- Fan each section outward and slightly upward to mimic feather placement
- Use a flat iron to create subtle bends that resemble natural feather curves
- Layer the sections to create depth and dimension in the wing formation
- Secure the base of the wing formation with a feather-shaped or bird-inspired claw clip
- Ensure each “feather” section flows naturally from the secured base
- Use texturizing spray to enhance the feather-like texture and movement
- Position the wings to create symmetrical balance on both sides of your head
15. Mathematical Spiral Fibonacci
Create a hairstyle inspired by the Fibonacci spiral, using the mathematical golden ratio to determine the placement and size of twisted sections in your straightened hair.
- Mark out sections following the Fibonacci sequence: 1, 1, 2, 3, 5 inches wide
- Create spirals with each section, making them progressively larger following the sequence
- Start with the smallest spiral at the crown and work outward
- Position each spiral according to the golden ratio proportions
- Allow the spirals to build upon each other creating a natural mathematical progression
- Secure the center point of the spiral arrangement with a golden-colored claw clip
- Ensure the clip placement follows the golden ratio for perfect mathematical harmony
- Use precision sectioning tools to maintain exact measurements
- Apply light-hold gel to maintain the precise spiral shapes
16. Origami Crane Inspired

Transform your straightened hair into an origami crane-inspired masterpiece that combines the precision of paper folding with the flow of hair styling.
- Create sharp, angular folds in your hair using precise sectioning and folding techniques
- Begin with the “neck” of the crane by creating a long twisted section
- Form the “body” by folding and overlapping larger sections of hair
- Create “wings” by spreading sections horizontally on either side
- Use the tail end of your hair to form the crane’s “tail” section
- Position multiple small clips to maintain each fold and angle
- Place a statement crane-shaped claw clip at the center to tie the design together
- Ensure all folds remain sharp and architectural in appearance
- Use strong-hold products to maintain the origami-like precision
17. Celtic Trinity Knot
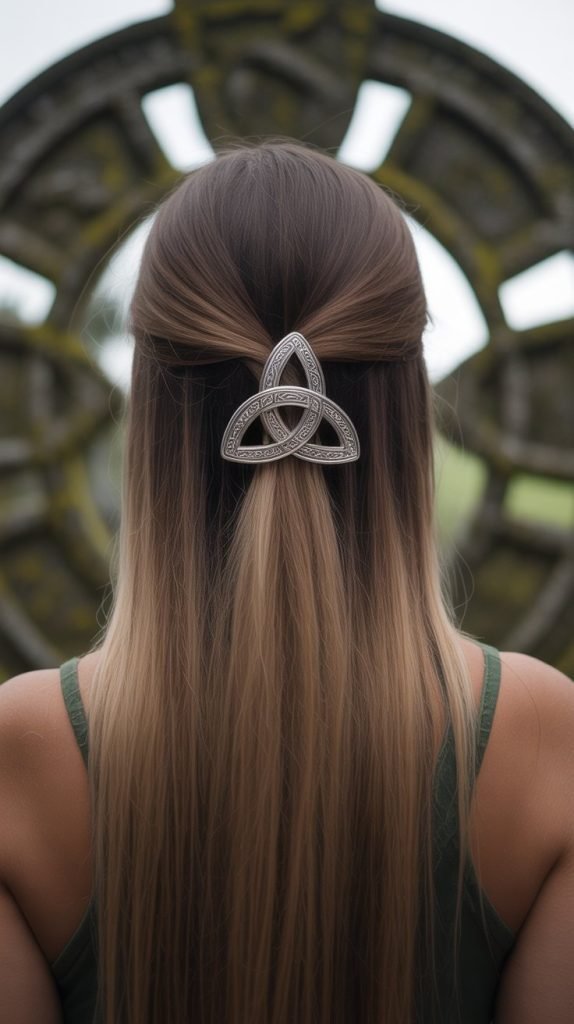
Create a sacred geometry-inspired style based on the Celtic trinity knot, using three interwoven sections of straightened hair to form this spiritual symbol.
- Divide your hair into three equal sections from a triangular part at the crown
- Create the first loop of the trinity knot by forming a circle with one section
- Thread the second section through the first loop and create its own circle
- Weave the third section through both existing loops to complete the trinity pattern
- Maintain loose loops to clearly show the interwoven trinity design
- Adjust the loops to create perfect symmetry and balance
- Secure the intersection points with small bobby pins
- Position a trinity knot-inspired claw clip at the center of the design
- Use light-hold spray to maintain the symbolic pattern without stiffening
18. Architectural Dome Construction
Build a dome-like structure with your straightened hair that mimics architectural engineering, creating a three-dimensional sculptural element on your head.
- Create a circular base by gathering hair around the crown in a perfect circle
- Begin building upward by adding layers in decreasing circles like a dome
- Secure each layer temporarily while building the dome structure
- Use hairspray between layers to help maintain the architectural shape
- Create the dome apex by twisting the top section into a tight point
- Ensure the dome maintains perfect symmetry from all viewing angles
- Position a architectural-style claw clip at the base to anchor the entire structure
- Check that the clip provides adequate support for the dome’s weight
- Use strong-hold gel to maintain the structural integrity throughout wear
19. Twisted DNA Double Helix

Create a sophisticated double helix pattern that mimics the structure of DNA, using two intertwined sections of straightened hair for scientific elegance.
- Divide your hair into two equal sections and twist each section individually
- Begin intertwining the twisted sections around each other in a helical pattern
- Maintain consistent spacing between the crossover points for authentic DNA appearance
- Continue the double helix pattern down the length of your hair
- Form the completed double helix into a low sculptural bun
- Position a molecular-inspired claw clip to secure the base of the helix
- Ensure the helix pattern remains visible even when coiled into the bun
- Use precision styling tools to maintain perfect symmetry in the double helix
- Apply light gel to each strand to maintain definition and prevent unraveling
20. Watercolor Blend Effect
Create the illusion of watercolor paint blending by using strategic sectioning and subtle texturing techniques that work beautifully with straightened hair’s smooth surface.
- Section your hair into bands of varying widths to represent different paint colors
- Create subtle waves in alternating sections using different sized curling tools
- Blend the sections together by gently combing where they meet
- Allow some sections to maintain their straight texture for contrast
- Create a soft, painted effect by varying the intensity of waves
- Gather all blended sections at the back of your head in a loose arrangement
- Secure with an artistic claw clip that complements the watercolor theme
- Use different texturing products on different sections to enhance the blended effect
- Finish with a light mist to maintain the soft, artistic appearance
21. Geometric Hexagon Pattern
Create a honeycomb-inspired hexagonal pattern using precise sectioning and twisted elements that showcase the versatility of straightened hair in geometric designs.
- Map out hexagonal sections across your head using precise parting techniques
- Create six triangular sections that meet at a central point
- Twist each triangular section toward the center point
- Arrange the twisted sections to form the hexagonal honeycomb pattern
- Secure each twist temporarily while building the complete pattern
- Position the twists so they create clear hexagonal shapes between them
- Secure the entire pattern with a hexagonal or honeycomb-inspired claw clip
- Ensure the geometric precision is maintained throughout the style
- Use strong-hold products to preserve the mathematical accuracy of the pattern
22. Flowing River Waves
Mimic the natural flow of a river by creating undulating waves that cascade through your straightened hair, combining structure with organic movement.
- Create gentle S-curves throughout your hair using a large barrel curling iron
- Brush through the curls to soften them into flowing wave patterns
- Arrange the waves to flow in the same direction like water current
- Layer the waves to create depth and the illusion of flowing water
- Gather the flowing waves at one side of your neck
- Secure with a nature-inspired claw clip positioned to maintain the flow direction
- Allow some waves to escape the clip for natural movement
- Use lightweight mousse to enhance the flow without weighing down the waves
- Finish with flexible hold spray to maintain movement throughout wear
23. Art Deco Sunburst
Channel the glamour of the Art Deco era by creating a sunburst pattern that radiates outward from a central point, perfect for vintage-inspired occasions.
- Create a precise center point at the crown of your head
- Section hair into equal wedges radiating outward like sun rays
- Smooth each section straight using a flat iron for maximum sleekness
- Fan the sections outward to create the classic sunburst pattern
- Secure each “ray” temporarily while arranging the complete sunburst
- Position an Art Deco-inspired claw clip at the center point
- Ensure all rays flow evenly from the central clip for perfect symmetry
- Use shine spray to enhance the glamorous, reflective quality
- Apply strong-hold gel to maintain the precise ray formation
24. Twisted Rope Ladder
Create an intricate rope ladder effect by interweaving multiple twisted sections that climb vertically up the back of your head, showcasing advanced braiding techniques.
- Create multiple thin sections running vertically down the back of your head
- Twist every other section while leaving alternating sections straight
- Begin weaving the straight sections horizontally through the twisted ones
- Create ladder-like rungs by positioning the horizontal weaves at regular intervals
- Continue the ladder pattern from the nape of your neck to the crown
- Secure the top of the ladder with a nautical or rope-inspired claw clip
- Ensure each “rung” of the ladder maintains its horizontal position
- Use texturizing paste to enhance the rope-like texture of the twisted sections
- Finish with medium-hold spray to maintain the intricate ladder structure
25. Phoenix Wing Spread
Create a mythical phoenix wing spread that rises dramatically from your head, using the sleek nature of straightened hair to achieve bold, sculptural height.
- Gather hair at the crown and create dramatic height through teasing and smoothing
- Section the hair into wing-like formations spreading horizontally
- Create lift and spread in each wing section using internal structure and clips
- Build layers within each wing to create dimension and feather-like texture
- Secure the base of the wing formation with a phoenix or fire-inspired claw clip
- Ensure both wings maintain symmetrical spread and height
- Use strong-hold products to maintain the dramatic lift throughout wear
- Create subtle texture within the wings to suggest feather details
- Position the clip to serve as both function and symbolic representation
26. Botanical Vine Weave
Mimic the natural growth pattern of climbing vines by weaving sections of your straightened hair in organic, spiraling patterns that suggest botanical movement.
- Create multiple thin sections that will serve as the main vine strands
- Begin weaving these sections around each other in organic, irregular patterns
- Allow some sections to spiral while others remain more linear
- Create the illusion of leaves by adding small twisted loops along the vine pattern
- Vary the tightness of the weave to suggest natural, organic growth
- Gather the woven vines at the back of your head in a natural-looking cluster
- Secure with a botanical or nature-inspired claw clip
- Use texturizing products to enhance the organic, lived-in appearance
- Allow some pieces to escape the weave for natural, wild movement
27. Crystalline Structure Formation
Create a mineral-inspired hairstyle that mimics the geometric structure of crystals, using precise angles and sharp edges possible with straightened hair.
- Section hair into geometric shapes that mirror crystal formations
- Create sharp angles and precise edges using sectioning and folding techniques
- Build up layers to suggest the three-dimensional nature of crystal growth
- Use different sized sections to create the irregular but structured look of natural crystals
- Maintain sharp, clean lines throughout the crystal formation
- Secure the base of the crystal structure with a gem or crystal-inspired claw clip
- Ensure all angles remain sharp and architectural throughout wear
- Use strong-hold gel to maintain the precise geometric shapes
- Position sections to catch and reflect light like actual crystals
28. Flowing Silk Scarf
Imitate the graceful drape and flow of silk fabric by creating smooth, undulating movements in your straightened hair that suggest luxurious textile qualities.
- Create broad, sweeping waves that mimic the flow of silk in the wind
- Use large barrel curling tools to achieve smooth, fabric-like curves
- Arrange the waves to overlap and flow into each other seamlessly
- Create the illusion of fabric draping by varying the wave intensity
- Allow some sections to remain straight to suggest the contrast of folded fabric
- Gather the “fabric” sections at one side in an elegant draping arrangement
- Secure with a silk or fabric-inspired claw clip that complements the textile theme
- Use shine-enhancing products to mimic the lustrous quality of silk
- Maintain soft movement that suggests the fluidity of fine fabric
29. Mandala Meditation Circle
Create a spiritual mandala pattern using your straightened hair arranged in concentric circles that radiate outward from a central point, perfect for yoga or meditation-inspired events.
- Establish a precise center point at the crown of your head
- Create concentric circles of hair sections radiating outward from the center
- Arrange each circle with sections that point in different directions for pattern variation
- Build up the mandala pattern layer by layer, maintaining symmetry throughout
- Use small sections to create intricate details within each concentric ring
- Secure the center point with a mandala or meditation-inspired claw clip
- Ensure the pattern maintains perfect radial symmetry from all angles
- Use light-hold products to maintain the spiritual pattern without stiffness
- Create subtle texture variations within each ring for visual interest
30. Architectural Spiral Staircase
Build a spiral staircase effect that climbs upward around your head, using the precision of straightened hair to create clean architectural lines and structure.
- Create a base circle at the nape of your neck to serve as the staircase foundation
- Build upward in a spiral pattern, adding hair sections as steps
- Maintain consistent spacing between each “step” of the staircase
- Create the illusion of climbing stairs by gradually increasing the height
- Use precise sectioning to ensure each step is uniform and architectural
- Secure the spiral staircase structure with an architectural claw clip at the top
- Ensure the spiral maintains its upward climbing motion throughout
- Use strong-hold products to maintain the structural integrity of the staircase
- Position each step to create clear definition and architectural precision
31. Flowing Waterfall Cascade
Create multiple levels of cascading waterfalls that flow at different heights and speeds, using the sleek texture of straightened hair to achieve smooth, liquid-like movement.
- Establish three different levels where waterfalls will begin their cascade
- Create the top waterfall by loosely braiding and allowing sections to fall at intervals
- Build the middle waterfall at a different rhythm and drop pattern
- Form the bottom waterfall with the shortest intervals for rapid cascade effect
- Allow each waterfall level to flow into the next for continuous movement
- Gather all the cascading ends at the back of your head in a natural pool effect
- Secure with a water or nature-inspired claw clip positioned to maintain flow
- Use lightweight products that won’t interrupt the flowing movement
- Create subtle texture in the cascading sections to suggest water movement
32. Gothic Cathedral Arches
Draw inspiration from Gothic architecture to create soaring arches and pointed spires using your straightened hair, perfect for dramatic and theatrical occasions.
- Create pointed arch shapes using sectioned hair arranged in cathedral-like formations
- Build height through internal structure and strategic placement of sections
- Form multiple arches at different heights to suggest cathedral complexity
- Create sharp points at the apex of each arch using twisted and pinned sections
- Maintain the architectural precision of Gothic design throughout the style
- Secure the base of the cathedral structure with a Gothic-inspired claw clip
- Ensure all arches maintain their pointed, soaring quality
- Use strong-hold products to support the dramatic height and structure
- Position sections to create the play of light and shadow found in cathedrals
33. Molecular Chain Reaction

Create a scientific molecular chain reaction pattern that shows the interconnected nature of molecular bonds, using twisted and linked sections of straightened hair.
- Begin with individual “molecules” created by small twisted sections of hair
- Link each molecule to the next through strategic weaving and connecting techniques
- Create a chain reaction effect by building the molecular pattern outward from a center point
- Vary the size of molecules to suggest different atomic weights and structures
- Maintain visible connections between each molecular unit in the chain
- Build the chain reaction pattern across the entire back of your head
- Secure the central reaction point with a molecular or scientific claw clip
- Ensure each molecular link remains clearly defined and connected
- Use precision tools to maintain the scientific accuracy of the molecular bonds
- Apply light-hold gel to maintain definition without disrupting the delicate connections
Conclusion
These 33 creative claw clip hairstyles for straightened hair represent the perfect fusion of artistry, practicality, and personal expression, transforming everyday styling into extraordinary statements of creativity and elegance.
From mathematical precision in geometric patterns to organic flow in nature-inspired designs, each technique offers unique opportunities to showcase your individual style while maintaining the sleek sophistication that straightened hair provides.
Whether you’re drawn to architectural complexity, organic fluidity, or sculptural drama, these comprehensive techniques ensure you’ll never run out of inspiration for your styling adventures.
The versatility of claw clips combined with the smooth canvas of straightened hair opens endless possibilities for creative expression, allowing you to adapt these foundational techniques into your own signature styles.
Master these approaches, experiment with combinations, and discover how these 33 creative claw clip hairstyles for straightened hair can revolutionize your daily styling routine while celebrating the beautiful precision and flow that only perfectly straight hair can achieve.