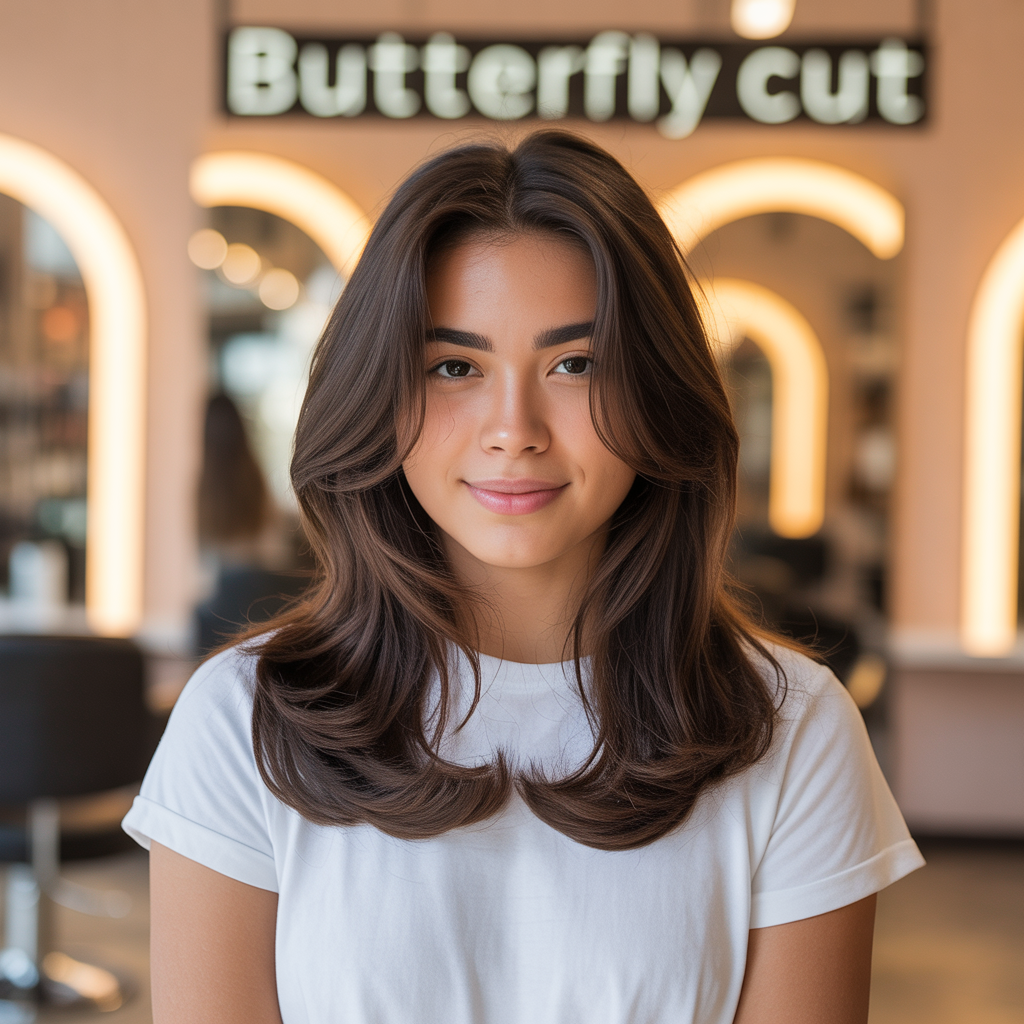
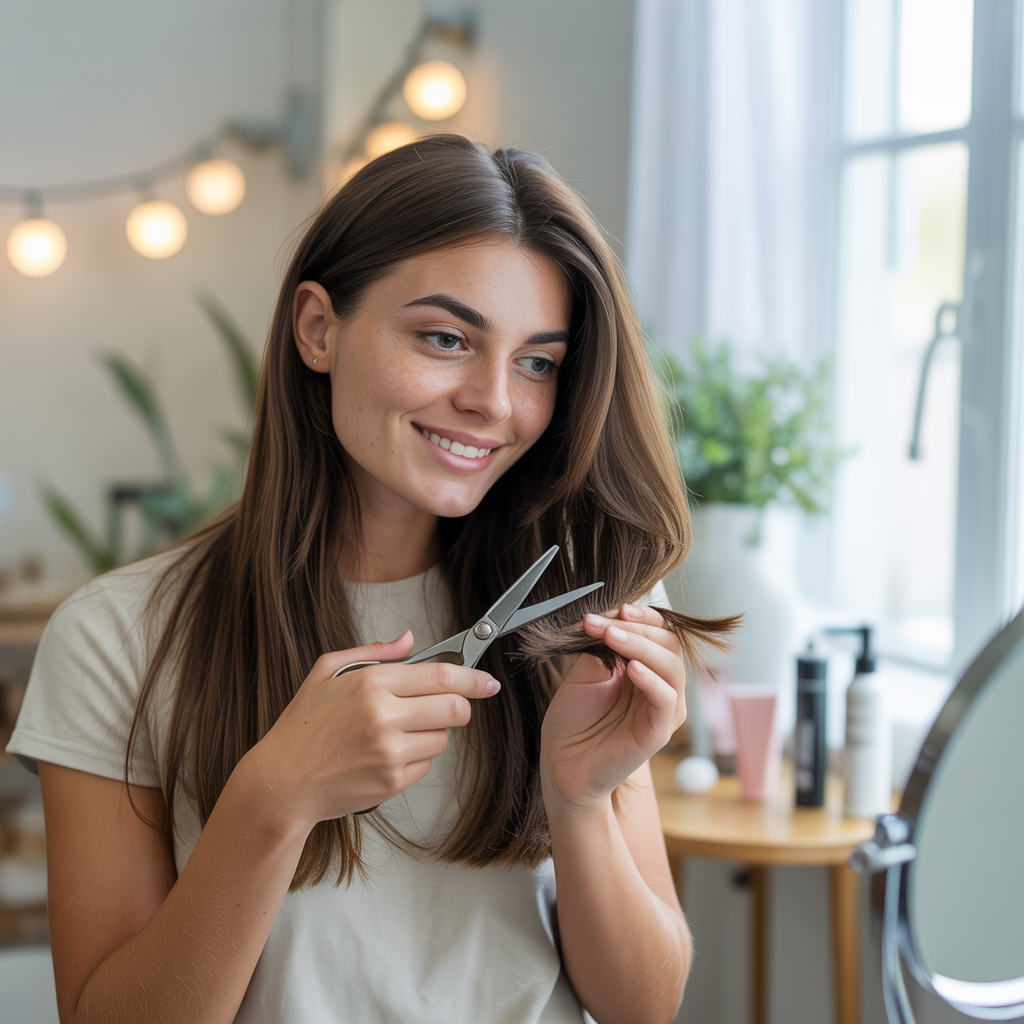
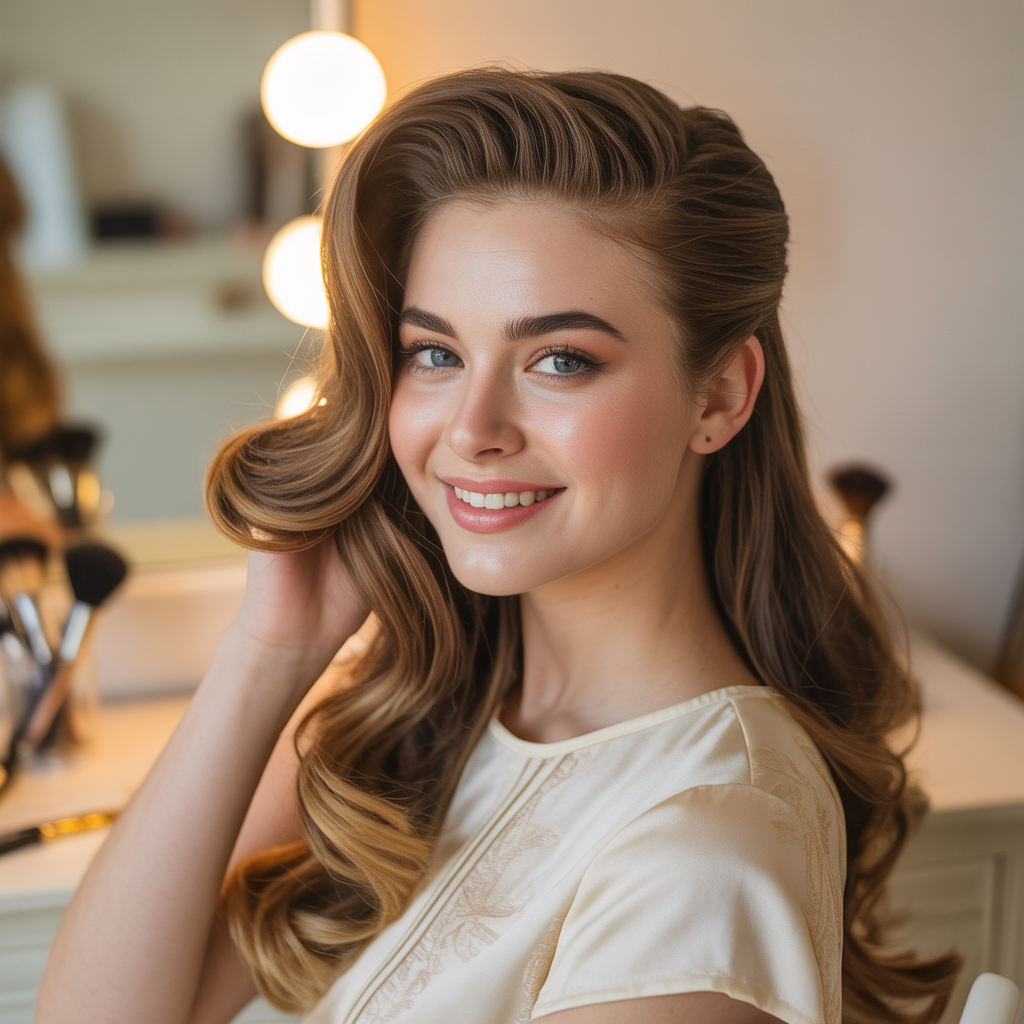
When you have long hair and a round face, finding the perfect cut that keeps your length but frames your features beautifully can feel tricky.
The butterfly haircut is a timeless favorite because it adds soft volume, face-framing layers, and a flattering shape that works with so many textures.
In 33 Butterfly Haircuts Tutorial for Long Hair and Round Faces, you’ll discover detailed, step-by-step ideas and tips for creating this cut at home or explaining exactly what you want at the salon.
This guide is packed with layered variations, styling tricks, and real DIY techniques so you can feel excited — and confident — to shape your hair to highlight your best features.
Bookmark 33 Butterfly Haircuts Tutorial for Long Hair and Round Faces and get ready to transform your hair into layers of bounce and beauty!
1. Basic Butterfly Cut Tutorial
The basic butterfly cut is the core look — soft, layered, and easy to style.
It removes bulk from the front while keeping length in the back.
- Detangle your hair completely.
- Part your hair straight down the middle for balance.
- Separate the crown area from ear to ear and clip the bottom half out of the way.
- Pull the top half into a ponytail at the front of your head (unicorn ponytail).
- Decide how much length to remove — less is always safer.
- Cut straight across the ponytail or angle the ends downward slightly.
- Release the hair and check for balance.
- Point-cut the ends to blend any harsh lines.
Pro Tip: Always cut dry if your hair is naturally wavy or curly, so you see the true length.
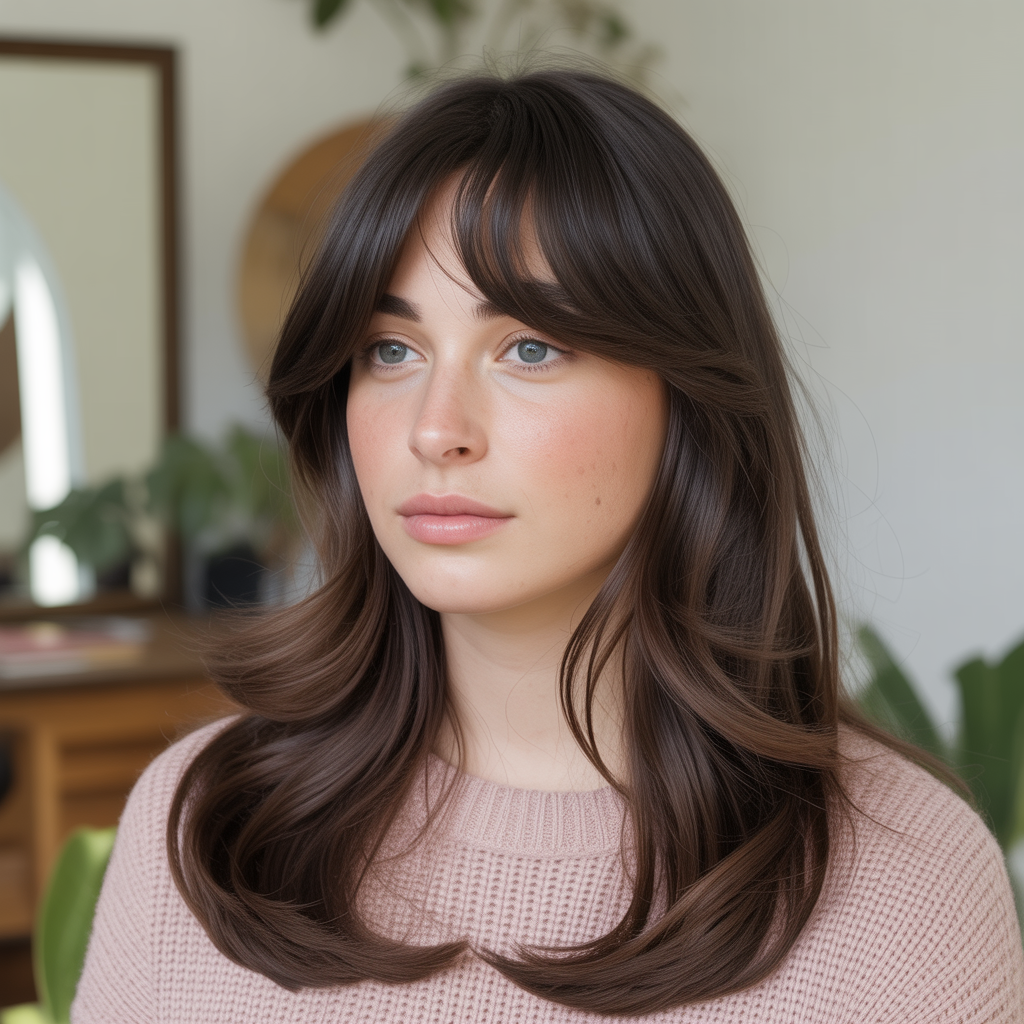
2. Butterfly Cut with Curtain Bangs

Curtain bangs elevate the butterfly shape by opening up your face beautifully.
They’re flattering for round faces because they create a vertical line.
- Part your hair in the middle first.
- Section a small triangle from the hairline down to the arches of your eyebrows.
- Comb this forward and dampen slightly.
- Twist the triangle once, then snip just below your eyes.
- Unravel and check both sides are even.
- Use point-cutting to soften.
- Blend the bangs into the top layer with gentle diagonal cuts.
Pro Tip: Use a round brush to blow dry bangs backward for a bouncy, feathered look.
3. Twist & Snip Easy Layers

This beginner hack gives feathered ends and soft movement.
It’s quick and works well on thick or slightly wavy hair.
- Brush your hair and part it down the middle.
- Pull all hair forward over your shoulders.
- Twist each side separately until it coils tightly.
- Snip off a half-inch to one inch at the ends.
- Shake out your hair and check balance.
- Point-cut any sections that feel bulky.
Pro Tip: Twist tighter for more layering effect — but snip tiny amounts to avoid surprises!
4. Side-Part Butterfly Cut

Adding a side part can change your whole look, giving lift and slimming the cheeks.
This tutorial adjusts the basic method for a side part.
- Part your hair where you naturally flip it.
- Section the top hair that frames your face.
- Pull that forward and secure in a ponytail toward your part line.
- Trim a small amount diagonally so the layers sweep naturally.
- Release and blend with the bottom hair.
- Style with mousse for added volume at the roots.
Pro Tip: Flip hair to the other side for instant bounce on days you want a fresh style.
5. U-Shape Back Butterfly Cut

A U-shaped back creates a flowing shape that moves beautifully when you walk.
It helps round faces by elongating your neck visually.
- Gather all your hair into a low ponytail at the base of your neck.
- Bring the ponytail under your chin.
- Use sharp shears to trim the ends slightly angled for a soft U.
- Release and brush out.
- Use point-cutting to blend if needed.
Pro Tip: Two mirrors help you check your back shape perfectly.
6. DIY V-Shape Butterfly Layers

A V-shape creates more drama and works beautifully with longer hair.
It removes weight and gives gorgeous bounce.
- Divide your hair into two low pigtails at the back.
- Bring both over your shoulders.
- Snip each diagonally toward the middle.
- Let hair down, brush, and check the point.
- Use scissors to even out if needed.
Pro Tip: A subtle V looks best — deep Vs are harder to maintain evenly at home.
7. Soft Razor Butterfly Cut

Using a razor comb is amazing for soft, feathered ends.
It keeps your layers airy and lightweight.
- Start with clean, dry hair.
- Section the crown area.
- Hold small sections and run a razor comb downwards about halfway.
- Gently flick the ends outward.
- Repeat on the sides for a natural flow.
Pro Tip: Don’t razor the hairline too aggressively — it’s delicate!
8. Shaggy Butterfly Layers
Add rock-and-roll vibes with choppy, piecey layers.
A great choice for thick hair or anyone who loves undone texture.
- Cut your base butterfly shape first.
- Take sections at the crown and chop shorter pieces at random lengths.
- Use point-cutting to create jagged ends.
- Ruffle your hair with texturizing paste.
- Scrunch with sea salt spray for messy volume.
Pro Tip: The shaggier it looks, the trendier it feels!
9. Ponytail Shortcut Layers

The viral ponytail hack is fast and gives beautiful results for the butterfly style.
This one is a lifesaver for busy days.
- Brush hair smooth.
- Flip head forward.
- Tie a high ponytail at your hairline.
- Cut the ends straight across.
- Release and check for balance.
Pro Tip: Cut less at first — you can always trim more.
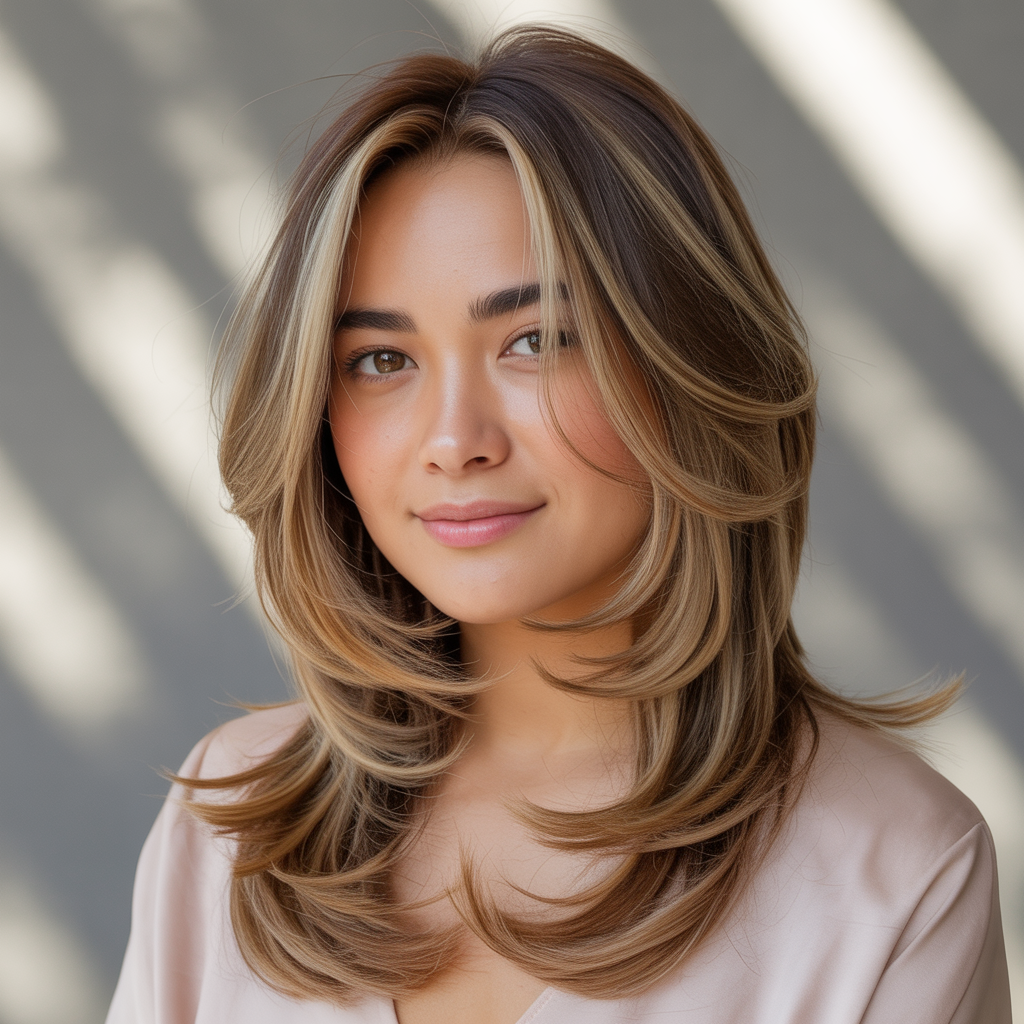
10. Face-Framing Butterfly Layers

Only want to shape the front? This tutorial is for you.
It instantly flatters round cheeks.
- Section front pieces from the temple forward.
- Pull them forward and comb smooth.
- Cut at a diagonal from chin length down.
- Use point-cutting to soften.
- Blend gently into the back.
Pro Tip: Always trim face-framing pieces dry for accuracy.
11. Long Curtain Fringe with Butterfly Shape
Long, swoopy fringe works so well with butterfly layers.
It balances a wider face naturally.
- Take a triangle section at the front.
- Comb forward and twist once.
- Cut slightly below your nose.
- Release, part in the middle.
- Blend with top layers.
Pro Tip: Use a large round brush to style the fringe outward.
12. Layered Side Bangs Version
Side bangs look youthful and give a gentle lift.
This tutorial pairs them with your butterfly shape.
- Part hair deep to one side.
- Section bangs to the eyebrow arch.
- Cut diagonally to sweep away from the face.
- Blend into side layers.
- Use a flat iron to bend slightly.
Pro Tip: Sweep bangs back for a casual flip.
13. DIY Dry Cut with Clippers

For confident DIY-ers, a clipper guard can help shape even ends.
Be cautious and use the longest guard!
- Section the top layer.
- Comb smooth.
- Gently run the clipper guard over the ends.
- Check both sides.
- Always point cut afterward to soften.
Pro Tip: Only attempt this with sharp, clean clippers.
14. Wavy Hair Butterfly Tutorial

Waves look stunning with butterfly layers.
Always cut dry so you see the true length.
- Comb hair into sections.
- Use twist-and-snip or ponytail method.
- Cut tiny amounts.
- Add curl cream to enhance waves.
- Air dry or diffuse.
Pro Tip: Layer waves in sections for natural flow.
15. Heatless Rollers Styling
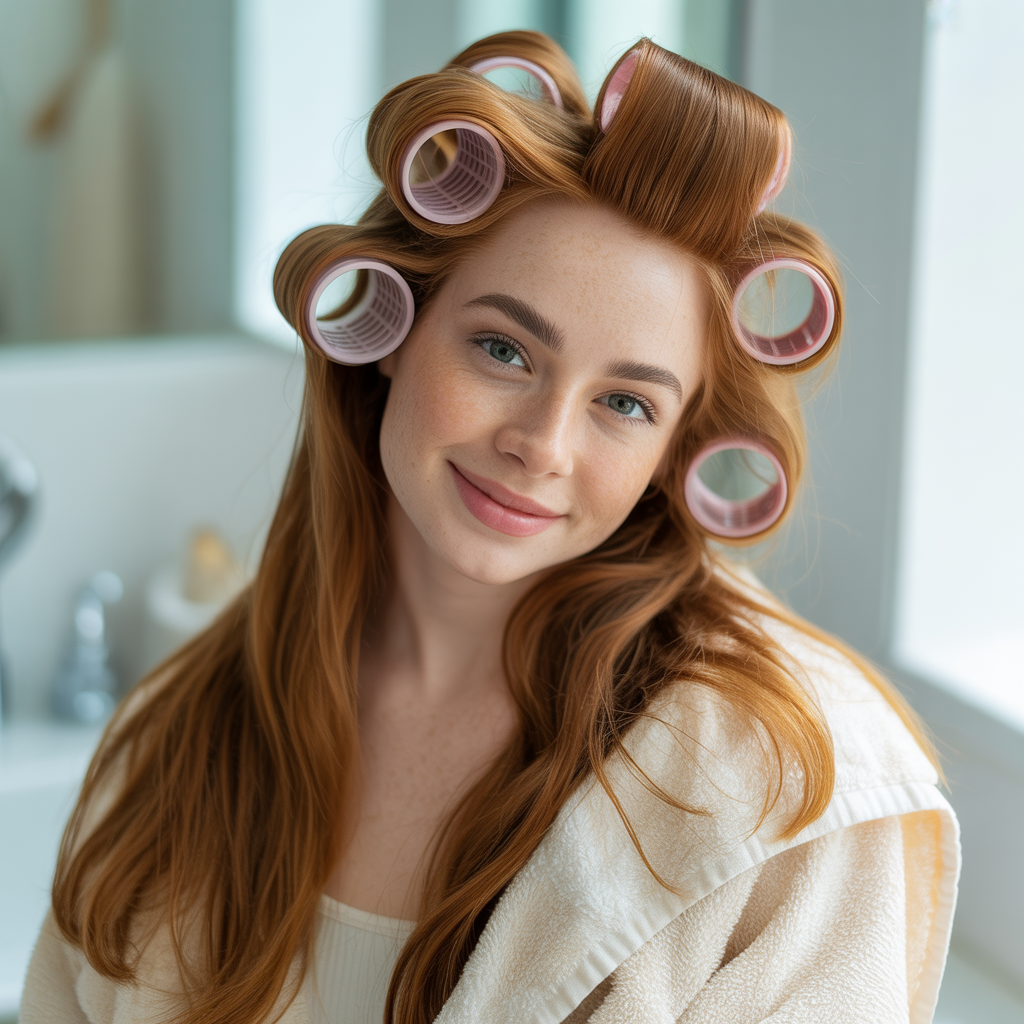
Heatless rollers are great for setting butterfly layers overnight.
They add bounce with no damage.
- After your trim, dampen hair slightly.
- Roll sections away from your face.
- Sleep overnight.
- Unroll and fluff gently.
- Mist with light hairspray.
Pro Tip: Use large rollers for soft volume.
16. Subtle Butterfly for Thin Hair

Thin hair looks best with gentle layers that add bounce without losing fullness.
This version shows how to keep it light.
- Start with freshly brushed, dry hair.
- Use the ponytail trick, but cut just a small amount.
- Avoid cutting too deep at the crown — this keeps fullness at the ends.
- Always point-cut the tips for softness.
- Finish with a lightweight volume mousse.
Pro Tip: Blow-dry upside down to boost root lift.
17. Deep Layers Butterfly Cut

Deeper layers create bold movement and volume, especially for thick hair.
This works beautifully if you love dramatic flips.
- Section hair into crown, sides, and back.
- Use the ponytail method for the top crown only.
- Cut more from the top layers and less from the back.
- Blend with scissors or razor for flow.
- Style with a round brush and flip the ends out.
Pro Tip: Add velcro rollers while hair cools to lock in bounce.
18. DIY Braided Layers

The braid technique is a low-risk trick to test layered ends.
Perfect for cautious beginners.
- Braid the front sections loosely.
- Snip small bits off the braid ends at an angle.
- Undo braids and shake out the shape.
- Blend with point cuts if needed.
- Style as normal to check flow.
Pro Tip: Try on slightly damp hair — but not too wet, or the length will bounce up more than expected.
19. Butterfly Cut with Feathered Ends
Feathered ends lighten thick hair and add softness to the whole style.
It’s a must for that classic, airy butterfly shape.
- Use the ponytail or twist-and-snip method.
- Angle scissors downward and snip ends with tiny cuts.
- Use your fingers to feel for heavy spots.
- Soften with a razor comb if needed.
- Style with a shine serum.
Pro Tip: Always feather ends, not the crown — that keeps the top looking full.
20. Side Flip Butterfly Styling
This styling trick makes layers pop with extra lift on one side.
Great for fine hair that needs volume.
- Blow dry hair with a side part.
- Use a round brush to flip the top layers away from your face.
- Add a tiny bit of mousse at the roots.
- Flip hair to the opposite side when it’s dry.
- Lock it in with light hairspray.
Pro Tip: Switch your part often — it keeps roots lifted naturally.
21. Butterfly Cut with Long Blunt Ends

This twist combines soft crown layers with blunt ends for thickness.
It balances fine hair nicely.
- Section crown hair for layering.
- Keep the bottom layer untouched for fullness.
- Cut the crown using the ponytail trick.
- Trim the bottom blunt and straight.
- Blend lightly with point cuts.
Pro Tip: Trim every 2 months to keep blunt ends healthy.
22. Boho Butterfly Layers
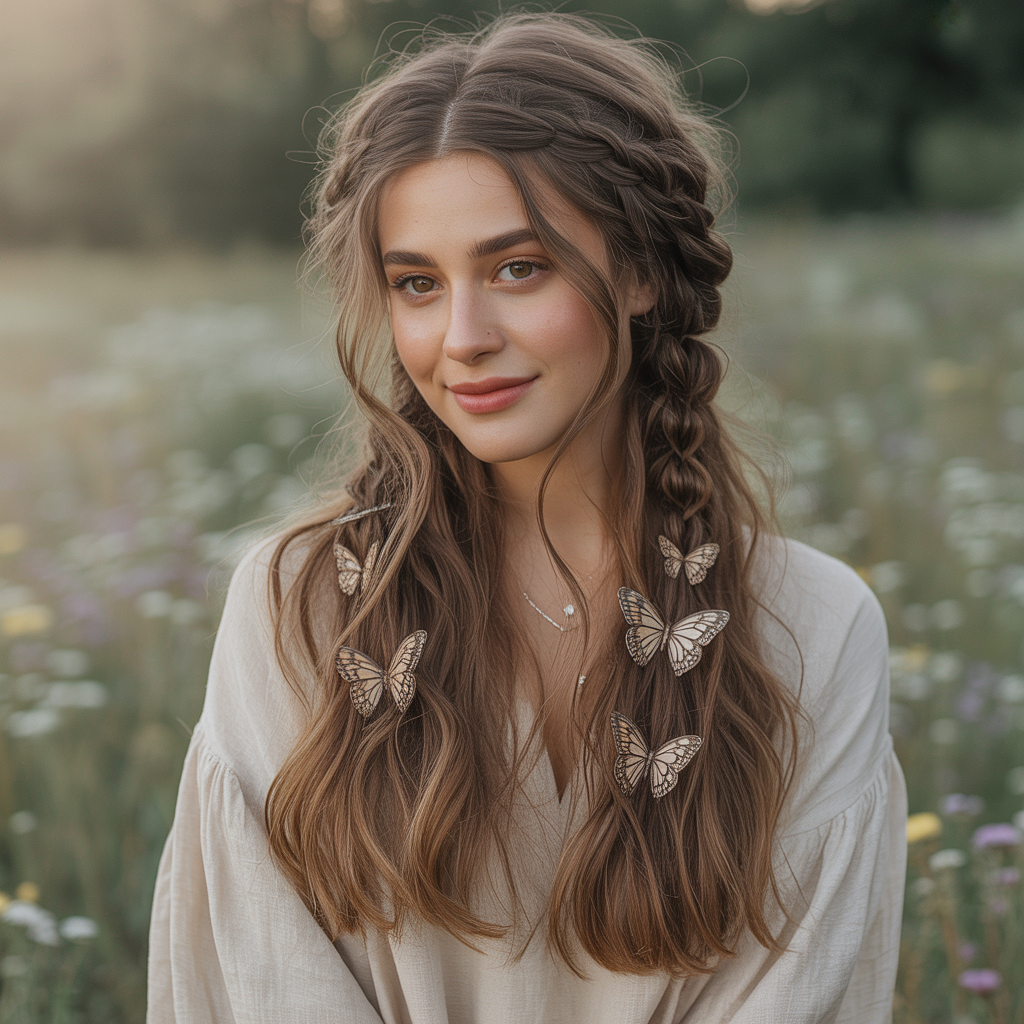
This version looks best with undone waves and a relaxed vibe.
Perfect for casual, natural styling.
- Use twist-and-snip or dry cut method.
- Add longer face-framing sections at cheek level.
- Air dry with curl cream.
- Scrunch hair with sea salt spray for texture.
- Avoid flat ironing — keep it flowy.
Pro Tip: Braid hair loosely overnight for natural, heatless waves.
23. Butterfly Cut with DIY Balayage

Soft, hand-painted highlights bring layers to life.
It gives instant dimension.
- Section hair in layers first.
- Use a toothbrush or small brush to paint lightener on mid-lengths and ends.
- Focus around your face for a sun-kissed look.
- Wrap sections in foil or plastic.
- Rinse, tone, and deep condition.
Pro Tip: Always do a strand test if you’ve never lightened your hair before.
24. Butterfly Cut for Naturally Curly Hair

Curly hair needs special care — never cut wet if you want bounce!
This version keeps curls defined.
- Part hair into crown and sides.
- Trim crown curls with small snips, dry.
- Use the twist method on front curls for shape.
- Define curls with curl cream.
- Diffuse with low heat.
Pro Tip: Twist small sections around your finger for perfect ringlets.
25. Retro Blowout Butterfly Layers

Big, fluffy blowouts make butterfly layers shine.
Channel vintage 90s vibes with this styling.
- Cut your butterfly layers first.
- Blow dry hair section by section with a large round brush.
- Roll ends away from the face.
- Use velcro rollers on top sections while hair is still warm.
- Release and brush out gently.
Pro Tip: Mist with flexible hold hairspray to keep bounce soft.
26. DIY Clipper Clean-Up
If you’re confident, clippers can keep your ends tidy between trims.
Always use the longest guard!
- Section hair by layers.
- Run clippers gently over dry ends only.
- Do this only for small maintenance trims.
- Comb through and check length.
- Finish with point-cutting if needed.
Pro Tip: Never rush with clippers — slow and steady keeps your cut safe.
27. Ponytail Maintenance Trim

This mini trim helps keep your butterfly shape fresh.
Perfect between salon visits.
- Flip hair forward.
- Tie a small ponytail at the forehead.
- Snip the ends slightly.
- Release and check.
- Point cut if needed.
Pro Tip: Do this every 6–8 weeks to avoid split ends.
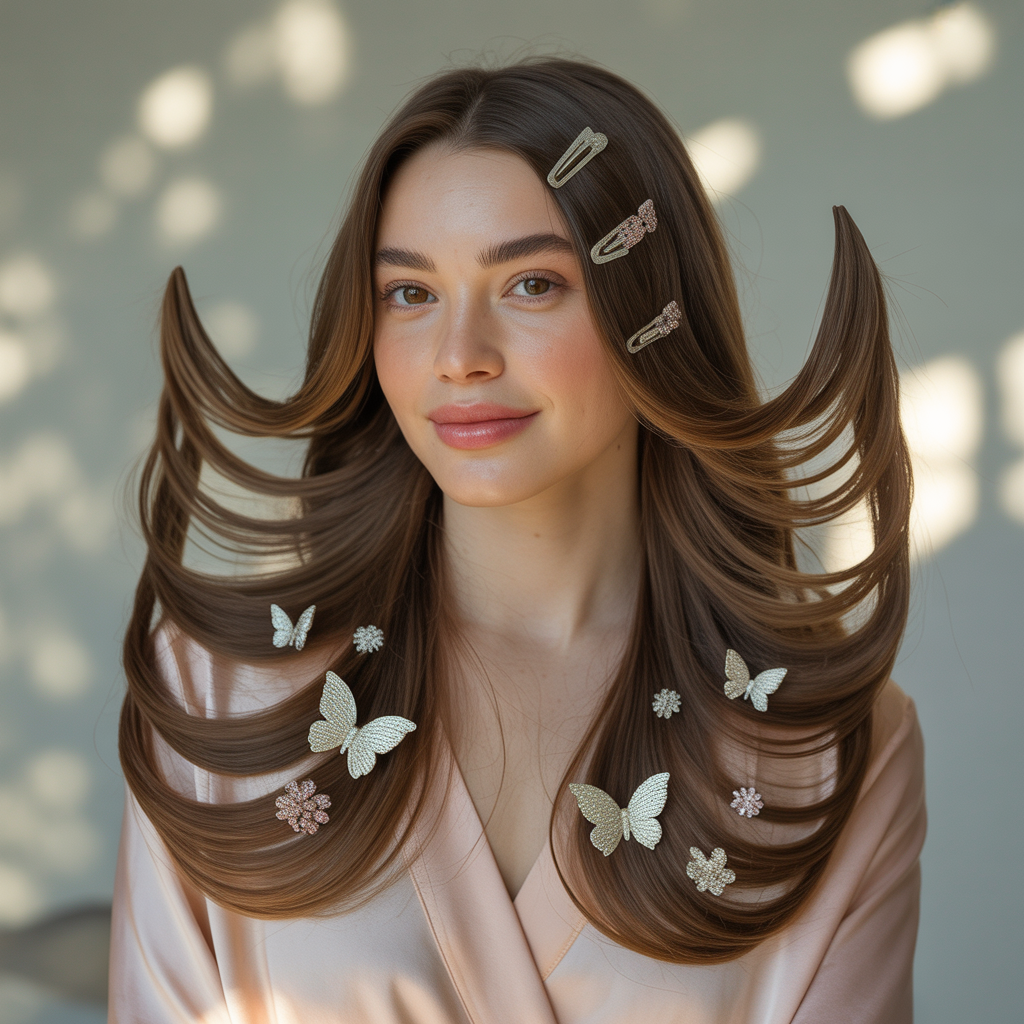
28. DIY Butterfly Cut with Beaded Hair
Show off your new layers with cute beads or cuffs.
It’s an easy way to style layers without heat.
- Trim your butterfly shape first.
- Take small front sections.
- Slide on hair beads or cuffs.
- Secure gently with tiny elastics.
- Let the rest of the layers flow freely.
Pro Tip: Coordinate beads with outfits for extra flair.
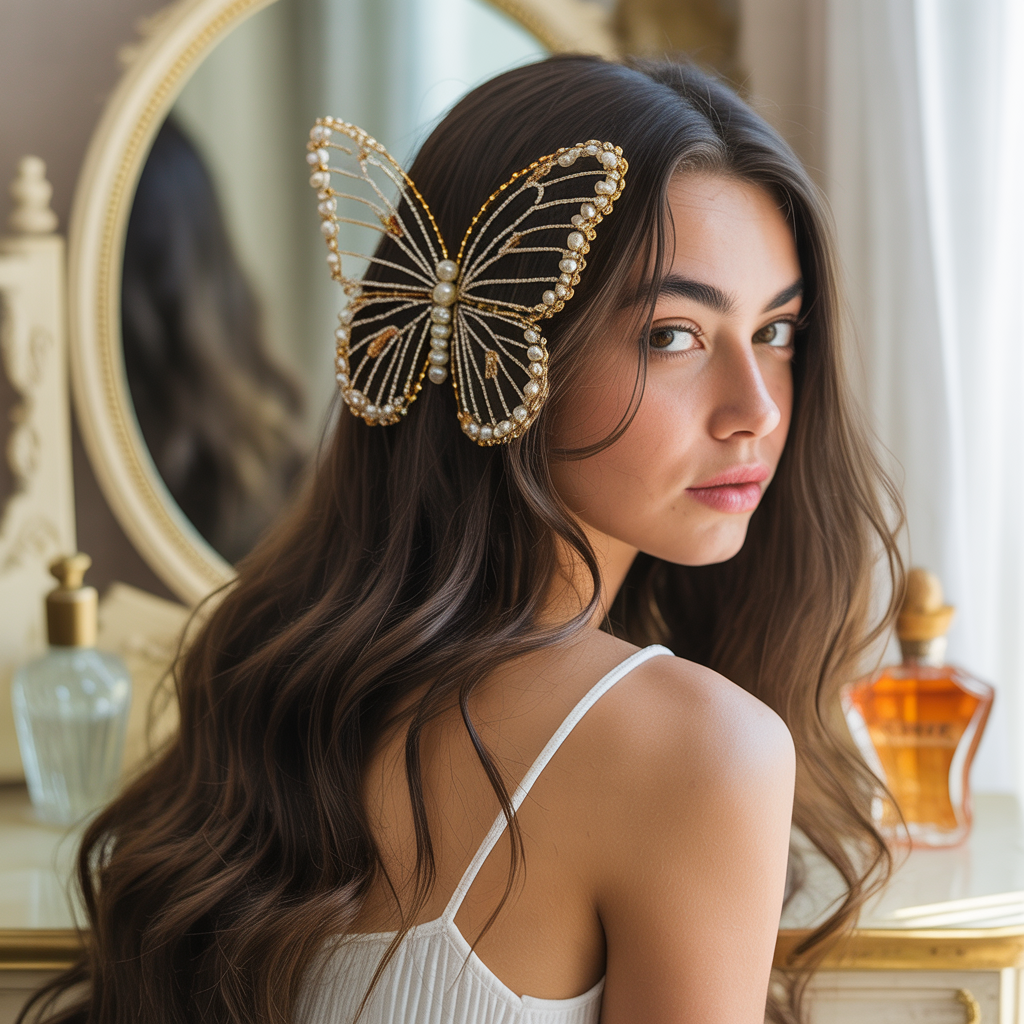
29. Butterfly Layers with Hair Clips
Hair clips help style layers while growing them out.
They also show off the shape.
- Use big claw clips to hold the crown back.
- Pin front layers behind your ears.
- Use colorful or pearl clips for a trendy touch.
- Let lower layers flow naturally.
- Great for quick styling on busy days.
Pro Tip: Try matte finish clips to keep them from slipping.
30. Sleek Middle Part Butterfly Look
Keep it clean and polished for work or events.
Straight styles show off layers clearly.
- Part hair down the center with a tail comb.
- Flat iron layers smooth, section by section.
- Curve ends outward or inward slightly.
- Apply shine serum on dry hair.
- Mist with anti-frizz spray.
Pro Tip: Sleep on a silk pillowcase to keep your sleek style smooth.
31. DIY Retro Flip Styling
A playful flip is a nod to the 70s or 90s — it makes butterfly ends pop.
Perfect for medium-thick hair.
- Use a large round brush to flip ends outward while blow drying.
- For stubborn hair, use a flat iron to bend ends up.
- Roll top sections back for volume.
- Set with a flexible hold hairspray.
- Add cute retro clips if you like.
Pro Tip: Practice flipping small sections first to get a feel for it.
32. Heat-Free Volume Hack
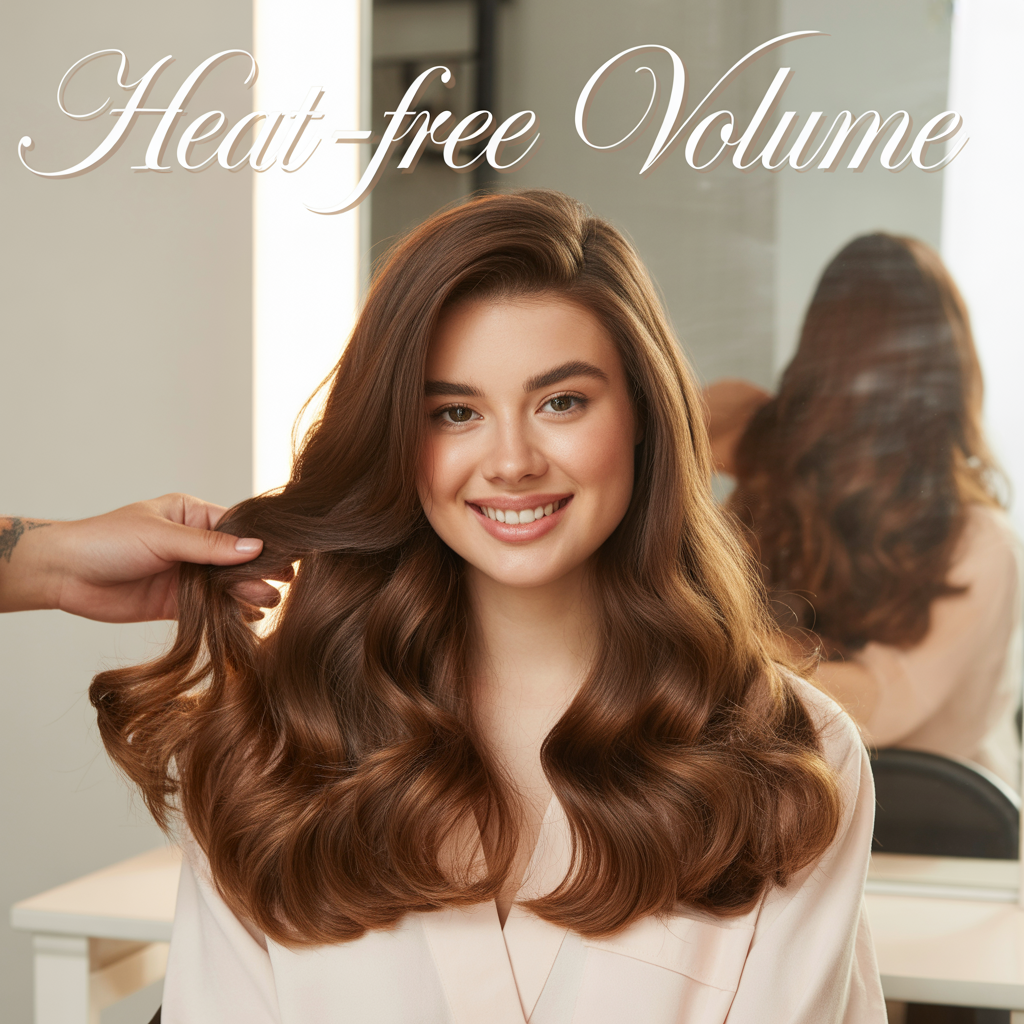
Keep your layers bouncy without heat damage.
A silk scarf helps overnight styling.
- After trimming, wrap top layers in a loose bun with a silk scarf.
- Sleep overnight.
- In the morning, unwrap and shake out.
- Use a tiny bit of dry shampoo for lift.
- Comb lightly with fingers.
Pro Tip: Never wrap hair too tightly — loose is key for soft volume.
33. Follow-Along Video Tutorial

Nothing beats learning visually — follow a trusted video tutorial.
It helps you feel confident.
- Search for “DIY butterfly haircut for long hair” on YouTube.
- Set up a large mirror and a hand mirror.
- Pause often to follow each step exactly.
- Use sharp scissors or a razor comb if needed.
- Take your time — never rush.
Pro Tip: Pick videos with lots of clear, slow steps for beginners.
Conclusion
With 33 Butterfly Haircuts Tutorial for Long Hair and Round Faces, you now have dozens of ways to style, layer, trim, and maintain this flattering cut — all from the comfort of home.
These ideas help you create softness, movement, and a shape that makes long hair shine while gently balancing round features.
Bookmark 33 Butterfly Haircuts Tutorial for Long Hair and Round Faces, save your favorite tips, and enjoy fresh layers that frame your face with confidence every single day!