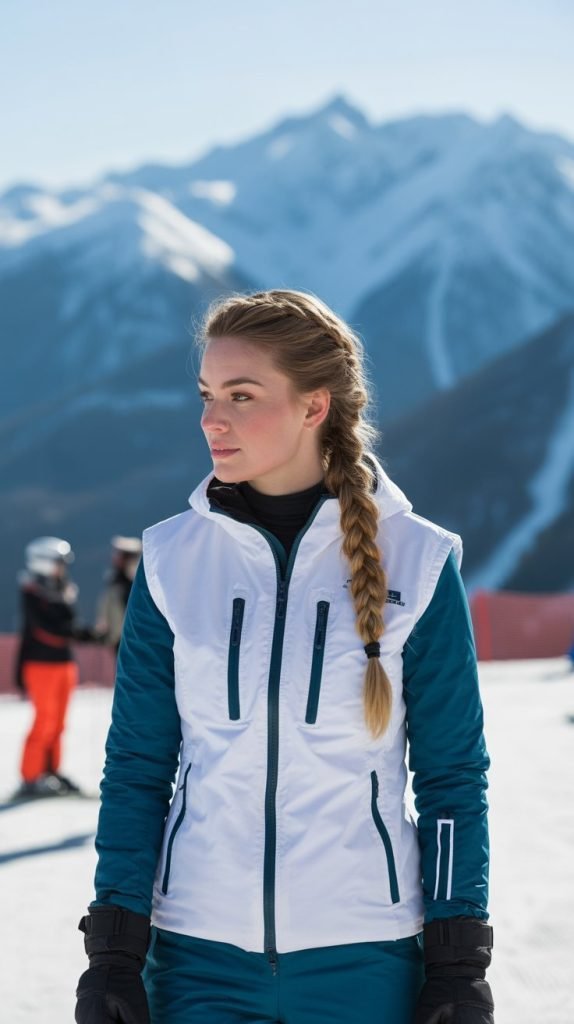
Picture this: you’re carving through fresh powder on a pristine mountain slope, the crisp alpine air rushing past your face, and your long hair flowing beautifully without becoming a tangled mess by day’s end.
For skiers with long hair, finding the perfect hairstyle that combines functionality with style can feel like searching for the ideal snow conditions—challenging but absolutely worth it.
This comprehensive guide presents 30 Gorgeous Skiing Hairstyles for Long Hair That Won’t Tangle in the Wind, each carefully selected to withstand winter sports’ demands while keeping you looking fabulous from first chair to après-ski.
Whether you’re a beginner hitting the bunny slopes or an advanced skier tackling black diamonds, these hairstyles will protect your locks from wind damage, prevent annoying tangles that ruin your runs, and ensure your hair stays secure under helmets and beanies.
From classic braids with modern twists to innovative bun variations and protective styles that actually work in freezing temperatures, you’ll discover practical solutions that don’t sacrifice style for function.
Each hairstyle includes detailed styling tips, difficulty levels, and specific situations where they work best, so you can choose the perfect look for your next mountain adventure.
Get ready to transform your skiing experience with hairstyles that are as resilient as you are on the slopes.
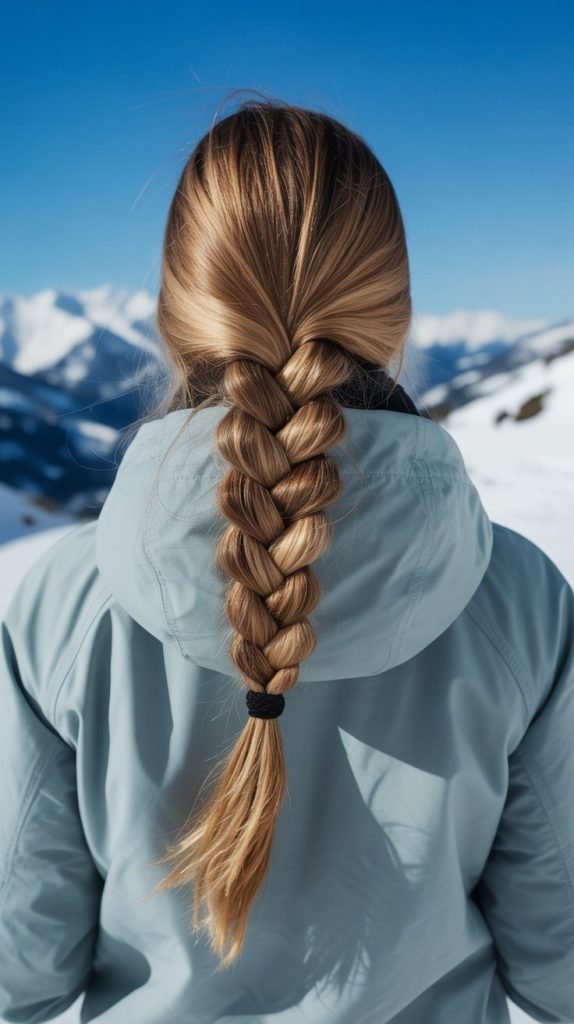
1. The Classic Dutch Braid
The Dutch braid remains a timeless favorite among long-haired skiers for excellent reason—it sits flat against your head, stays incredibly secure during aggressive runs, and distributes hair weight evenly to prevent headaches under helmets.
This inside-out braiding technique creates a raised, three-dimensional effect that looks sophisticated while providing maximum hold against mountain winds.
- Start with slightly damp or dry hair and brush thoroughly to remove all tangles before beginning the braiding process.
- Apply a lightweight styling cream or mousse from roots to ends to add grip and prevent flyaways throughout the day.
- Begin at your hairline by taking a section of hair and dividing it into three equal strands for proper braid structure.
- Cross the side strands under the middle strand rather than over, which creates the distinctive Dutch braid appearance.
- Add small sections of hair from each side as you work down, keeping consistent tension for a uniform look.
- Braid all the way to the ends and secure with a snag-free elastic band designed for sports activities.
- Tuck the tail into your jacket or wrap it around the base to create a low bun for extra protection.
- Spray with a flexible-hold hairspray that won’t freeze in cold temperatures to lock everything in place.
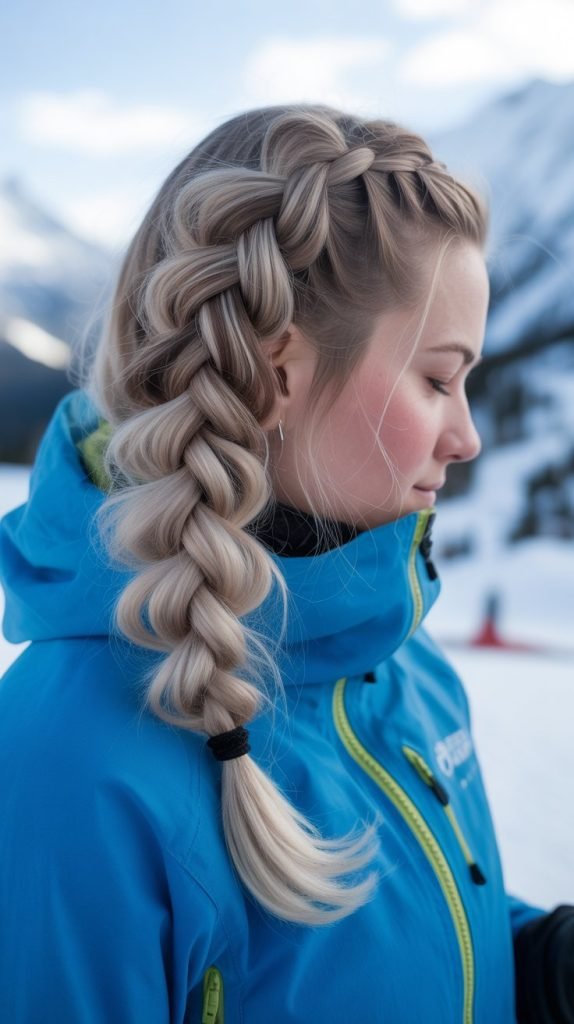
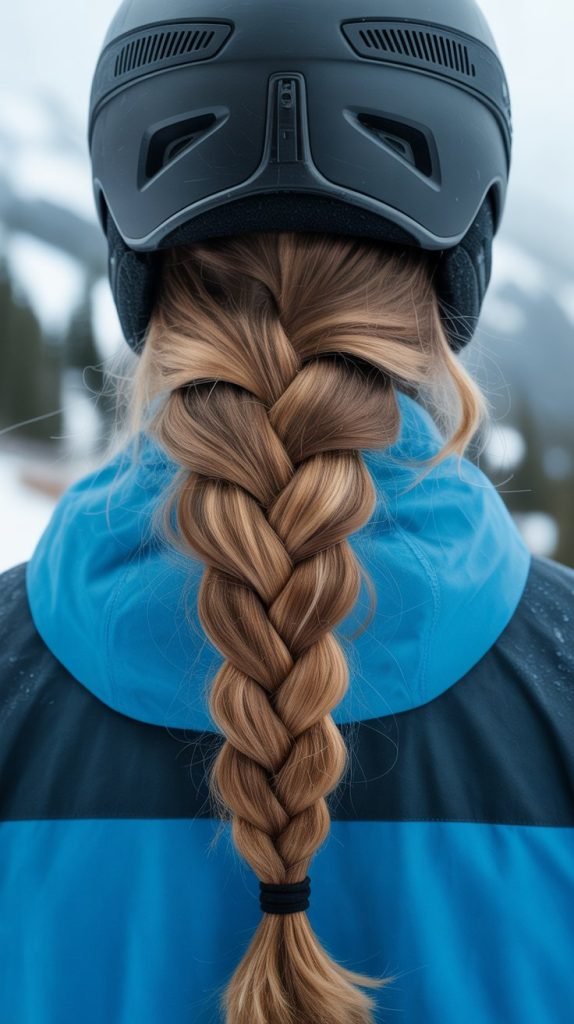
2. Double French Braids
Double French braids offer twice the security of a single braid and create a balanced, athletic look that serious skiers appreciate for all-day mountain adventures.
These parallel braids reduce bulk under your helmet and provide symmetrical weight distribution that won’t cause discomfort during extended wear.
- Part your hair straight down the middle from forehead to nape, creating two perfectly equal sections.
- Clip one side away while you work on the first braid to keep sections separated and manageable.
- Begin the first French braid at the hairline, incorporating hair from the scalp as you braid downward.
- Keep the braid tight to your scalp but not so tight that it causes tension headaches during your ski day.
- Secure the first braid temporarily before moving to the second side for consistent results.
- Repeat the exact same braiding technique on the opposite side, matching the tightness and pattern.
- Tie both braids with matching hair elastics at the ends to complete the symmetrical appearance.
- Cross the braid tails and pin them up or tuck them into your jacket collar for maximum wind protection.
3. The Low Bubble Ponytail
The bubble ponytail transforms a simple ponytail into a secure, stylish option that segments your hair into manageable sections, preventing the massive tangles that plague traditional loose ponytails on the slopes.
This trendy style works exceptionally well under ski helmets while adding visual interest to your mountain look.
- Gather all your hair into a low ponytail at the nape of your neck using a strong elastic band.
- Secure the base ponytail tightly as this anchor point holds the entire style together during activity.
- Measure down about three to four inches and add another clear elastic band around the ponytail.
- Gently pull and fluff the hair section between the two elastics to create the first “bubble” effect.
- Continue adding elastics at regular intervals down the length of your ponytail, creating multiple bubbles.
- Each bubble section should be roughly the same size for a polished, intentional appearance.
- Adjust the fullness of each bubble by carefully tugging at the sides to create rounded shapes.
- The segmented structure prevents your hair from whipping around and tangling in wind gusts on chairlifts.
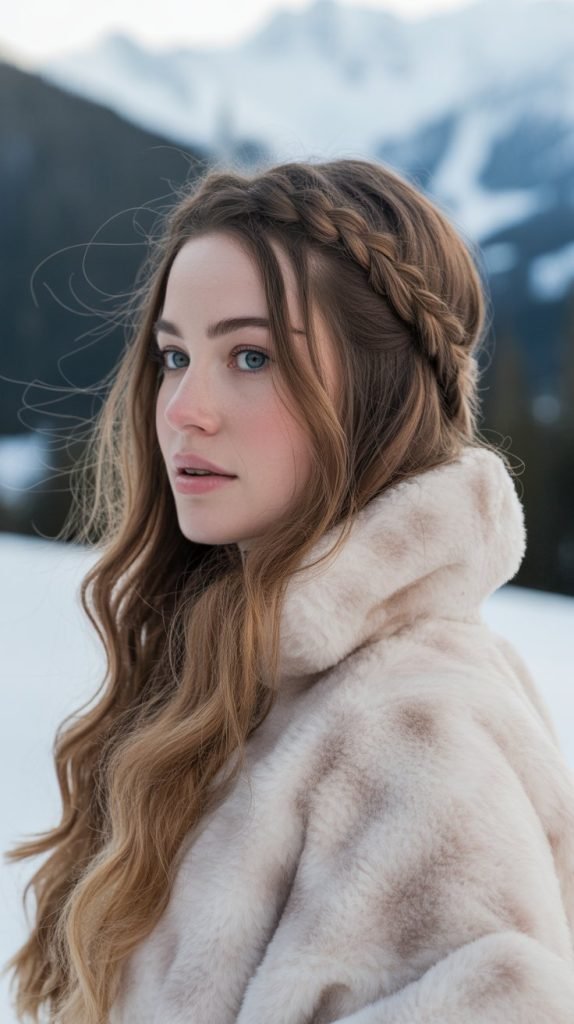
4. Braided Crown with Low Bun

This elegant combination style keeps hair completely secured away from your face while creating a protective crown that adds an extra layer between your scalp and helmet.
The braided crown with low bun offers both practical benefits and a sophisticated aesthetic that transitions beautifully from slopes to lodge.
- Create a deep side part and begin a Dutch or French braid starting at the part line.
- Braid along your hairline following the natural curve from one side across the forehead to the other.
- Keep the crown braid relatively flat and tight to ensure it sits comfortably under your helmet.
- Once you reach behind the opposite ear, gather all remaining hair including the braid tail together.
- Twist the combined hair section smoothly and coil it into a low bun at the nape of your neck.
- Secure the bun with multiple bobby pins inserted in different directions for maximum hold against movement.
- Use U-shaped pins for extra security as they grip better than traditional bobby pins during sports.
- Finish with a light misting of anti-humidity spray to combat the moisture from snow and physical activity.
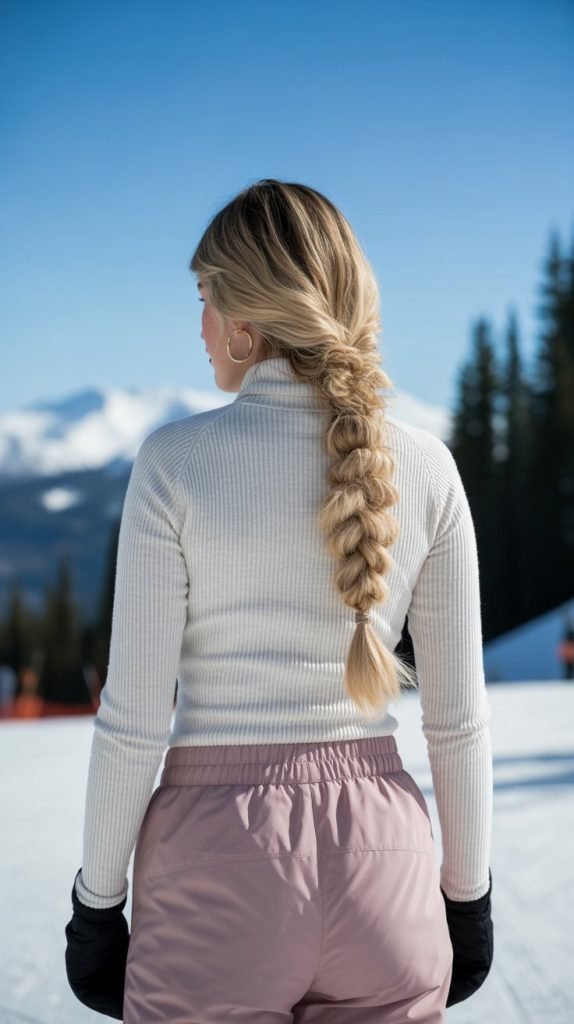
5. The Rope Braid Ponytail

A rope braid ponytail delivers impressive hold through its twisted two-strand technique that naturally tightens as you move, making it exceptionally suited for high-intensity skiing and snowboarding sessions.
This simple yet effective style requires minimal skill while providing maximum security against alpine elements.
- Pull your hair into a high or mid-height ponytail depending on your helmet fit and preference.
- Divide the ponytail into two equal sections, ensuring both halves contain the same amount of hair.
- Twist each section tightly in the same direction, typically clockwise works best for most people.
- Once both sections are twisted individually, wrap them around each other in the opposite direction.
- The counter-directional wrapping creates tension that keeps the rope braid from unraveling during activity.
- Continue twisting the two sections together all the way down to the ends of your hair.
- Secure firmly with a thick elastic band and consider doubling the band for extra security.
- The rope braid naturally tightens throughout the day, actually becoming more secure as you ski rather than loosening.
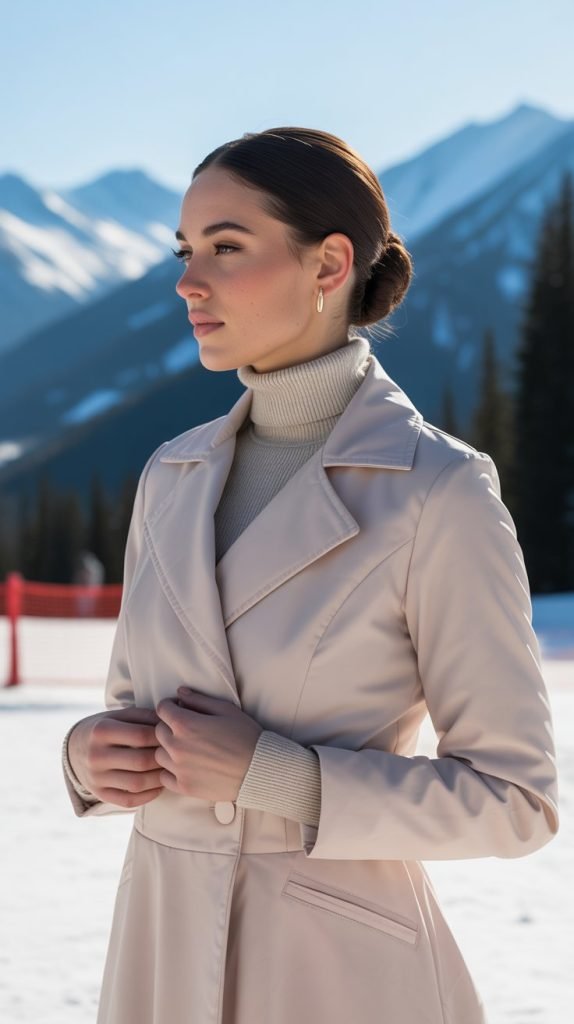
6. Sleek Low Bun with Center Part
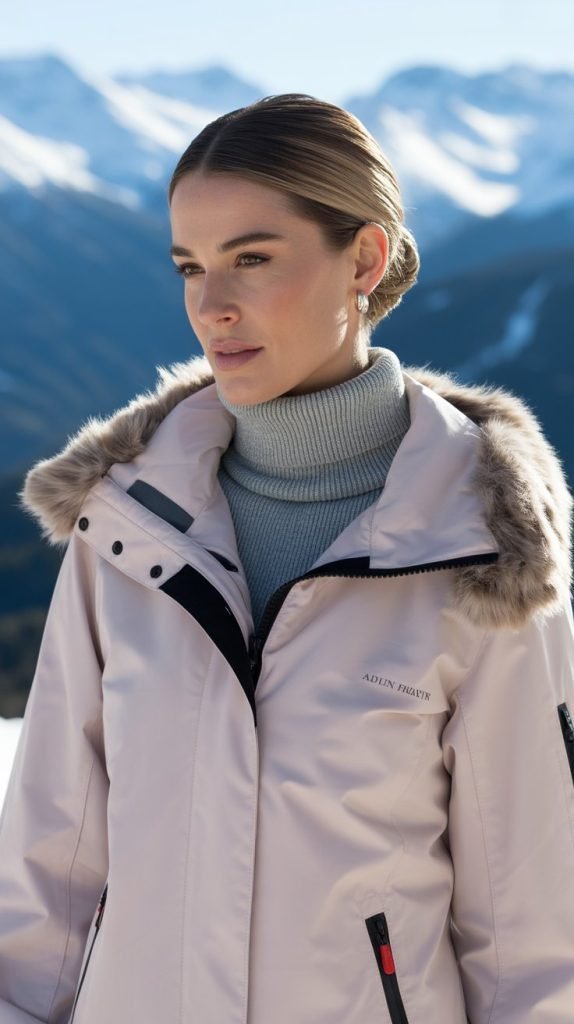
The sleek low bun represents minimalist elegance meeting maximum functionality—a smooth, controlled style that eliminates loose strands while creating a streamlined silhouette perfect for helmet wear.
This classic approach works particularly well for skiers who prioritize absolute security and a polished appearance.
- Begin with clean, dry hair and apply a smoothing serum or cream to control frizz and flyaways.
- Create a precise center part using a fine-toothed comb for a sharp, symmetrical look.
- Brush all hair straight back toward the nape, using a boar bristle brush for maximum smoothness.
- Gather hair into a low ponytail positioned at the nape of your neck or slightly below.
- Twist the ponytail length smoothly and wrap it around the base to form a compact bun.
- Secure the bun with bobby pins placed in a crisscross pattern for superior hold.
- Apply gel or strong-hold pomade around the hairline to slick down any baby hairs or shorter layers.
- Consider wrapping a hair net around the bun for additional security during particularly aggressive skiing.
7. Fishtail Braid
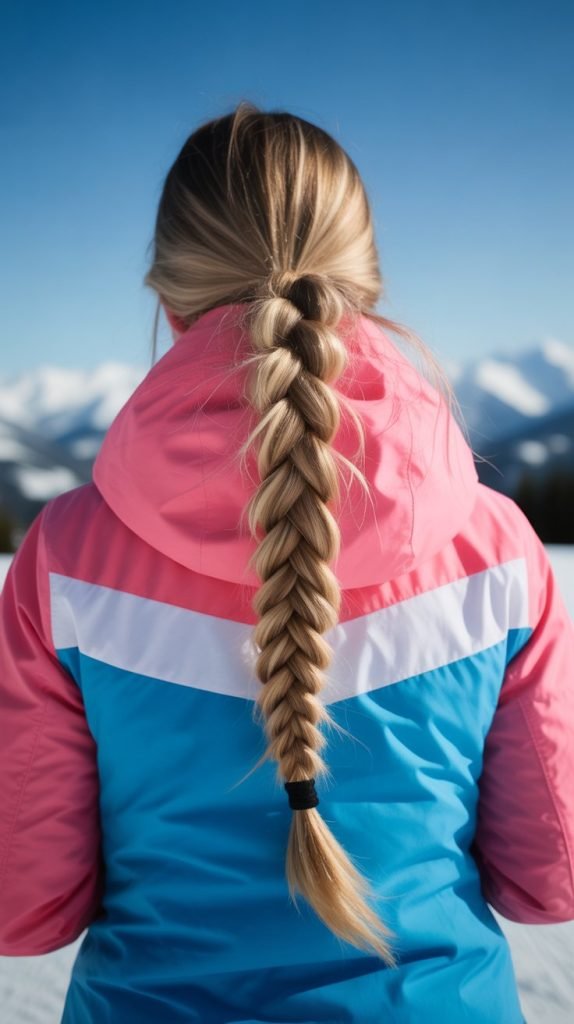
The intricate-looking fishtail braid provides exceptional tangle prevention through its unique weaving pattern that locks hair sections together more securely than traditional three-strand braids.
Despite its complex appearance, this four-section technique becomes easy with practice and offers outstanding wind resistance.
- Divide all your hair into two large equal sections instead of the typical three-strand approach.
- Take a thin piece from the outer edge of the left section and cross it over to the right section.
- Then take a thin piece from the outer edge of the right section and cross it to the left section.
- Continue this alternating pattern, keeping the pieces thin and consistent for a delicate, intricate appearance.
- The smaller your sections, the more detailed and secure your fishtail braid will be.
- Maintain even tension throughout the braiding process to ensure the pattern remains visible and tight.
- Secure the end with a clear elastic or one that matches your hair color for a seamless finish.
- The dense weaving pattern of a fishtail braid makes it exceptionally resistant to wind damage and tangling.
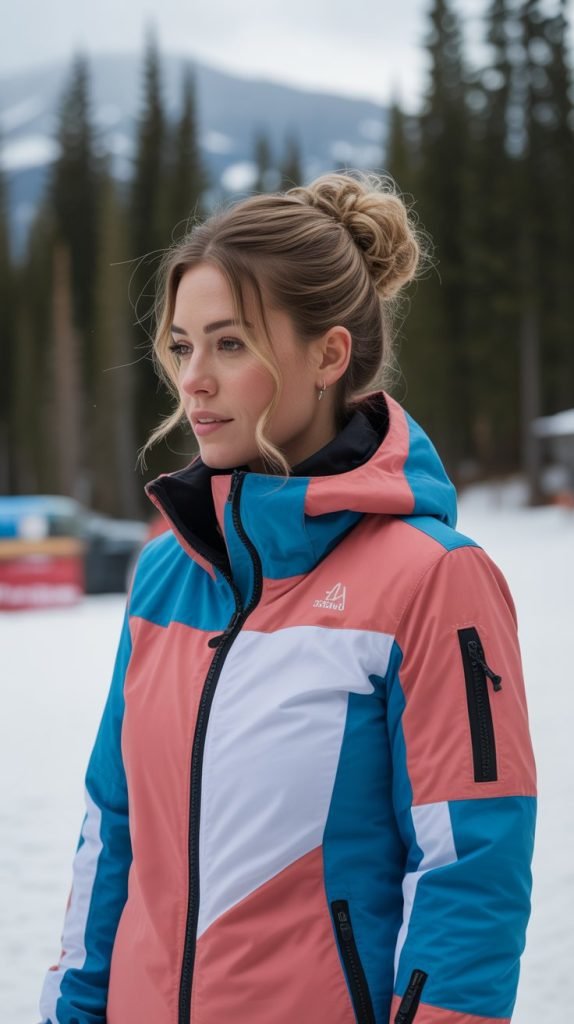
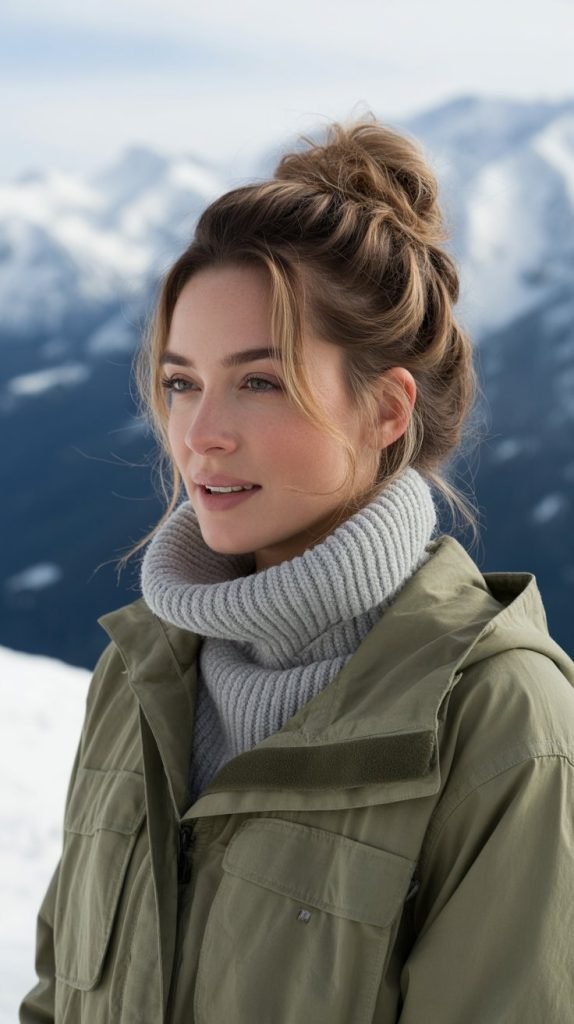
8. High Braided Bun

A high braided bun combines the security of braiding with the compact convenience of a bun, positioned high enough to avoid interference with jacket collars while staying protected under most ski helmets.
This athletic style keeps hair completely contained during the most vigorous skiing activities.
- Flip your head upside down and gather all hair into a high ponytail at the crown of your head.
- Braid the ponytail using your preferred braiding technique—Dutch, French, or three-strand all work well.
- Keep the braid moderately tight to ensure it maintains structure when coiled into the bun shape.
- Wrap the completed braid around the base of the ponytail in a circular pattern, creating the bun.
- Tuck the tail end under the bun and secure with multiple large bobby pins or U-pins.
- Add extra pins through the braid itself to anchor it firmly to your head for movement resistance.
- Test the security by gently tugging on the bun from different angles before heading out.
- This elevated placement keeps the bun clear of jacket collars and reduces helmet pressure points.
9. Side Braid with Twisted Crown
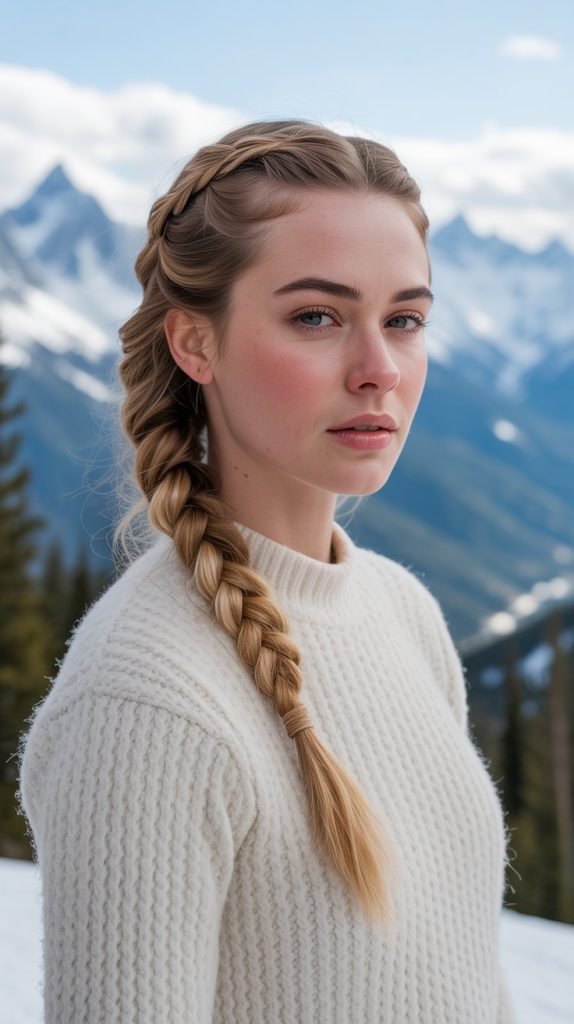
This asymmetrical style combines a twisted crown section with a side braid, offering both facial framing and complete hair control that looks intentionally stylish rather than purely functional.
The combination technique provides multiple anchor points that distribute tension evenly across your scalp.
- Create a deep side part on your preferred side, dividing hair approximately 80/20 or 70/30.
- Take a section from the heavy side near your face and begin twisting it back toward your ear.
- Pin the twist securely behind your ear, creating a crown-like effect that keeps hair off your face.
- Gather all remaining hair to the opposite side over your shoulder for the braid placement.
- Braid the combined hair using a three-strand, Dutch, or fishtail technique based on preference.
- Keep the braid relatively tight, especially near the scalp, to prevent loosening during activity.
- Secure the braid end with a durable elastic and consider wrapping a small section of hair around it.
- Tuck the braid tail into your jacket or wrap it around your neck like a scarf for added warmth and protection.
10. Double Dutch Braids into One

This creative variation starts with two separate Dutch braids that merge into a single braid, offering the scalp-protection benefits of double braids with the simplified tail management of one.
The convergence point creates an interesting visual detail while maximizing hair security.
- Part hair down the center and create two separate Dutch braids starting at the hairline.
- Braid each side down to approximately ear level or slightly below, maintaining equal tightness.
- Remove the clip from the second section and allow both braids to hang loose temporarily.
- Combine both braid tails with any remaining loose hair at the convergence point you’ve chosen.
- Begin a single three-strand or Dutch braid using all the combined hair moving forward.
- The transition from two braids to one creates built-in security at the back of your head.
- Continue the single braid all the way to the ends and secure with a strong elastic band.
- This style offers the helmet-friendly benefits of double braids while simplifying the management of your braid tail.
11. The Twisted Low Ponytail

Simple twists can transform an ordinary ponytail into a secure, sophisticated style that resists tangling far better than loose hair while requiring minimal time and skill.
The twisted low ponytail offers an excellent option for early morning ski departures when you need quick, reliable styling.
- Gather your hair into a low ponytail at the nape of your neck using a quality elastic band.
- Divide the ponytail into two or three equal sections depending on your hair thickness and desired look.
- Twist each section tightly in the same direction until the hair begins to coil on itself.
- Wrap the twisted sections around each other, similar to a rope braid technique for added security.
- The twisting creates natural tension that keeps hair strands locked together against wind force.
- Secure the twisted length with another elastic band at the bottom to prevent unraveling.
- Wrap a small section of hair around the base elastic to conceal it and add a polished finishing touch.
- For extremely long hair, consider creating a twisted bun by coiling the twisted ponytail and pinning it.
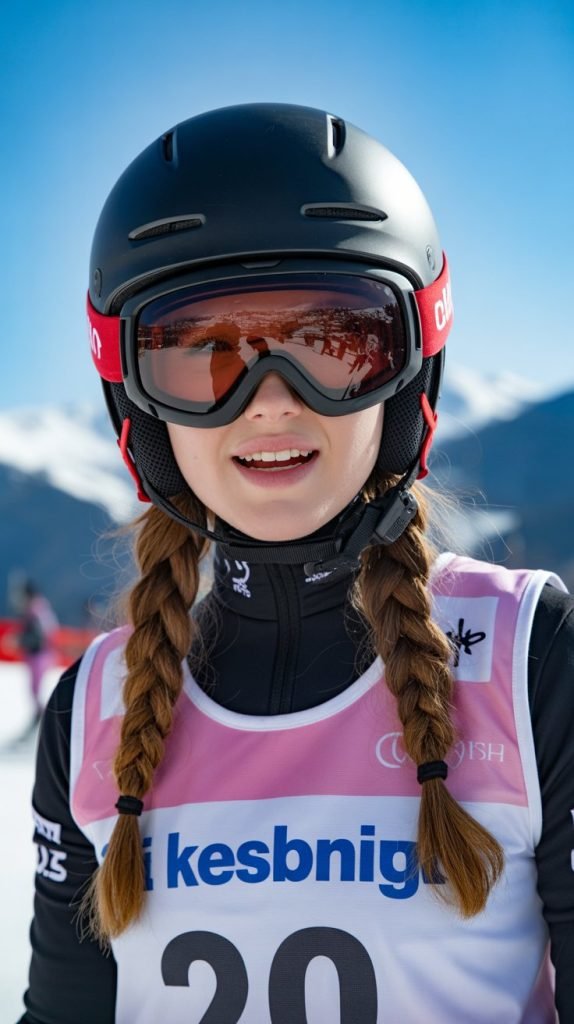
12. Braided Pigtails
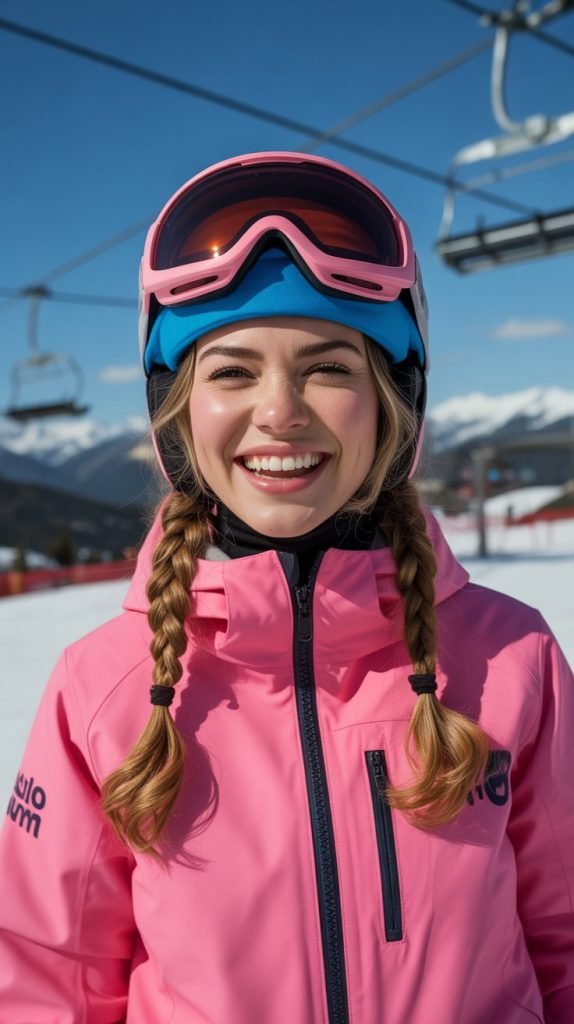
Braided pigtails offer a youthful, playful aesthetic while providing the practical benefit of dividing your hair into two manageable sections that stay secure under helmets and winter accessories.
This symmetrical style creates balance and significantly reduces the weight and bulk of a single braid.
- Part your hair straight down the middle from your forehead to the nape of your neck.
- Section and clip one side while you work on braiding the first pigtail completely.
- Position the pigtails at whatever height works best with your helmet fit—low, mid, or high placement.
- Braid each section using three-strand, Dutch, or French technique based on your skill level and preference.
- Keep tension consistent on both sides so the pigtails appear symmetrical and balanced.
- Secure each braid with identical hair elastics that match your hair color or coordinate with your outfit.
- The two-braid system distributes hair weight evenly and prevents the neck strain that can come from single heavy braids.
- Tuck the pigtail ends into your jacket or let them hang free depending on wind conditions and personal comfort.
13. The Infinity Braid

The infinity braid creates a stunning figure-eight pattern throughout your hair that not only looks incredibly intricate but also locks strands together with exceptional security against mountain winds.
This advanced technique impresses onlookers while providing superior tangle prevention for serious skiers.
- Begin with a ponytail secured at your desired height—mid to low works best for this technique.
- Divide the ponytail into two equal sections and hold one section in each hand.
- Take a small piece from the outer edge of the left section and cross it over and around in a figure-eight pattern.
- Thread this piece through the right section and then back to rejoin the left section.
- Repeat with a small piece from the outer right section, creating the mirror image of the previous move.
- The continuous figure-eight pattern creates an interwoven structure that’s extremely secure and visually striking.
- Continue the alternating pattern down the full length of your ponytail until you reach the ends.
- This complex weaving technique requires practice but delivers unmatched security and aesthetic appeal for special ski occasions.
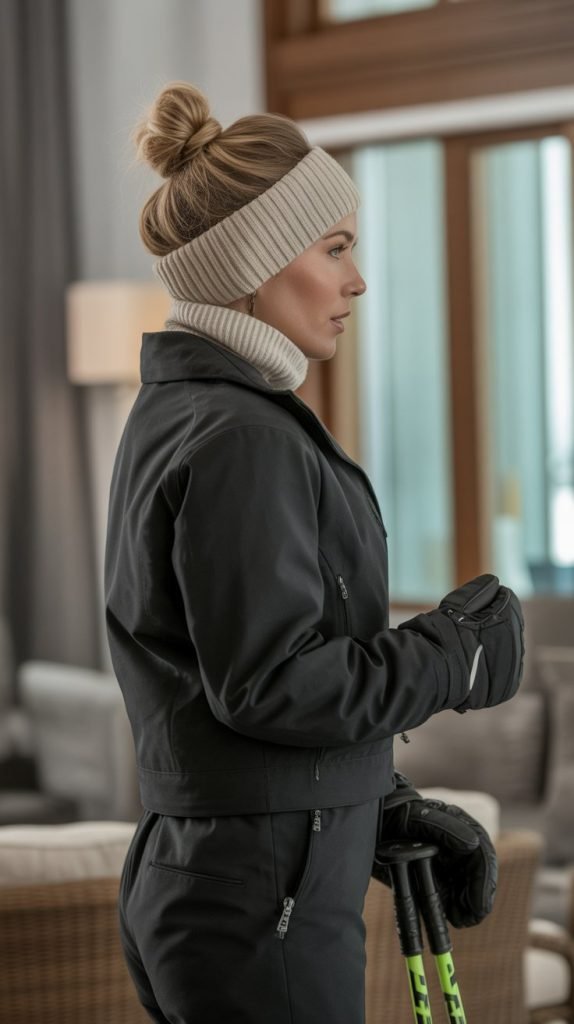
14. Headband Braid with Low Ponytail
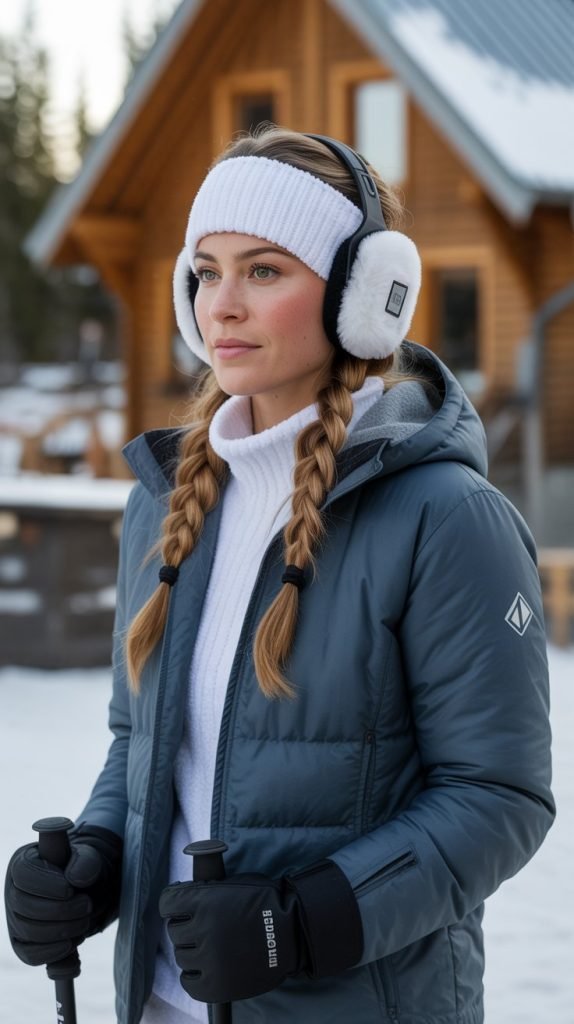
A headband braid creates a natural hairband effect while keeping your bangs and face-framing layers secured, combined with a low ponytail that manages your length without creating helmet discomfort.
This dual-technique style addresses the common problem of shorter layers escaping other hairstyles.
- Create a side part and take a section of hair from the heavier side near your hairline.
- Begin braiding this section along your hairline from one side across your forehead to the other side.
- Keep the headband braid relatively thin and tight so it lays flat like an actual headband accessory.
- Secure the headband braid behind your ear with a small clear elastic or bobby pins.
- Gather all remaining hair including the headband braid tail into a low ponytail at the nape.
- The headband braid prevents shorter layers and bangs from escaping during skiing activity.
- Apply a small amount of edge control or gel to any baby hairs along the hairline for complete security.
- This combination style works exceptionally well under both helmets and warm winter headbands for double protection.
15. The Wrapped Ponytail Bun
A wrapped ponytail bun conceals the elastic base with your own hair for a polished appearance while creating a secure, compact shape that fits comfortably under ski helmets without creating pressure points.
This refined style transitions seamlessly from slopes to upscale lodge dining.
- Create a ponytail at your preferred height, leaving out a small section of hair before securing the elastic.
- Wrap the reserved section smoothly around the elastic band base to completely conceal it from view.
- Secure the wrapped section with a bobby pin tucked underneath where it won’t be visible.
- Divide the ponytail into two or three sections and begin loosely twisting them together.
- Coil the twisted ponytail around the base to form a bun shape that’s compact but not overly tight.
- Pin the bun securely using multiple bobby pins or U-pins inserted at various angles for maximum hold.
- The wrapped base gives the hairstyle a finished, intentional appearance rather than a rushed athletic look.
- Spray lightly with flexible-hold hairspray that maintains movement while preventing flyaways in cold, dry mountain air.
16. Zigzag Part with Double Braids

A zigzag part adds unexpected visual interest to classic double braids while providing the same tangle-prevention benefits with enhanced style quotient.
This playful detail transforms a basic athletic hairstyle into something more fashion-forward for skiers who want personality in their mountain look.
- Use the pointed end of a rattail comb to create a zigzag pattern down the center of your head.
- Work slowly when creating the zigzag, making deliberate diagonal movements from side to side for uniform spacing.
- The zigzag part should be visible and pronounced—small, tight zigzags create the best visual effect.
- Once the part is complete, braid each section using Dutch or French braiding for a clean scalp appearance.
- The unconventional part adds dimension and interest without compromising the security of the braids.
- Keep the braids tight and secure them with durable elastics that won’t snap in cold temperatures.
- This style works particularly well for younger skiers or anyone wanting to add personality to functional hair.
- The zigzag pattern becomes more visible and striking against darker hair colors, creating contrast with the scalp.
17. The Triple Braid Combo
A triple braid combination merges three separate braids into increasingly larger sections, creating a cascading effect that’s both visually stunning and exceptionally secure for all-day skiing adventures.
This advanced style showcases braiding skills while providing unmatched wind and tangle resistance.
- Divide your hair into three sections—one center section and two smaller side sections at the temples.
- Begin braiding the two side sections first using Dutch or French technique, working from hairline down.
- Stop the side braids at ear level and secure them temporarily with small clips while you work.
- Begin the center braid starting slightly lower than where the side braids began for a staggered effect.
- At the convergence point, release the side braids and incorporate them into the center braid seamlessly.
- The three-into-one merging creates built-in security and an intricate pattern that impresses viewers.
- Continue the single combined braid down to your ends and secure with a strong elastic band.
- This complex style works best for experienced braiders or when you have help creating the intricate pattern.
18. Low Twisted Chignon

The twisted chignon offers sophisticated elegance with practical security, positioning the bun low at the nape where it won’t interfere with helmet wear while the twisted sections prevent strands from escaping during activity. This refined style suits skiers who prefer classic, timeless aesthetics.
- Gather all your hair into a low ponytail positioned at or slightly below the nape of your neck.
- Divide the ponytail into two equal sections and twist each section tightly in the same direction.
- Wrap the twisted sections around each other in a rope-like pattern for added structural integrity.
- Coil the twisted rope around the base of the ponytail to form a low chignon bun shape.
- Tuck the ends under the chignon and secure with multiple U-pins or long bobby pins for maximum hold.
- The low positioning keeps the chignon clear of helmet edges and jacket collars for all-day comfort.
- Pull out a few face-framing pieces if desired, though fully secured hair is recommended for optimal tangle prevention.
- Set the style with a light mist of cold-weather-appropriate hairspray that won’t become sticky or stiff.
19. Criss-Cross Braided Ponytail
The criss-cross braided ponytail creates dimension through intersecting braid patterns that not only look intricate but also lock hair strands together more securely than standard single-pattern braids.
This eye-catching style balances aesthetic appeal with practical wind resistance for demanding ski conditions.
- Create a ponytail at your desired height and secure it firmly with a strong elastic band.
- Divide the ponytail into four equal sections rather than the typical two or three for standard braiding.
- Take the two outer sections and cross them over the two center sections in an X pattern.
- Then take the new outer sections and cross them back over the center in the opposite direction.
- Continue this alternating criss-cross pattern down the length of your ponytail to the ends.
- The intersecting pattern creates a woven effect that’s significantly more secure than loose hair or simple braids.
- Secure the braid end with a durable elastic and consider wrapping a small section of hair around it.
- This technique works especially well for thick, heavy hair that needs extra structural support during sports.
20. The Pull-Through Braid
A pull-through braid creates the illusion of a complex, voluminous braid without actual braiding skills, using a series of ponytails that are pulled through each other for a stunning cascading effect.
This technique offers impressive security while being accessible to those who struggle with traditional braiding methods.
- Begin with a half-up ponytail at the crown of your head secured with a clear elastic.
- Create a second ponytail directly below the first, gathering new hair but leaving the first ponytail hanging free.
- Split the first ponytail in half and bring those sections around and behind the second ponytail.
- Secure these split sections together below the second ponytail, creating the pull-through effect.
- Continue creating ponytails, splitting the previous one, and pulling sections through for the entire length.
- Gently pull and fluff each “braid” section to create volume and the characteristic pull-through appearance.
- The stacked ponytail technique creates exceptional security as each section is individually anchored with elastics.
- This style works particularly well for fine hair that needs volume enhancement while maintaining tangle-free security.
21. Side French Braid into Bun

This asymmetrical style sweeps all your hair to one side in a French braid that terminates in a side bun, creating visual interest while keeping every strand secured for maximum wind protection.
The side placement allows easy access for adjustments while wearing helmets and goggles.
- Create a deep side part on your preferred side, positioning most of your hair to one side of your head.
- Begin French braiding from the part line, working along your hairline toward the opposite side.
- Continue the French braid along the side and back of your head, staying at approximately ear level.
- When you reach behind your ear on the opposite side, gather all remaining hair including the braid tail.
- Twist this combined section smoothly and coil it into a secure bun positioned behind and below your ear.
- Pin the bun firmly with multiple bobby pins or U-pins, ensuring it won’t shift during active skiing.
- The side positioning reduces bulk at the back of your head where helmet pressure is typically greatest.
- This style keeps hair completely secured while maintaining an intentional, fashionable appearance rather than purely functional.
22. The Waterfall Braid with Low Bun

A waterfall braid creates a romantic cascading effect across the crown of your head while securing face-framing sections, combined with a low bun that manages your length for a style that’s both pretty and practical.
This elegant combination works well for après-ski social events while still being functional on the slopes.
- Begin a French braid at one temple area but with a modified technique for the waterfall effect.
- Instead of incorporating all hair into the braid, drop the bottom strand each time you add new hair from the top.
- The dropped strands create the “waterfall” effect while the remaining sections continue in the braid pattern.
- Work the waterfall braid across your crown from one side to the other, following your natural hairline curve.
- When you reach the opposite temple area, secure the braid end and gather all hair including dropped strands.
- Smooth all the hair into a low ponytail position and twist it into a compact, secure bun.
- Pin the bun firmly and tuck any loose ends underneath for a polished, finished appearance.
- While more decorative than purely functional, this style still provides good security with a softer, more feminine aesthetic.
23. Mohawk Braid

The mohawk braid creates an athletic, edgy look by braiding a center strip of hair while keeping the sides sleek and close to the head, offering a bold style statement that’s surprisingly practical for skiing.
This distinctive style reduces helmet pressure on the sides while securing your length in a central braid.
- Create a rectangular section down the center of your head from hairline to crown, about 2-3 inches wide.
- Slick the side sections back with gel or pomade and secure them temporarily with clips or small elastics.
- Begin a Dutch braid with the center section, starting at the hairline and working back toward the crown.
- Keep the center braid raised and prominent by maintaining tight tension and using the Dutch braiding technique.
- The sides should remain smooth and flat, creating the distinctive mohawk appearance and silhouette.
- When you reach the nape, gather the side sections and incorporate them with the braid tail.
- Braid or twist all combined hair into a low ponytail or bun for securing the length.
- This bold style makes a statement while offering the practical benefit of reduced side bulk under helmets.
24. The Halo Braid
A halo braid wraps completely around your head like a crown, securing all your hair in an elegant, bohemian style that eliminates loose ends and provides excellent protection from wind and tangling.
This all-encompassing technique distributes tension evenly around your entire head for comfortable all-day wear.
- Begin by creating a center part from forehead to nape, dividing your hair into two equal sections.
- Start a Dutch or French braid on one side at the nape of your neck, working upward toward your ear.
- Continue braiding around the side of your head, following the natural curve along your hairline.
- Work across your forehead and continue down the opposite side, creating a complete circle around your head.
- When you reach your starting point, tuck the remaining tail underneath the halo braid and pin securely.
- Use multiple bobby pins placed through the braid into your hair underneath for maximum security.
- The circular structure creates built-in security as the braid essentially holds itself in place.
- Adjust the height and tension of the halo to ensure comfortable helmet fit without creating pressure points.
25. Four-Strand Braid
The four-strand braid creates a more complex, textured pattern than traditional three-strand braids, offering enhanced security through its intricate weaving while maintaining a sophisticated, polished appearance.
This advanced technique challenges skilled braiders while delivering superior tangle prevention for serious skiing.
- Gather your hair into a ponytail and divide it into four equal sections rather than the standard three.
- Hold two sections in each hand, maintaining clear separation between all four sections throughout the process.
- Take the far-right strand and weave it under the strand next to it, then over the third strand.
- Take the far-left strand and weave it under the strand next to it, then over what is now the center strand.
- Continue this alternating under-over pattern from right and left sides, working down the full length.
- The four-strand pattern creates a more dimensional, rope-like appearance with superior structural integrity.
- This technique requires concentration and practice but becomes natural with repetition and delivers exceptional results.
- Secure the braid end with a strong elastic band and consider setting with hairspray for all-day mountain adventures.
26. The Gibson Tuck
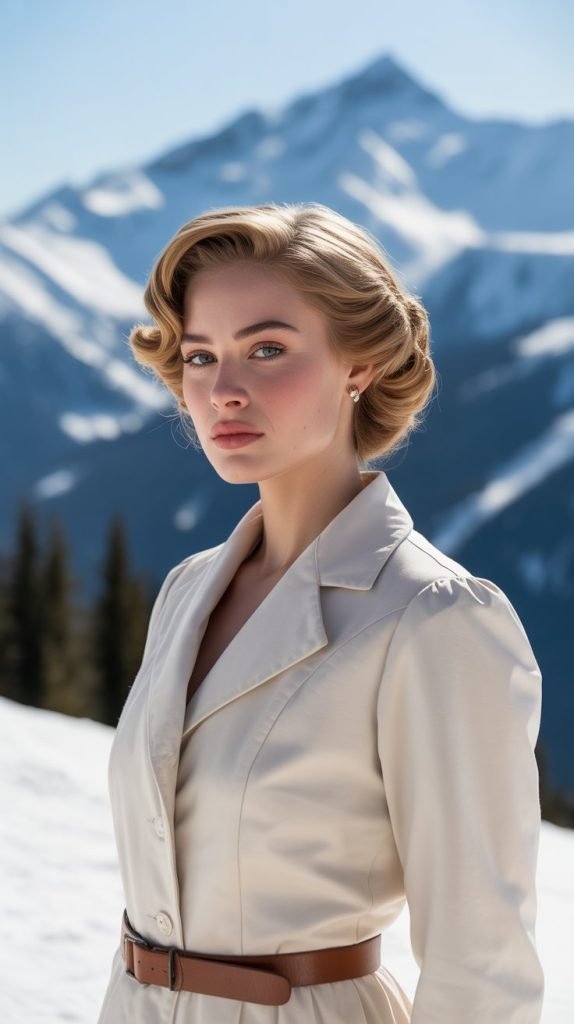
The Gibson tuck creates a sophisticated rolled updo that tucks and pins all your hair into an elegant horizontal roll at the nape, offering vintage charm with modern practicality.
This secure style keeps every strand contained while providing a polished look that transitions beautifully from slopes to fine dining.
- Begin by applying smoothing cream or serum to create a sleek base without flyaways or texture.
- Gather all your hair into a low ponytail at the nape without securing it with an elastic.
- Tuck the ponytail up and under toward the back of your head, creating a horizontal roll.
- Pin the roll securely along its length with multiple bobby pins inserted horizontally through the roll.
- Tuck any loose ends into the roll and add extra pins wherever needed for complete security.
- The tucked and rolled structure creates a smooth, sophisticated silhouette that’s surprisingly secure.
- Spray the finished style with strong-hold hairspray to maintain the tuck throughout active skiing.
- This classic technique works exceptionally well for formal ski events or when you want elevated style on the slopes.
27. Braided Headband with High Ponytail
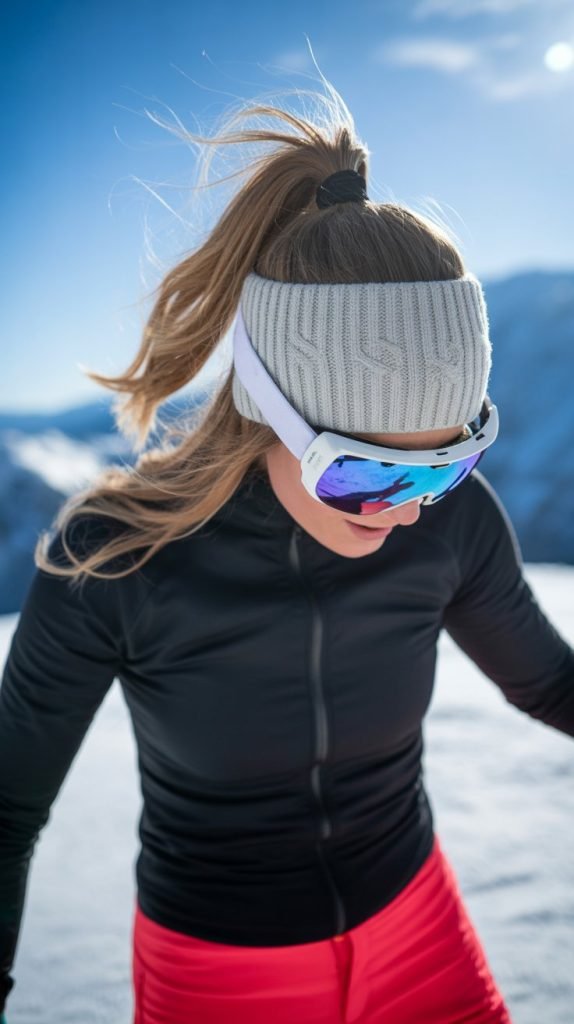
This style uses a thin braid created from your own hair as a decorative headband while the bulk of your length is secured in a high ponytail, combining aesthetic appeal with practical functionality.
The braided headband keeps face-framing sections controlled while the high ponytail prevents tangling and jacket interference.
- Take a small horizontal section of hair from one temple area, about half an inch thick for proper headband proportion.
- Braid this thin section tightly using a standard three-strand technique to create the headband piece.
- Bring the braided section across your hairline like a headband and pin it behind the opposite ear.
- Gather all remaining hair into a high ponytail positioned at the crown of your head for maximum lift.
- Secure the high ponytail with a thick, durable elastic band that can withstand movement and activity.
- The elevated ponytail position keeps hair completely clear of jacket collars and reduces tangling during skiing.
- Wrap a small section of hair from the ponytail around the elastic to conceal it and add polish.
- This combination offers the decorative element of a braided accessory with the security of a high athletic ponytail.
28. The Messy Braided Bun
A messy braided bun combines deliberate texture with secure styling, creating a relaxed, effortless aesthetic that’s ironically more secure than it appears.
This intentionally undone style works perfectly for skiers who want a casual mountain vibe without sacrificing hair security during active runs.
- Start by loosely braiding your hair in a standard three-strand braid without pulling sections too tightly.
- Gently pull and loosen sections of the braid throughout its length to create intentional volume and texture.
- The “pancaking” technique of pulling braid sections creates the characteristic messy, voluminous appearance.
- Coil the loosened braid around its base in a deliberately imperfect spiral rather than a neat circle.
- Allow some pieces to escape naturally and secure the bun loosely with bobby pins for an undone aesthetic.
- Despite its casual appearance, the underlying braid structure keeps hair fundamentally secure and tangle-free.
- Pull out a few face-framing tendrils if desired to enhance the relaxed, effortless vibe.
- Set with a flexible-hold hairspray that maintains the style without making it stiff or helmet-incompatible.
29. Double Twisted Buns
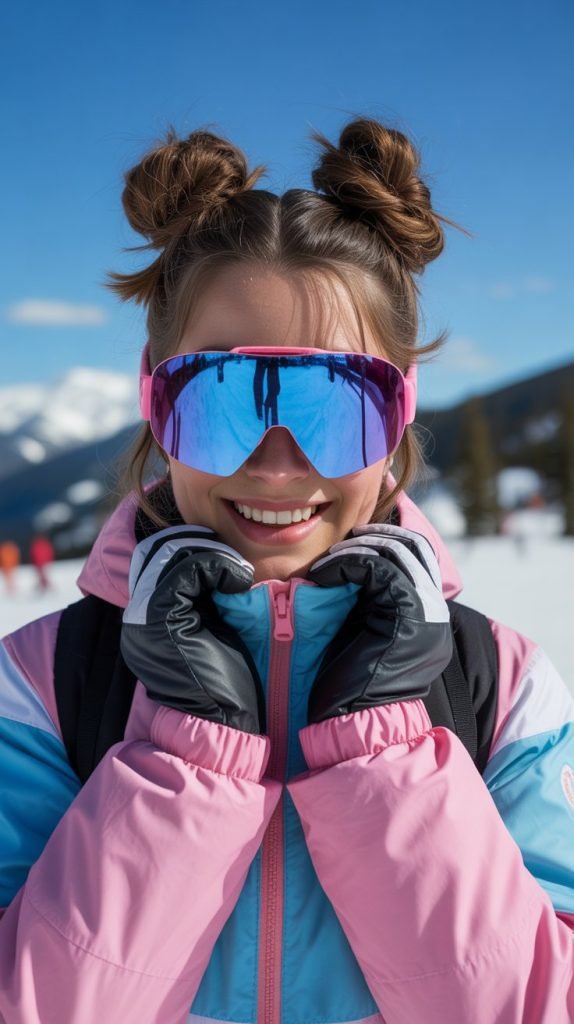
Double twisted buns divide your hair into two sections that are twisted and coiled into symmetrical buns, offering a playful space-bun aesthetic with serious practical benefits for skiing.
This balanced style distributes weight evenly and reduces bulk at any single point under your helmet.
- Create a center part from forehead to nape and section hair into two equal halves.
- Gather one section into a high ponytail positioned where you want the bun to sit—typically at or above ear level.
- Twist the ponytail section tightly until it begins to coil back on itself naturally from the tension.
- Wrap the twisted hair around the ponytail base in a circular pattern to form a compact bun shape.
- Secure with multiple bobby pins or U-pins inserted through the bun and into the hair at the base.
- Repeat the identical process on the opposite side, matching the height and size of the first bun.
- The dual-bun configuration works exceptionally well under helmets by creating two smaller protrusions rather than one large one.
- This style has gained popularity among younger skiers and snowboarders for its trendy, social-media-friendly appearance.
30. The Classic Ballerina Bun
The classic ballerina bun represents timeless elegance and maximum security through its traditional structure that has withstood generations of vigorous physical activity.
This smooth, centered bun at the crown or mid-head provides a clean silhouette that works universally with any helmet style while keeping every strand controlled.
- Brush all hair thoroughly upward toward your crown, eliminating any bumps or sections for a smooth base.
- Gather hair into a high ponytail positioned at the crown or slightly lower depending on helmet fit needs.
- Apply light gel or mousse to the ponytail for added grip and structure during the bun formation process.
- Twist the entire ponytail length smoothly and tightly to create a rope-like structure.
- Wrap the twisted ponytail around its base in tight, neat circles, keeping each wrap close to the previous one.
- Tuck the tail end underneath the bun and secure the entire structure with multiple bobby pins or a hair net.
- For extra security during skiing, insert U-pins through the bun at multiple angles to anchor it firmly.
- The centered, streamlined shape of a classic ballerina bun has proven itself across countless athletic disciplines including skiing.
Essential Hair Care Tips for Ski Season
Beyond choosing the right hairstyle, maintaining healthy hair throughout ski season requires specific care strategies that address the unique challenges of cold weather, dry mountain air, and repeated helmet wear.
- Apply a leave-in conditioner or hair oil before styling to create a protective barrier against harsh mountain elements and friction.
- Invest in a silk or satin-lined helmet or wear a silk cap underneath your regular helmet to reduce friction damage.
- Deep condition your hair at least once weekly during ski season to replenish moisture stripped by cold air and indoor heating.
- Avoid washing hair daily as this strips natural oils that protect against environmental damage—dry shampoo works well between washes.
- Use anti-static products or sprays before heading to the mountain to combat the electric charge common in dry winter conditions.
- Consider protective styles that tuck ends away completely as hair ends are most vulnerable to breakage and splitting.
- Apply hair sunscreen or UV protection products as sun reflection off snow creates intense UV exposure at high altitudes.
- Trim hair regularly throughout ski season to remove split ends before they travel up the hair shaft and cause further damage.
Hair Tools and Products for Mountain Styling
Having the right tools and products specifically designed for athletic activities and cold weather makes achieving and maintaining these hairstyles significantly easier throughout your ski day.
- Invest in snag-free hair elastics designed for sports—regular rubber bands can catch and break hair strands during removal.
- Pack bobby pins and U-pins in your ski jacket pocket for emergency repairs if your style loosens during the day.
- Choose hairsprays labeled as flexible-hold or humidity-resistant rather than maximum-hold formulas that become brittle in cold temperatures.
- Bring a small travel-size smoothing serum or oil to tame flyaways that develop throughout the day without redoing your entire style.
- Use a boar bristle brush before styling to distribute natural oils and create a smooth base that holds styles longer.
- Consider texturizing spray or dry shampoo applied to roots before braiding for enhanced grip and volume in fine or slippery hair.
- Select styling products in cream or oil form rather than water-based products that can freeze in extremely cold conditions.
- Keep a compact mirror in your gear bag for quick style checks and adjustments between runs without returning to the lodge.
Adapting Hairstyles for Different Hair Textures
Understanding how your specific hair texture influences styling choices ensures you select techniques that work with your natural hair characteristics rather than against them.
- Straight hair benefits from texturizing products before braiding to create grip and prevent smooth strands from slipping out of styles.
- Wavy hair naturally holds braids and twists exceptionally well and often requires less product for secure all-day hold.
- Curly hair should be detangled gently with wide-tooth combs or fingers while damp to prevent breakage before styling into protective updos.
- Coily hair maintains incredible hold in twisted and braided styles but requires moisture-rich products to prevent dryness from cold weather exposure.
- Fine hair achieves better volume and visual impact with styles like pull-through braids or loosened traditional braids rather than sleek buns.
- Thick hair may require sectioning into smaller portions when braiding to ensure each braid is manageable and doesn’t create excessive bulk.
- Consider your hair’s natural texture when choosing between styles—work with your hair’s tendencies rather than fighting against them for easier styling.
- Pre-styling preparation differs by texture, with curly and coily hair benefiting from leave-in conditioners while straight hair needs volumizing products.
Conclusion
Conquering the slopes with confidence means never worrying about your hair becoming an uncomfortable, tangled distraction from the pure joy of skiing.
These 30 Gorgeous Skiing Hairstyles for Long Hair That Won’t Tangle in the Wind offer solutions for every skill level, hair type, and personal style preference, ensuring you can find the perfect protective style that makes you feel beautiful while providing the security and functionality demanded by mountain sports.
From timeless classics like the ballerina bun and Dutch braid to creative variations like the infinity braid and mohawk braid, each style has been selected specifically for its proven ability to withstand wind, movement, and helmet wear throughout full days on the mountain.
Remember that the best skiing hairstyle is ultimately the one that makes you feel confident and comfortable while keeping your hair healthy and manageable despite challenging winter conditions.
Experiment with different techniques during less demanding ski days to discover which styles work best with your unique hair texture, length, and skiing intensity, then perfect those favorites for your most ambitious mountain adventures.
With these protective styling options in your repertoire, you’ll spend less time dealing with hair frustrations and more time enjoying the exhilarating freedom of carving through fresh powder with the wind at your back and every strand exactly where it belongs.
Embrace the mountain lifestyle fully, knowing your hair is as prepared for adventure as you are, and make every ski day a great hair day with these practical yet gorgeous styling solutions.