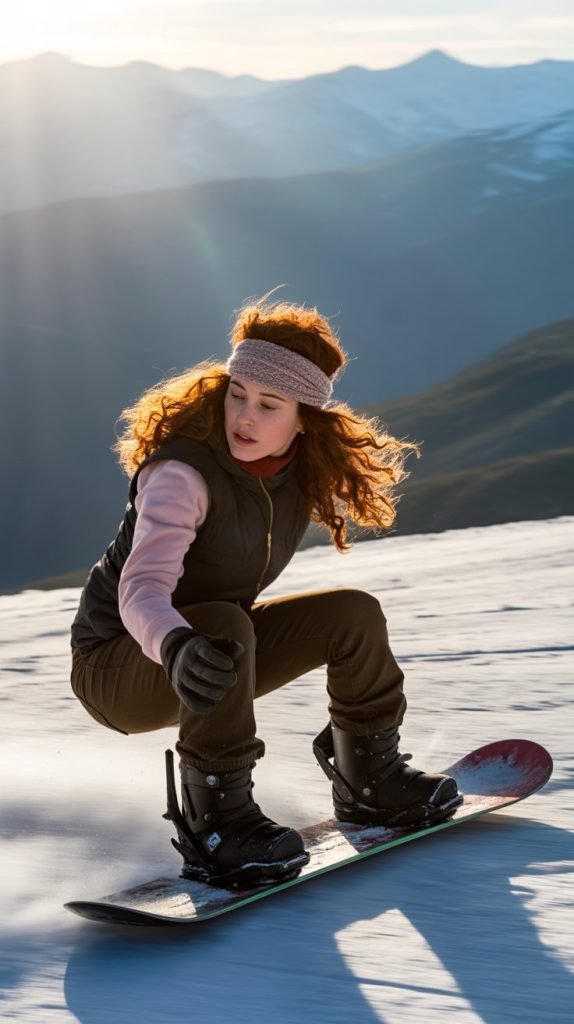
Picture this: you’re carving down a pristine mountain slope, the cold wind rushing past your face, and when you finally pull off your helmet, your curls emerge just as beautiful as when you started.
For curly-haired snowboarders, maintaining gorgeous, frizz-free curls while conquering the slopes has always felt like an impossible dream.
The combination of helmet friction, cold weather, moisture from snow, and vigorous physical activity typically turns even the most carefully styled curls into a tangled, flattened mess.
But what if you could protect your curls while still looking absolutely stunning on the mountain?
This comprehensive guide to 28 Gorgeous Snowboarding Hairstyles for Curly Hair That Keep Curls in Place will transform your winter sports experience forever.
From protective braids that lock in moisture to strategic bun placements that prevent helmet hair, from curl-defining techniques that withstand freezing temperatures to post-ride refresh methods that bring your bounce back instantly,
you’ll discover every secret that professional hairstylists and curly-haired athletes use to maintain their crown of curls.
Whether you have loose waves, tight coils, or anything in between, these proven hairstyles will keep your curls defined, protected, and absolutely gorgeous from the first chairlift ride to the last run of the day.
1. The Pineapple Protective Updo

The pineapple updo stands as one of the most beloved protective styles in the curly hair community, and it translates beautifully to snowboarding conditions.
This style positions your curls high on top of your head, minimizing contact with your helmet while preserving curl definition and volume.
- Gather all your curls to the very top of your head using a silk or satin scrunchie to avoid breakage and creasing.
- Position the ponytail slightly forward on your crown rather than directly at the center to accommodate helmet placement.
- Leave the ponytail loose enough that curls can maintain their natural spring without being stretched or flattened.
- Apply a curl-defining cream with strong hold before creating the pineapple to lock in moisture throughout your ride.
- The high placement keeps the bulk of your curls away from the helmet’s pressure points at the back and sides of your head.
- When you remove your helmet, simply release the scrunchie and shake out your curls for instant volume restoration.
- This style works exceptionally well for medium to long curly hair with any curl pattern from 2C to 4C.
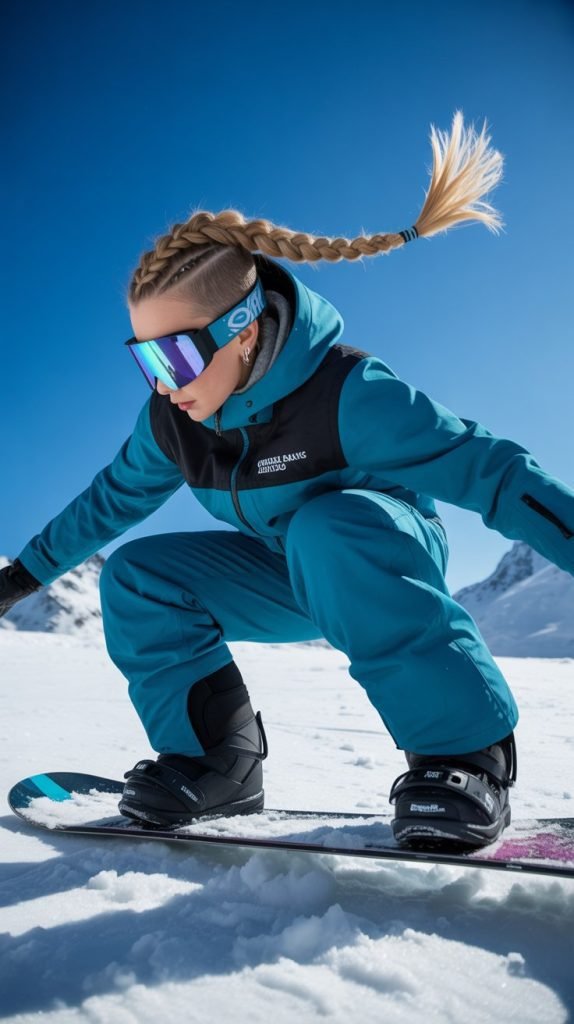
2. Double Dutch Braids with Curl Definition

Double Dutch braids provide maximum protection for your curls while creating a secure foundation that won’t shift under your helmet. This athletic style keeps hair completely controlled while maintaining the integrity of your curl pattern.
- Start with damp hair that has been treated with a leave-in conditioner and curl cream for maximum definition.
- Create two Dutch braids (reverse French braids) starting from your hairline and working toward the nape of your neck.
- Keep the braids moderately tight to secure hair but not so tight that they cause tension headaches under your helmet.
- Braid all the way to the ends and secure with small elastic bands, leaving a few inches of curly ends exposed.
- The braids distribute helmet pressure evenly across your scalp rather than crushing curls in specific areas.
- This style can last multiple days on the mountain, making it perfect for snowboarding trips and ski vacations.
- When you unbraid your hair, you’ll discover beautifully defined waves and curls with enhanced volume and texture.
3. The Low Bun with Curl Preservation

A strategically placed low bun sits at the nape of your neck, avoiding the helmet’s main pressure zones while keeping your curls organized and protected throughout your snowboarding session.
- Apply a generous amount of curl-defining gel to damp hair before styling to maintain curl structure within the bun.
- Gather your curls gently at the nape of your neck without brushing, using only your fingers to preserve curl clumps.
- Twist the hair loosely and wrap it into a bun shape, securing with bobby pins rather than tight elastics.
- Position the bun low enough that it sits below the helmet’s back edge, preventing compression and flattening.
- Use a silk or satin scrunchie as an additional outer layer of security without causing friction damage.
- The loose construction allows air circulation, preventing the sweat and moisture buildup that leads to frizz.
- This style works beautifully for all curl types and can be dressed up or down depending on your après-ski plans.
4. Twisted Crown with Free-Flowing Curls
The twisted crown style secures the front sections of your hair away from your face while allowing the majority of your curls to flow freely, protected by your helmet’s interior padding.
- Section off the front portion of your hair from ear to ear, leaving the back section completely free.
- Divide the front section into two parts and twist each section away from your face toward the back of your head.
- Secure the twists with bobby pins at the crown, creating a natural-looking headband effect.
- Apply an anti-frizz serum to the free-flowing curls in the back to combat static and dryness from cold air.
- The twisted sections keep hair away from your face and goggles while the helmet protects the loose curls underneath.
- This style offers the perfect balance between control and natural curl expression for medium to long hair.
- Touch up the twists easily throughout the day by simply re-pinning without disturbing your curl pattern.
5. Bantu Knots for Ultimate Curl Protection

Bantu knots offer superior protection for curly hair during snowboarding by securing each section of hair into tight, individual knots that fit comfortably under a helmet while preserving and enhancing curl definition.
- Work with freshly moisturized hair that has been treated with a curl cream and natural oil for maximum definition.
- Divide your hair into six to twelve sections depending on hair thickness and desired knot size.
- Twist each section tightly from root to tip, then wrap the twisted hair around itself to form a compact knot.
- Secure each knot close to the scalp with bobby pins, creating a flat profile that won’t create uncomfortable pressure points.
- The knots protect your curls from friction, flattening, and environmental damage throughout your snowboarding session.
- When you unravel the knots after riding, you’ll reveal gorgeously defined, bouncy curls with incredible volume.
- This style is particularly effective for type 4 curls and coils, providing both protection and curl enhancement.
6. Side-Swept Curly Ponytail

A side-swept ponytail positions your curls asymmetrically, distributing helmet pressure differently and creating a stylish look that transitions seamlessly from the slopes to the lodge.
- Gather all your curls to one side of your head, positioning the ponytail behind your ear at mid-head height.
- Use a spiral hair tie or silk scrunchie to secure the ponytail without creating dents or disrupting curl pattern.
- Leave a few face-framing curls loose around your face for a softer, more flattering appearance.
- Apply a small amount of curl refresher spray to the ponytail before placing your helmet for added definition and hold.
- The asymmetrical placement means only one side of your hair experiences direct helmet pressure.
- Alternate which side you wear the ponytail on different days to prevent one-sided flattening or damage.
- This versatile style works exceptionally well for all curl types from loose waves to tight coils.
7. The Curly Top Knot

The top knot elevates all your curls to the highest point of your head, creating maximum clearance from helmet pressure while maintaining a sleek, athletic appearance perfect for snowboarding.
- Flip your head upside down and gather all your curls at the crown of your head to preserve volume.
- Twist the hair loosely and wrap it around itself to create a voluminous knot at the top of your head.
- Secure with bobby pins inserted at various angles for maximum hold without using tight elastics that damage curls.
- Leave some curly tendrils loose around the hairline for a softer, more romantic appearance.
- The elevated position keeps the bulk of your hair away from all major helmet contact points.
- This style prevents the dreaded “helmet head” look by maintaining volume and lift at the crown.
- Works best for medium to long curly hair with enough length to reach the crown comfortably.
8. French Braid Mohawk Style
The French braid mohawk combines edgy aesthetics with practical curl protection by creating a central braid down the middle of your head while leaving the sides protected under your helmet.
- Section a wide strip of hair from your forehead to the nape of your neck, leaving the sides separate.
- Create a tight French braid down the center section, incorporating hair as you move from front to back.
- Secure the loose sides with small clips or pins close to your head to keep them flat under the helmet.
- The central braid distributes pressure along a strong braided ridge rather than on vulnerable loose curls.
- Apply a strong-hold gel to the sides before pinning to prevent frizz and maintain smoothness under the helmet.
- This edgy style makes a bold statement on the slopes while providing excellent curl protection and definition.
- When you take down the style, the sides reveal beautifully preserved curls while the braid creates stunning waves.
9. Curly Space Buns
Space buns divide your curls into two high buns on either side of your head, creating a playful, youthful look while strategically positioning curls away from helmet pressure zones.
- Part your hair down the middle from forehead to nape, creating two equal sections.
- Gather each section into a high ponytail on either side of your head above and slightly behind your ears.
- Twist each ponytail and wrap it around the base to create two rounded buns, securing with bobby pins.
- Position the buns high enough and far enough apart that they sit comfortably within your helmet’s interior padding.
- The divided weight prevents a single heavy mass of hair from pulling on your scalp during activity.
- This fun, trendy style keeps curls completely contained while making a bold fashion statement on the mountain.
- Works particularly well for medium-length to long curls with enough hair to create substantial buns.
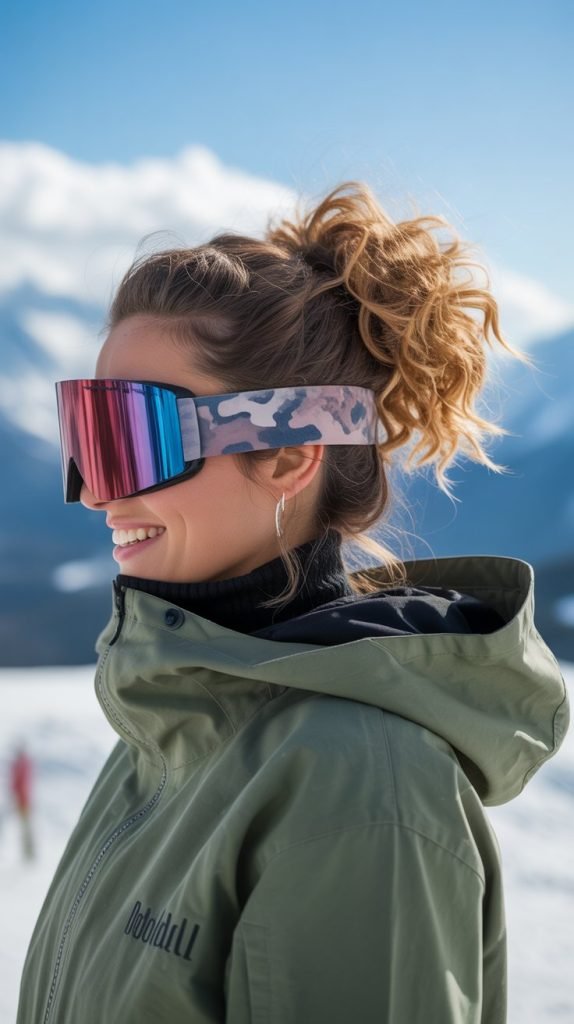
10. The Protective Headband Tuck

The headband tuck method uses a wide, stretchy headband to secure curls close to your head while maintaining curl definition and providing a smooth surface under your helmet.
- Start with a wide, fabric-covered elastic headband that won’t slip during vigorous movement.
- Place the headband around your head like a crown, positioning it from hairline to the back of your head.
- Take small sections of curls and tuck them up and under the headband, working your way around your entire head.
- The tucked curls create a smooth, rounded shape that fits comfortably under your helmet without bulk.
- Spray the tucked sections with a light-hold hairspray to prevent pieces from slipping out during riding.
- When you remove your helmet and headband, simply shake out your curls for instant volume and definition.
- This method works wonderfully for medium-length curls and prevents the flattening that occurs with traditional styles.
11. Rope Twist Ponytail

The rope twist ponytail combines the security of a twisted style with the convenience of a ponytail, creating a refined look that protects curls from helmet friction and environmental damage.
- Gather your curls into a ponytail at the back of your head at a height that allows comfortable helmet placement.
- Divide the ponytail into two equal sections and apply curl cream to both for added definition and moisture.
- Twist each section individually in the same direction (both clockwise or both counterclockwise) until tight.
- Wrap the two twisted sections around each other in the opposite direction to create a rope-like effect.
- Secure the end with a hair tie and apply a small amount of anti-frizz oil to smooth any flyaways.
- The twisted structure protects individual curls from tangling while maintaining beautiful texture throughout your ride.
- This sophisticated style transitions beautifully from athletic activity to casual après-ski socializing without adjustment.
12. Curly Faux Hawk with Pinned Sides

The curly faux hawk creates dramatic height and volume along the center of your head while securing the sides flat against your scalp for comfortable helmet wear and bold style.
- Section your hair into three parts: a wide center section from forehead to nape and two side sections.
- Apply strong-hold gel to the side sections and pin them flat against your head with multiple bobby pins.
- Tease and fluff the center section upward to create maximum volume and height for a dramatic mohawk effect.
- Use bobby pins to secure the center section in a raised position that will compress comfortably under your helmet.
- The faux hawk structure channels helmet pressure along the pinned sides while the center section maintains volume.
- This edgy, fashion-forward style makes a powerful statement on the slopes while protecting your curl pattern.
- Works exceptionally well for curls with natural volume and can be enhanced with curl mousse for extra hold.
13. Low Twisted Pigtails

Low twisted pigtails divide your curls into two sections positioned at the nape of your neck, creating a secure, comfortable style that sits below the helmet line and prevents flattening.
- Part your hair down the middle from forehead to nape, creating two equal sections.
- Position each section low on your head behind your ears at the nape of your neck.
- Twist each section loosely from the base to the ends before securing with hair ties.
- The low placement ensures the pigtails sit completely below your helmet’s edge, avoiding all pressure points.
- Apply a curl-enhancing cream to the ends of each pigtail to maintain definition and prevent drying.
- This youthful, playful style provides excellent curl protection while being incredibly easy to create and maintain.
- The twisted structure prevents tangling and matting that can occur with loose hair under helmets.
14. The Curly Chignon

The curly chignon offers elegant sophistication while providing practical curl protection through a low, gathered style that sits securely at the nape of your neck away from helmet interference.
- Gather your curls gently at the nape of your neck without brushing to preserve natural curl clumps and definition.
- Twist the gathered hair loosely and fold it upward and inward to create a rounded chignon shape.
- Secure the chignon with bobby pins inserted at angles, creating a secure hold without tight elastics.
- Leave a few curly tendrils loose around your face and neck for a softer, more romantic appearance.
- The low, compact shape sits below the helmet line, preventing compression while maintaining curl integrity.
- This refined style works beautifully for formal après-ski events without requiring restyling after snowboarding.
- Suitable for all curl types with medium to long hair length and creates timeless, classic beauty.
15. Zig-Zag Part with Dual Braids

A zig-zag part adds visual interest while dividing your hair into two sections that can be braided for maximum protection and curl preservation during snowboarding activities.
- Use a rattail comb to create a zig-zag part from your forehead to the nape of your neck.
- Divide your hair into two sections following the zig-zag line for a unique, eye-catching pattern.
- Braid each section into a Dutch or French braid, working from the front of your head to the ends.
- Secure each braid with small elastics and leave a few inches of curly ends exposed for texture.
- The zig-zag part prevents a straight line of compression from helmet pressure that can flatten curls.
- This creative styling technique adds personality and flair while providing excellent curl protection.
- The braids maintain curl definition and create beautiful waves when unraveled after your snowboarding session.
16. Crown Braid with Loose Curls

The crown braid creates a braided halo around your head while allowing the rest of your curls to flow freely, protecting the hairline while showcasing your natural curl pattern.
- Section off the front portion of your hair from ear to ear across the top of your head.
- Create a Dutch braid along this section, working from one ear around the crown to the other ear.
- Leave the back portion of your curls completely loose and free-flowing for natural movement and volume.
- Secure the braid ends with bobby pins, tucking them discreetly into the loose hair for a seamless look.
- The braided crown protects your most visible curls from helmet friction while keeping hair away from your face.
- Apply an anti-frizz serum to the loose curls to combat environmental dryness and static.
- This romantic, bohemian style transitions beautifully from athletic activity to casual mountain town exploration.
17. Bubble Ponytail with Curl Definition
The bubble ponytail uses multiple hair ties spaced along a ponytail to create distinct sections that maintain curl definition while preventing the tangling and matting common with traditional ponytails.
- Gather your curls into a ponytail at mid-height on the back of your head using a silk scrunchie.
- Place additional hair ties down the length of the ponytail at regular intervals, approximately 2-3 inches apart.
- Gently pull and fluff the hair between each tie to create rounded “bubble” sections full of volume.
- Apply curl cream to each bubble section individually to maintain definition and moisture throughout the day.
- The segmented structure prevents the weight of your hair from pulling on individual curls and causing breakage.
- This trendy, Instagram-worthy style combines practical curl protection with fashion-forward aesthetics.
- Easy to create and maintain, making it perfect for multi-day snowboarding trips and ski vacations.
18. The Waterfall Braid

The waterfall braid creates a cascading effect where strands of curls are woven through a horizontal braid, combining intricate beauty with practical curl protection for snowboarding.
- Begin a French braid at one temple, working horizontally across your head toward the opposite ear.
- As you braid, drop the bottom strand each time instead of incorporating it, allowing curls to cascade down.
- Pick up a new strand from the top to replace the dropped strand, creating the characteristic waterfall effect.
- The braid secures the crown area while allowing the majority of curls to hang naturally and freely.
- This style keeps hair away from your face and goggles while showcasing your beautiful curl pattern.
- Apply a light-hold hairspray to the braid itself to maintain structure under your helmet without stiffening curls.
- Suitable for medium to long curly hair and creates a stunning, intricate look with romantic appeal.
19. Half-Up Space Buns
Half-up space buns combine the playful aesthetic of space buns with the freedom of loose, flowing curls by securing only the top portion of hair while leaving the bottom half free.
- Section the top half of your hair from ear to ear, leaving the bottom half completely loose.
- Divide the top section into two parts and create high ponytails on either side of your head.
- Twist each ponytail and wrap it around the base to form two small buns, securing with bobby pins.
- Leave the bottom half of your curls flowing naturally to maintain volume and showcase your curl pattern.
- The half-up style protects the most vulnerable top layer of hair from helmet friction and pressure.
- This fun, trendy look works wonderfully for all curl types and is quick to create before hitting the slopes.
- The loose bottom section allows your curls to move naturally while the top buns provide practical security.
20. Twisted Halo with Center Part

The twisted halo style creates two twisted sections that frame your face and meet at the back, protecting your hairline and crown while allowing curls to flow freely underneath your helmet.
- Create a clean center part from your forehead to the crown of your head.
- Take a section of hair from the front on each side and twist it back toward the crown.
- Secure the twisted sections at the back of your head where they meet, using bobby pins for a secure hold.
- Leave all remaining curls loose and flowing for natural movement and volume throughout your ride.
- The twisted sections keep hair away from your face and prevent curls from falling into your goggles.
- This elegant style protects your most visible curls while maintaining a polished, put-together appearance.
- Works beautifully for all curl types and lengths, from shoulder-length waves to long, flowing coils.
21. Low Ponytail with Curl Wrap
The low ponytail with curl wrap conceals the hair tie with a section of your own curls, creating a polished look while keeping hair secure and protected at the nape of your neck.
- Gather your curls into a low ponytail at the nape of your neck and secure with a hair tie.
- Take a small section of curls from the ponytail and wrap it around the hair tie to conceal it completely.
- Secure the wrapped section underneath the ponytail with a bobby pin for a seamless, polished appearance.
- Position the ponytail low enough that it sits comfortably below your helmet’s back edge without compression.
- Apply a small amount of curl-defining gel to the wrapped section for extra hold and smoothness.
- This sophisticated style elevates a simple ponytail into something special while providing excellent curl protection.
- The low placement prevents helmet-induced flattening and maintains natural volume at the crown of your head.
22. Braided Headband with Volume

A braided headband created from your own hair keeps curls away from your face while the remaining hair maintains impressive volume and definition under your snowboarding helmet.
- Take a section of hair from behind one ear and create a tight three-strand braid along your hairline.
- Bring the braid across your forehead like a headband and secure it behind the opposite ear with bobby pins.
- Leave all remaining curls loose and flowing to maintain maximum volume and natural curl expression.
- The braided section prevents hair from falling into your face and goggles during active snowboarding.
- Apply a curl refresher spray to the loose curls for added definition and frizz control in cold conditions.
- This versatile style combines practical functionality with natural beauty and works for all curl types.
- The braid itself remains protected and defined under your helmet while adding interesting texture to your look.
23. The Curly Gibson Tuck

The Gibson tuck creates a rolled, tucked style at the nape of your neck that appears intricate and elegant while keeping all your curls secured and protected from helmet damage.
- Gather your curls loosely at the nape of your neck without securing with a hair tie.
- Create a horizontal opening just above where you’re holding your hair by separating the hair above it.
- Tuck the ends of your hair up and through this opening, rolling them inward to create a tucked, rounded shape.
- Secure the tucked hair with bobby pins inserted vertically for maximum hold without disrupting curl pattern.
- The low, compact shape sits below the helmet line, preventing any compression or flattening of your curls.
- This vintage-inspired style offers sophisticated elegance while providing practical protection for active snowboarding.
- Works best for medium to long curly hair with enough length to create a substantial tucked section.
24. Side Braid Sweep

The side braid sweep gathers all your curls to one side and incorporates them into a loose braid that drapes over your shoulder, protecting curls while creating an asymmetrical, romantic look.
- Sweep all your curls to one side of your head, positioning them over your shoulder.
- Begin a loose French or Dutch braid at your temple, incorporating all hair as you work down toward the ends.
- Keep the braid loose and textured to maintain the appearance of natural curls rather than creating a sleek, tight braid.
- Secure the braid with a silk scrunchie at the ends, leaving a few inches of curly ends exposed.
- The side positioning allows the braid to drape naturally over your shoulder and sit outside your jacket collar.
- This romantic, bohemian style protects your curls from tangling while maintaining beautiful texture and definition.
- Works wonderfully for all curl types and creates an elegant look that transitions from slopes to lodge effortlessly.
25. Top Knot with Face-Framing Curls

The top knot with face-framing curls combines the security of an updo with the softness of loose curls around your face, creating a balanced look that’s both practical and flattering.
- Leave out small sections of curls around your hairline and temples before gathering the rest of your hair.
- Create a high top knot with the bulk of your hair, positioning it at the crown of your head.
- Secure the knot with bobby pins and a silk scrunchie for maximum hold without damaging your curls.
- Style the face-framing curls with curl cream to enhance definition and create soft, flattering movement.
- The high knot keeps most of your hair away from helmet pressure while the loose curls soften your features.
- This feminine, balanced style offers the best of both worlds: security and natural curl expression.
- Suitable for medium to long curly hair and works beautifully for all curl types from waves to coils.
26. Dutch Braid Crown with Low Bun

The Dutch braid crown with low bun combines two protective styles into one comprehensive solution, securing hair at both the crown and nape for maximum curl protection during snowboarding.
- Create a Dutch braid starting at one temple and working across the crown to the opposite temple.
- Gather the remaining loose hair at the nape of your neck along with the braid ends.
- Form a low bun with all the hair, twisting it loosely before wrapping it around itself.
- Secure the bun with bobby pins inserted at multiple angles for a secure hold throughout active riding.
- The braided crown protects your most visible curls while the bun secures the remaining hair safely away from helmet pressure.
- This comprehensive style ensures complete curl protection while creating an intricate, beautiful appearance.
- Works for all curl types with medium to long hair and provides all-day security and definition.
27. Messy Curly Bun with Tendrils

The messy curly bun embraces natural texture and intentional imperfection, creating a relaxed, effortless look while keeping curls protected and contained under your snowboarding helmet.
- Gather your curls loosely at the back of your head without worrying about smoothness or perfection.
- Twist the hair gently and wrap it around itself to create a deliberately messy, textured bun.
- Secure with bobby pins, intentionally leaving some sections loose for a natural, undone appearance.
- Pull out a few face-framing tendrils around your hairline and temples for added softness and dimension.
- The intentionally imperfect structure prevents the rigid, overly controlled look while still providing curl protection.
- This effortlessly cool style works wonderfully for casual mountain days and captures the laid-back snowboarding aesthetic.
- Suitable for all curl types and particularly flattering for those with naturally voluminous, textured curls.
28. Protective Silk Scarf Wrap
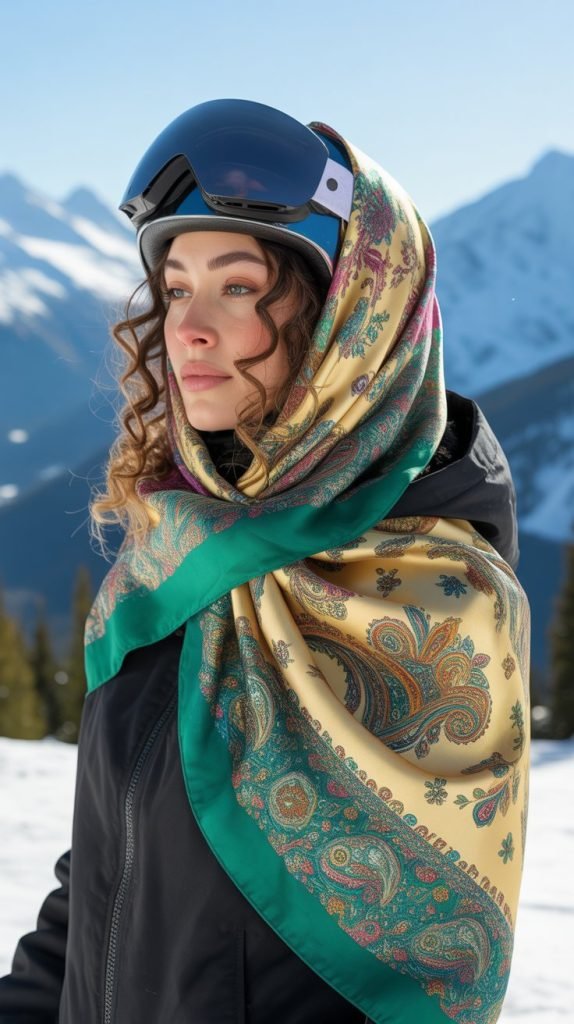
The protective silk scarf wrap uses a square silk or satin scarf to completely encase your curls, providing maximum protection from helmet friction, cold air, and moisture while maintaining curl definition.
- Apply a generous amount of leave-in conditioner and curl cream to your hair before beginning the wrap process.
- Fold a large square silk or satin scarf into a triangle and place the long edge along your hairline.
- Gather all your curls on top of your head and wrap the scarf around them, tucking and securing as you go.
- Tie the scarf ends securely but not too tightly to avoid creating pressure points under your helmet.
- The silk or satin material prevents friction damage and moisture loss while maintaining your natural curl pattern.
- This protective method is ideal for type 4 curls and coils that are particularly vulnerable to dryness and breakage.
- When you unwrap your hair, your curls will emerge perfectly defined, moisturized, and free from frizz.
Conclusion
Finding the perfect balance between style and functionality doesn’t have to be a challenge anymore for curly-haired snowboarding enthusiasts.
These 28 Gorgeous Snowboarding Hairstyles for Curly Hair That Keep Curls in Place provide comprehensive solutions for every curl type, hair length, and personal aesthetic preference.
From the protective elegance ofRetryontibraided styles to the casual charm of messy buns, from the bold statement of a curly faux hawk to the timeless sophistication of a Gibson tuck, you now have an extensive arsenal of proven techniques to maintain your beautiful curls while conquering the mountain.
The key to success lies in understanding your unique curl pattern, investing in quality protective products, and choosing styles that work with your natural texture rather than against it.
Remember that proper preparation before heading to the slopes makes all the difference—moisturized, well-defined curls secured in strategic styles will emerge from your helmet looking nearly as gorgeous as when you started.
Whether you’re spending a single day on the mountain or embarking on a week-long snowboarding adventure, these hairstyles ensure that your curls remain protected, defined, and absolutely stunning throughout every run.
Experiment with different styles to discover which ones work best for your specific curl type and lifestyle needs, and don’t be afraid to modify techniques to suit your personal preferences.
With these 28 Gorgeous Snowboarding Hairstyles for Curly Hair That Keep Curls in Place in your styling repertoire, you’ll never again have to choose between pursuing your passion for snowboarding and maintaining the health and beauty of your precious curls—now you can confidently have both.