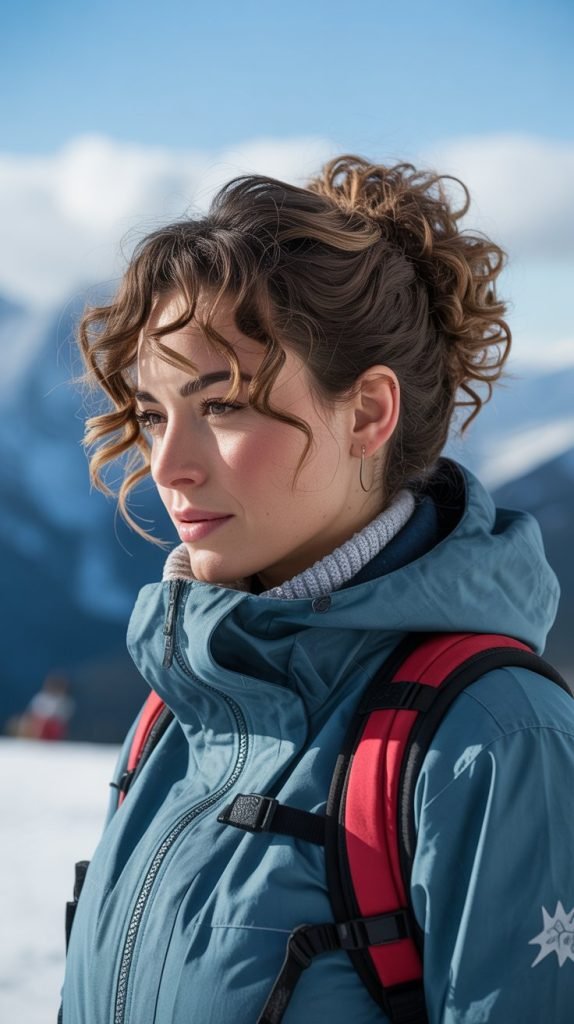
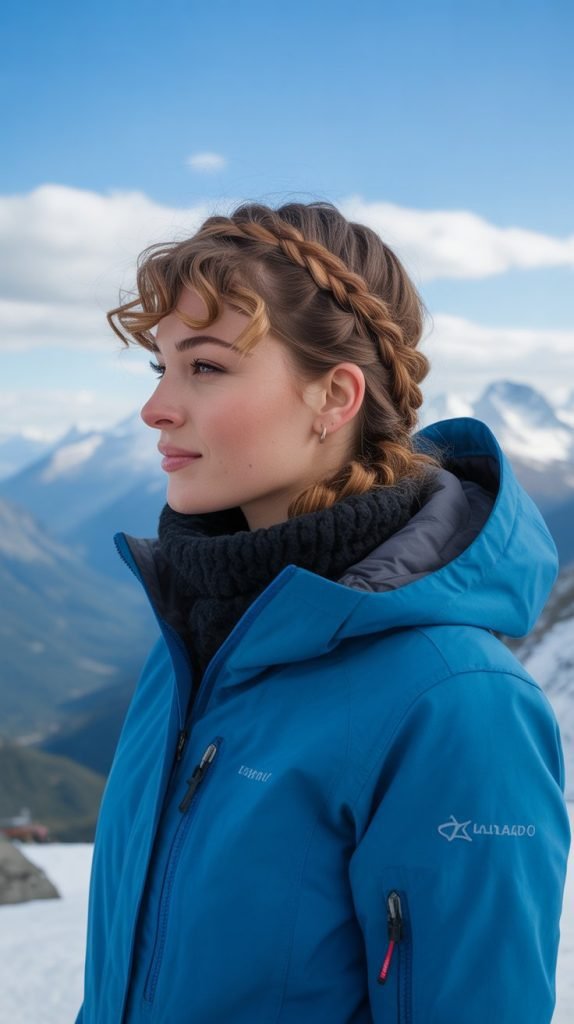
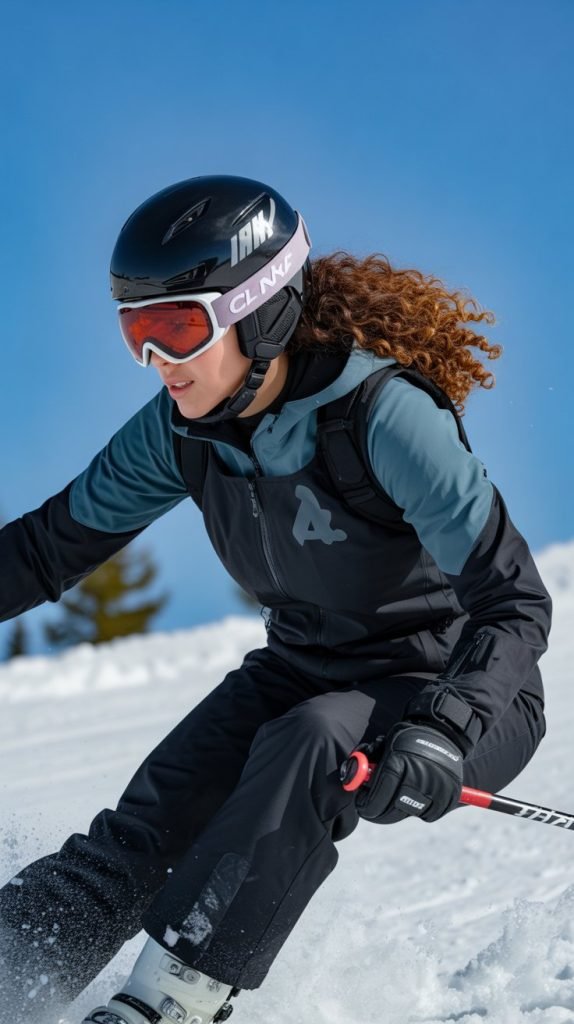
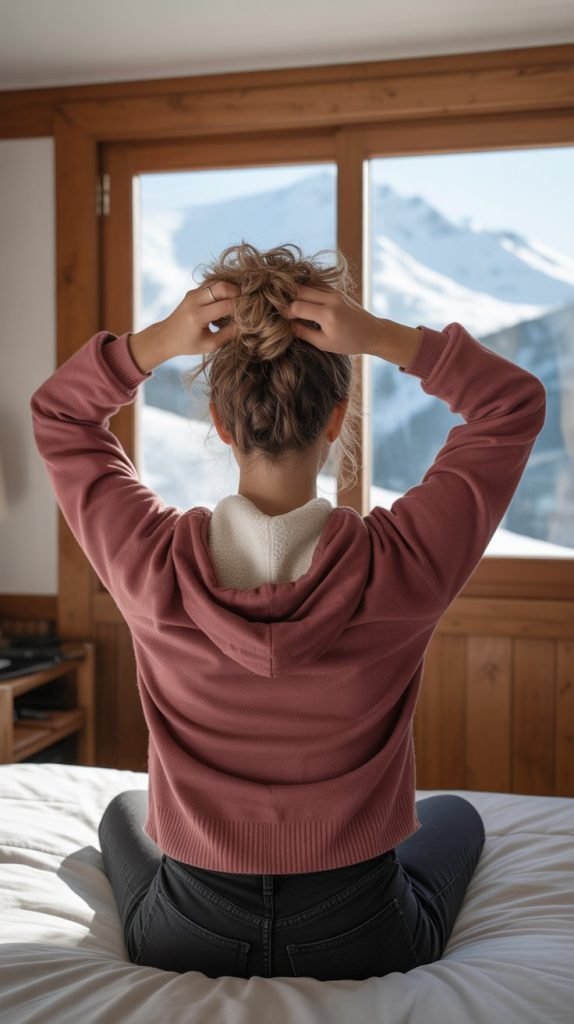
Picture this: you’re standing at the top of a snow-covered mountain, the crisp winter air kissing your face, and your curls are still perfectly intact beneath your helmet.
For curly-haired skiers, finding hairstyles that survive the slopes while keeping curls protected and frizz-free has always been a challenge.
The combination of helmet pressure, cold wind, moisture from snow, and constant movement can turn beautiful ringlets into a tangled mess.
But what if you could hit the slopes with confidence, knowing your curls will look just as gorgeous at après-ski as they did in the morning?
This comprehensive guide to 27 Cute Skiing Hairstyles for Curly Hair That Keep Your Curls in Place brings you practical, stylish solutions that work with your natural texture rather than against it.
From protective braids and strategic buns to helmet-friendly twists and moisture-locking styles, you’ll discover techniques that preserve curl definition, prevent breakage, and maintain volume throughout your entire day on the mountain.
Whether you have loose waves, tight coils, or anything in between, these hairstyles combine function with fashion, ensuring you never have to choose between protecting your curls and looking fabulous.
Get ready to transform your winter sports experience with styles that understand the unique needs of curly hair in cold, active conditions.
1. The Classic Low Pineapple
The low pineapple offers curly-haired skiers a perfect balance between curl protection and helmet compatibility.
Unlike the traditional high pineapple, this modified version sits lower on the head, preventing uncomfortable pressure points while skiing.
This style works exceptionally well for preserving curl pattern and preventing the dreaded helmet hair that flattens your roots.
Why It Works for Skiing:
- Creates minimal bulk under your helmet for comfortable wear during long runs
- Maintains curl definition by keeping hair gathered loosely at the crown
- Prevents tangles that occur when loose curls rub against helmet lining
- Easy to refresh after removing your helmet with just a quick shake
Step-by-Step Instructions:
- Flip your head upside down and gather all curls into your hands
- Position the ponytail at the lower crown area, not the very top
- Use a satin scrunchie or spiral hair tie to secure without creasing
- Leave the ponytail loose enough to prevent tension headaches
- Tuck any face-framing pieces behind your ears before putting on your helmet
Best Curl Types: This style works beautifully for types 2C through 4A, particularly for medium to long length curls.
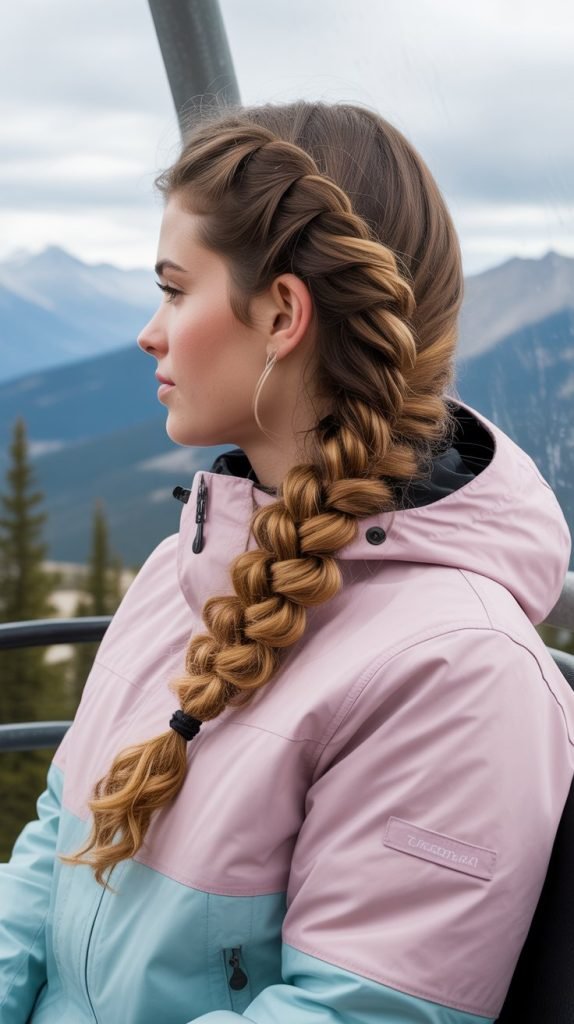
2. Double Dutch Braids
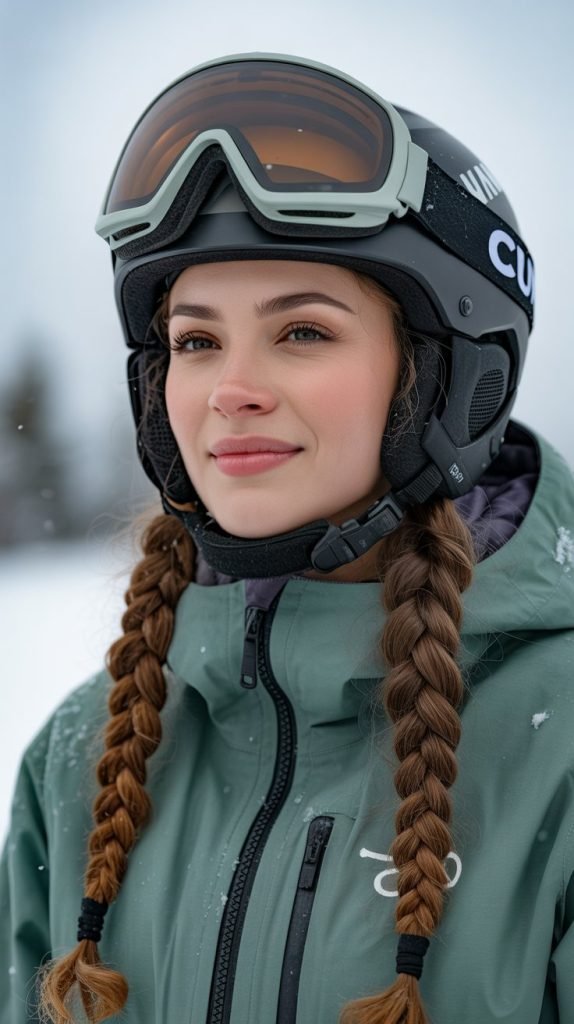
Double Dutch braids represent one of the most reliable protective styles for skiing with curly hair.
These braids keep every curl secured and controlled while distributing helmet pressure evenly across your scalp.
The raised braid pattern creates less friction against your helmet than flat braids, and the style can last multiple ski days with proper nighttime maintenance.
Preparation Tips:
- Start with slightly damp hair that has leave-in conditioner applied
- Detangle thoroughly with a wide-tooth comb before beginning
- Part hair down the center from forehead to nape for symmetry
- Apply a light gel to smooth flyaways without weighing curls down
- Work in sections to ensure each curl is incorporated smoothly
Styling Method:
- Begin each braid at the hairline near your forehead
- Cross sections under rather than over for the Dutch braid technique
- Keep consistent tension throughout to prevent loose sections
- Braid all the way to the ends and secure with clear elastics
- Spray with a light holding spray to control any wispy curls
Longevity Factor: These braids can maintain their structure for 2-3 days of skiing when covered with a silk scarf at night.
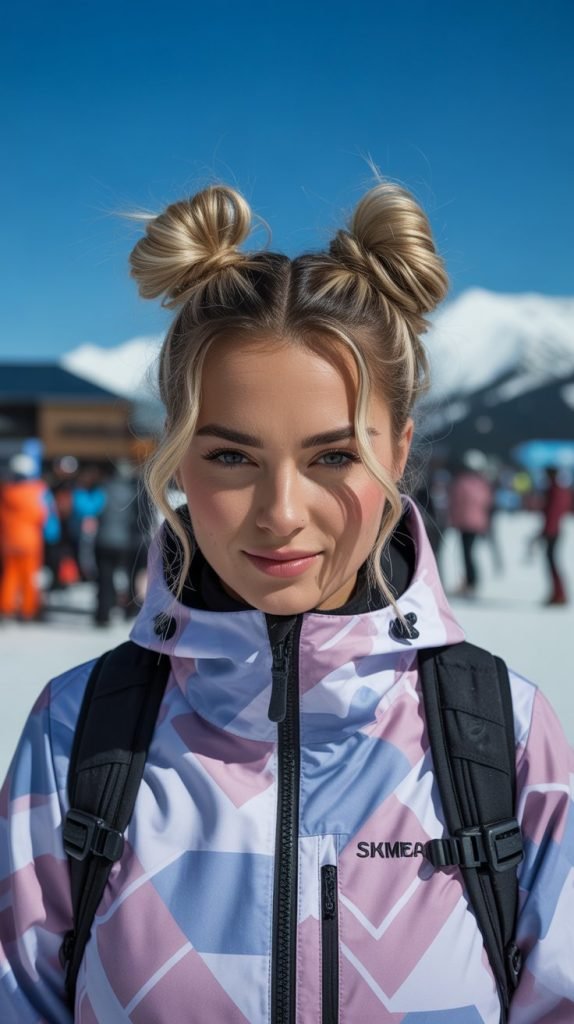
3. The Space Buns
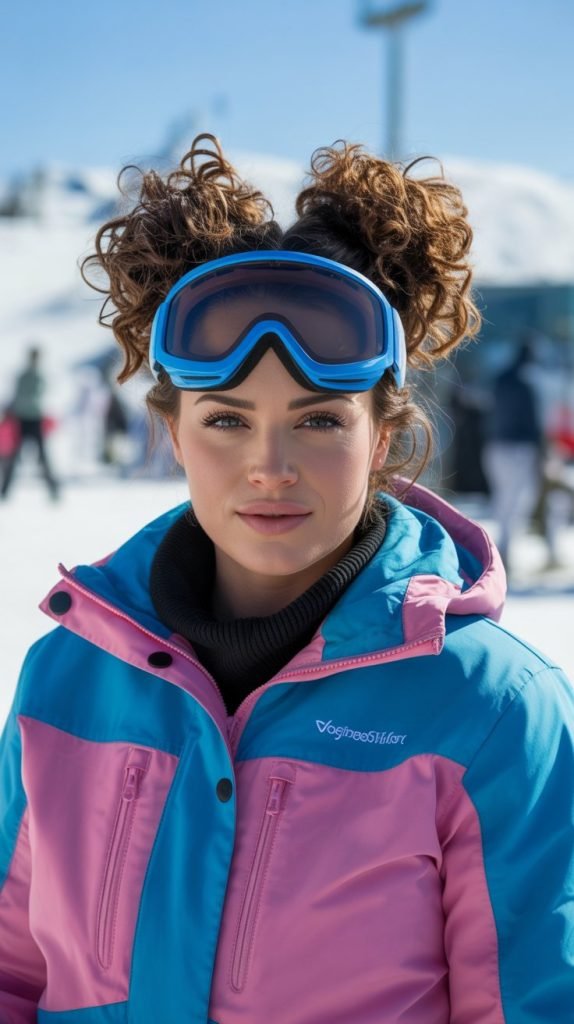
Space buns deliver both style and function for curly-haired skiers who want a playful look that performs under pressure.
These two high buns sit perfectly under most ski helmets while keeping curls completely contained.
The symmetrical placement distributes weight evenly and prevents the neck strain that single buns can cause during active skiing.
Creating Perfect Space Buns:
- Part hair down the middle from forehead to nape for two equal sections
- Position each section above and slightly behind the ears
- Twist each section before wrapping into a bun shape
- Secure with multiple bobby pins rather than just an elastic
- Leave the ends slightly loose for a softer, more natural appearance
Helmet Compatibility:
- Choose a helmet with adjustable sizing to accommodate the buns
- Position buns slightly lower if your helmet feels too tight
- Use flat bobby pins that won’t create pressure points
- Check that buns don’t push the helmet forward on your forehead
- Remove helmet periodically on longer ski days to relieve pressure
Style Variations: Create sleeker buns for a sophisticated look or leave them messy for casual mountain vibes.
4. Low Twisted Chignon
The low twisted chignon combines elegance with practicality for curly-haired skiers seeking a refined look.
This sophisticated style sits at the nape of the neck, completely out of the way of helmet contact while showcasing your curl texture.
The twisted elements add visual interest while keeping every strand secured against winter wind and snow.
Construction Technique:
- Gather hair at the nape and divide into two or three sections
- Twist each section individually in the same direction
- Wrap the twisted sections around each other to create the chignon
- Pin securely with U-shaped pins that won’t slip from curly texture
- Pull a few face-framing curls loose for a softer appearance
Benefits for All-Day Skiing:
- Eliminates pressure on the crown where helmets sit most heavily
- Keeps neck warm by covering the sensitive nape area
- Prevents helmet from pushing hair into your face during skiing
- Easy to adjust or tighten without completely redoing the style
- Transitions beautifully from slopes to lodge without restyling
Maintenance Tips: Bring extra bobby pins in your jacket pocket for quick mid-day touch-ups if needed.
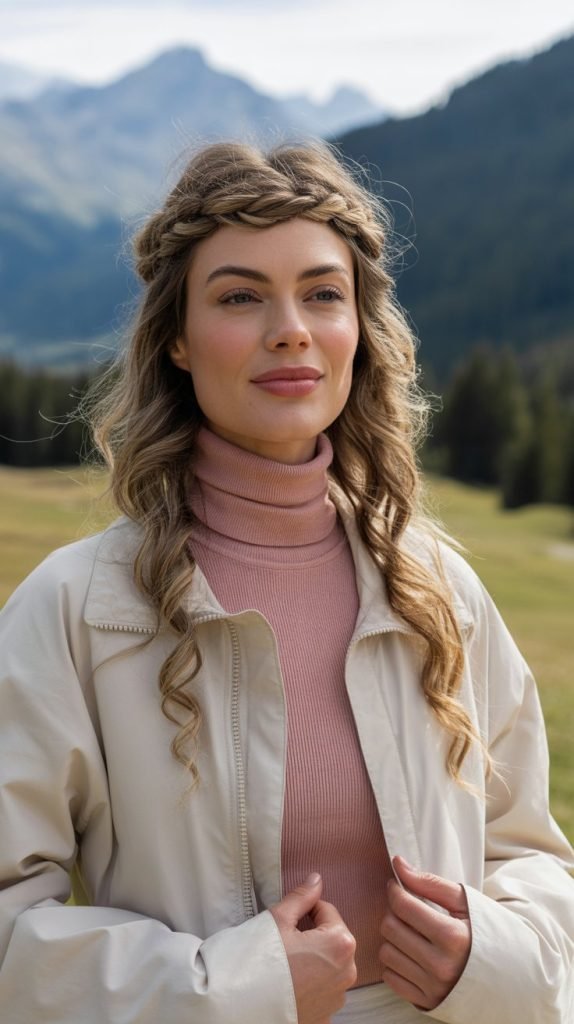
5. The Protective Halo Braid
The halo braid creates a crown-like appearance while offering maximum protection for curly hair during skiing.
This style wraps around the perimeter of your head, leaving the crown area free from bulk under your helmet.
The braid technique stretches curls gently, reducing shrinkage while maintaining the health and integrity of each curl.
Braiding Process:
- Start behind one ear with a small section of hair
- Create a Dutch or French braid that follows your hairline
- Continue braiding around the entire head like a crown
- Incorporate all hair as you work around the perimeter
- Tuck the end of the braid under the beginning and pin securely
Advantages:
- Distributes hair weight evenly around the entire head
- Creates zero bulk at the crown where helmets apply most pressure
- Protects hairline and edges from helmet friction damage
- Looks incredibly polished both on and off the slopes
- Can be dressed up with decorative pins for après-ski activities
Skill Level: This style requires some practice but becomes easier with repetition, or ask a friend to help.
6. Slicked Back Low Bun
The slicked back low bun offers curly-haired skiers a sleek, no-nonsense style that withstands the most challenging mountain conditions.
Using gel or styling cream to smooth the front section creates a polished appearance while the low placement ensures zero helmet interference.
This style particularly excels at protecting fine curls and preventing breakage from friction.
Product Recommendations:
- Strong-hold gel for the smoothed front section
- Leave-in conditioner to maintain moisture throughout the day
- Edge control for laying down baby hairs and flyaways
- Satin scrunchie for securing the bun without breakage
- Light oil on the bun itself to prevent drying from cold air
Styling Steps:
- Apply gel generously to the front and sides of damp hair
- Use a brush or your hands to smooth hair back toward the nape
- Gather all hair into a low ponytail at the nape
- Twist the ponytail and wrap it into a compact bun
- Secure with pins and tie, then spray with holding spray
Refreshing After Skiing: Simply remove the tie, spritz with water, and scrunch to revive your curls instantly.
7. Side Swept Fishtail Braid
The side swept fishtail braid brings romantic styling to the ski slopes while keeping curly hair completely controlled.
This intricate-looking braid actually protects curls better than many simpler styles because of the detailed weaving pattern.
The side placement keeps the bulk away from helmet pressure zones while adding visual interest to your ski outfit.
Creating the Fishtail:
- Sweep all hair over one shoulder before beginning
- Divide hair into two large sections rather than three
- Take a small piece from the outer edge of one section
- Cross it over to the inside of the opposite section
- Repeat this process alternating sides until you reach the ends
- Secure with a clear elastic and gently tug sections for volume
Why Fishtails Work:
- The tight weaving pattern prevents curls from escaping during activity
- Creates less bulk than traditional three-strand braids
- Looks intricate and impressive with minimal actual effort required
- The side placement prevents uncomfortable helmet pressure
- Easy to braid tighter at the top and looser at the bottom for comfort
Duration: A well-constructed fishtail can easily last an entire ski day without needing adjustments.
8. The Modified Top Knot
The modified top knot adapts the trendy high bun specifically for curly-haired skiers and helmet wear.
By positioning the knot slightly back from the true crown, this style avoids the main helmet pressure point while maintaining the chic, elevated aesthetic.
This adaptation makes the top knot finally practical for winter sports without sacrificing your curl pattern.
Modification Details:
- Place the knot 2-3 inches back from where you’d wear a traditional top knot
- Keep the bun slightly flatter rather than tall and round
- Secure with multiple pins in an X-pattern for stability
- Leave the front section slightly looser for natural volume
- Use a donut bun form for curly hair that needs extra structure
Helmet Fitting Tips:
- Try on your helmet after creating the bun to test placement
- Adjust the bun’s position backward if the helmet won’t fit properly
- Make the bun smaller rather than completely changing the style
- Use low-profile bobby pins instead of large claw clips
- Select helmets with deeper backs that accommodate buns better
Best For: Medium to long curly hair with enough length to wrap securely without pulling.
9. Twisted Side Ponytail
The twisted side ponytail combines ease and effectiveness for curly-haired skiers who want a quick yet secure style.
The twisting technique adds structure to curls while the side placement keeps bulk away from the helmet’s central pressure point.
This style works particularly well for those with asymmetrical curl patterns who struggle with centered styles.
Quick Styling Method:
- Gather all hair to one side at ear level or slightly below
- Divide the gathered hair into two equal sections
- Twist each section individually in the same direction
- Wrap the two twisted sections around each other
- Secure at the desired length with a satin scrunchie
- Use bobby pins to secure any shorter layers that escape
Practical Benefits:
- Takes less than five minutes to create even with thick curly hair
- The twist structure prevents tangles better than loose ponytails
- Easy to switch sides day-to-day to prevent uneven helmet pressure
- Can be quickly undone and redone if adjustments are needed
- Looks polished without requiring professional hairstyling skills
Length Requirements: Works best with shoulder-length or longer curly hair for adequate twisting length.
10. Braided Crown with Low Ponytail
The braided crown with low ponytail hybrid style offers the best of both protective techniques for curly hair.
The crown braid secures the front section away from your face and under the helmet rim, while the low ponytail contains the remaining length without creating uncomfortable bulk.
This combination style excels at preventing the helmet from pushing hair into your eyes during skiing.
Construction Steps:
- Section the front third of hair from ear to ear across the crown
- Create a Dutch braid across this section from one side to the other
- Secure the braid end temporarily with a small clear elastic
- Gather the remaining loose hair with the braid into a low ponytail
- Position the ponytail at the nape and secure with a satin scrunchie
- Wrap a small curl around the elastic to conceal it for polish
Functional Advantages:
- Keeps face-framing sections completely secured during active skiing
- Creates minimal bulk at the crown under helmet
- The braid distributes helmet pressure across a wider area
- Ponytail length can move freely without interference
- Perfect for those with heavy curly hair that creates too much bulk in full buns
Styling Time: Approximately 10-15 minutes depending on your braiding speed and curl thickness.
11. Rope Twist Mohawk Braid
The rope twist mohawk braid creates an edgy, eye-catching look while providing exceptional curl protection during skiing.
This style features a central rope twist running from forehead to nape, with the sides slicked back or left natural.
The center positioning works surprisingly well under helmets because the twist creates a flat, streamlined profile.
Creation Technique:
- Section a 2-3 inch wide strip from hairline to nape down the center
- Divide this section into two equal parts
- Twist each part individually in the same clockwise direction
- Wrap the two twisted parts around each other counterclockwise
- Continue twisting and wrapping all the way to the ends
- Secure with bobby pins along the length and at the bottom
- Style the side sections as desired for your preferred look
Style Variations:
- Leave sides curly and loose for maximum volume and drama
- Slick sides back with gel for a more streamlined appearance
- Create small braids on the sides for an intricate detailed look
- Pin sides up toward the mohawk for a faux-hawk effect
- Combine with shaved side patterns if you have an undercut
Personality Factor: This bold style makes a statement both on the slopes and in the lodge.
12. The Low Bubble Ponytail
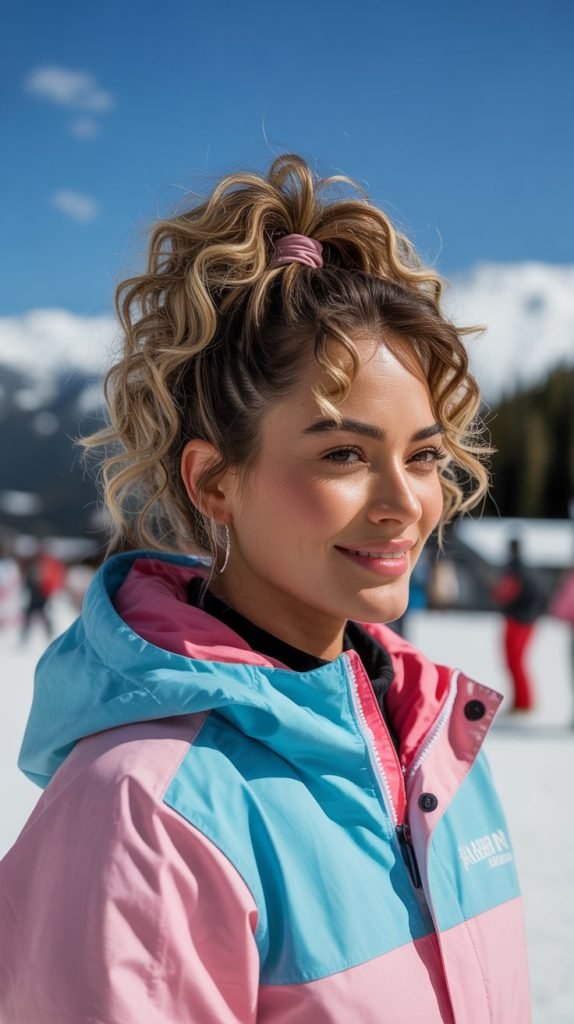
The low bubble ponytail transforms a simple ponytail into a fun, textured style that keeps curly hair secured during skiing.
Multiple elastics spaced along the ponytail length create distinctive bubble sections while preventing the weight of curly hair from pulling on your scalp.
This style particularly shines for those with extremely thick or heavy curls.
Building the Bubbles:
- Create a low ponytail at the nape with a satin scrunchie
- Position the first additional elastic 3-4 inches below the base
- Gently pull and tease the hair between elastics to create volume
- Add another elastic 3-4 inches below the previous one
- Continue this pattern for the entire length of your ponytail
- Use matching or coordinating elastics for visual interest
- Finish by gently pulling each bubble section to enhance the effect
Why Bubbles Work:
- Multiple securing points prevent the ponytail from slipping down
- Distributes hair weight across several points rather than one
- Creates visual interest that looks intentional and stylish
- Easy to adjust individual bubbles if they become loose
- The structured segments prevent massive tangling during activity
Ideal For: Long curly hair that becomes heavy and uncomfortable in standard ponytails.
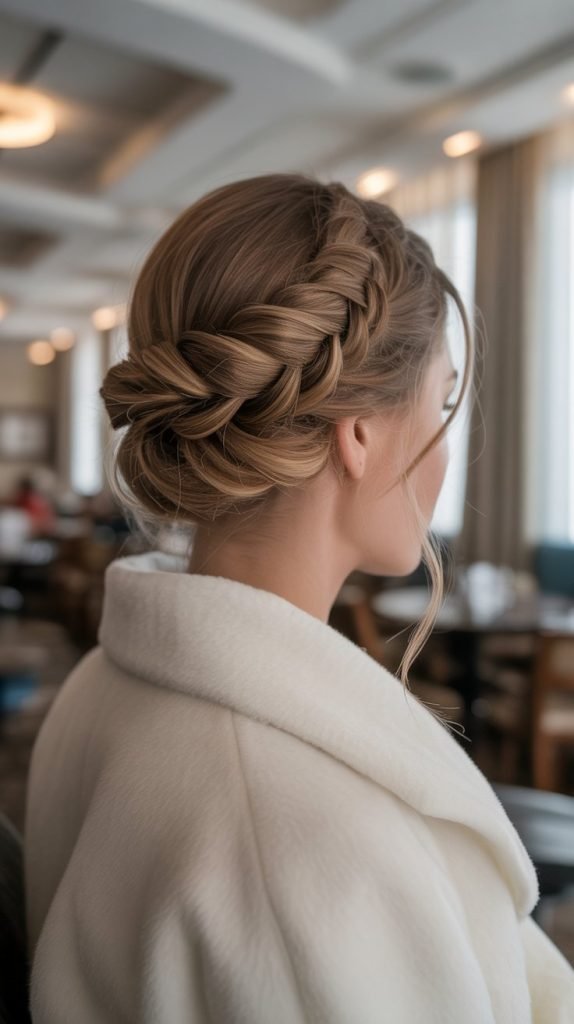
13. French Braid into Low Bun
The French braid into low bun combination provides comprehensive protection for curly hair throughout a full day of skiing.
Starting with a French braid at the crown secures the hair that receives the most helmet pressure, while finishing in a low bun keeps the length contained and protected.
This style excels at preventing both helmet hair and tangled ends.
Step-by-Step Creation:
- Begin French braiding at the crown, starting with a small section
- Add small amounts of hair from each side as you braid down
- Continue the French braid to approximately ear level
- Gather any remaining loose hair with the braid
- Twist or wrap this combined section into a low bun at the nape
- Secure the bun firmly with multiple pins and a hair tie
- Apply light hairspray to control any flyaways around the braid
Comprehensive Benefits:
- Addresses multiple problem areas with one cohesive style
- The braid portion prevents crown and mid-length tangling
- The bun section keeps ends protected from damage
- Creates a graduated profile that fits helmets naturally
- Professional appearance suitable for business ski trips
Maintenance: This style requires minimal adjustment throughout the day once properly secured.
14. Twisted Bantu Knots

Twisted Bantu knots offer curly-haired skiers a protective style that’s both culturally beautiful and highly functional for winter sports.
These small, coiled knots keep curls completely secured while creating a striking pattern across the scalp.
When done correctly, Bantu knots create a flat enough profile to fit comfortably under ski helmets while protecting hair from harsh winter conditions.
Proper Knot Formation:
- Section hair into equal squares or rows depending on your preference
- Apply leave-in conditioner and light oil to each section before twisting
- Twist each section tightly from root to tip
- Wrap the twisted section around itself in a coil at the base
- Secure each knot with a bobby pin that matches your hair color
- Work systematically across the entire head for uniformity
- Cover with a silk scarf overnight before skiing to set the style
Protective Qualities:
- Completely eliminates loose hair that can tangle under helmets
- Keeps curls in their natural coil pattern without stretching
- Prevents breakage from helmet friction against loose strands
- Can last 4-5 days with proper nighttime maintenance
- Unravels to reveal defined, gorgeous curls after skiing
Cultural Consideration: This traditional African hairstyle deserves respect and appreciation for its beauty and functionality.
15. The Messy Low Bun
The messy low bun embraces the relaxed, effortless aesthetic while providing practical curl protection for skiing.
This intentionally undone style requires minimal time and skill to create, making it perfect for early morning starts at the ski resort.
Despite its casual appearance, the low placement and secure pinning keep curly hair protected throughout active skiing.
Achieving Effortless Style:
- Flip your head upside down and gather curls loosely at the nape
- Twist the gathered hair just once or twice very loosely
- Wrap the twisted hair around the base in whatever direction feels natural
- Pin randomly rather than carefully for authentic messiness
- Pull out several face-framing curls intentionally
- Leave the bun loose enough that it appears soft and touchable
- Resist the urge to perfect or smooth anything for authentic casual vibes
Why Messy Works:
- Loose styling prevents the tight pulling that causes headaches
- The undone aesthetic disguises any helmet-induced dishevelment perfectly
- Takes less than three minutes to create even with thick curls
- Easily adjustable if it becomes uncomfortable during skiing
- Transitions seamlessly into après-ski social settings
Perfect For: Relaxed ski days with friends where function matters more than formal appearance.
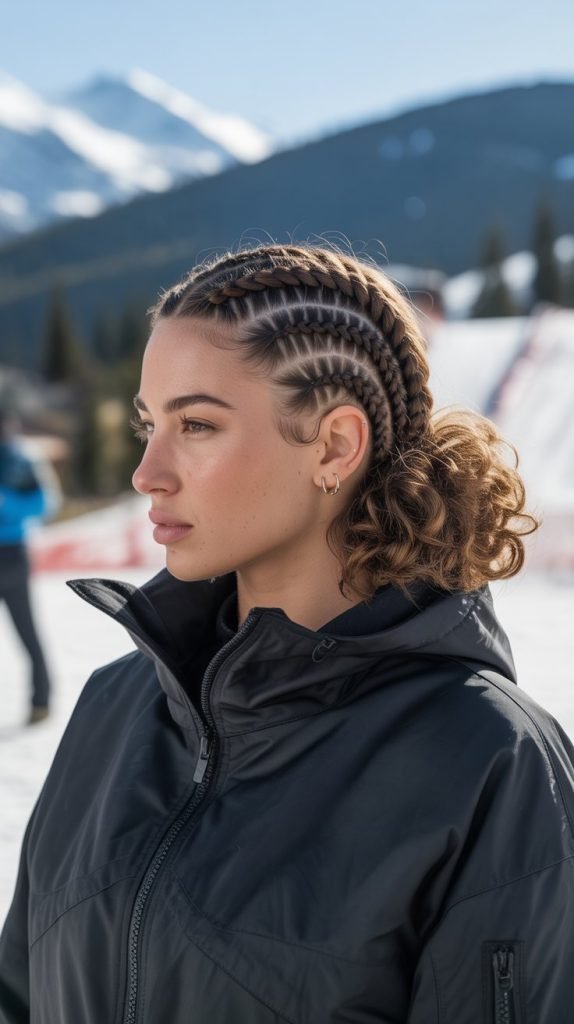
16. Cornrow Braids
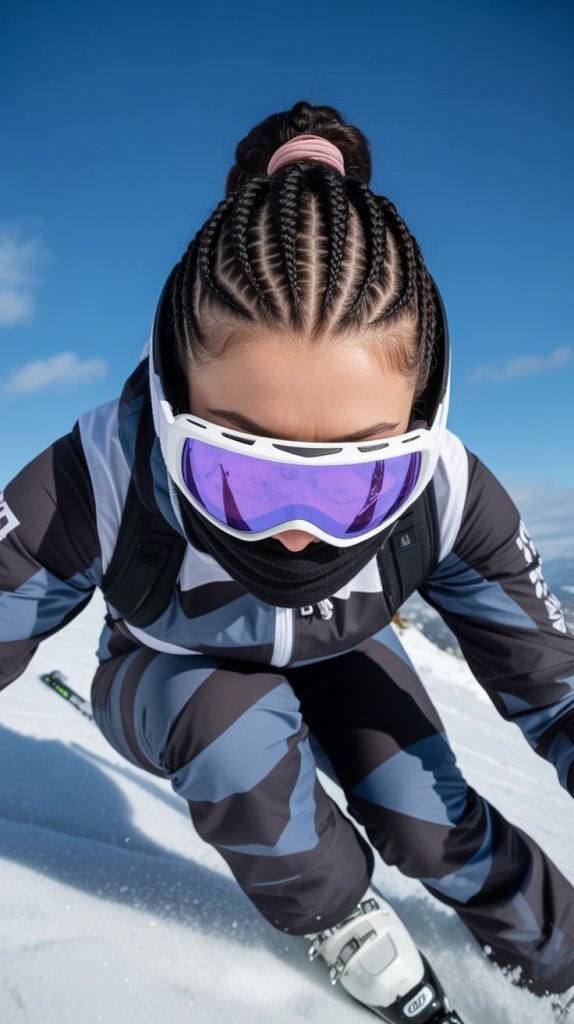
Cornrow braids stand as one of the most protective and longest-lasting hairstyles for curly-haired skiers.
These tight braids lie flat against the scalp, creating virtually no bulk under helmets while keeping every curl secured for multiple days.
Professional cornrows can withstand several consecutive ski days, making them ideal for extended ski trips or vacations.
Professional vs. DIY:
- Professional cornrows typically last 2-3 weeks with proper care
- Complex patterns require a skilled braider for best results
- Simple straight-back cornrows can be done at home with practice
- Allow 2-4 hours for full head cornrows depending on complexity
- Consider getting braids done 1-2 days before your ski trip
- Choose synthetic extensions for added length and thickness if desired
Skiing Advantages:
- Creates the flattest possible profile under any ski helmet
- Eliminates all hair management concerns while skiing
- Protects curls from cold wind, snow moisture, and helmet friction
- Requires zero morning styling time at the resort
- Maintains curl health by keeping hair in a resting protected state
Maintenance During Skiing: Simply tie a silk scarf over cornrows at night to maintain them throughout your trip.
17. High Ponytail with Puff
The high ponytail with puff combines height and volume with helmet practicality for curly-haired skiers who love dramatic styles.
The puff section at the crown showcases curl texture beautifully while the secured ponytail keeps length controlled.
Strategic placement slightly behind the true crown allows this elevated style to work surprisingly well with ski helmets.
Creating Volume:
- Section the front crown area from ear to ear across the top
- Tease this section gently at the roots for extra lift
- Smooth the top layer only while leaving the underneath teased
- Secure this puff section with a small clear elastic
- Gather the remaining hair with the puff into a high ponytail
- Position ponytail 2-3 inches back from the hairline for helmet fit
- Use a satin scrunchie for the final ponytail to prevent creasing
Styling Considerations:
- The puff showcases your natural curl pattern beautifully
- Height placement needs adjustment based on your specific helmet
- This style works best for short to moderate ski sessions
- May require lowering for extended wear if helmet causes pressure
- Creates an impressive appearance for ski photos and videos
Volume Maintenance: Bring a travel-size hairspray to refresh the puff after lunch breaks.
18. Flat Twist Out Style
The flat twist out delivers defined curls and waves while maintaining a protective style structure that works well for skiing.
Creating flat twists the night before your ski day allows them to set completely, then unraveling them in the morning provides stretched, defined curls that withstand helmet wear better than loose curls.
This style offers the best of both worlds: protection during creation and beauty during wear.
Pre-Ski Preparation:
- Wash and condition curls the evening before skiing
- Apply leave-in conditioner and curl cream while hair is wet
- Create flat twists in medium sections all over the head
- Twist tightly enough to set the pattern but not cause tension
- Cover with a silk bonnet or scarf overnight
- Allow at least 8 hours for twists to dry completely
- Unravel carefully in the morning before heading to the slopes
Skiing Performance:
- The pre-stretched curls create less bulk under helmets than natural shrinkage
- Twist pattern holds better than loose curls during activity
- Definition lasts throughout the ski day without constant touching
- Helmet pressure won’t flatten pre-styled curl structure as severely
- Easy to refresh with water spray and scrunching after skiing
Texture Results: Creates elongated, defined curls that blend beautifully with natural texture.
19. The Braided Low Ponytail
The braided low ponytail secures curly hair with dual protection: a ponytail base and a braided length.
This combination prevents the ponytail from swinging wildly during skiing while keeping the length completely tangle-free.
The low placement eliminates helmet interference while the braid structure protects curl integrity throughout active movement.
Simple Construction:
- Create a low ponytail at the nape with a satin scrunchie
- Ensure the ponytail is secure but not painfully tight
- Braid the entire ponytail length using three-strand technique
- Keep the braid moderately loose to preserve curl pattern
- Secure the braid end with a clear elastic band
- Wrap a small curl around the base elastic for a polished finish
- Apply light oil to the braid length to seal in moisture
Dual Protection:
- The ponytail keeps hair away from helmet friction zones
- The braid prevents ponytail length from tangling during movement
- Less wind resistance than loose ponytails during high-speed skiing
- Can be styled tighter for aggressive skiing or looser for casual runs
- Easy to unbraid after skiing to release curls without damage
Quick Tips: Braid slightly damp hair with styling cream for smoother results.
20. Twisted Half-Up Style
The twisted half-up style strikes a balance between showcasing curls and keeping them controlled during skiing.
This style secures the top section that would otherwise fall into your face while leaving the remaining curls free to showcase their natural beauty.
The twists create visual interest while providing practical function for active winter sports.
Creating the Half-Up:
- Section hair from temple to temple across the crown area
- Divide this front section into two equal parts
- Twist each part individually away from your face
- Bring both twisted sections together at the back center
- Secure where they meet with bobby pins or a small clear elastic
- Leave the bottom section completely loose and natural
- Pull a few small curls loose around the face for softness
Function Meets Fashion:
- Keeps face-framing curls from interfering with goggles
- Prevents hair from blowing into your mouth during skiing
- Showcases curl volume and texture in the loose bottom section
- The twisted elements add dimension without excessive effort
- Can be tightened or loosened easily for comfort adjustments
Best Applications: Ideal for moderate ski days or when you want to show off your curl pattern.
21. The Sock Bun Method
The sock bun method creates a perfect, voluminous bun for curly-haired skiers using a simple cut sock as a styling tool.
This technique works exceptionally well for curly hair because the sock provides structure that holds heavy curls in place throughout active skiing.
The resulting bun sits low enough to avoid helmet interference while looking polished and intentional.
Sock Bun Tutorial:
- Cut the toe section off a clean sock that matches your hair color
- Roll the sock into a donut shape from the opening end
- Create a high or low ponytail depending on your helmet fit preference
- Thread the ponytail through the sock donut hole
- Distribute curls evenly around the entire sock surface
- Roll the sock down toward your head, wrapping hair around it as you go
- Secure with bobby pins once the sock reaches your scalp
- Tuck any loose ends under the bun and pin them securely
Structural Benefits:
- The sock provides consistent shape that holds throughout skiing
- Creates more volume than hair alone can achieve
- Heavy curly hair stays elevated without drooping or sagging
- Even tension distribution prevents the pulling sensation of tight buns
- Professional appearance suitable for any skiing occasion
Sock Selection: Choose a sock thickness that corresponds with your desired bun size and hair volume.
22. Zigzag Part with Two Low Buns
The zigzag part with two low buns adds playful detail while providing excellent curl protection for skiing.
The creative zigzag part elevates this style beyond basic double buns, while the low placement ensures complete helmet compatibility.
This style distributes hair weight evenly across both sides, preventing the neck strain that single buns can cause.
Zigzag Creation:
- Use the pointed end of a rat-tail comb for precision
- Start at the hairline and create sharp angular movements
- Alternate direction every inch or so for dramatic zigzag effect
- Take your time to make clean, defined angles in the part
- Section hair into two equal sides following the zigzag line
Bun Formation:
- Position each bun behind and slightly below the ears
- Twist each section before wrapping into bun shape
- Secure each bun with multiple pins in different directions
- Keep buns compact rather than large and loose
- Make both buns the same size for visual symmetry
Creative Factor: The zigzag part remains visible even under your helmet, adding personality when the helmet comes off.
23. The Curly Faux Hawk

The curly faux hawk brings edge and attitude to the ski slopes while keeping curls secured in a helmet-friendly formation.
This style concentrates volume along the center of the head while securing the sides, creating a dramatic look that flattens appropriately under helmets.
When you remove your helmet, the center section springs back to life for an impressive reveal.
Faux Hawk Construction:
- Section hair from forehead to nape in a 3-4 inch wide center strip
- Apply strong hold gel to the side sections
- Slick side sections back and secure flat against the head with pins
- Tease the center section at the roots for maximum height
- Apply curl cream to the center section to enhance definition
- Use a diffuser to partially dry the center section for volume
- Set with hairspray before putting on your helmet
Styling Variations:
- Make the center section very tall for maximum drama
- Keep it more subtle for a wearable everyday version
- Add braids or twists to the side sections for detail
- Pin the sides with decorative bobby pins for extra flair
- Curl the center section ends with a curling wand for defined ringlets
Confidence Required: This bold style works best for those comfortable with attention-getting looks.
24. Crown Twist with Low Loose Curls
The crown twist with low loose curls elegantly secures the front section while allowing the remaining curls to cascade naturally.
This romantic style works beautifully for curly-haired skiers who want to showcase their curl pattern while keeping hair away from their face.
The crown twist creates just enough structure to be helmet-compatible without completely containing all curls.
Twist Technique:
- Create a horseshoe section from temple around the back to opposite temple
- Divide this section into two parts at the center back
- Twist each part away from the face moving toward the back
- Cross the twists at the center back and pin where they meet
- Allow the twist to sit like a crown across the top of the head
- Leave all remaining hair below the twist loose and natural
- Refresh lower curls with curl cream or water spray as needed
Romantic Aesthetic:
- Creates a soft, feminine appearance perfect for photos
- The loose curls move naturally and catch the light beautifully
- Face-framing sections can be left out for a softer look
- Works well for both casual skiing and special mountain events
- Transitions perfectly from slopes to fine dining
Length Requirements: Works best with curly hair that’s at least shoulder-length for adequate crown twist material.
25. The Braided Mohawk Ponytail
The braided mohawk ponytail combines multiple protective elements into one show-stopping style for curly-haired skiers.
A center braid runs from forehead to crown, where it transforms into a high ponytail with the remaining curls.
This hybrid style secures the front section that receives the most helmet pressure while allowing curl volume to shine in the ponytail portion.
Complex Construction:
- Section a 2-3 inch strip down the center from hairline to crown
- Create a tight Dutch or French braid along this center section
- Stop braiding at the crown point where helmet sits most heavily
- Gather the braid end with remaining loose hair into a ponytail
- Position ponytail slightly back from crown for helmet compatibility
- Secure with a strong elastic that can hold curly hair weight
- Apply gel to the sides if you want a sleeker appearance
Performance Benefits:
- The braid portion prevents forehead hair from escaping under helmet
- Distributes helmet pressure along the braided area rather than one point
- The ponytail allows for curl movement and volume expression
- Creates an athletic, purposeful appearance perfect for skiing
- Easy to adjust the ponytail without redoing the entire braid
Skill Level: Intermediate braiding skills required, or have a friend help with the back section.
26. Flat Twisted Updo
The flat twisted updo transforms curly hair into an elegant, completely secured style that handles skiing conditions flawlessly. Multiple flat twists arranged across the scalp converge into a low updo at the nape, creating intricate visual interest while keeping every curl protected. This style can last multiple days, making it ideal for ski vacation trips.
Creating the Updo:
- Section hair into 4-6 horizontal rows from front to back
- Create flat twists in each row, working from one side to the other
- Ensure all twists move in the same direction for uniformity
- Allow twists to converge at the nape into one gathering point
- Tuck the ends of all twists into themselves at the nape
- Pin securely with multiple bobby pins to create the updo shape
- Spray with holding spray to maintain the structure all day
Intricate Appeal:
- The pattern looks complex but uses simple flat twist technique
- Creates a completely flat profile under any ski helmet
- Showcases the versatility and beauty of curly hair styling
- Professional enough for business ski trips or formal events
- Protects every single curl from damage and environmental stress
Time Investment: Allow 45-60 minutes for this detailed style, but it lasts 3-5 days with proper maintenance.
27. The Quick Twisted Bun
The quick twisted bun serves as the ultimate emergency style for curly-haired skiers running late to the slopes.
This incredibly simple technique takes less than two minutes yet provides secure curl protection throughout your ski day.
Despite its simplicity, the twisted structure prevents tangling better than a regular bun while sitting low enough for perfect helmet compatibility.
Speed Styling:
- Gather all hair at the nape without worrying about perfection
- Twist the entire gathered section in one direction until tight
- Continue twisting until the hair naturally wants to coil on itself
- Wrap the twisted coil around its own base to form a bun
- Secure with one elastic and 2-3 bobby pins
- Don’t waste time smoothing or perfecting the appearance
- Accept the messy aesthetic as part of the casual ski vibe
Why It Works:
- Saves precious morning time when you’re eager to hit the slopes
- The twist structure adds security that basic buns lack
- Low placement means zero helmet fit issues
- Looks intentionally casual rather than sloppy
- Can be created without mirrors using just muscle memory
Perfect For: Those chaotic mornings when you overslept but refuse to miss first tracks on fresh powder.
Essential Products for Skiing with Curly Hair
Maintaining healthy, protected curls while skiing requires specific products that address the unique challenges of cold weather, helmet wear, and active movement. The right product selection makes the difference between preserved curls and damaged, tangled hair after a day on the slopes.
Pre-Styling Products:
- Provides essential moisture that prevents dryness from cold air
- Curl cream defines and holds curl pattern throughout movement and helmet wear
- Strong-hold gel smooths edges and controls flyaways for sleeker styles
- Heat protectant spray if you’re using any heat tools before styling
- Anti-frizz serum creates a protective barrier against humidity from snow
Styling Tools:
- Satin scrunchies prevent breakage and creasing that regular elastics cause
- Bobby pins in multiple sizes for securing various style elements
- Wide-tooth comb for gentle detangling without disrupting curl pattern
- Rat-tail comb for creating clean parts and sections
- Small clear elastics for finishing braid ends invisibly
Post-Skiing Care:
- Moisturizing hair mask to restore hydration lost during cold exposure
- Deep conditioner for weekly treatments during ski season
- Silk or satin bonnet to protect styles overnight at the lodge
- Travel-size spray bottle for refresh spritzing throughout the day
- Lightweight oil to seal moisture and add shine after skiing
Tips for Maintaining Curls During Multi-Day Ski Trips
Extended ski vacations present unique challenges for curly hair maintenance, but proper planning ensures your curls stay healthy and beautiful throughout the entire trip. Strategic styling choices and consistent care routines make multi-day curl maintenance manageable even in challenging mountain environments.
Pre-Trip Preparation:
- Deep condition hair 1-2 days before departure to maximize moisture reserves
- Choose a protective style that can last multiple days if possible
- Pack travel-sized versions of all essential curl products
- Bring multiple satin scrunchies and extra bobby pins as backups
- Consider protective styles like braids that require minimal daily maintenance
Nighttime Lodge Routine:
- Always cover hair with a silk or satin bonnet before sleeping
- Refresh protective styles by adding oil to any exposed hair sections
- Re-pin any loosened sections before bed to maintain the style
- Sleep on a satin pillowcase if your accommodation provides them
- Never go to sleep with wet or damp hair in cold mountain climates
Morning Refresh Techniques:
- Spritz hair lightly with water mixed with leave-in conditioner
- Scrunch curl sections that have lost definition overnight
- Use bobby pins to secure any pieces that worked loose during sleep
- Apply small amounts of gel to edges that need smoothing
- Give yourself extra time for hair management on longer trips
Hydration and Protection:
- Drink extra water as mountain altitude dehydrates hair and skin
- Apply oil to exposed curl ends daily to prevent dryness
- Limit washing frequency to preserve natural oils during your trip
- Use dry shampoo on the scalp if needed between washes
- Protect hair from direct snow contact when possible to avoid excess moisture
Helmet Selection Tips for Curly Hair
Choosing the right ski helmet significantly impacts how well your curly hairstyles perform on the slopes. Not all helmets accommodate curly hair equally, and understanding key features helps you select equipment that works with your hair rather than against it.
Size and Fit Considerations:
- Always try on helmets after styling your hair the way you’ll wear it skiing
- Look for helmets with deeper back sections that accommodate low buns and ponytails
- Adjustable sizing systems allow customization for different hairstyle volumes
- Consider going up one size if you frequently wear voluminous protective styles
- Ensure the helmet doesn’t push uncomfortably on any bun or braid placements
Design Features to Seek:
- Ventilation channels help reduce sweat that can disrupt curl definition
- Removable liner pads allow you to adjust interior space for hairstyle bulk
- Lower back coverage accommodates low buns without forcing them higher
- Smooth interior linings cause less friction damage to curly hair texture
- Quick-adjust dial systems let you loosen helmet during breaks without full removal
Material Matters:
- Softer interior foam compresses slightly around buns without extreme pressure
- Moisture-wicking linings help manage sweat without soaking into your hairstyle
- Antimicrobial treatments prevent odor buildup during multi-day ski trips
- Durable construction ensures consistent fit even after multiple ski seasons
- Lightweight materials reduce overall head fatigue during long ski days
Common Curly Hair Skiing Problems and Solutions
Even with careful styling, curly-haired skiers encounter specific challenges on the mountain. Understanding these common issues and their solutions helps you troubleshoot problems quickly and maintain beautiful curls throughout your ski day.
Problem: Helmet Flattens Crown Curls
- Style hair slightly back from where helmet pressure sits most heavily
- Use volume-boosting products at the roots before styling
- Choose hairstyles that position bulk away from the crown area
- Carry a travel-size texturizing spray to revive flattened sections during breaks
- Flip your head upside down and shake curls vigorously after removing helmet
Problem: Hair Tangles Despite Protective Styling
- Apply more leave-in conditioner before styling to increase slip
- Ensure hairstyle completely contains all curl ends rather than leaving any loose
- Use a silk or satin-lined helmet liner to reduce friction
- Detangle thoroughly before skiing and apply anti-frizz serum
- Consider tighter protective styles like braids for particularly active ski days
Problem: Curls Become Dry and Brittle
- The cold mountain air strips moisture rapidly from curly hair
- Apply oil or butter to sealed styles for an additional protective layer
- Increase your deep conditioning frequency during ski season
- Carry a small container of curl cream for midday moisture application
- Cover any exposed curl sections with your neck gaiter when possible
Problem: Style Falls Apart Mid-Day
- Use stronger hold products during the initial styling process
- Secure styles with more bobby pins than you think necessary
- Choose hairstyles with proven longevity for your specific curl type
- Bring emergency styling supplies in your jacket pocket for quick fixes
- Set styles with strong-hold hairspray before putting on your helmet
Curl Type Specific Recommendations
Different curl types face unique challenges while skiing, and tailoring your hairstyle approach to your specific texture ensures the best results. Understanding your curl type’s particular needs helps you select styles that work with your natural pattern rather than fighting against it.
Type 2 (Wavy Hair):
- Benefits from styles that add structure since waves can lose definition easily
- Braided styles work exceptionally well as they enhance natural wave pattern
- May need less heavy products to avoid weighing down lighter texture
- Can handle more exposed styles since waves typically experience less shrinkage
- Quick-drying texture allows for same-day wash and style before skiing
Type 3 (Curly Hair):
- Requires moisture-rich products to maintain curl definition under helmets
- Benefits from twist-based styles that work with natural curl direction
- Needs secure but not too tight styling to prevent curl stretching
- Can showcase curl pattern beautifully in half-up or ponytail styles
- May experience more volume expansion requiring more secure containment
Type 4 (Coily Hair):
- Thrives in protective styles that keep coils completely secured
- Benefits most from styles that can last multiple days like braids or twists
- Requires generous product application to maintain moisture in dry mountain air
- Protective styles prevent damage from helmet friction on delicate coils
- Should prioritize styles that don’t require daily manipulation to preserve hair health
Conclusion
Mastering the art of skiing with curly hair transforms your winter sports experience from frustrating to fabulous.
These 27 Cute Skiing Hairstyles for Curly Hair That Keep Your Curls in Place prove that you never have to choose between protecting your curls and looking stylish on the slopes.
From quick two-minute solutions like the twisted bun to elaborate protective styles like cornrows that last for weeks, there’s a perfect option for every curl type, skill level, and skiing occasion.
The key lies in understanding how helmet pressure, cold weather, and active movement affect curly hair, then selecting styles that address these specific challenges.
By incorporating the right products, tools, and techniques into your ski day routine, you can maintain healthy, beautiful curls throughout even the most demanding mountain adventures.
Remember that protective styling isn’t just about aesthetics—it’s about preserving the health and integrity of your curls against harsh winter elements.
Whether you’re a weekend warrior hitting local slopes or embarking on an extended ski vacation, these hairstyles ensure your curls remain as dynamic and spirited as your skiing.
Embrace your natural texture, experiment with different styles to find your favorites, and hit the slopes with confidence knowing your curls are protected, secure, and absolutely gorgeous.