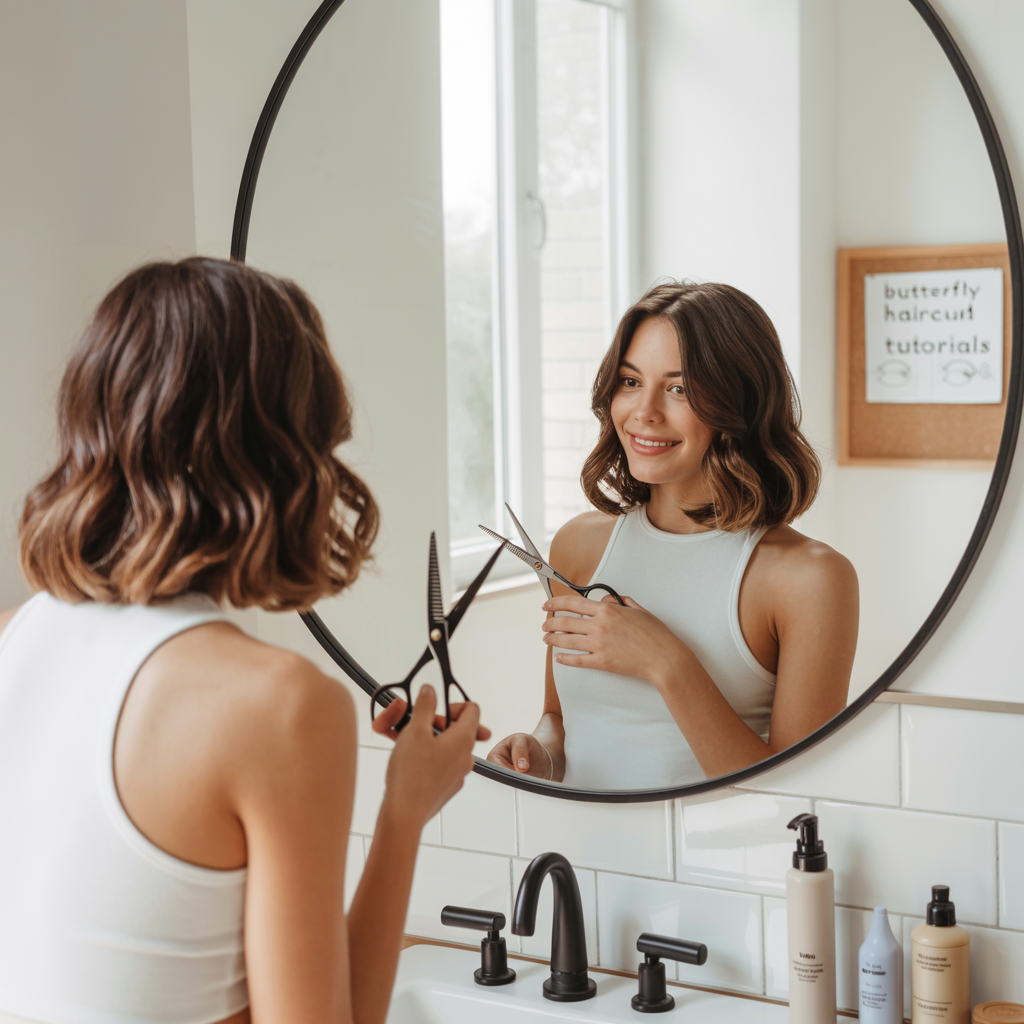
Ready to unlock the secrets of the most sought-after hairstyle of the moment? If you’ve been captivated by the voluminous, face-framing beauty of the butterfly haircut, you’re in for a treat!
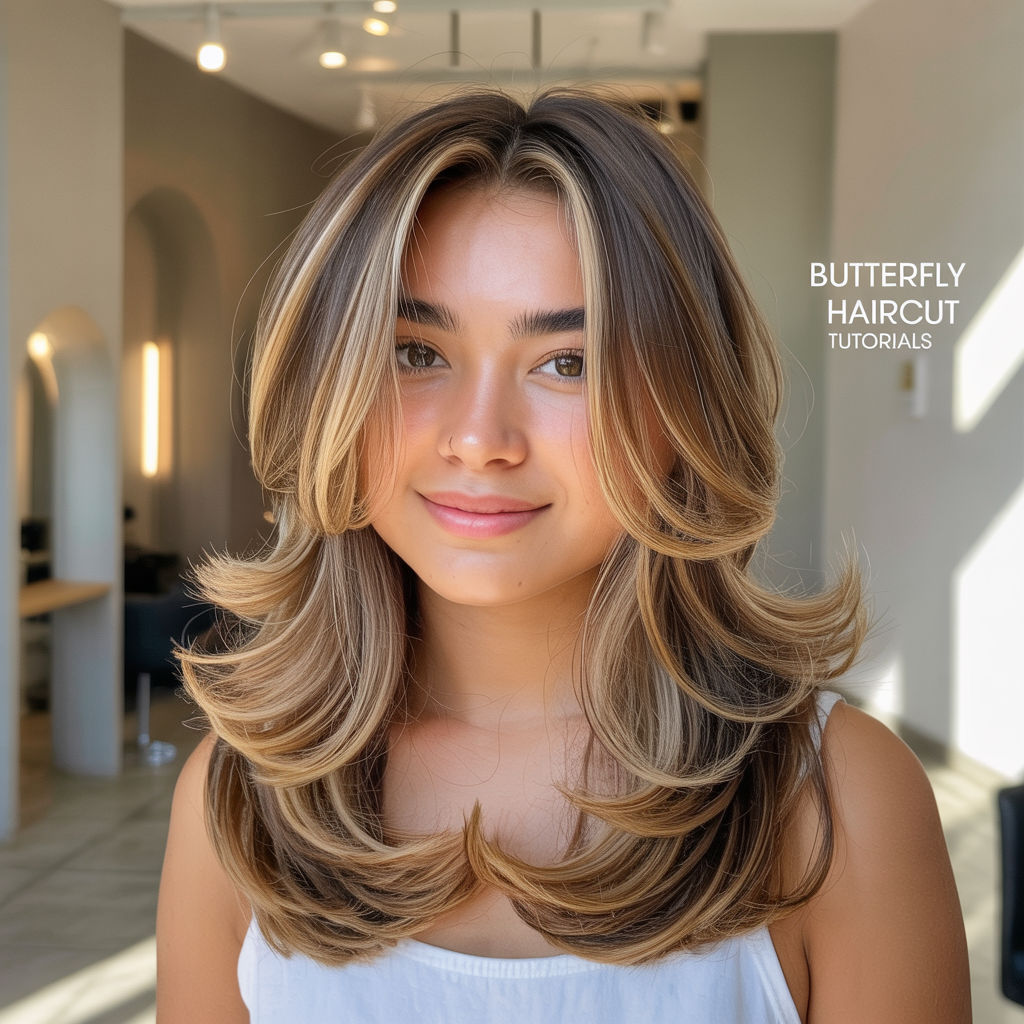
This comprehensive guide, 27 Butterfly Haircut Tutorials: Master the Cut, is your ultimate resource for learning how to achieve this stunning look yourself.
We’ve scoured the best and clearest tutorials to empower you with the skills and confidence to master the butterfly cut, transforming your hair into a cascade of gorgeous, flowing layers.
Prepare to be amazed at what you can achieve from home!
1. Understanding the Butterfly Haircut Basics
Before diving into the tutorials, it’s essential to grasp the fundamental principles behind the butterfly haircut.
This understanding will serve as your compass, guiding your hands as you master each cut.
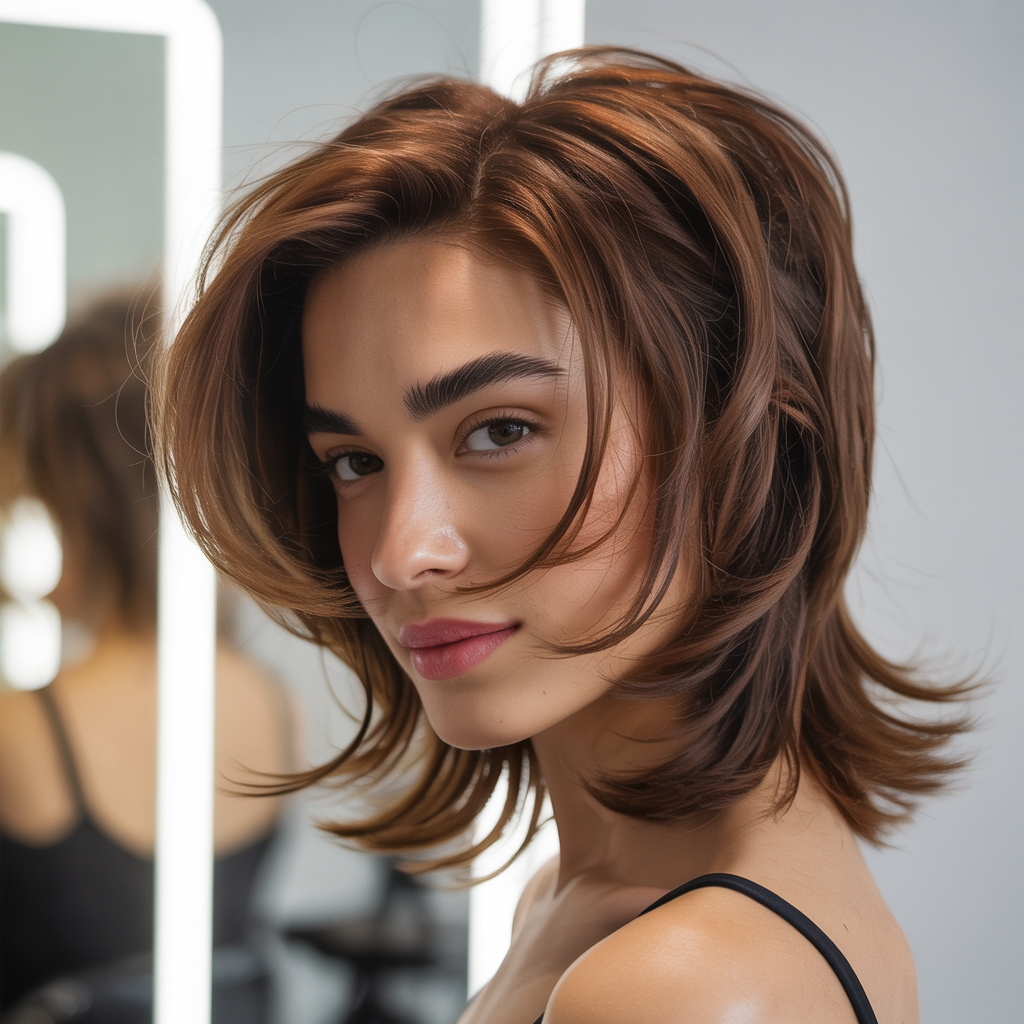
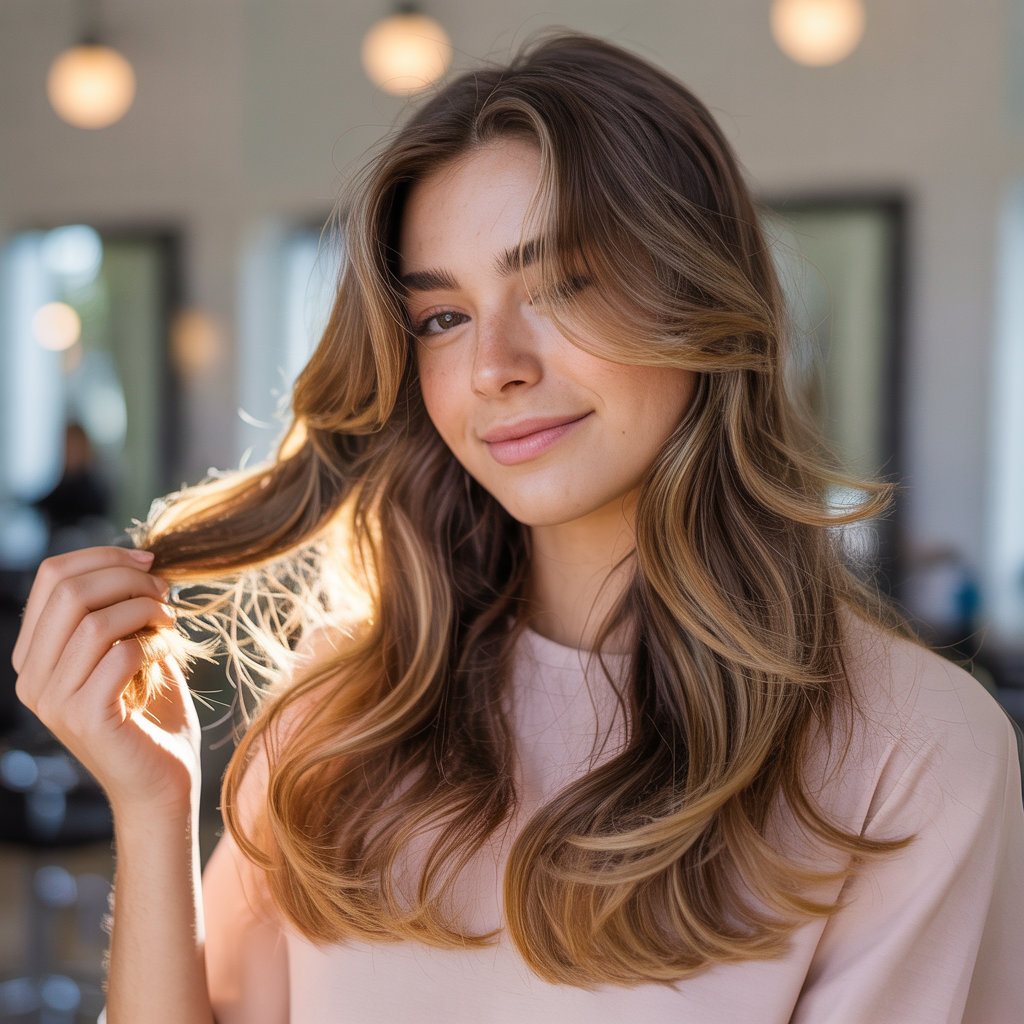
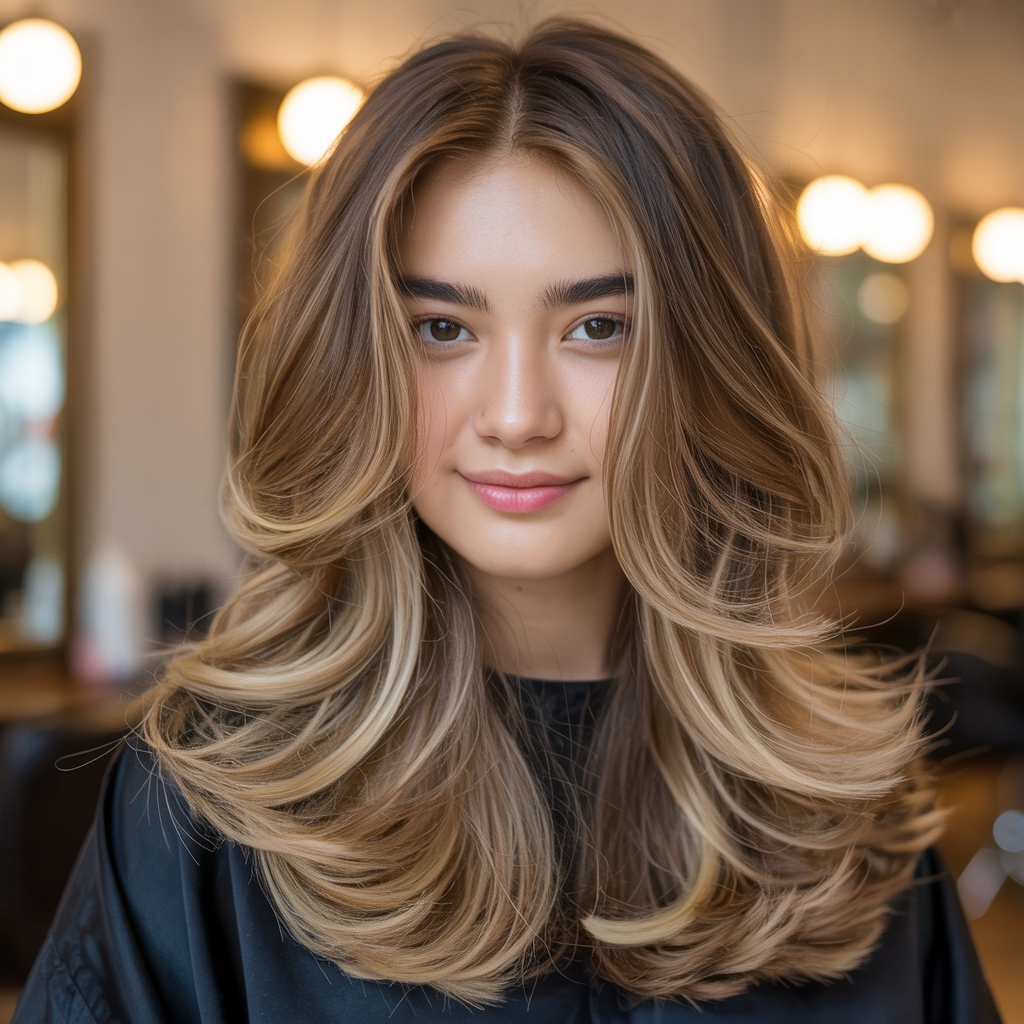
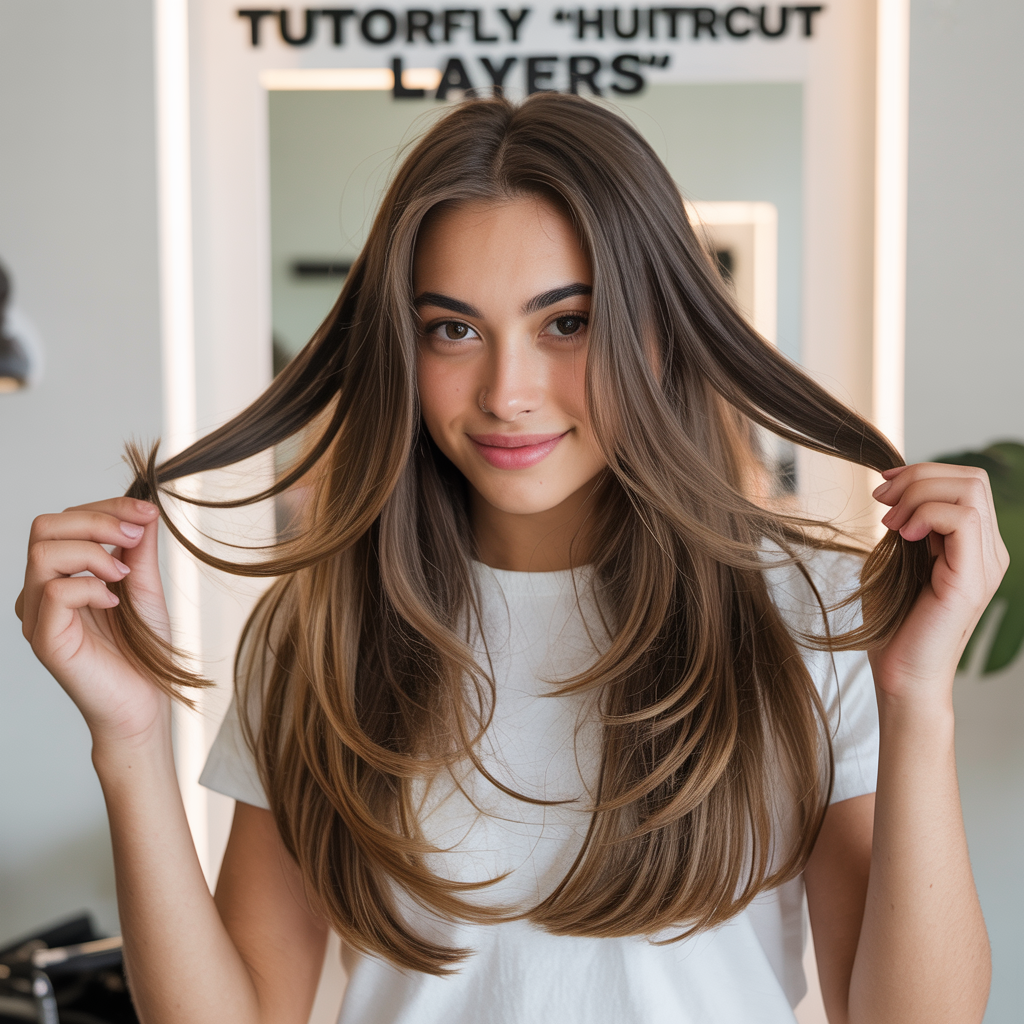
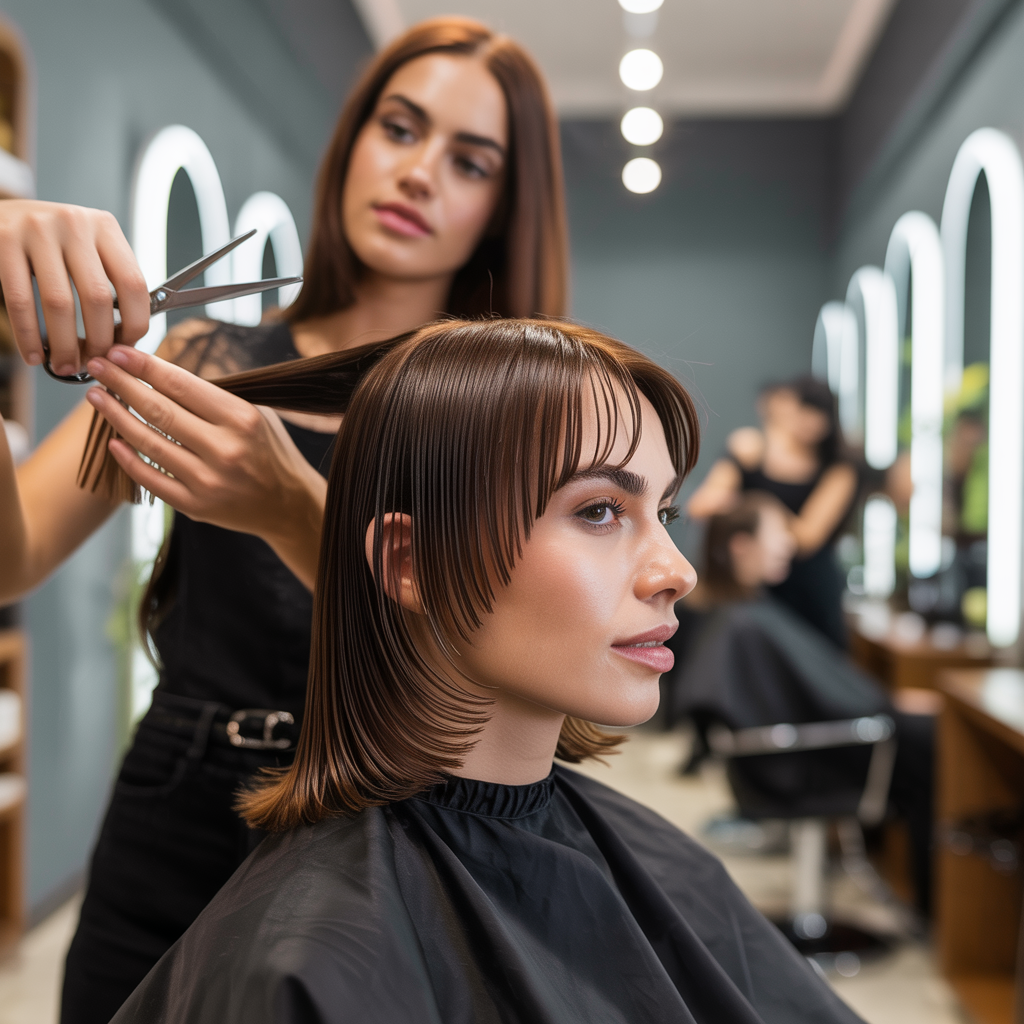
- The butterfly haircut is characterized by its distinct, face-framing layers that blend seamlessly into longer layers at the back.
- The goal is to create a voluminous, feathery effect that mimics the wings of a butterfly.
- It often involves two main sections: a shorter, higher section for the face-framing layers and a longer, lower section for the bulk of the hair.
- The beauty of this cut lies in its ability to provide volume and movement without sacrificing overall length.
- It’s designed to give the illusion of shorter hair around the face while maintaining long hair in the back.
- Understanding these core concepts will help you interpret and apply the techniques from various tutorials effectively.
2. Preparing Your Hair for the Cut
Proper preparation is the unsung hero of any successful at-home haircut.
By getting your hair ready in the right way, you’ll ensure cleaner sections, more precise cuts, and ultimately, a much better result for your butterfly haircut.
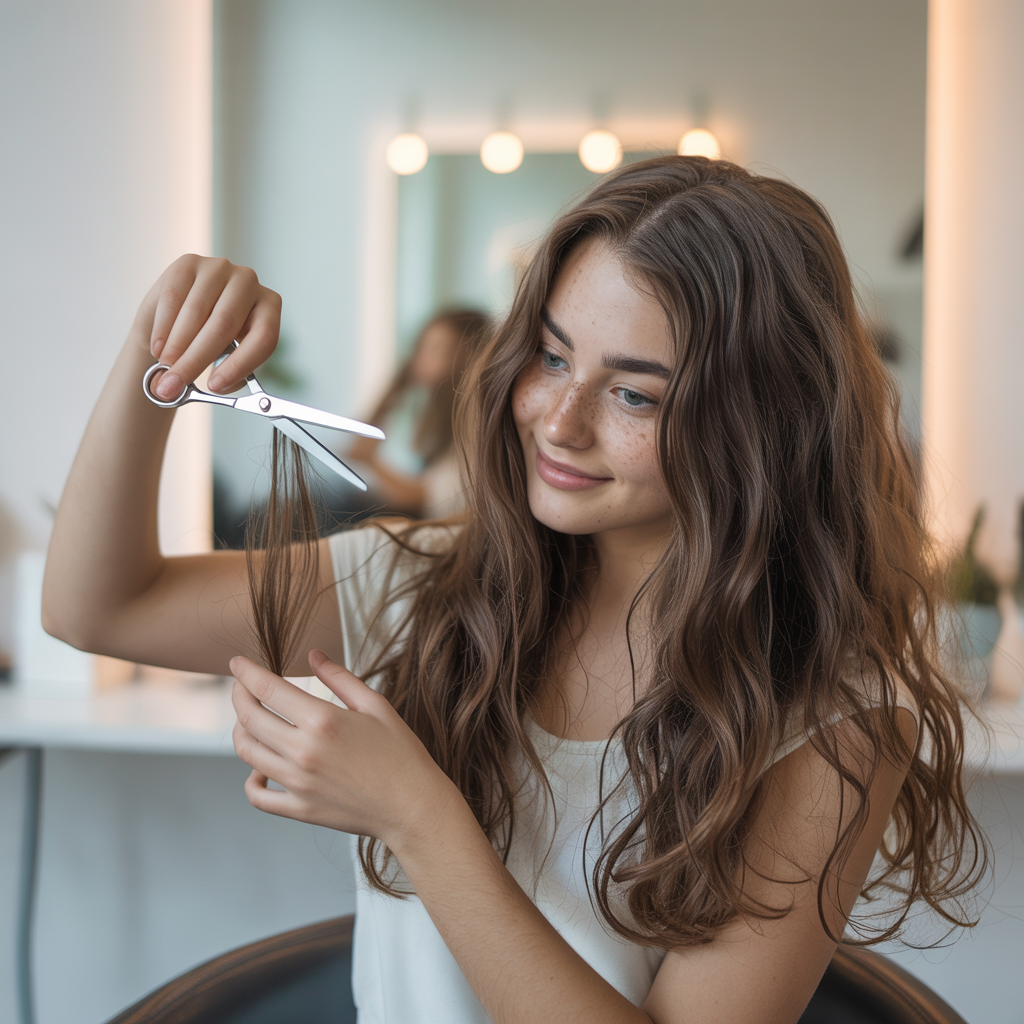
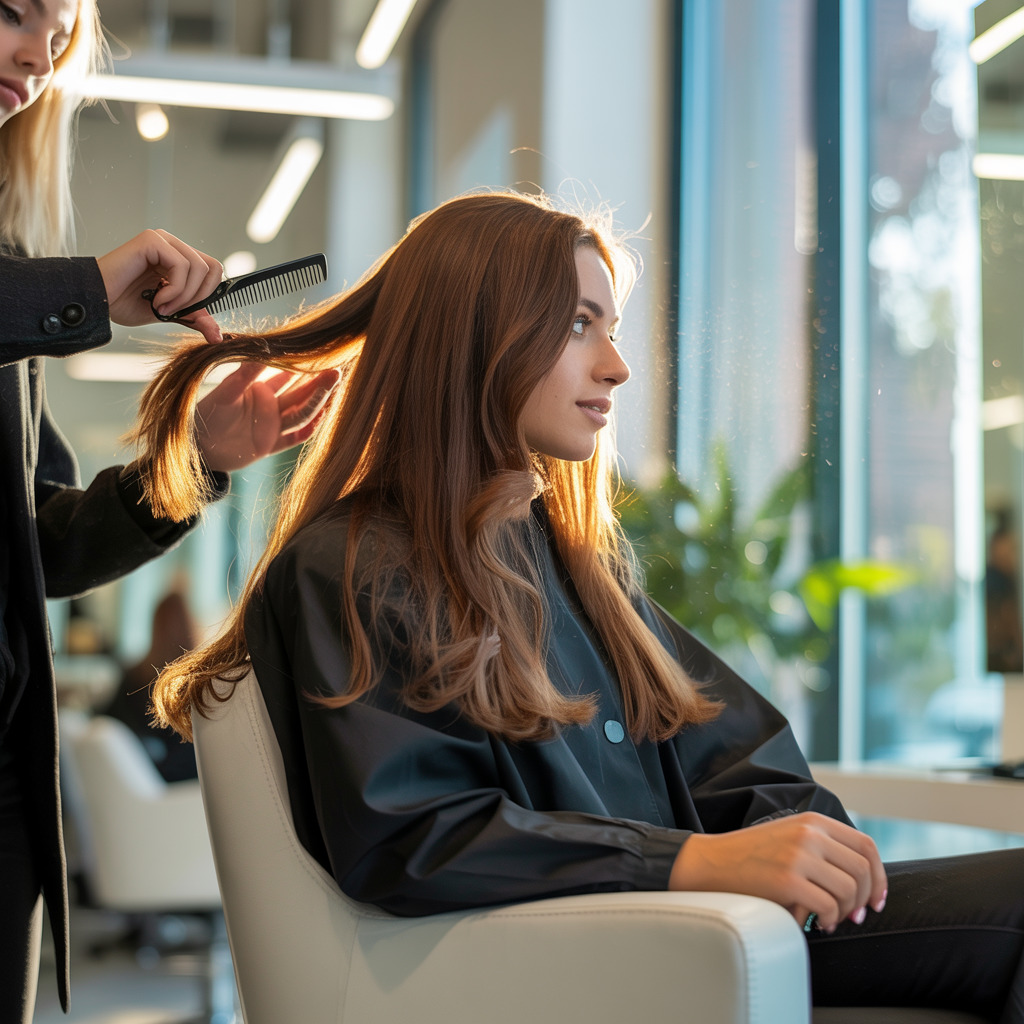
- Always start with clean, detangled hair.
- Wash your hair with your regular shampoo and conditioner, then gently comb through any knots.
- Your hair should be damp, but not soaking wet; a spray bottle can help re-dampen sections as you work.
- Working with damp hair provides more control and helps the scissors glide smoothly.
- Avoid applying heavy styling products before the cut, as they can make hair sticky or stiff.
- Ensure your hair is free of any tangles to allow for clean, crisp sections.
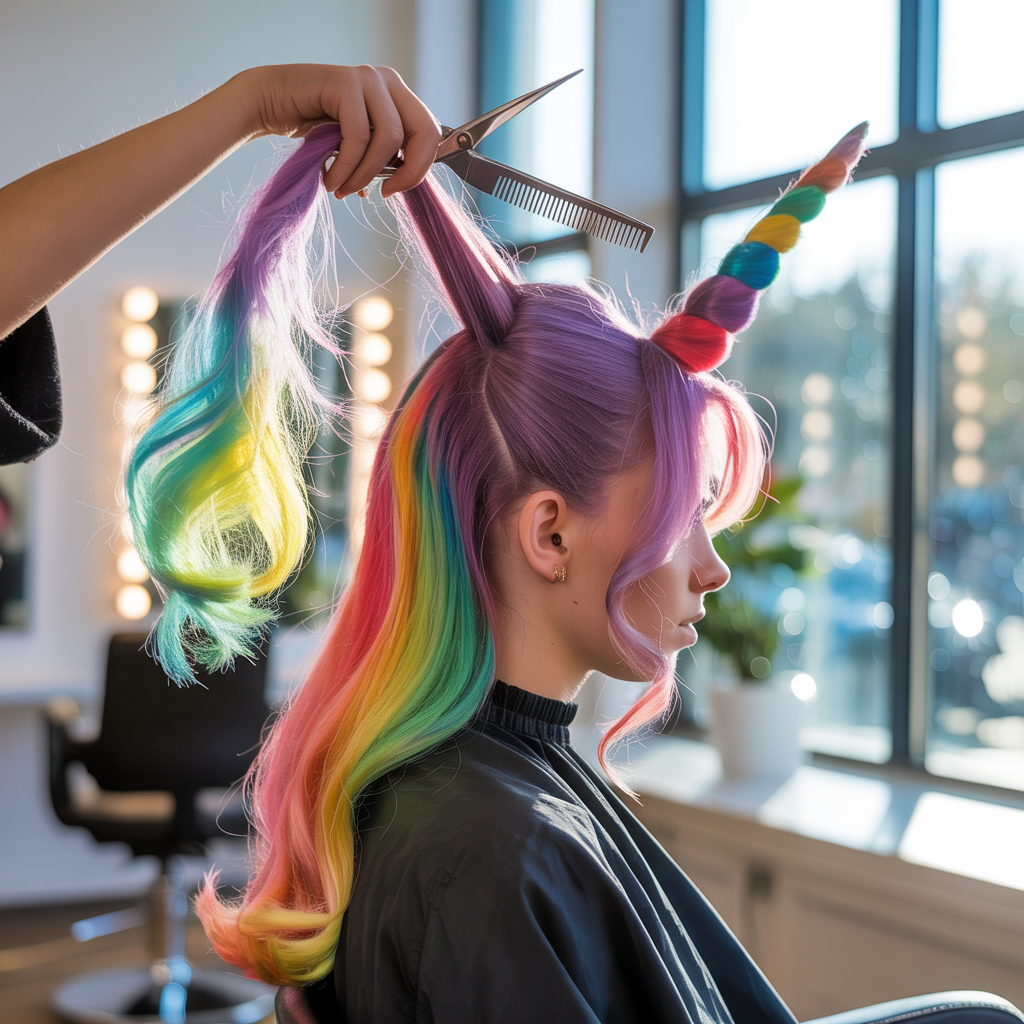
3. The “Unicorn” Ponytail Method for Face-Framing Layers
The “unicorn” ponytail method is a popular and effective technique for creating the crucial face-framing layers of the butterfly cut.
This simple yet ingenious approach helps guide your cut for a soft, layered front.
- Lean your head forward and comb all your hair into a high ponytail directly on top of your forehead, like a unicorn horn.
- This ponytail should be positioned as far forward and as high as possible.
- Secure it tightly with a hair tie to prevent slippage.
- The higher and more forward the ponytail, the shorter and more pronounced your face-framing layers will be.
- Ensure the ponytail is smooth and free of bumps before cutting.
- This technique ensures symmetry for your front layers.
4. Cutting the “Unicorn” Ponytail
Once your “unicorn” ponytail is securely in place, it’s time for the actual cut.
This step determines the length of your shortest face-framing layers, so proceed with caution and precision.
- Decide on your desired shortest length for the layers around your face.
- Remember, you can always cut more, but you can’t add hair back, so start conservative.
- Hold the ponytail firmly between your index and middle fingers at your chosen length.
- For a softer, more blended look, use a point cutting technique, snipping vertically into the ends.
- If you prefer a sharper line, you can cut straight across horizontally.
- Make one clean, steady cut.
- After cutting, release the ponytail and comb your hair down to see how the layers fall.
- Don’t worry if it looks a bit chunky at first; blending comes next.
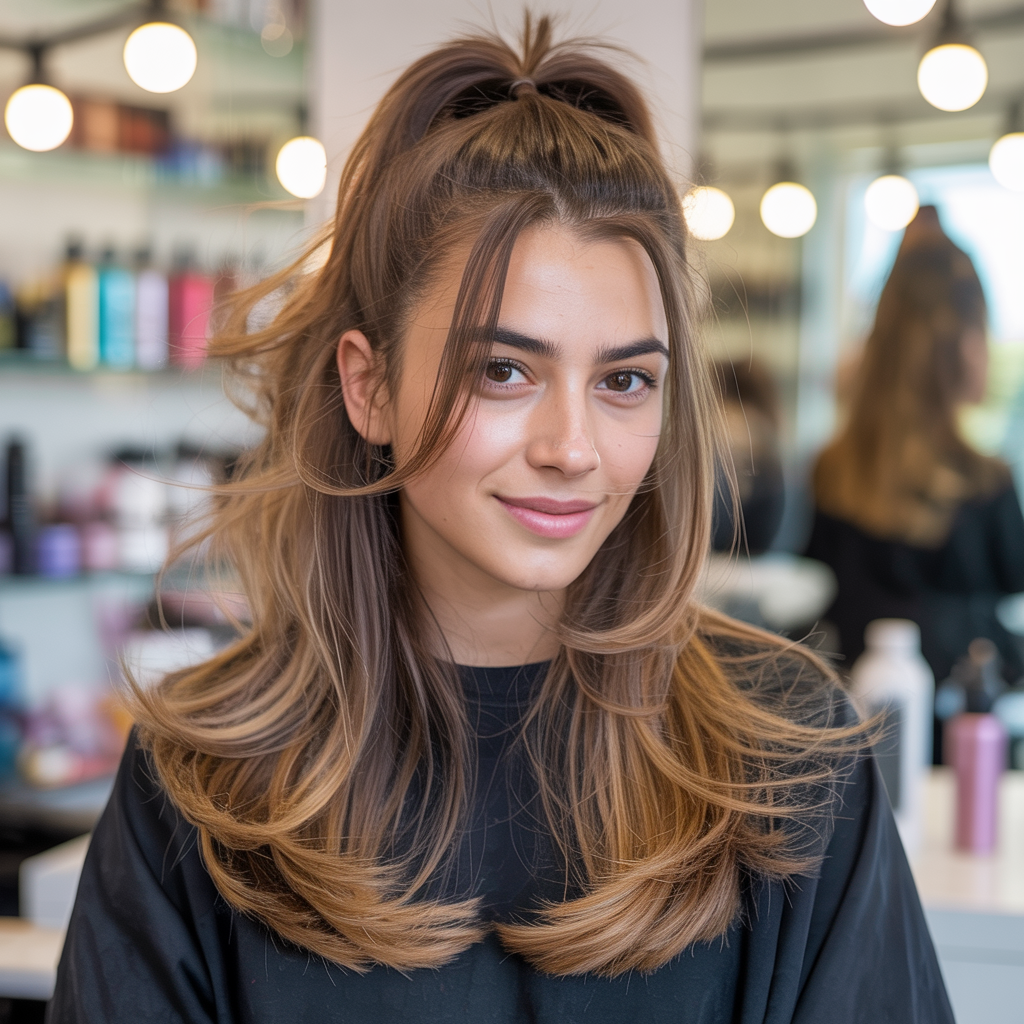
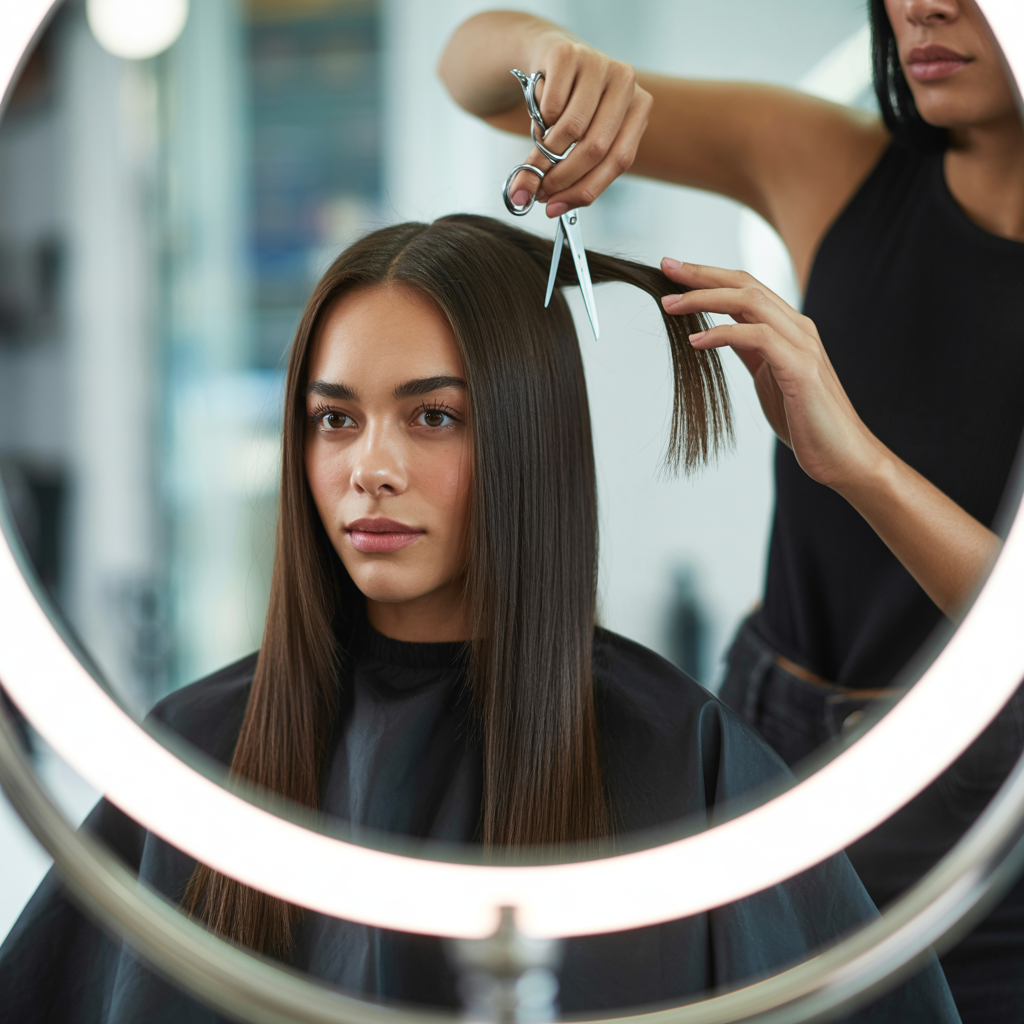
5. The Low Ponytail Method for Longer Layers
To establish the longer, voluminous layers at the back of your head, the low ponytail method is a straightforward and effective technique.
This ensures your overall length is maintained while adding dynamic movement.
- After cutting your front “unicorn” section, gather all remaining hair into a low ponytail at the nape of your neck.
- Ensure this ponytail is centered and smooth, with no stray hairs.
- The length of this ponytail will determine your longest layers and the overall length of your haircut.
- This method creates a gentle layering effect through the back, adding bounce without removing too much length.
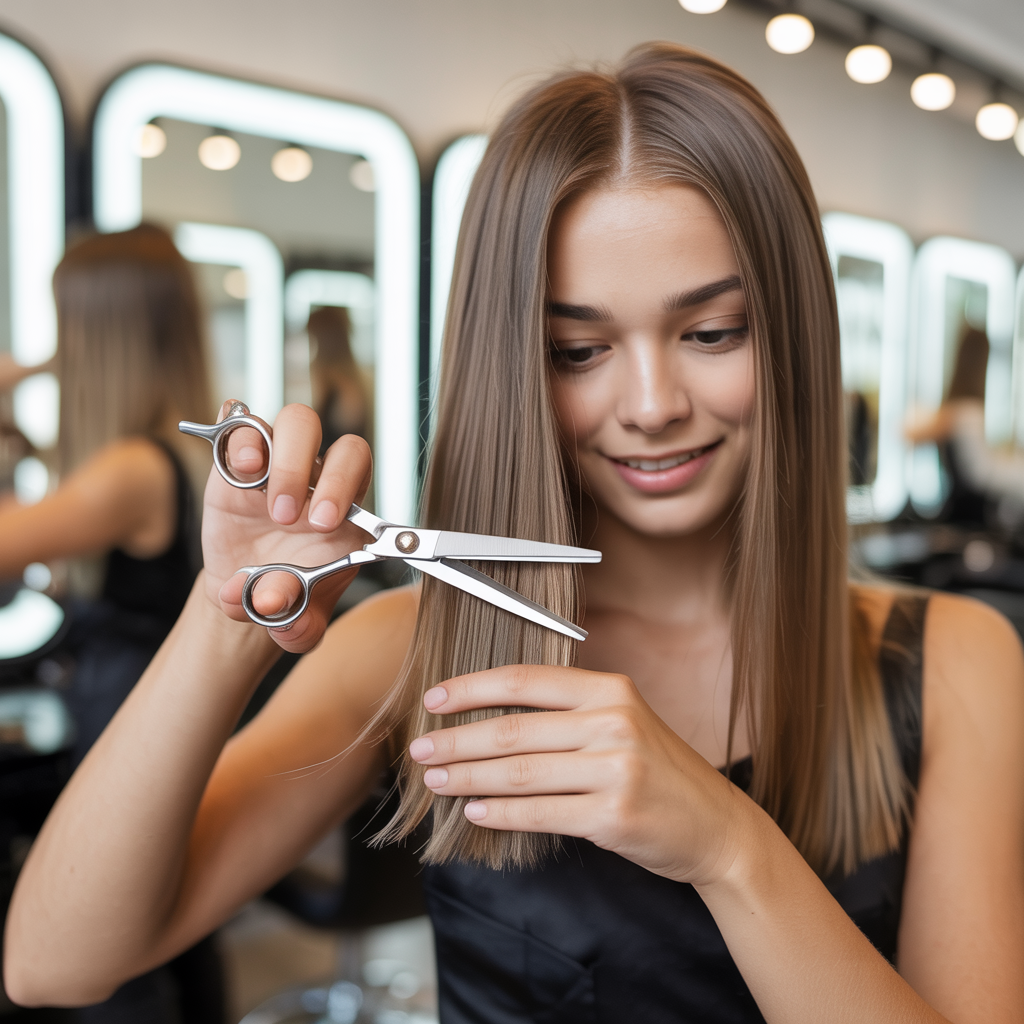
6. Cutting the Low Ponytail for Back Layers

Similar to the front section, cutting the low ponytail is crucial for defining the length and flow of your longer butterfly layers.
This step adds movement to the body of your hair.
- Once your low ponytail is secured, determine the desired length for your longest layers.
- Again, consider cutting slightly longer than you initially intend to allow for refinement.
- Hold the ponytail firmly between your fingers at your chosen cutting point.
- You can blunt cut straight across for a more defined line, or point cut into the ends for a softer, more blended finish.
- For added movement, some tutorials suggest sliding your fingers down the ponytail while making small, angled snips.
- This helps create a more feathered and less blunt edge.
- Release the ponytail and comb your hair to check the initial length.
7. Blending the Layers for a Seamless Look
Blending is perhaps the most critical step in achieving a professional-looking butterfly haircut at home.
This is where you connect your shorter face-framing layers with your longer back layers, creating that signature seamless flow.
- After both initial cuts, release all your hair and comb it thoroughly.
- Look for any obvious disconnects or blunt lines between the two sections.
- Take small vertical sections of hair, especially in the transition zones (around your shoulders and sides).
- Use the point cutting technique, holding your scissors vertically and snipping into the very ends of the hair.
- This softens blunt lines and creates a natural, feathered blend.
- You can also use slide cutting (gliding open shears down the hair shaft) to remove bulk and create softness, but this requires more practice.
- Take your time and make small adjustments; it’s easier to remove hair than to add it back.
8. Refining Face-Framing Layers (Optional but Recommended)
Even after the “unicorn” ponytail cut, you might want to refine your face-framing layers to perfectly complement your features.
This optional step allows for greater customization and a more tailored look.
- Comb your front layers forward and observe how they fall around your face.
- Identify any areas that might be too long, too blunt, or not quite flattering.
- Take small, vertical sections around your chin, cheekbones, and jawline.
- Use point cutting to gently shape and soften these layers, guiding them to frame your face beautifully.
- You can also try twisting small sections of hair and snipping into the twist for a softer, textured effect.
- Be very conservative with these refinements; a little goes a long way.
- Consider how the layers will look when you part your hair in different ways.
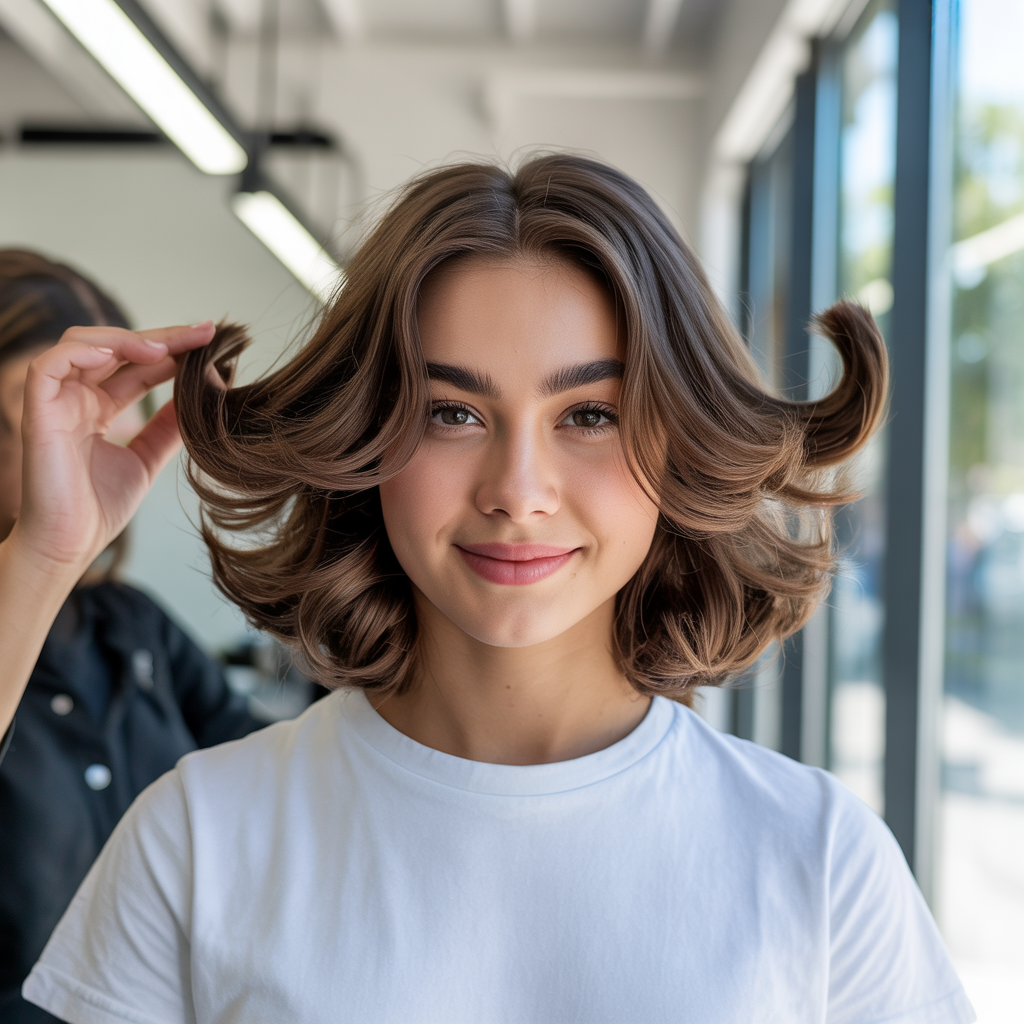
9. Adding Volume and Movement Through Styling
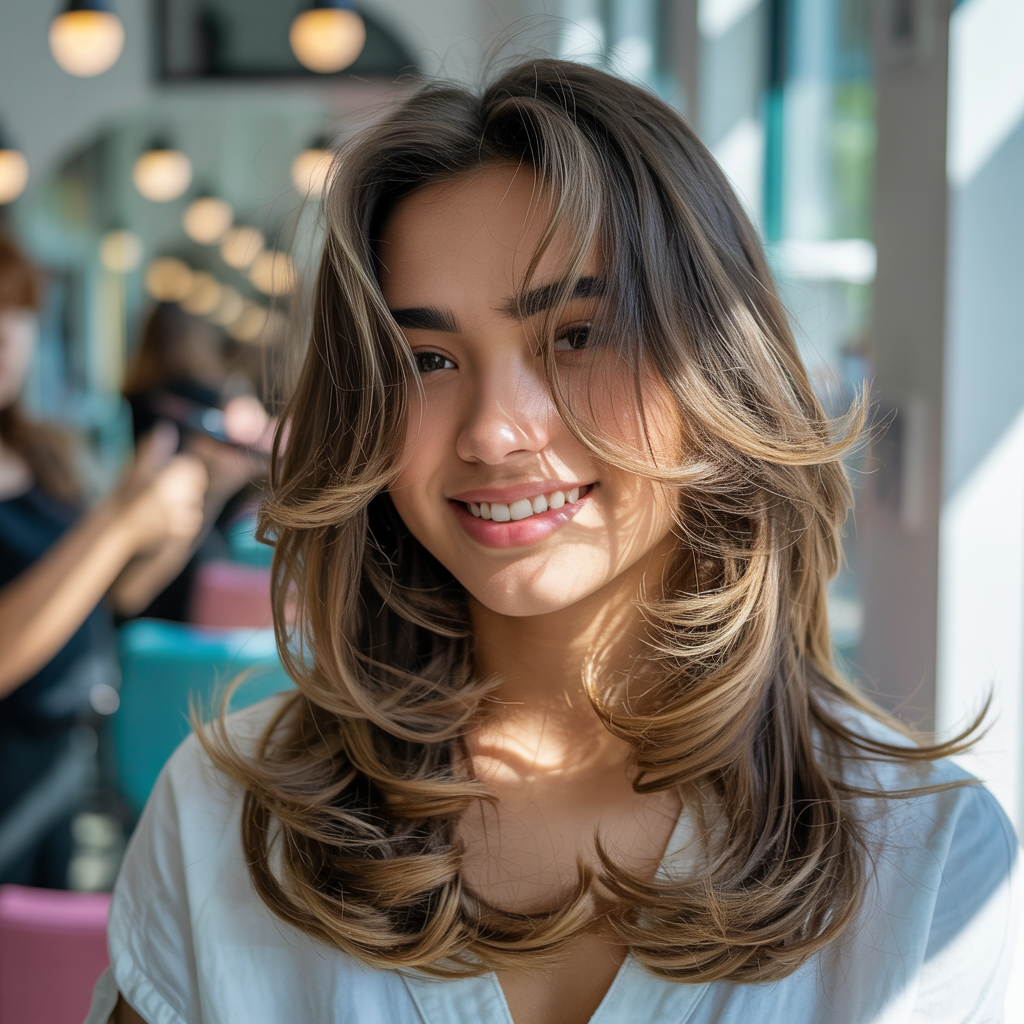
The right styling techniques are essential to bring out the full potential of your new butterfly haircut, enhancing its volume and movement.
This is where you truly make the cut shine.
- Apply a volumizing mousse or root lifter to damp hair before blow-drying.
- Use a round brush to blow-dry your hair, lifting sections at the roots for maximum volume.
- Focus on directing the face-framing layers away from your face to create the characteristic “wing” effect.
- For bouncy curls, use large velcro rollers on your front and crown sections while your hair cools.
- A curling iron can also be used to create soft, outward-flicking curls on the layers.
- Finish with a light-hold hairspray to keep your style in place without making it stiff.
10. Tutorial for Short Butterfly Haircuts
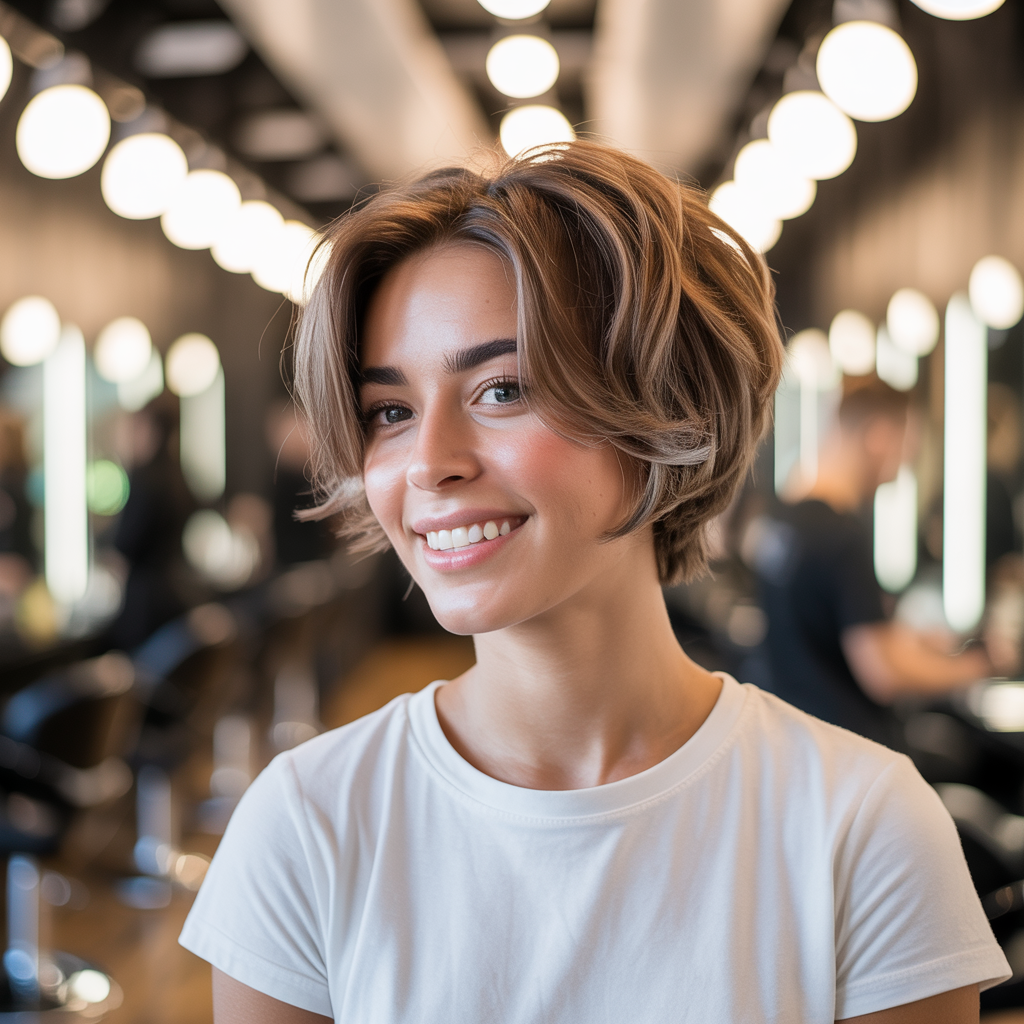
Achieving a butterfly haircut on shorter hair requires specific techniques to ensure the layers create volume and shape without losing too much length.
This tutorial will guide you through adapting the method for a chic, shorter style.
- For short hair, the “unicorn” ponytail method is still effective, but the amount you cut will be less.
- Focus on creating strong, face-framing layers that blend into the slightly longer back.
- The back ponytail method might be adapted to a higher ponytail to maintain more length if desired.
- Emphasis will be on texturizing the ends to create movement and avoid a blunt look.
- Consider using thinning shears very sparingly to remove bulk if your short hair is very thick.
- This style works wonderfully to add volume to fine, short hair.
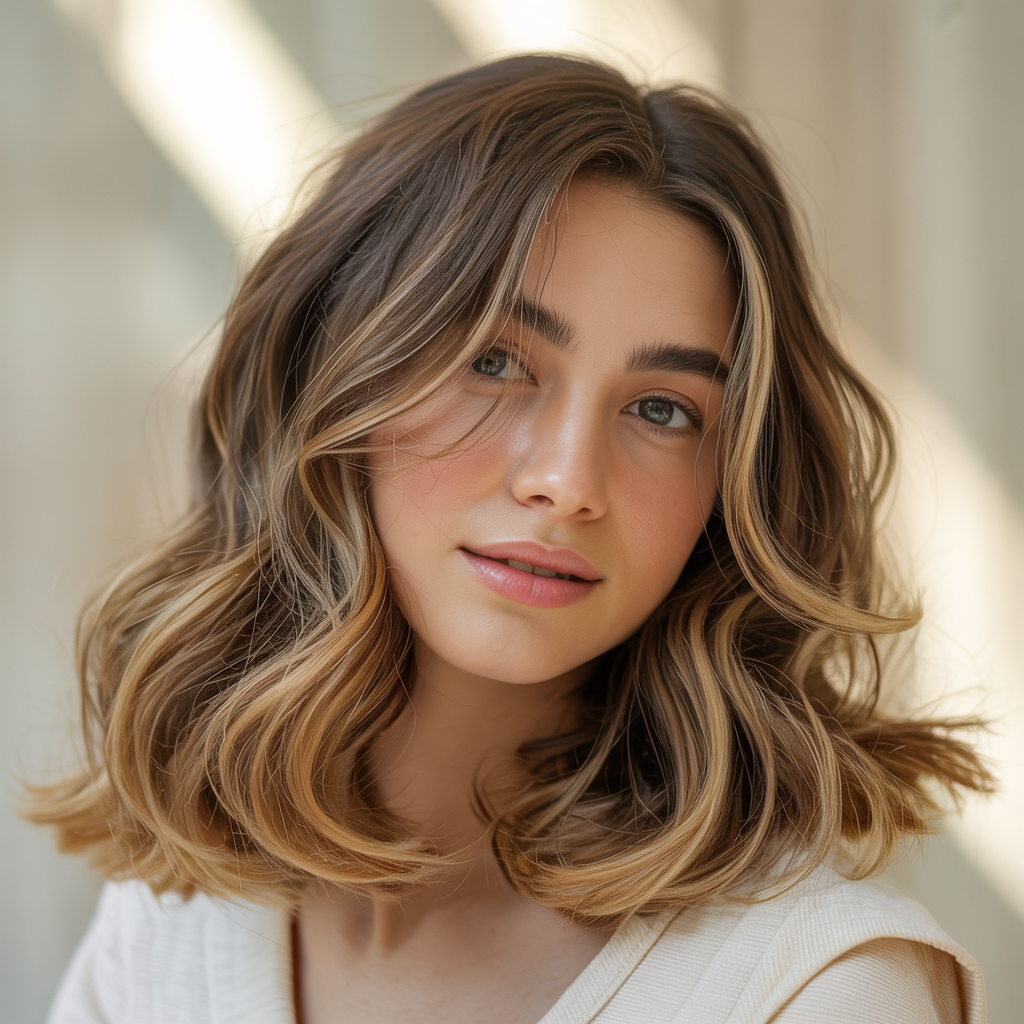
11. Tutorial for Medium-Length Butterfly Haircuts
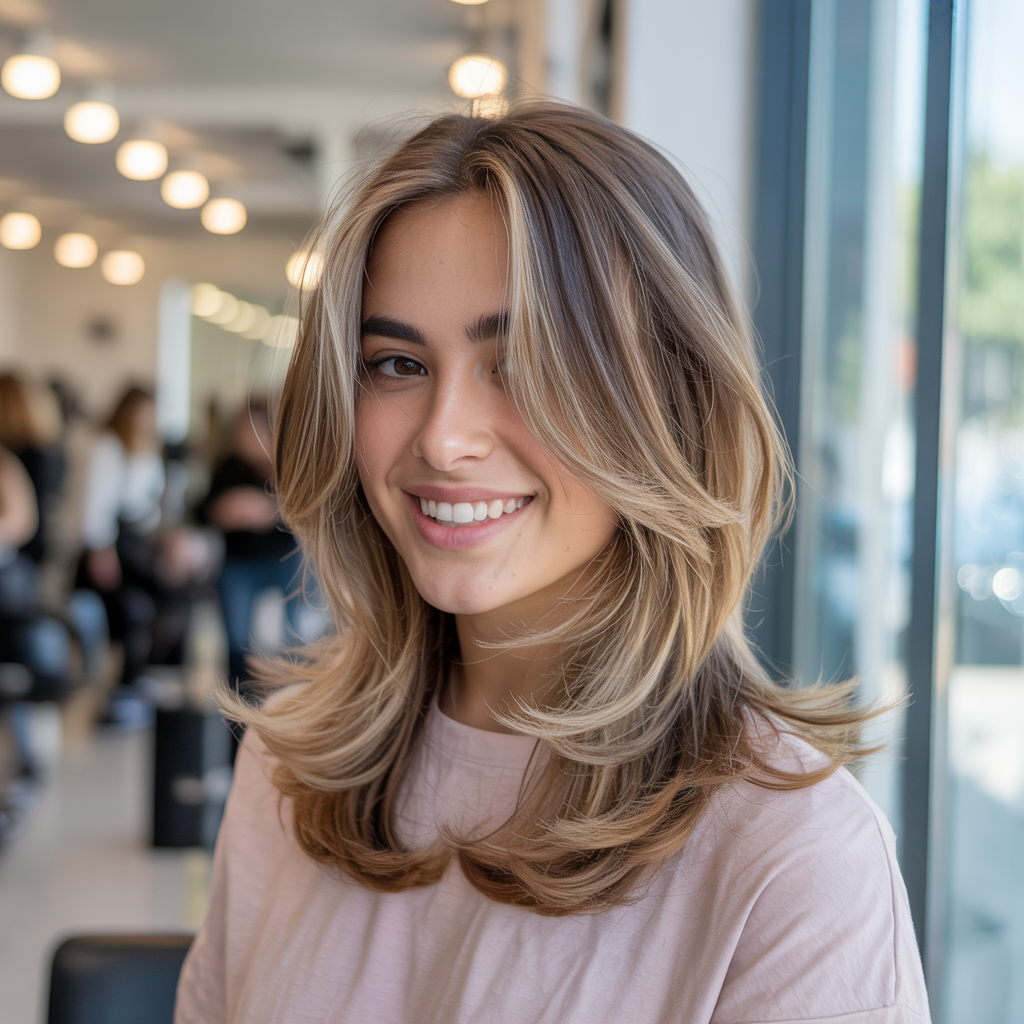
Medium-length hair is arguably the ideal canvas for a butterfly haircut, allowing for both significant layering and manageable length.
This tutorial focuses on maximizing volume and flow in this versatile length.
- Both the “unicorn” and low ponytail methods work exceptionally well for medium-length hair.
- You have more room to experiment with the length of your shortest and longest layers.
- Consider adding internal layers (layers within the bulk of the hair) for added volume.
- Blending is crucial to ensure a seamless transition between the different layer lengths.
- Styling with a round brush will greatly enhance the bounce and flick of the layers.
- This length offers great versatility for both updos and wearing your hair down.
12. Tutorial for Long Butterfly Haircuts
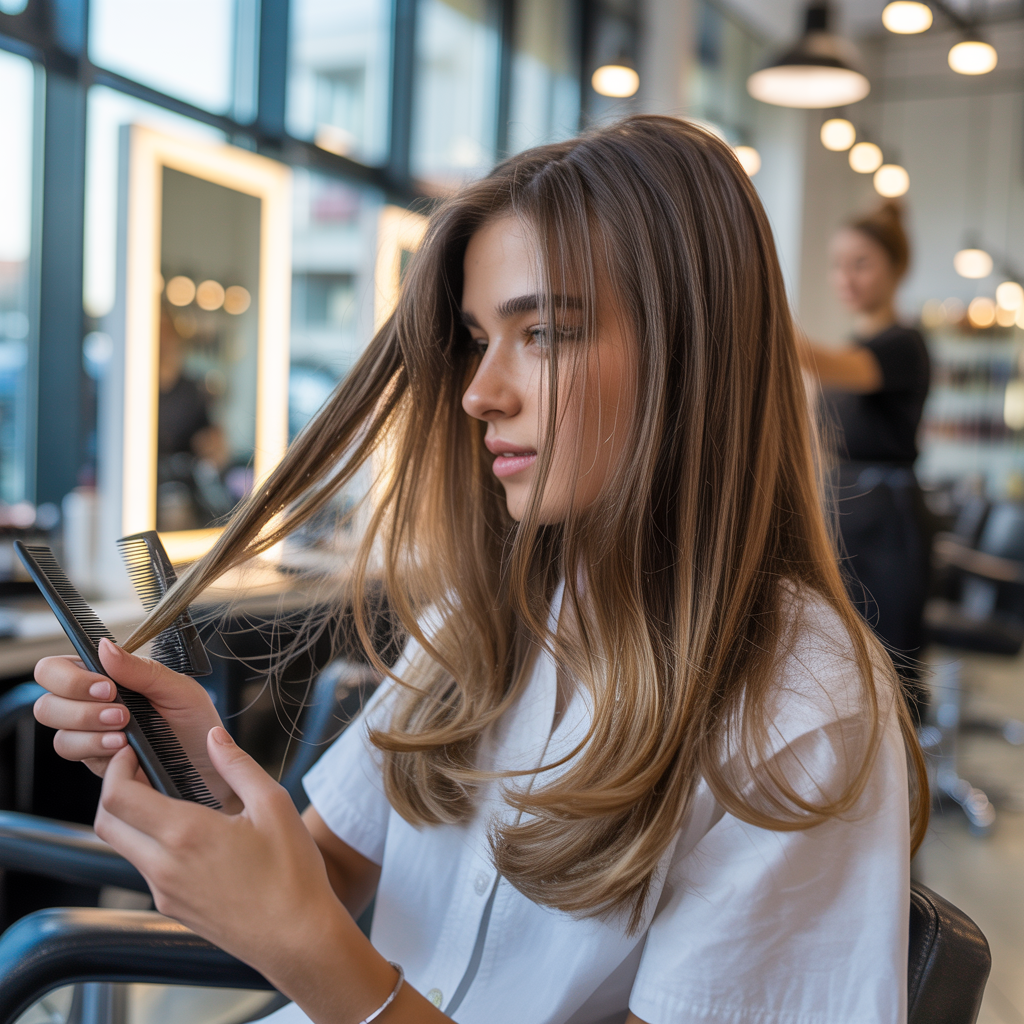
Long hair can be transformed by the butterfly cut, adding incredible movement and dimension without sacrificing precious inches.
This tutorial guides you in creating subtle yet impactful layers on longer tresses.
- For very long hair, the low ponytail for the back section can be positioned slightly higher to create more noticeable layering.
- The “unicorn” ponytail remains the key for the face-framing elements.
- Focus on creating long, sweeping layers that maintain the overall length while adding flow.
- Texturizing the ends of the longest layers will prevent them from looking heavy.
- Consider adding subtle graduation to the back to ensure a soft, flowing silhouette.
- This cut helps remove bulk from heavy long hair, making it feel lighter.
13. Tutorial for Curly Butterfly Haircuts
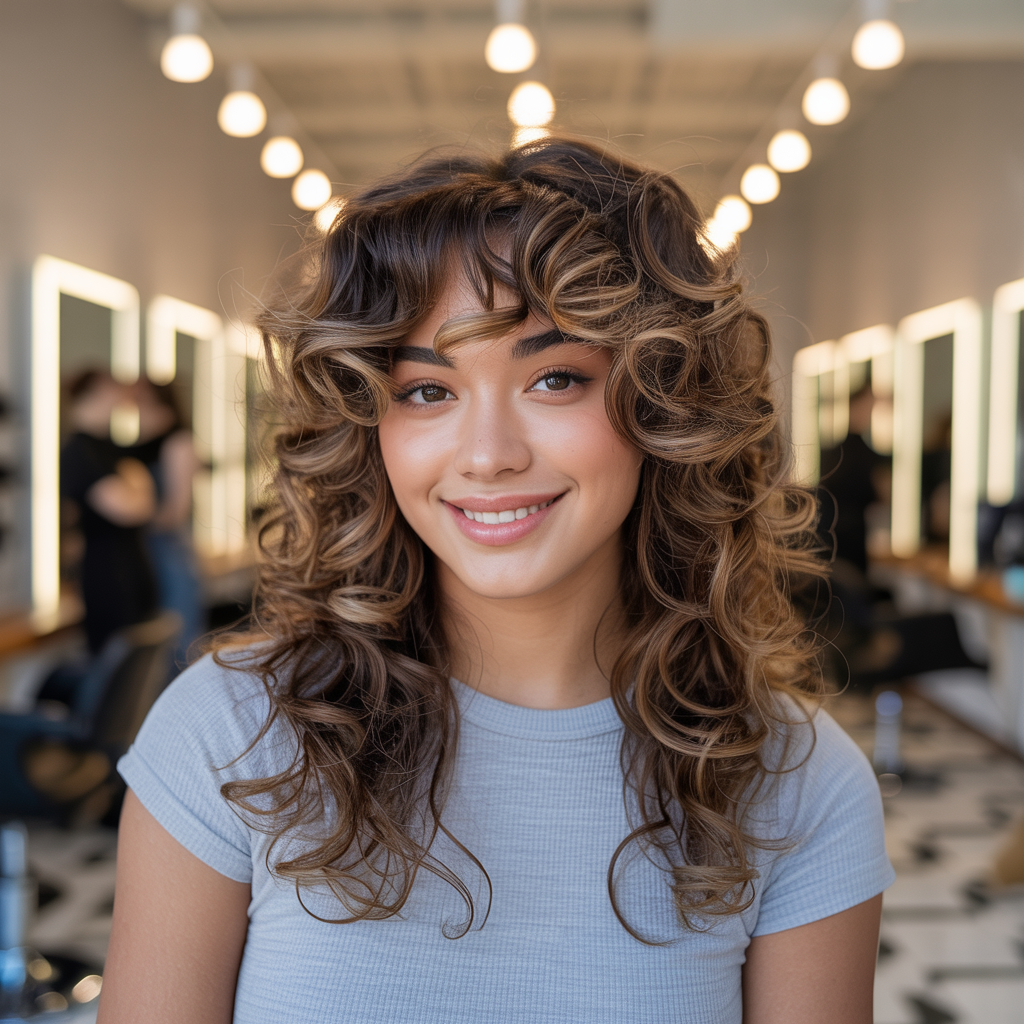
Cutting curly hair requires a different approach to ensure the layers work with your natural curl pattern, enhancing definition and bounce.
This tutorial is specifically tailored for achieving a beautiful butterfly cut on curls.
- Cut curly hair dry or slightly damp to see how the curls naturally fall.
- Avoid pulling curls straight when cutting, as they will shrink when dry.
- Use a curl-by-curl cutting method for precision, snipping individual curls to create layers.
- The “unicorn” ponytail method can still be used, but adjust for curl shrinkage.
- Focus on removing weight where curls are densest to encourage bounce and reduce bulk.
- Embrace irregular layers that follow your natural curl clumps.
- Styling with curl-defining creams and diffusers will be key to enhancing your new cut.
14. Tutorial for Wavy Butterfly Haircuts
Wavy hair is a dream for the butterfly cut, as its natural texture perfectly complements the layered structure.
This tutorial will show you how to enhance your waves and create a beautiful, effortless look.
- Cutting wavy hair slightly damp or dry can help you see its natural movement.
- The “unicorn” and low ponytail methods are excellent starting points.
- Focus on creating layers that encourage the natural ripple of your waves.
- Point cutting is ideal for softening the ends and enhancing wave definition.
- Avoid over-layering, which can make wavy hair look frizzy.
- Styling with sea salt sprays or wave-enhancing mousses will bring out the best in your cut.
- Air-drying or diffusing will help maintain the natural texture.
15. Tutorial for Straight Hair Butterfly Cuts
While often associated with volume, the butterfly cut can still add beautiful dimension and movement to straight hair.
This tutorial focuses on precise layering techniques that work best for sleek strands.
- Precision is key when cutting straight hair, as any imperfections will be more visible.
- Ensure your hair is completely detangled and evenly damp.
- Both ponytail methods can be used, but aim for softer angles when cutting.
- Slide cutting (very carefully with open shears) can create gentle, graduated layers that blend seamlessly.
- Avoid heavy blunt lines, as they can look harsh on straight hair.
- Styling with a slight bend or flick at the ends using a flat iron or round brush will enhance the layers.
- A smoothing serum will keep your straight butterfly cut looking sleek and polished.
16. Tutorial for Fine Hair Butterfly Cuts
If you have fine hair, the butterfly cut can be your secret weapon for adding much-needed volume and the illusion of thickness.
This tutorial focuses on strategic layering to maximize body without making hair appear thinner.
- The goal is to create layers that build volume at the crown and through the mid-lengths.
- Use the “unicorn” ponytail method to create face-framing layers that add fullness around the face.
- Avoid overly aggressive thinning, as it can make fine hair appear sparser.
- Focus on texturizing the ends to create lift and movement.
- Consider cutting at a slightly steeper angle to encourage more voluminous layers.
- Styling with volumizing products and blow-drying techniques that lift at the roots are crucial.
17. Tutorial for Thick Hair Butterfly Cuts
Thick hair can be beautifully transformed by a butterfly cut, allowing it to feel lighter, more manageable, and full of dynamic movement.
This tutorial focuses on removing bulk strategically while maintaining gorgeous shape.
- The butterfly cut is excellent for reducing the weight and density of thick hair.
- Use the “unicorn” and low ponytail methods to establish your initial lengths.
- Don’t be afraid to incorporate more pronounced layers to remove significant bulk.
- Point cutting and deep notching into the ends can help debulk and create softness.
- Consider adding some internal layers to thin out the hair from within, not just on the surface.
- Regular trims will be important to maintain the shape and prevent the ends from becoming too heavy.
18. Tutorial for Layering Around the Face Only
For a subtle yet impactful change, you can focus solely on layering around the face.
This tutorial guides you through creating the signature face-framing “wings” without altering the rest of your length.
- This technique primarily uses the “unicorn” ponytail method.
- You will only cut the hair pulled into this high front ponytail.
- Focus on precise point cutting to soften the ends and create a natural blend.
- This is a great way to try out the butterfly look without a full commitment.
- It adds immediate softness and dimension around your features.
- You can adjust the length of these layers to hit at your cheekbones, chin, or collarbone for different effects.
19. Tutorial for Adding Curtain Bangs to Your Butterfly Cut
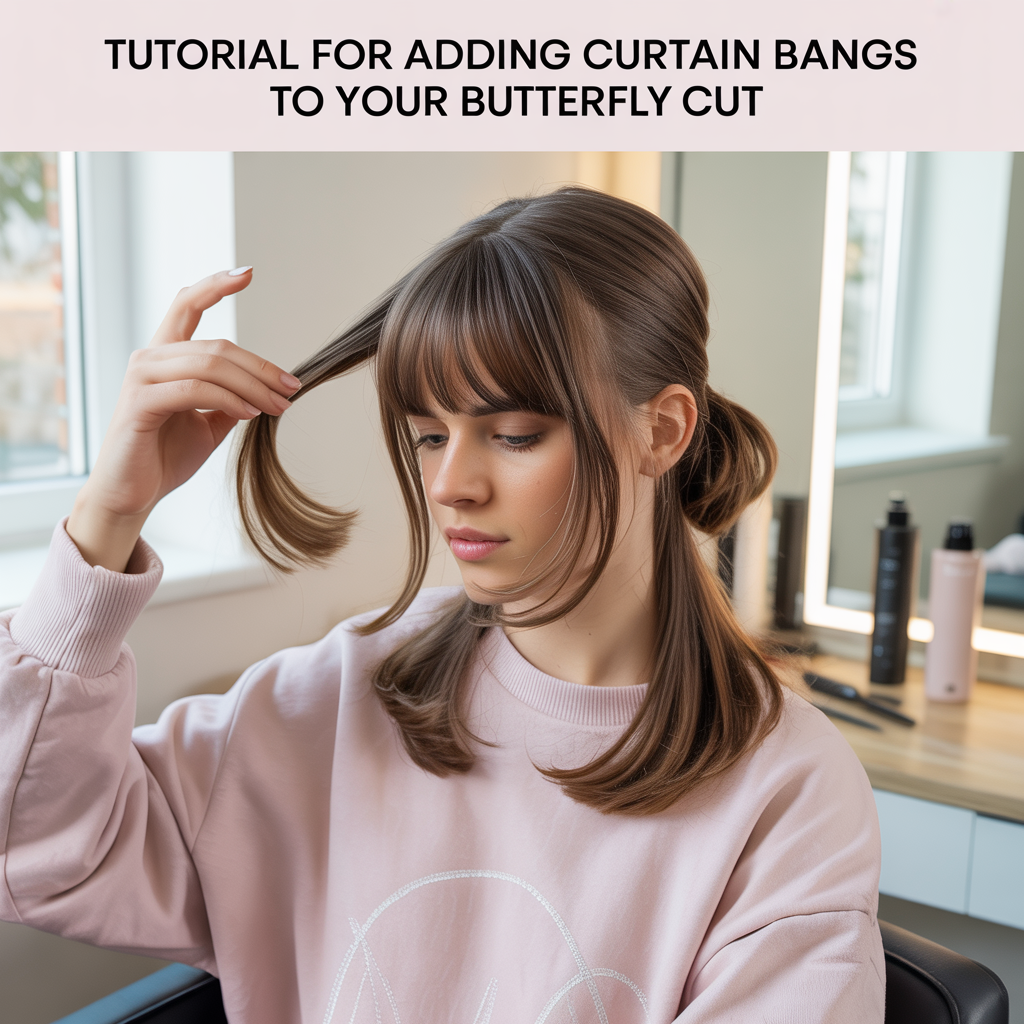
Curtain bangs are the perfect complement to a butterfly haircut, enhancing the face-framing effect and adding a touch of effortless chic.
This tutorial shows you how to integrate them seamlessly.
- After creating your butterfly layers, section out a triangle of hair at the front of your head for the bangs.
- The base of the triangle should be between your outer eyebrows or slightly wider.
- Divide this section down the middle to create two equal halves.
- Cut each side at an angle, starting shorter in the middle and getting longer towards the outer edges.
- Aim for the shortest point to fall around your nose or cheekbones, blending into your butterfly layers.
- Point cut into the ends for a soft, feathered look.
20. Tutorial for Softening Blunt Ends
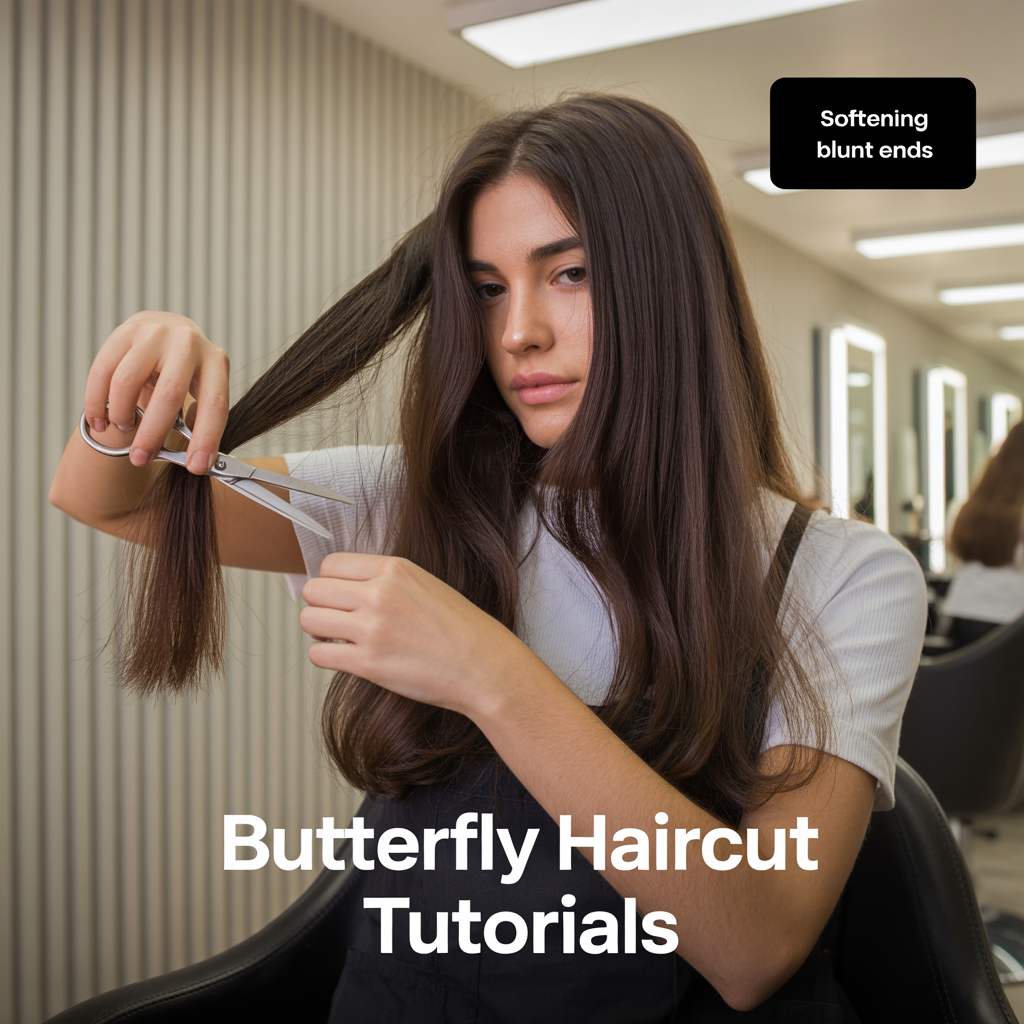
If your current haircut has blunt ends and you want to transition to the softer, more flowing look of a butterfly cut, this tutorial is for you.
It focuses on techniques to texturize and lighten heavy ends.
- This tutorial is less about cutting overall length and more about softening existing blunt lines.
- Take small vertical sections of your hair, especially at the ends.
- Use the point cutting technique, snipping vertically into the very tips of your hair.
- This creates a feathered effect and removes weight, allowing for more movement.
- You can also use slide cutting very carefully to remove bulk from thicker sections.
- Focus on the ends of your layers and your perimeter to create a softer finish.
- This process helps to break up any harsh lines and prepare your hair for layering.
21. Tutorial for Creating More Volume in a Butterfly Cut
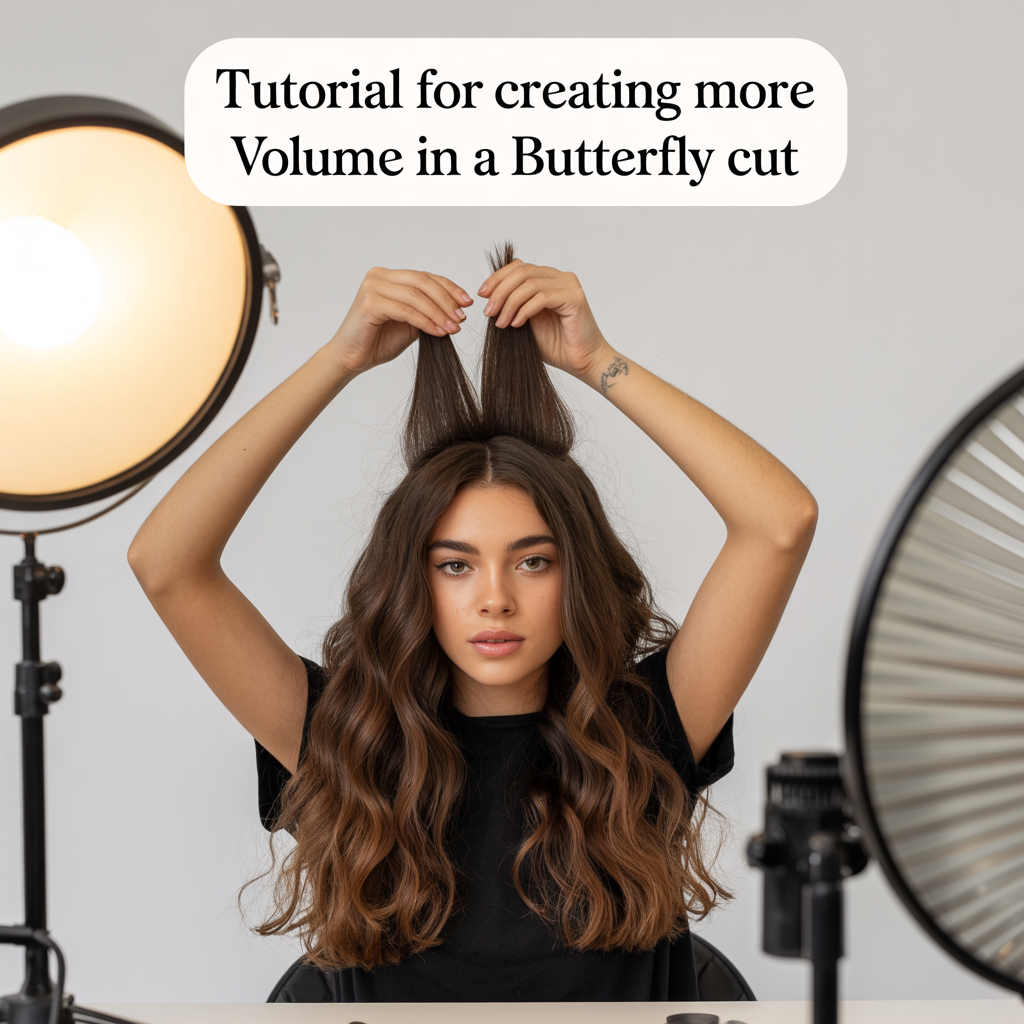
If your butterfly cut isn’t giving you the desired oomph, this tutorial focuses on advanced cutting techniques and styling tips to maximize volume and bounce.
- After your initial cuts, identify areas where you want more volume, typically at the crown and sides.
- Consider adding more internal layers, which are layers cut within the bulk of your hair, not just on the surface.
- This removes weight from the inside, allowing the outer layers to lift more.
- Use a technique called “elevation” when cutting – holding sections of hair straight up before snipping.
- For styling, apply volumizing mousse at the roots and blow-dry with a large round brush, lifting upwards.
- Backcombing at the roots can also provide temporary lift.
22. Tutorial for Adding More Texture to Your Butterfly Cut
For a more lived-in, effortless, and modern butterfly cut, this tutorial focuses on techniques to enhance texture and create a less polished finish.
- After your initial cuts, focus on texturizing techniques on the ends of your layers.
- Point cutting into the ends at varying depths creates a shattered, piecey look.
- Slicing (gliding open shears down the hair shaft) can remove weight and create airy movement.
- Consider using thinning shears very sparingly on thicker sections to reduce bulk and add texture.
- Twist small sections of hair and snip into the twist for subtle, internal texture.
- Styling with sea salt sprays or texturizing sprays will enhance this look.
- This tutorial helps achieve that perfectly “undone” yet chic vibe.
23. Tutorial for Re-Layering an Existing Butterfly Cut
If you already have a butterfly cut that’s grown out or lost its shape, this tutorial guides you on how to re-layer it at home, bringing back its original vibrancy and volume.
- Begin by identifying where your existing layers currently fall.
- You can use the “unicorn” and low ponytail methods as a guide, but adjust your cutting lengths based on your grown-out layers.
- Focus on refreshing the shortest face-framing layers to regain their definition.
- Trim the ends of your longer layers to remove any split ends and bring back their bounce.
- Pay close attention to blending any new cuts with the existing layers for a seamless transition.
- This tutorial helps you maintain your butterfly cut between professional salon visits.
- Regular dusting of the ends can help maintain shape and prevent the need for drastic re-cuts.
24. Tutorial for Fixing Uneven Butterfly Layers
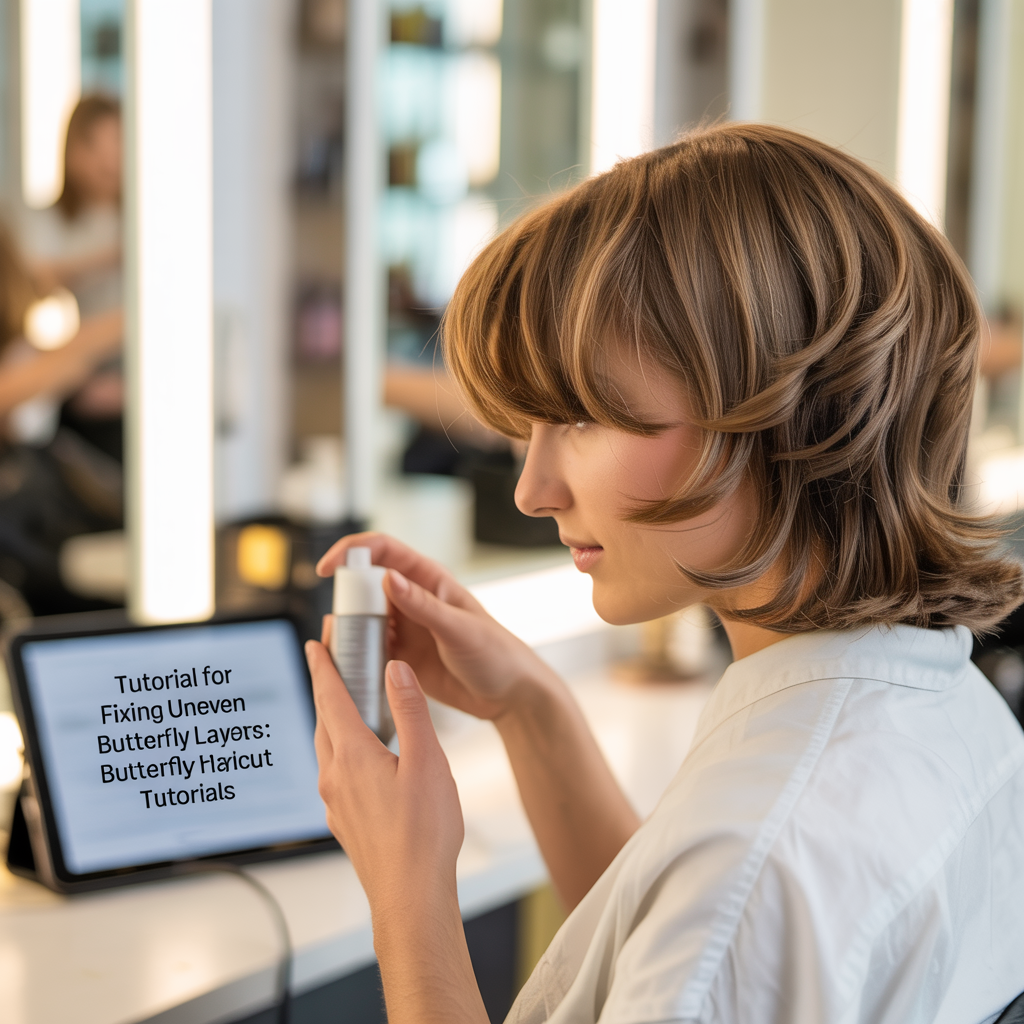
Mistakes happen, especially with at-home haircuts!
This tutorial is your troubleshooting guide for fixing uneven butterfly layers, helping you salvage your cut and achieve a balanced look.
- The key to fixing uneven layers is to take very small sections at a time.
- Identify the longer sections within your layers.
- Use point cutting to gradually trim down the longer pieces to match the shorter ones.
- Never cut horizontally when trying to fix unevenness; always use vertical or diagonal snips.
- Comb your hair frequently and check your work from different angles.
- If the unevenness is significant, it might be best to wait for some growth or seek professional help.
- Patience and conservative trimming are your best allies in this process.
25. Tutorial for a Subtle Butterfly Haircut
For those who prefer a less dramatic change but still want the benefits of the butterfly cut’s movement and face-framing, this tutorial focuses on creating very subtle layers.
- This tutorial emphasizes minimal layering that adds just a hint of shape and flow.
- The “unicorn” ponytail will be cut very conservatively, or you might only cut the very ends.
- Focus on soft, blended layers rather than distinct, obvious ones.
- Point cutting is essential to create a gentle, feathered edge.
- The low ponytail section might just receive a slight trim and texturizing at the ends.
- This is perfect for adding volume and interest without a drastic alteration.
26. Tutorial for a Dramatic Butterfly Haircut
If you’re ready to make a bold statement, this tutorial guides you through creating a dramatic butterfly haircut with pronounced, voluminous layers that truly stand out.
- This tutorial will involve more significant cutting in both the “unicorn” and low ponytail sections.
- The shortest face-framing layers will be more prominent, often hitting at the cheekbones or chin.
- Consider a slightly steeper angle when cutting the ponytails to create more distinct layers.
- Heavy point cutting or slicing can be used to emphasize the layered look and create significant movement.
- This style benefits from aggressive blow-drying and styling to maximize its volume and dramatic flair.
- Be prepared for a more noticeable change and a style that demands attention.
27. General Safety Tips for At-Home Haircuts
Regardless of the specific butterfly tutorial you follow, adhering to general safety tips is paramount when cutting your hair at home.
Your safety and the health of your hair should always be your top priority.
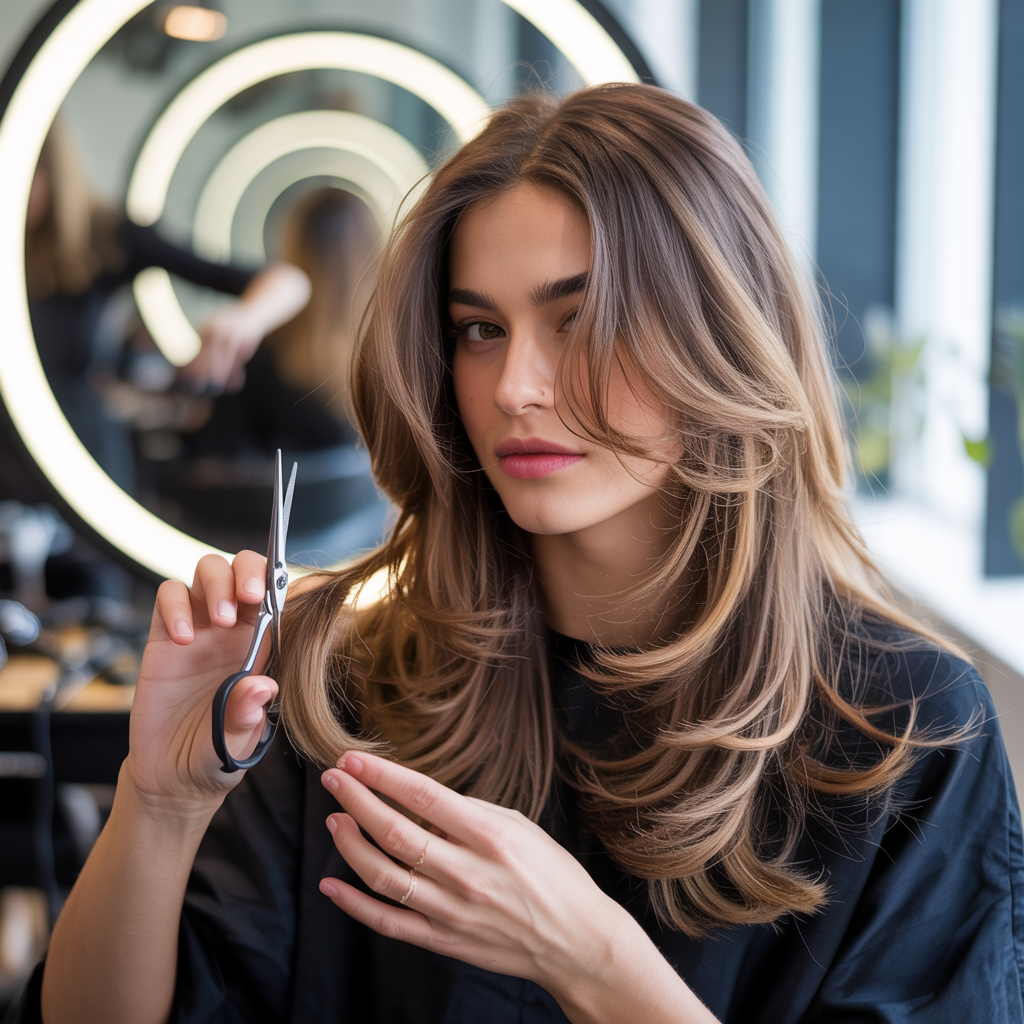
- Use Sharp Hair Shears: Never use kitchen scissors or craft scissors. They will damage your hair and create split ends. Invest in a good pair of hair-cutting shears.
- Good Lighting: Ensure you have excellent lighting, preferably natural light, to see what you’re doing clearly.
- Stand in Front of a Mirror: Use a large mirror, and ideally, a hand mirror to check the back.
- Take Your Time: Rushing leads to mistakes. Be patient and work slowly, section by section.
- Cut Less Than You Think You Need: You can always cut more hair off, but you can’t put it back on.
- Keep Hair Damp: Lightly mist your hair with water if it starts to dry out during the process.
- Comb Thoroughly: Always comb through each section thoroughly before cutting to ensure no tangles or bumps.
- Don’t Cut Dry Hair (Unless Specified): While some advanced techniques are for dry hair, generally, damp hair provides more control.
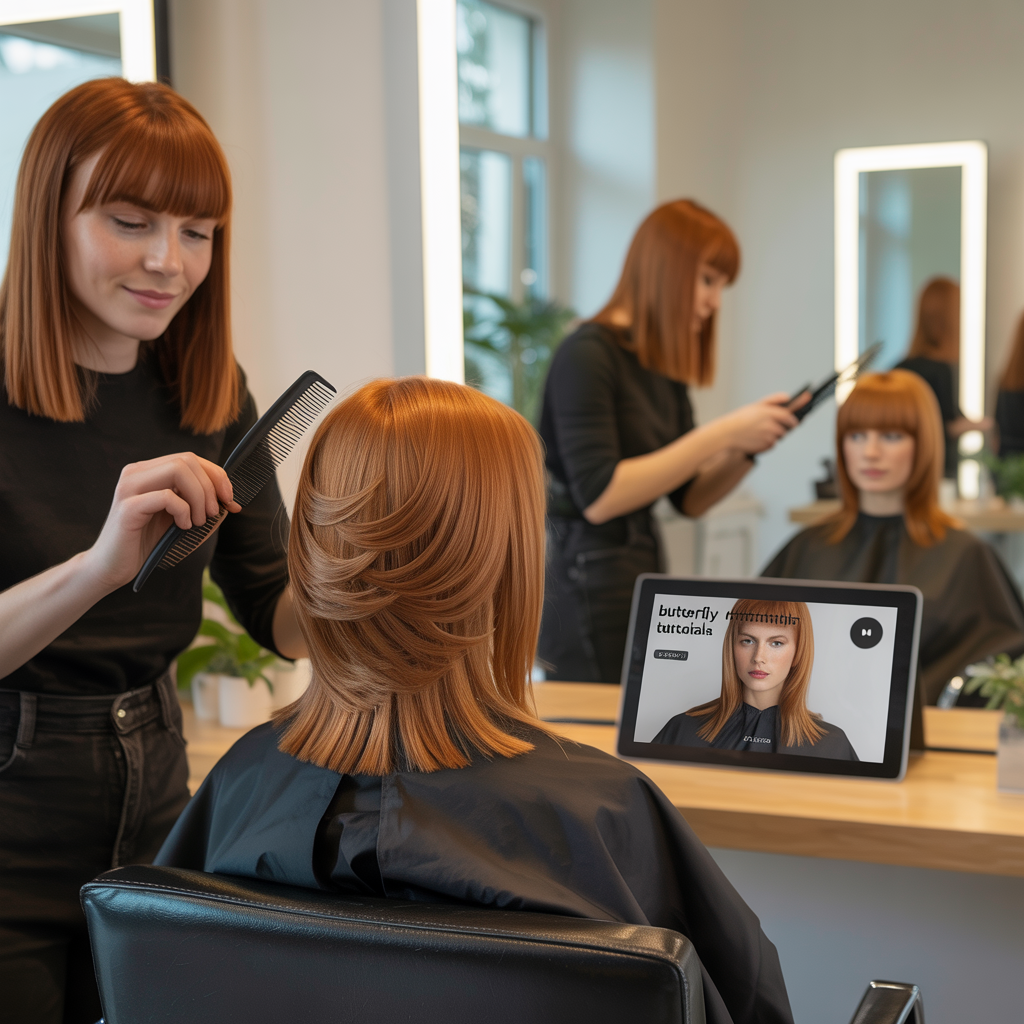
- Watch Multiple Tutorials: Before starting, watch a few different tutorials to get a comprehensive understanding of the process.
- Start Small: If you’re nervous, begin with just a trim or subtle layers before attempting a full butterfly cut.
Congratulations! You now have access to 27 Butterfly Haircut Tutorials: Master the Cut, equipping you with all the knowledge and guidance you need to achieve this stunning hairstyle.
From foundational techniques to troubleshooting and specific adaptations for various hair types and lengths, we’ve covered every angle.
With patience, practice, and the right approach, you can confidently create gorgeous, voluminous, and perfectly framed butterfly layers right in your own home.
Get ready to spread your hair’s wings and soar with your beautiful new look!