Dreaming of that effortlessly chic, voluminous look without a salon visit?
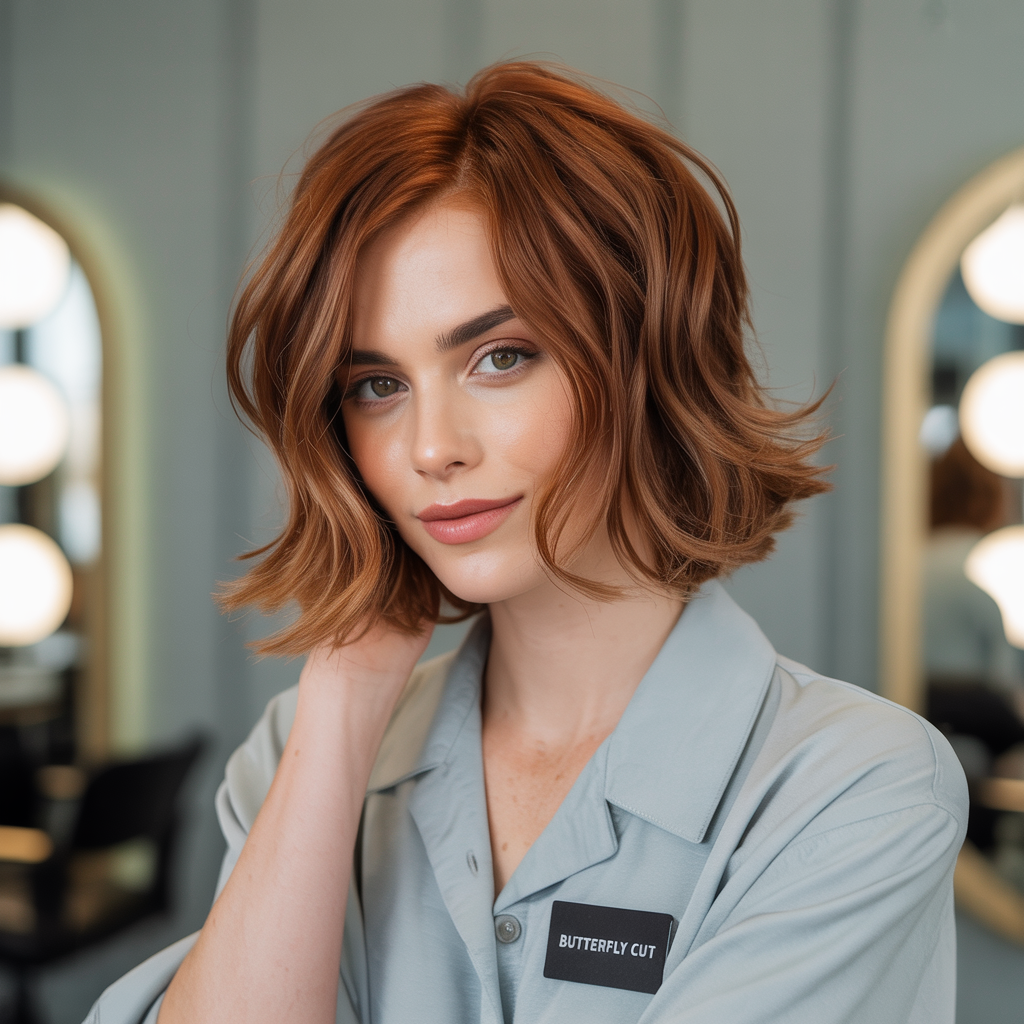
If you’ve been captivated by the trending butterfly haircut and are eager to achieve it on your short locks right from your own bathroom, then get ready to be inspired!
This comprehensive guide, 21 Butterfly Haircuts to Try at Home for Short Hair, is specifically designed to empower you with the knowledge and confidence to create this stunning style yourself.
We’ll break down various DIY-friendly versions, proving that you don’t need a professional to enjoy a beautiful, bouncy, and face-framing transformation.
Here’s an overview of what you’ll discover in this article: We’ll begin by emphasizing the importance of preparation and realistic expectations for any at-home cut.
Then, we’ll dive into the essential tools you’ll need to confidently snip away.
The core of the article will introduce 21 distinct, DIY-friendly variations of the butterfly haircut, each with tips on how to achieve them on short hair.
Finally, we’ll provide crucial advice for checking your work, refining the cut, and maintaining your gorgeous new style.
1. Essential Prep and Mindset for At-Home Cutting

Before you embark on your DIY hair adventure, proper preparation and a realistic mindset are crucial for a successful outcome. Remember, patience and a “less is more” approach are your best friends.
- Start with Clean, Damp Hair: Hair should be freshly washed, conditioned, and towel-dried until damp, not dripping wet. This provides better control.
- Detangle Thoroughly: Use a wide-tooth comb to remove all knots. Smooth hair is easier to section and cut precisely.
- Good Lighting and Mirrors: Ensure you have bright, even lighting and both a large wall mirror and a hand mirror to see all angles.
- Go Slow: Always cut less than you think you need to. You can always trim more, but you can’t put hair back.
- Accept Imperfection: Your first DIY cut might not be salon-perfect, and that’s okay! It’s about learning and having fun with your style.
2. The Must-Have Tools for Your DIY Butterfly Cut

Having the right tools is paramount for a clean, precise, and satisfying at-home haircut. Using dull or incorrect tools can lead to uneven results and damage your hair.
- Sharp Hair Shears: This is the most crucial tool. Invest in professional-grade hair-cutting shears. Kitchen scissors can cause split ends.
- Texturizing Shears (Thinning Shears): Optional, but highly recommended for removing bulk and creating soft, blended layers, especially if you have thick hair.
- Fine-Tooth Comb: Essential for precise parting and smoothing sections.
- Hair Clips or Sectioning Clips: To neatly hold sections of hair out of the way.
- Spray Bottle with Water: To re-dampen sections as you work.
- Neck Cape or Old Towel: To protect your clothing and the floor from fallen hair.
- Large Mirror and Hand Mirror: Absolutely necessary for seeing all angles of your head.
3. The Basic DIY Butterfly Method (The Ponytail Hack)

Most at-home butterfly cuts for short hair rely on a variation of the “ponytail method.” This technique simplifies layering by grouping hair in specific ways. We’ll introduce this basic concept here, then explore variations.
- Front Ponytail: Comb all the hair from the top of your head (from temples to crown) forward and gather it into a smooth, tight ponytail placed directly on your forehead. This will create your face-framing layers.
- Optional Second Ponytail: For more layers, comb the remaining hair from the back of your head (from the crown down) forward into a second, lower ponytail on top of your head.
- Cut Straight Across (or Point Cut): Once ponytails are secure, you’ll cut the ends. For softness, use point cutting (cutting vertically into the ends).
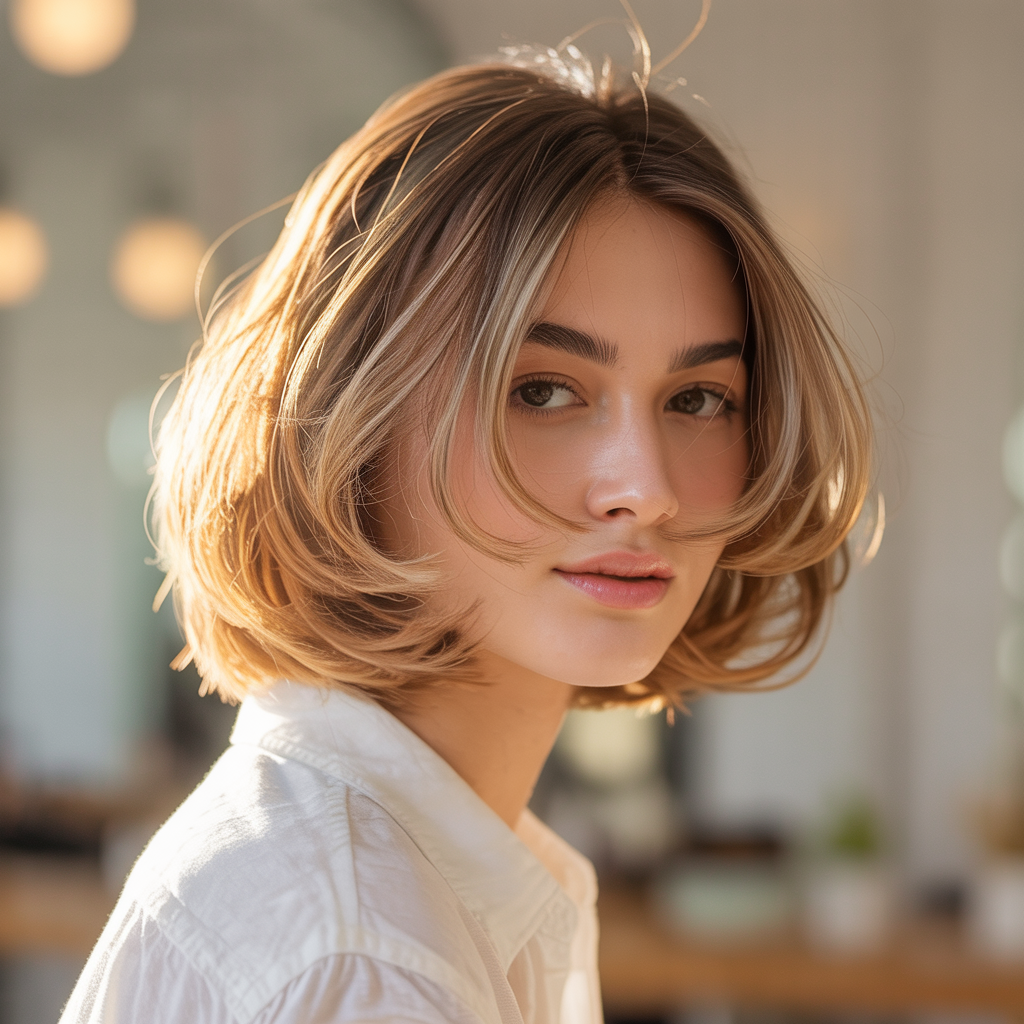
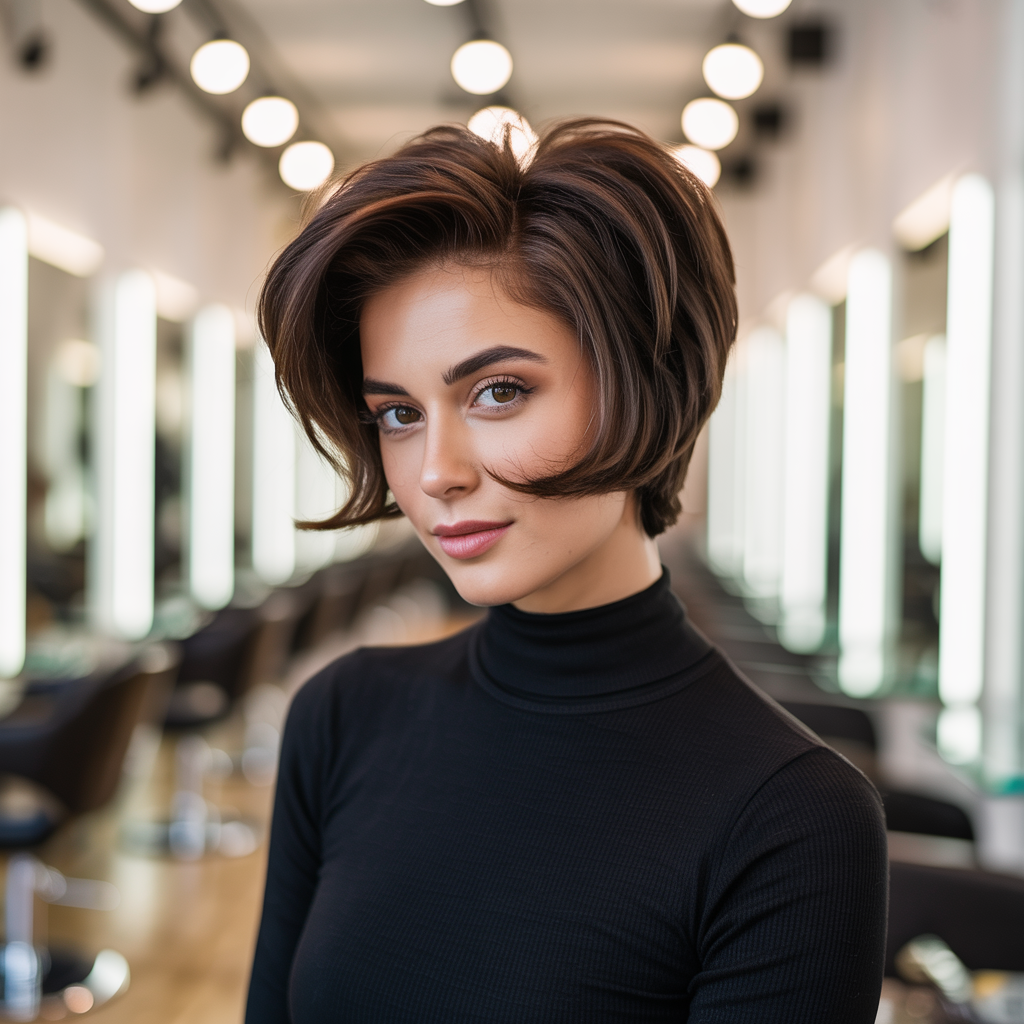
4. Subtle Face-Framing Butterfly Bob
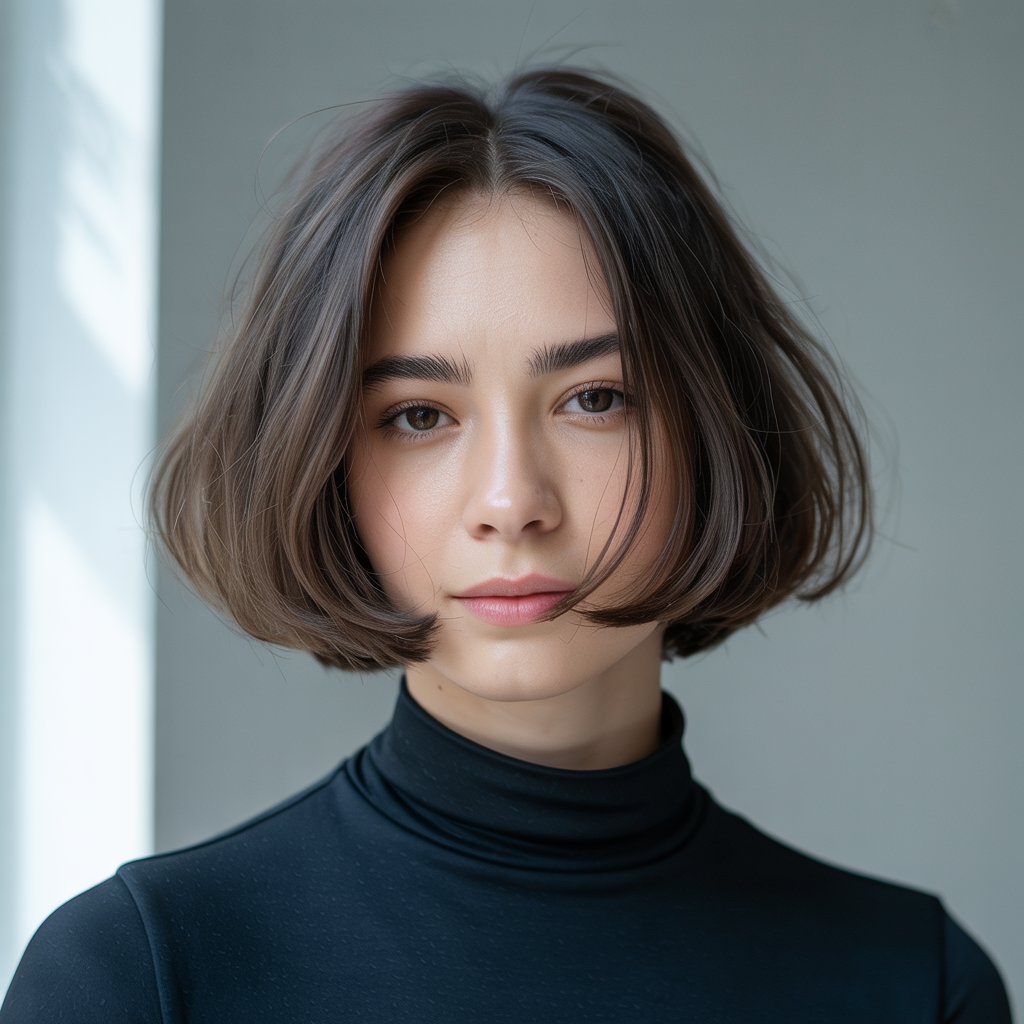
This version is perfect if you have a short bob and want to add just a touch of the butterfly effect without major length changes. It focuses on gentle face-framing.
- Use the front ponytail method (Section 3).
- Cut only about 1-2 inches off the ends of this ponytail using point cutting.
- This creates soft, chin-length layers that gently curve around your face.
- Ideal for adding movement and softening a blunt bob.
5. Voluminous Butterfly Pixie

Give your longer pixie cut a boost of volume and a soft, airy feel with strategic butterfly layering. This adds femininity and bounce.
- Create a front ponytail only, making sure to gather hair from the very top of your head for maximum lift.
- Cut 1-3 inches off this ponytail, depending on your desired volume and how short your pixie is.
- Use texturizing shears on the ends of the remaining hair around the crown to enhance movement.
- This creates a playful, voluminous top that softens into your shorter sides.
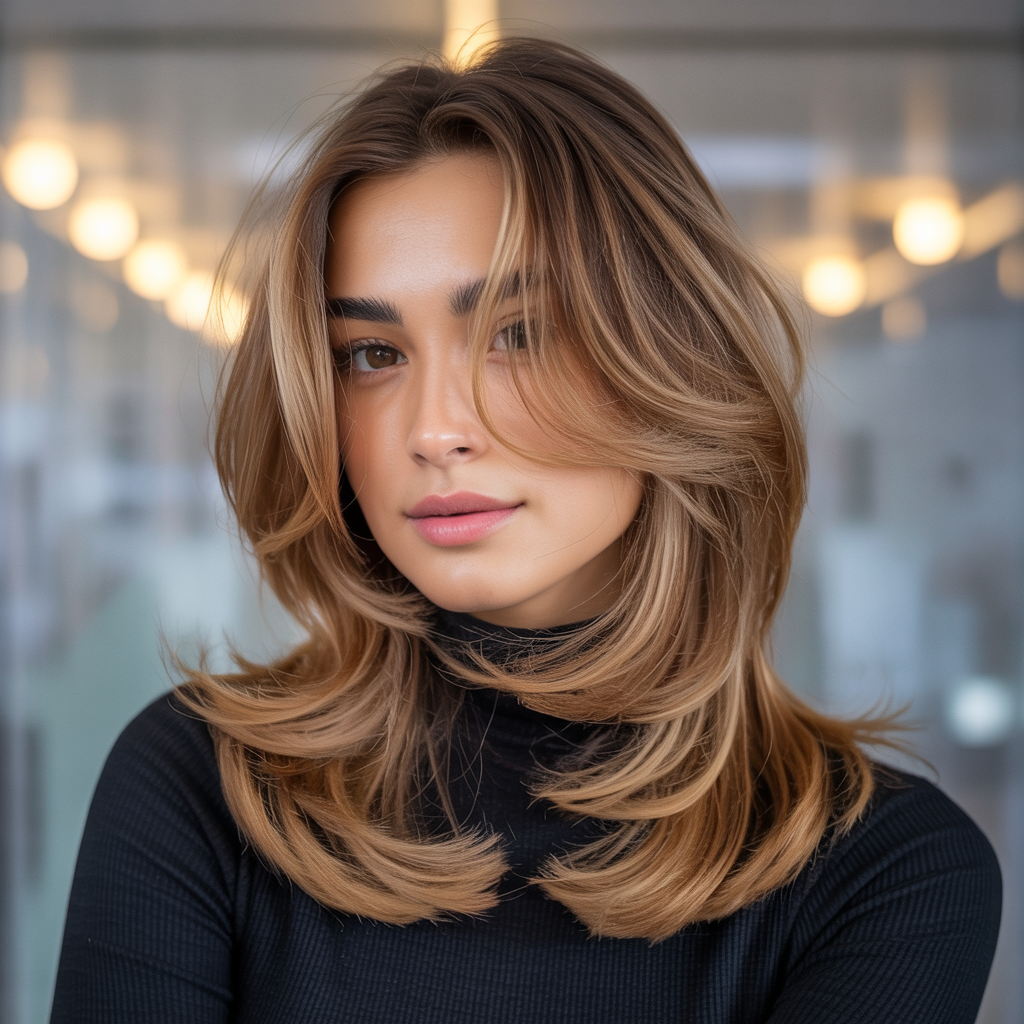
6. Shaggy Butterfly Lob with Defined Layers

Embrace a trendy, undone look with a shaggy butterfly lob. This involves more aggressive layering for texture and movement.
- Use both the front and second ponytail methods (Section 3).
- For the front ponytail, cut 2-4 inches for distinct face-framing.
- For the second ponytail, cut slightly less than the front, blending the layers.
- After releasing, use texturizing shears throughout the ends of your lob to create a choppier, shaggy effect.
7. Wavy Butterfly Cut (Enhancing Natural Texture)
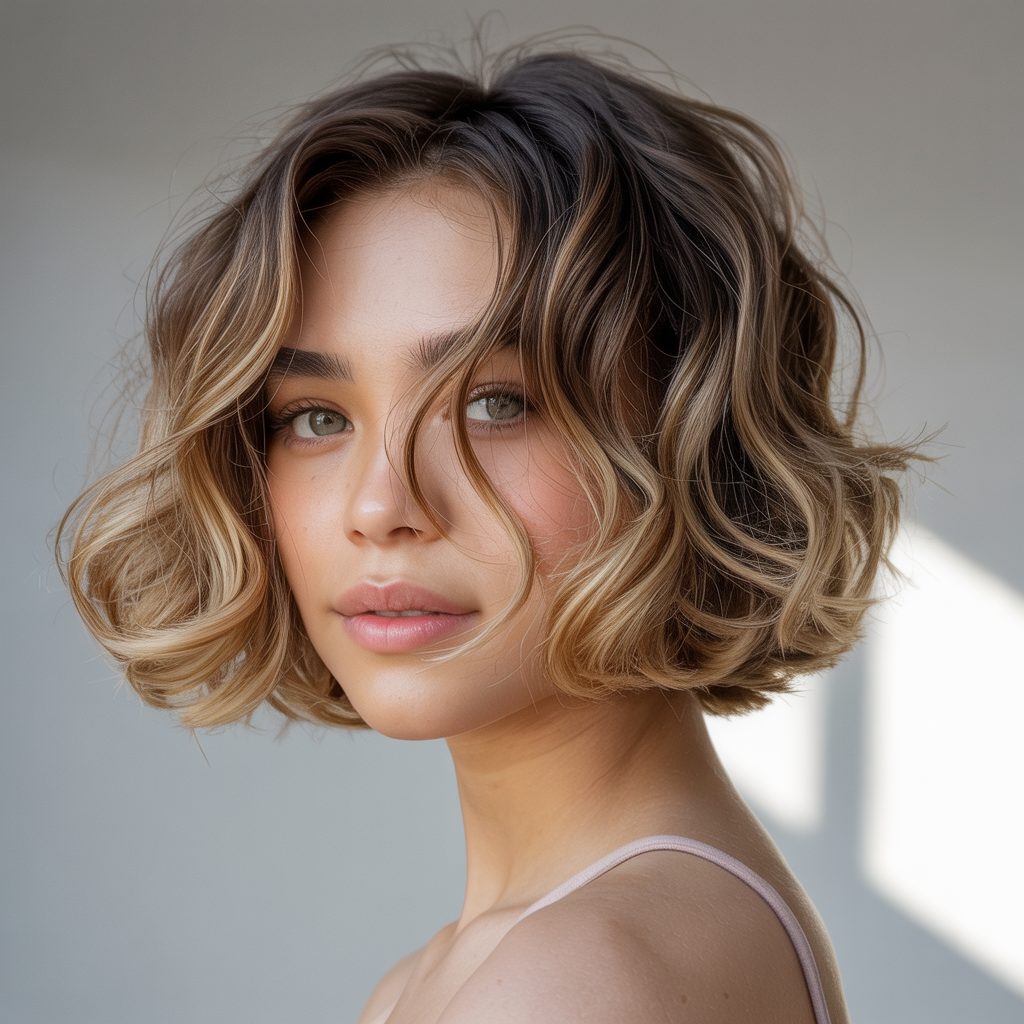
If you have natural waves, this DIY method enhances them, creating a voluminous and effortlessly chic look.
- Use the front and second ponytail methods.
- When cutting, consider how your waves spring up; cut slightly longer than your desired dry length.
- After releasing, scrunch your hair with a wave-enhancing product and air dry or diffuse.
- The layers will naturally encourage your waves to stack and define.
8. Curly Butterfly Cut (Defining Coils)

For natural curls, the butterfly cut helps remove bulk and encourages beautiful curl definition. Patience is key with curly hair.
- Use the front ponytail method, gathering curls from the top and sides.
- Cut very small amounts (1 inch or less) using point cutting, allowing for curl shrinkage.
- After releasing, separate and define individual curls with a curl cream or gel.
- This method helps create a more rounded, voluminous shape, preventing the “triangle” effect.
9. Butterfly Cut with Soft, Blended Bangs

This is a subtle way to add bangs that seamlessly integrate with your butterfly layers, perfect for a gentle face frame.
- Use the front ponytail method.
- When cutting, aim for a length that falls just below your eyebrows or at the bridge of your nose.
- After releasing the ponytail, comb the shortest pieces forward. These are your new bangs.
- Gently point cut into the very ends of the bangs to soften the line and blend them into your face-framing layers.
10. Butterfly Cut with Side-Swept Bangs

Achieve a classic and flattering look with side-swept bangs that blend beautifully into your short butterfly layers.
- Create a deep side part.
- Gather a triangular section of hair from your part down to your temple on the side you want the bangs to sweep.
- Comb this section diagonally across your forehead and cut at an angle, aiming for the longest point to meet your cheekbone.
- Point cut into the ends for softness. This creates a natural sweep that blends into your butterfly layers.
11. Face-Framing Layers for Round Faces

To elongate a round face, focus on creating longer face-framing layers that extend past the chin.
- Use the front ponytail method.
- Cut the ponytail at a length that, when released, the shortest pieces fall below your chin.
- Ensure you use point cutting to soften the ends and create vertical lines that draw the eye downwards.
- Avoid creating too much width around the cheekbones.
12. Face-Framing Layers for Square Faces

Soften a strong jawline on a square face by incorporating layers that start around the cheekbones and angle downwards.
- Use the front ponytail method.
- Cut the ponytail so that the shortest layers fall around your cheekbones, angling downwards.
- Use a lot of point cutting to create a soft, feathery effect that contrasts with angular features.
- Consider adding subtle side-swept bangs (Section 10) for extra softness.
13. Face-Framing Layers for Heart-Shaped Faces
Balance a wider forehead and narrower chin by adding layers that create width around the jawline.
- Use the front ponytail method.
- Cut the ponytail so the shortest layers fall around the chin area, adding fullness there.
- You can also create a few wispy bangs (Section 9) to subtly soften the forehead.
- The layers will help create harmony by adding volume where needed.
14. Subtle Butterfly Layers for Fine Hair
For fine short hair, the goal is to create volume without making the hair look thinner by over-layering.
- Use only the front ponytail method.
- Cut minimal length (1 inch or less) using point cutting to avoid removing too much density.
- Focus on creating lift at the roots by blow-drying with a round brush after the cut.
- The subtle layers will give the illusion of fuller hair.
15. Disconnected Butterfly Layers (More Edgy)

For a more edgy and modern butterfly cut, you can try creating slightly more disconnected layers.
- Use the front ponytail method.
- Instead of point cutting, make a slightly more direct cut (still angled) on the ponytail.
- After releasing, you can take small vertical sections around the face and very lightly “chip” into the ends with your shears to create more distinct separation.
- This gives a bolder, less blended look.
16. Butterfly Bob with Longer Face Frame

This variation keeps the overall bob shape but adds longer, sweeping butterfly layers around the face.
- Use the front ponytail method.
- Cut the ponytail at a length that the shortest face-framing pieces fall around your collarbone.
- This creates a longer, more dramatic sweep that still provides the butterfly effect.
- Works well for slightly longer bobs or lobs.
17. The “Micro” Butterfly Cut (Minimal Layers)

For very short hair or a subtle approach, the micro butterfly cut adds just a hint of texture and movement.
- Use only a very small front ponytail, gathering just the hair around your hairline/temples.
- Cut less than an inch off the ends with point cutting.
- This creates tiny, subtle layers that add minimal movement.
- It’s a way to try the trend without significant changes.
18. Butterfly Cut with Volume at the Crown
If your short hair tends to fall flat, this method focuses on maximizing volume at the crown.
- Use the second ponytail method (or if just one, make sure it originates high on the crown).
- Cut a generous amount (2-4 inches) off this ponytail using point cutting.
- After releasing, focus your blow dryer and round brush on this crown area to enhance lift.
- The layers will provide the foundation for bouncy volume.
19. Textured Ends Butterfly Cut
This style emphasizes soft, feathered ends, perfect for creating a lightweight, airy feel.
- Use both the front and second ponytail methods.
- After cutting, take small vertical sections of your hair.
- Use your texturizing shears on the very ends (the last 1-2 inches) of each section.
- This removes bulk and creates that soft, piecey finish.
20. Butterfly Cut with Minimal Layers on the Back

If you prefer to keep the back of your short hair relatively blunt but want face-framing, this is your go-to.
- Use only the front ponytail method.
- Focus all your cutting efforts on this front section to create your butterfly layers.
- Avoid cutting the back hair entirely, or only trim the very ends to clean them up.
- This creates a strong contrast between the layered front and the more solid back.
21. Refreshing an Existing Layered Cut with Butterfly Style
If you already have short, layered hair, you can refresh it into a butterfly style without starting from scratch.
- Identify your existing layers.
- Use the front ponytail method to re-cut and define your face-framing layers.
- Gently point cut into the mid-lengths and ends of existing layers to soften them and enhance movement.
- This allows you to adopt the butterfly aesthetic with minimal effort.
| DIY Method Focus | Best For | Key Technique | Potential Challenge |
|---|---|---|---|
| Front Ponytail Only | Subtle Layers, Pixies | Point cut small amount, focus on face frame | Less overall volume |
| Two Ponytails | Bobs, Lobs, More Volume | Point cut both, blend well | Uneven blending |
| Enhancing Waves/Curls | Wavy/Curly Hair | Account for shrinkage, use definition products | Uneven curl patterns |
| Adding Bangs | Any short cut | Precise front ponytail cut, gentle point cutting | Too blunt or short |
| Refining/Texturizing | All hair types (post-cut) | Texturizing shears on ends, very light cuts | Over-thinning |
You’ve now explored 21 Butterfly Haircuts to Try at Home for Short Hair, discovering that achieving this coveted style on your own is not only possible but also incredibly rewarding!
From subtle face-framing layers to voluminous shags and playful pixies, there’s a DIY-friendly butterfly cut for every short-haired enthusiast.
By preparing properly, using the right tools, and approaching each step with patience and confidence, you’ll be able to transform your look and flaunt a beautiful, bouncy, and perfectly framed haircut that makes you feel amazing every day.